
What are shed dormers and why are they so popular around here?
The Twin Cities are filled with story-and-a-half homes that are perfect for a certain kind of addition, called a shed dormer. Learn more about this popular remodeling project.
Follow along as we build a shed dormer addition along the upper level of this St. Paul Cape Cod.
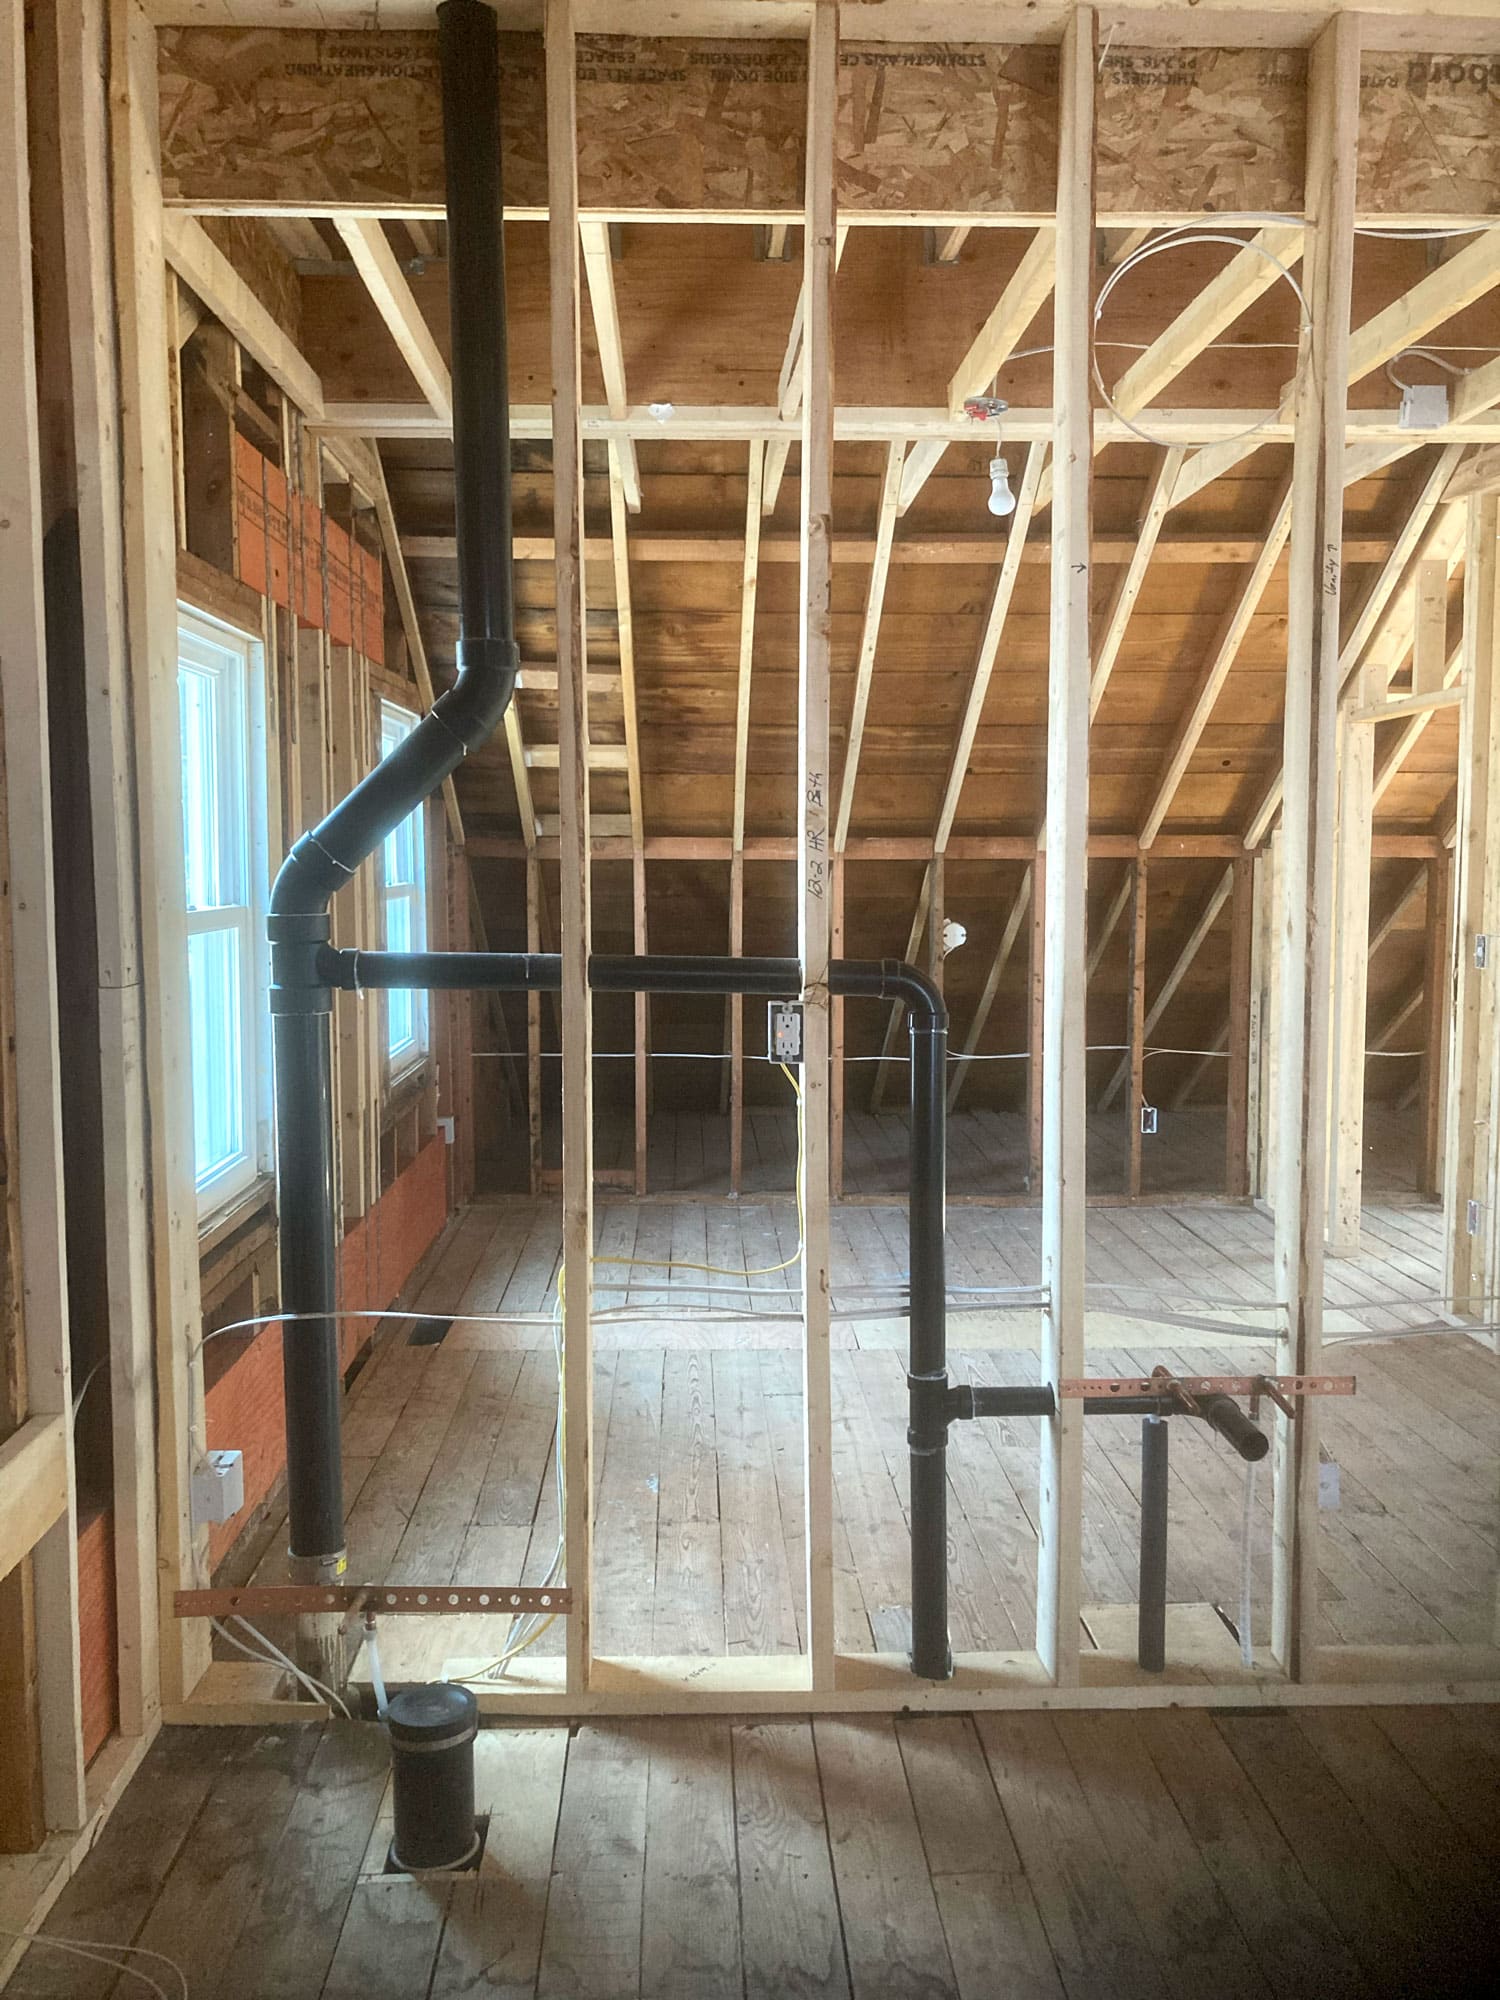
For most remodels, changes like moving sink locations or even adding all-new rooms mean that new electrical, plumbing, and mechanical/HVAC changes are needed. Right after framing, we adjust and add new internal systems to a home that change or enhance the functionality of the space during the rough-in process. For this dormer addition to be useful, we would need to rough-in new lighting as well as add all new plumbing and heating/cooling solutions for the upper level. While plumbing lines, new cans, and HVAC get roughed-in, the actual fixtures are installed much later.
These black pipes showcase the new plumbing lines extended from the main plumbing stack that will provide water for the future toilet and bathroom sink.
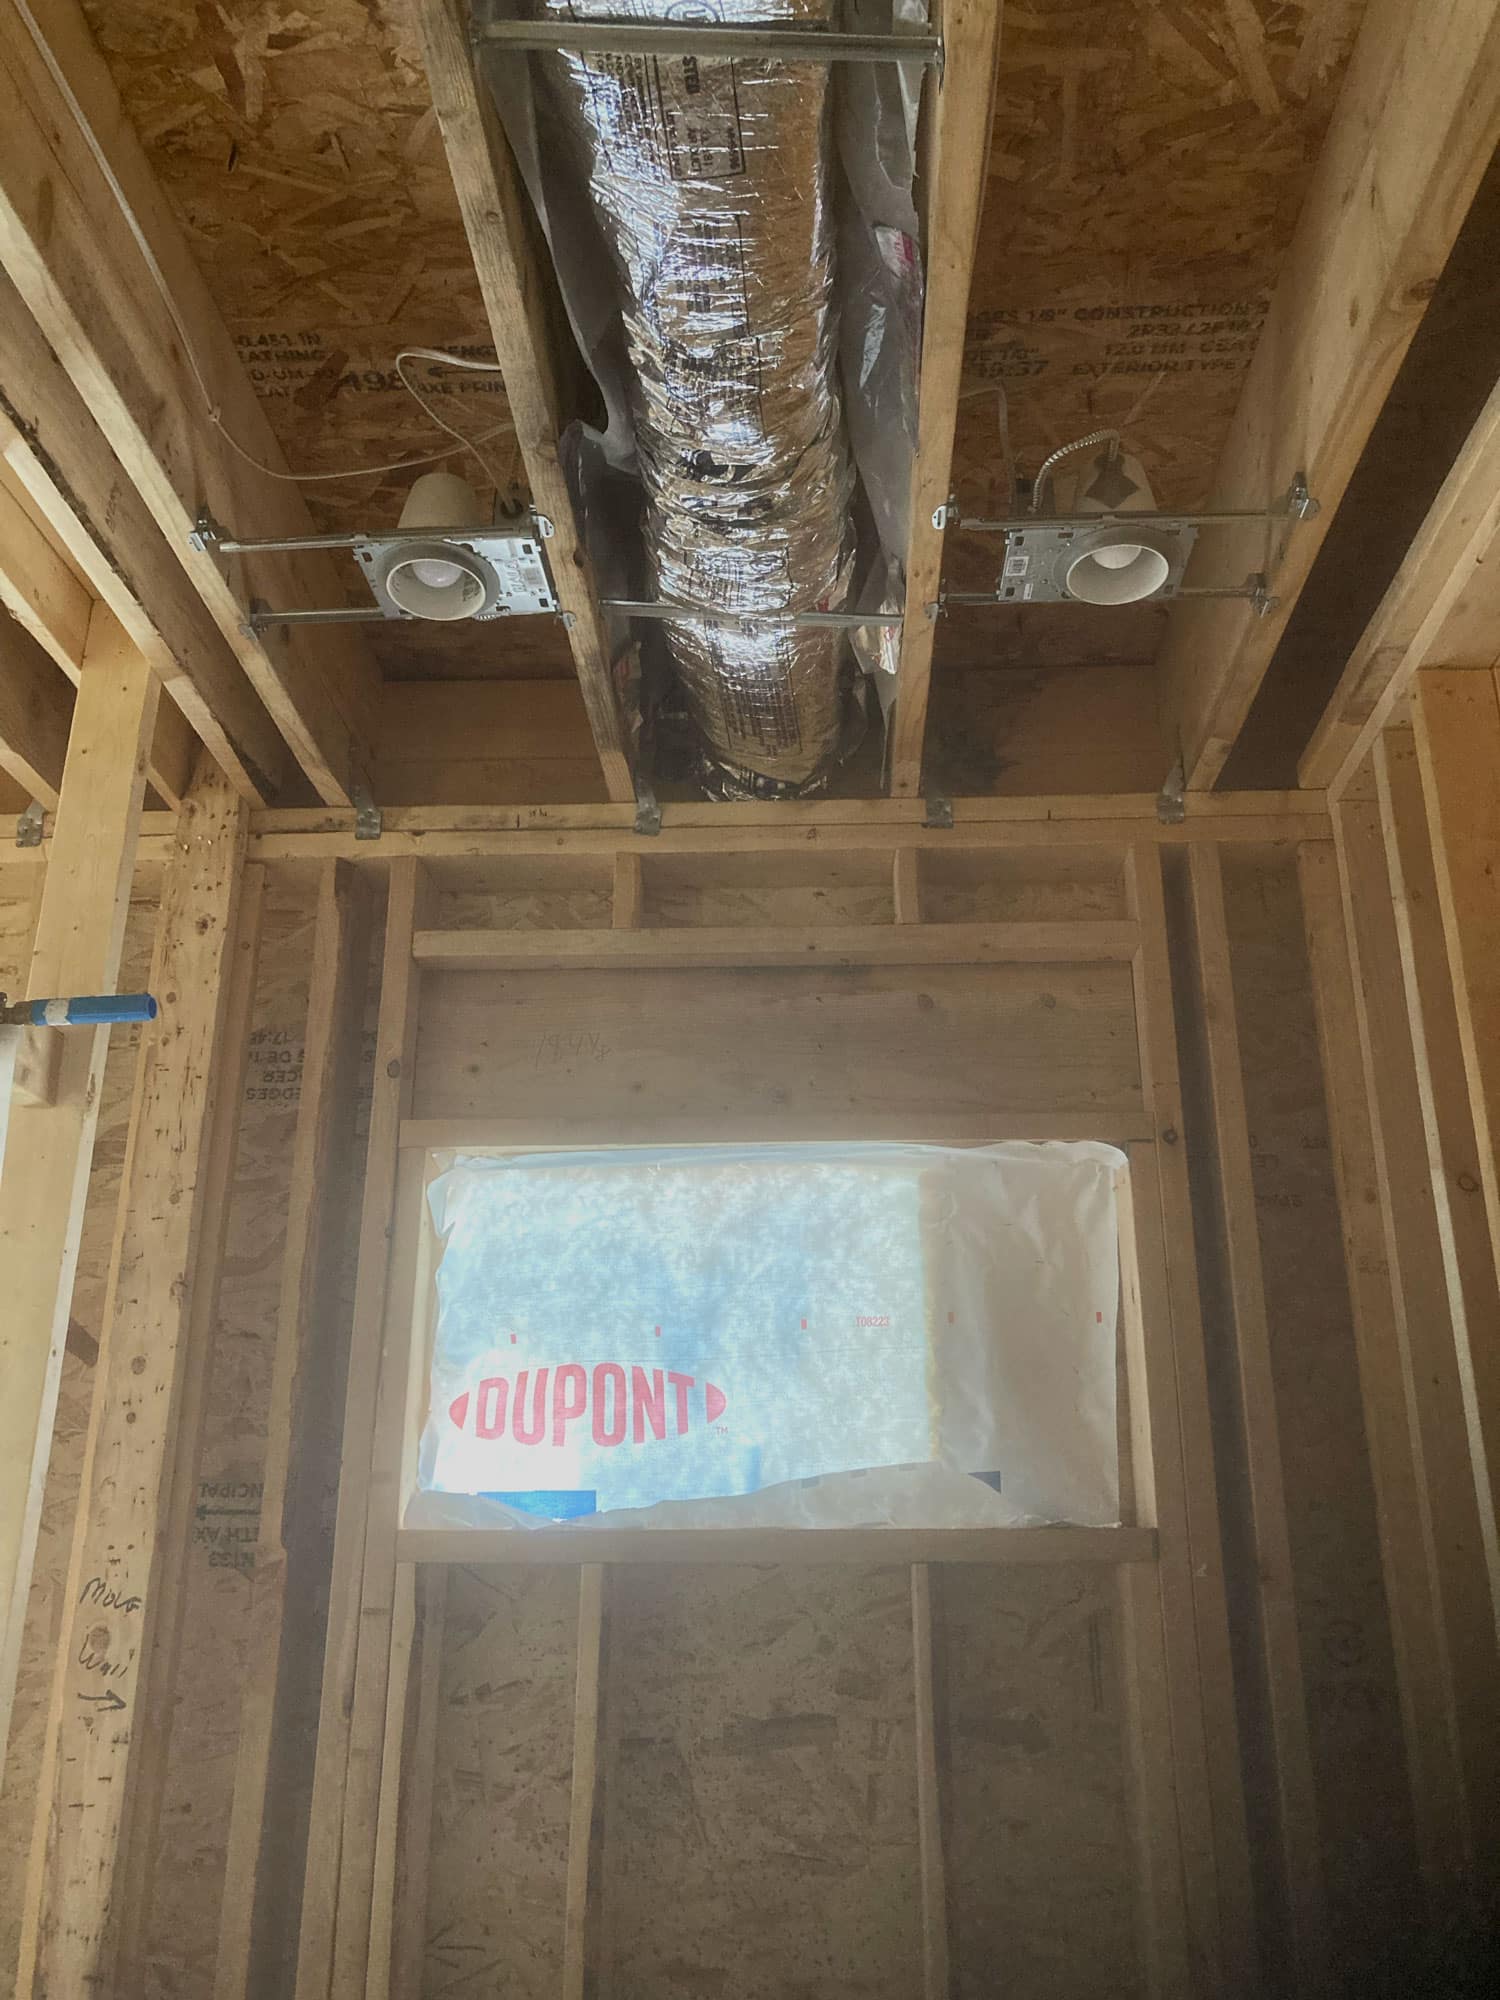
New venting for the bathroom is hidden within the ceiling joists above the shower, flanked by two cans providing lighting to the room.
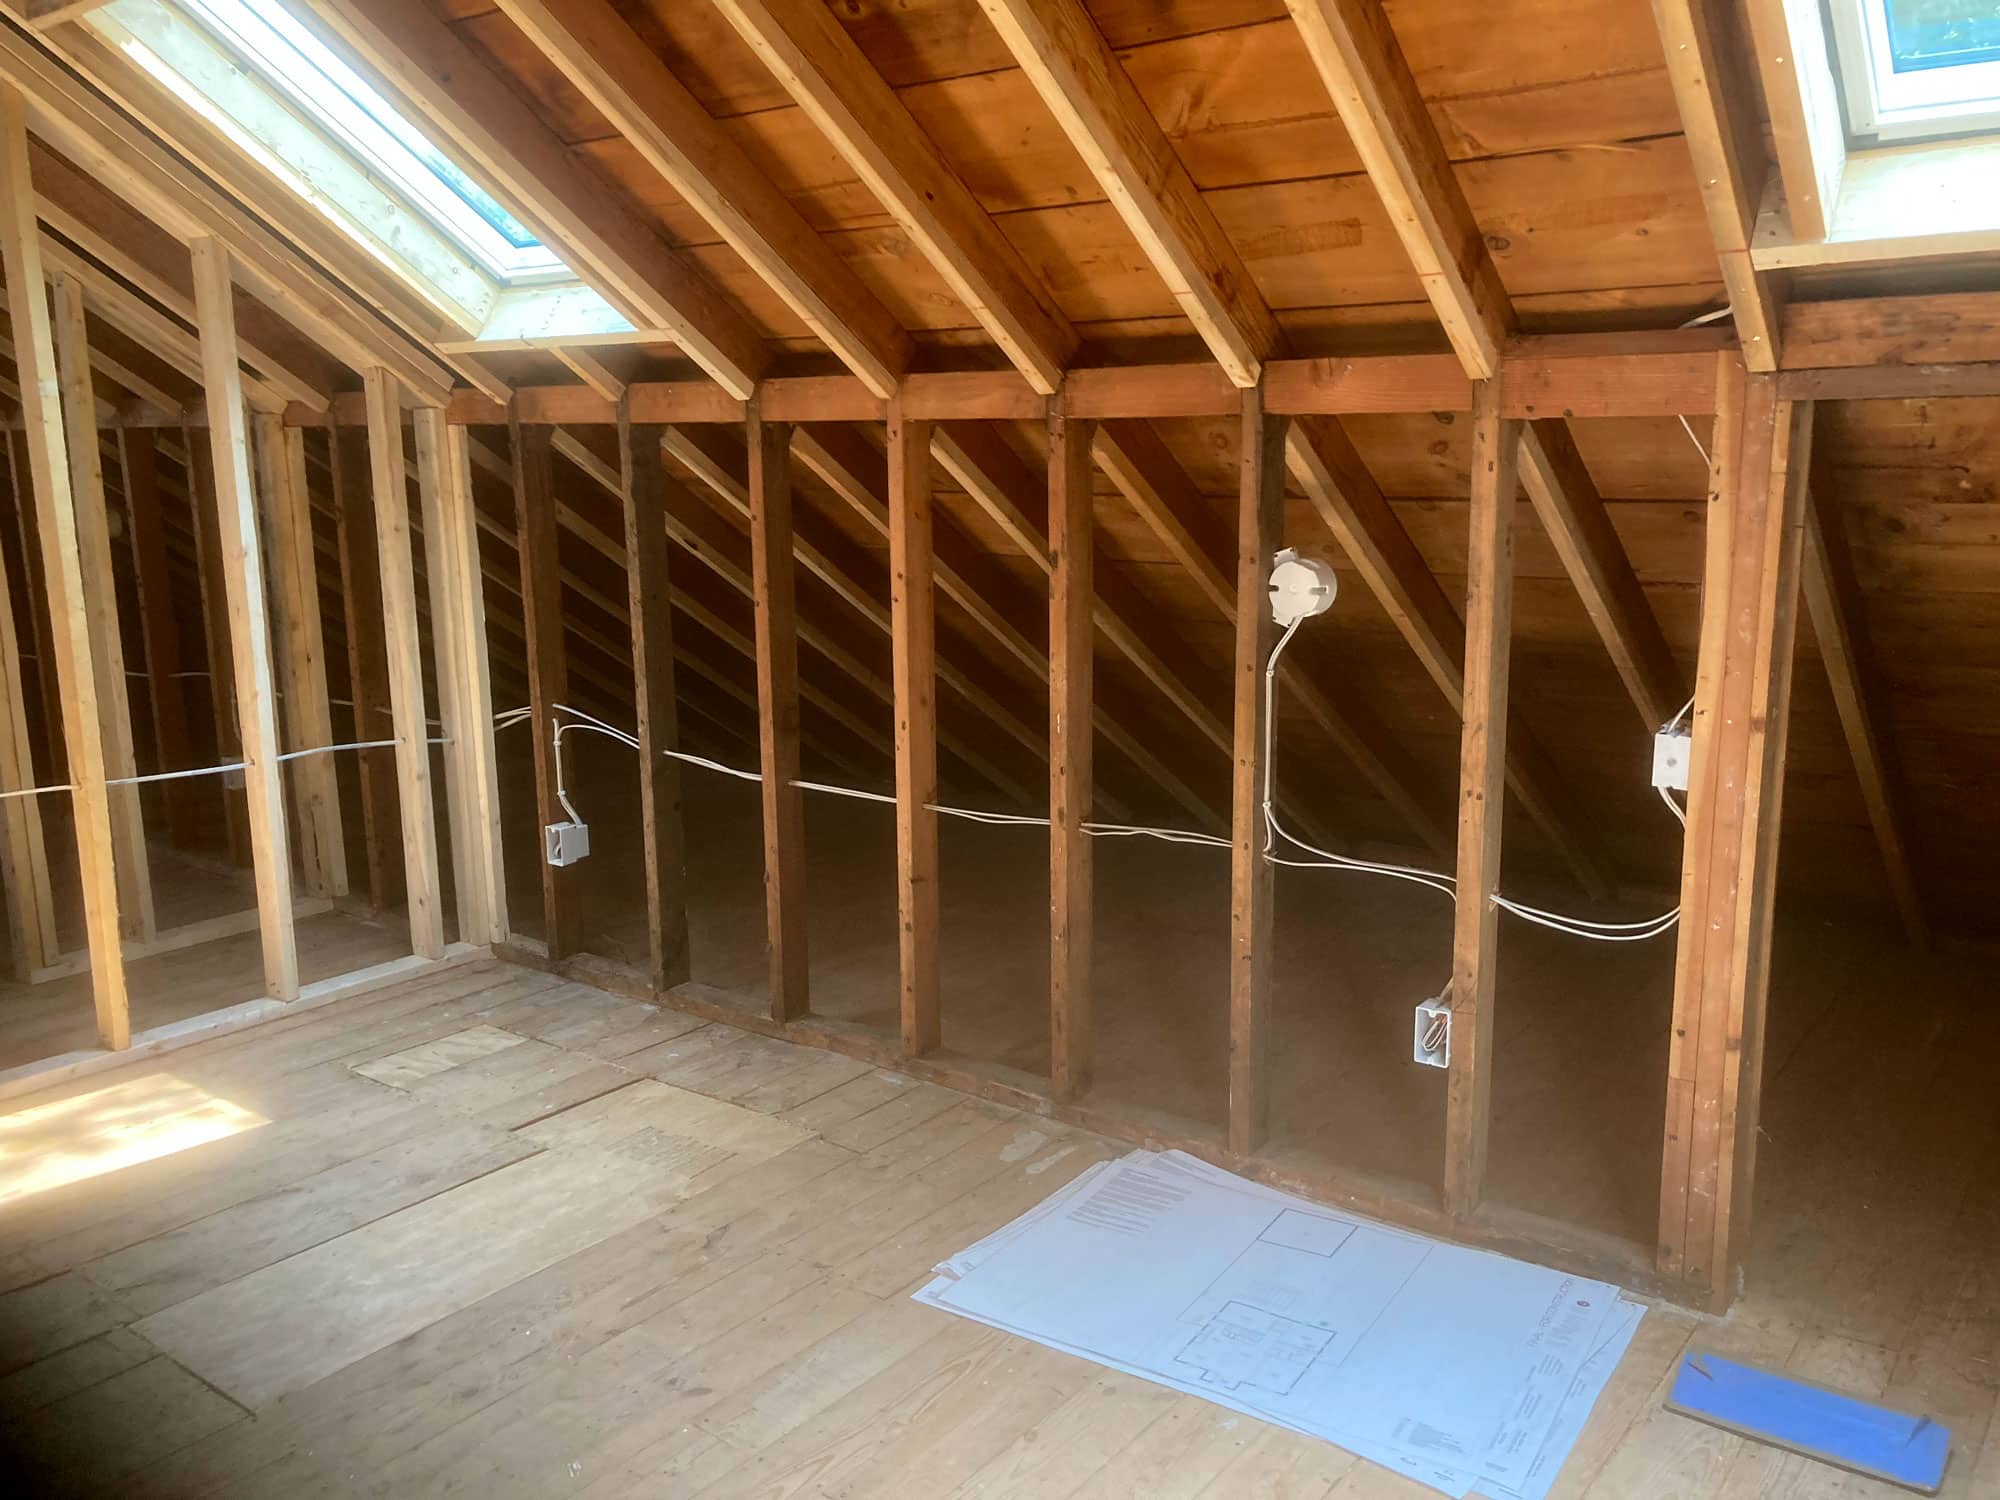
Although the entire upper level needed new electrical rough-ins, our crew was able to complete the process within only 2/3 days. Here you'll see new outlets being placed along the bottom of the living room wall just above where the future baseboard will sit.
Plumbing – 2 days :
Electrical – 2/3 days:
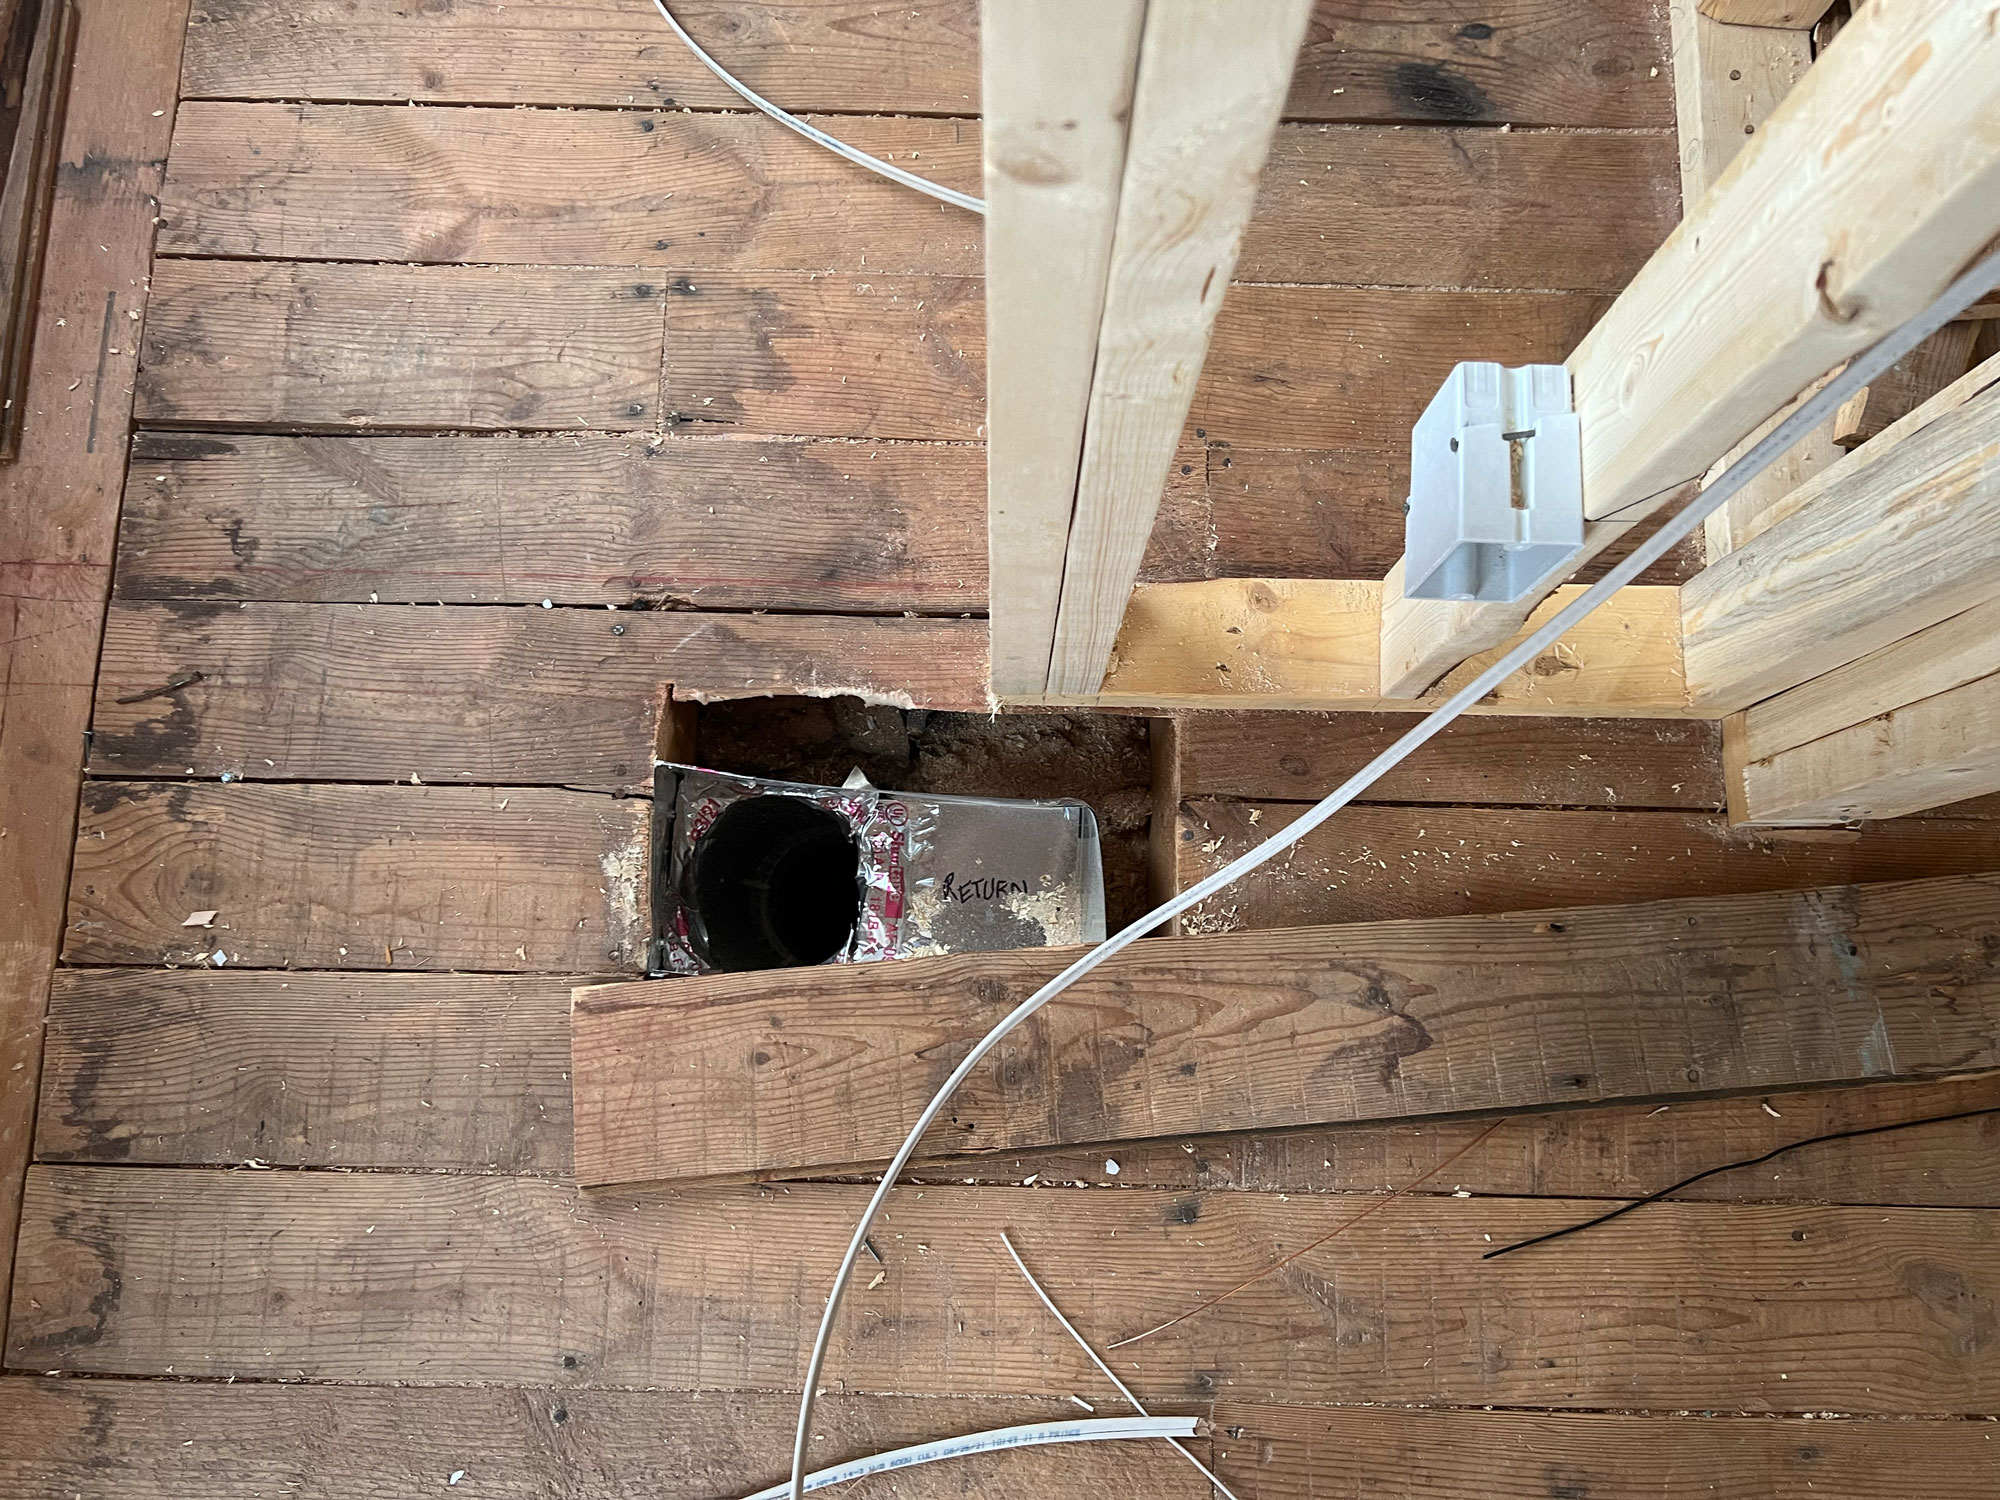
This return was previously within an existing wall but needed to be moved based on the new floor plan. We typically like to place them near walls and outside of areas that could be covered by large furniture or rugs. However, the location is also dependent on how the joists below are running.
HVAC – 1 day now, 2 days later:
Any new exterior walls are always insulated with spray foam because of the material’s ability to seep into crevices and block heat loss and gain. Insulation on a second floor is exceptionally important, and since we’re using the “hot roof” technique in this home, we spray-foamed the roof deck and ceiling to completely envelope the upper level. The batt insulation we tucked into interior walls, especially within the bathroom, as it helps with sound dampening from room to room. Our crew completed all the insulation needs within 4 days.
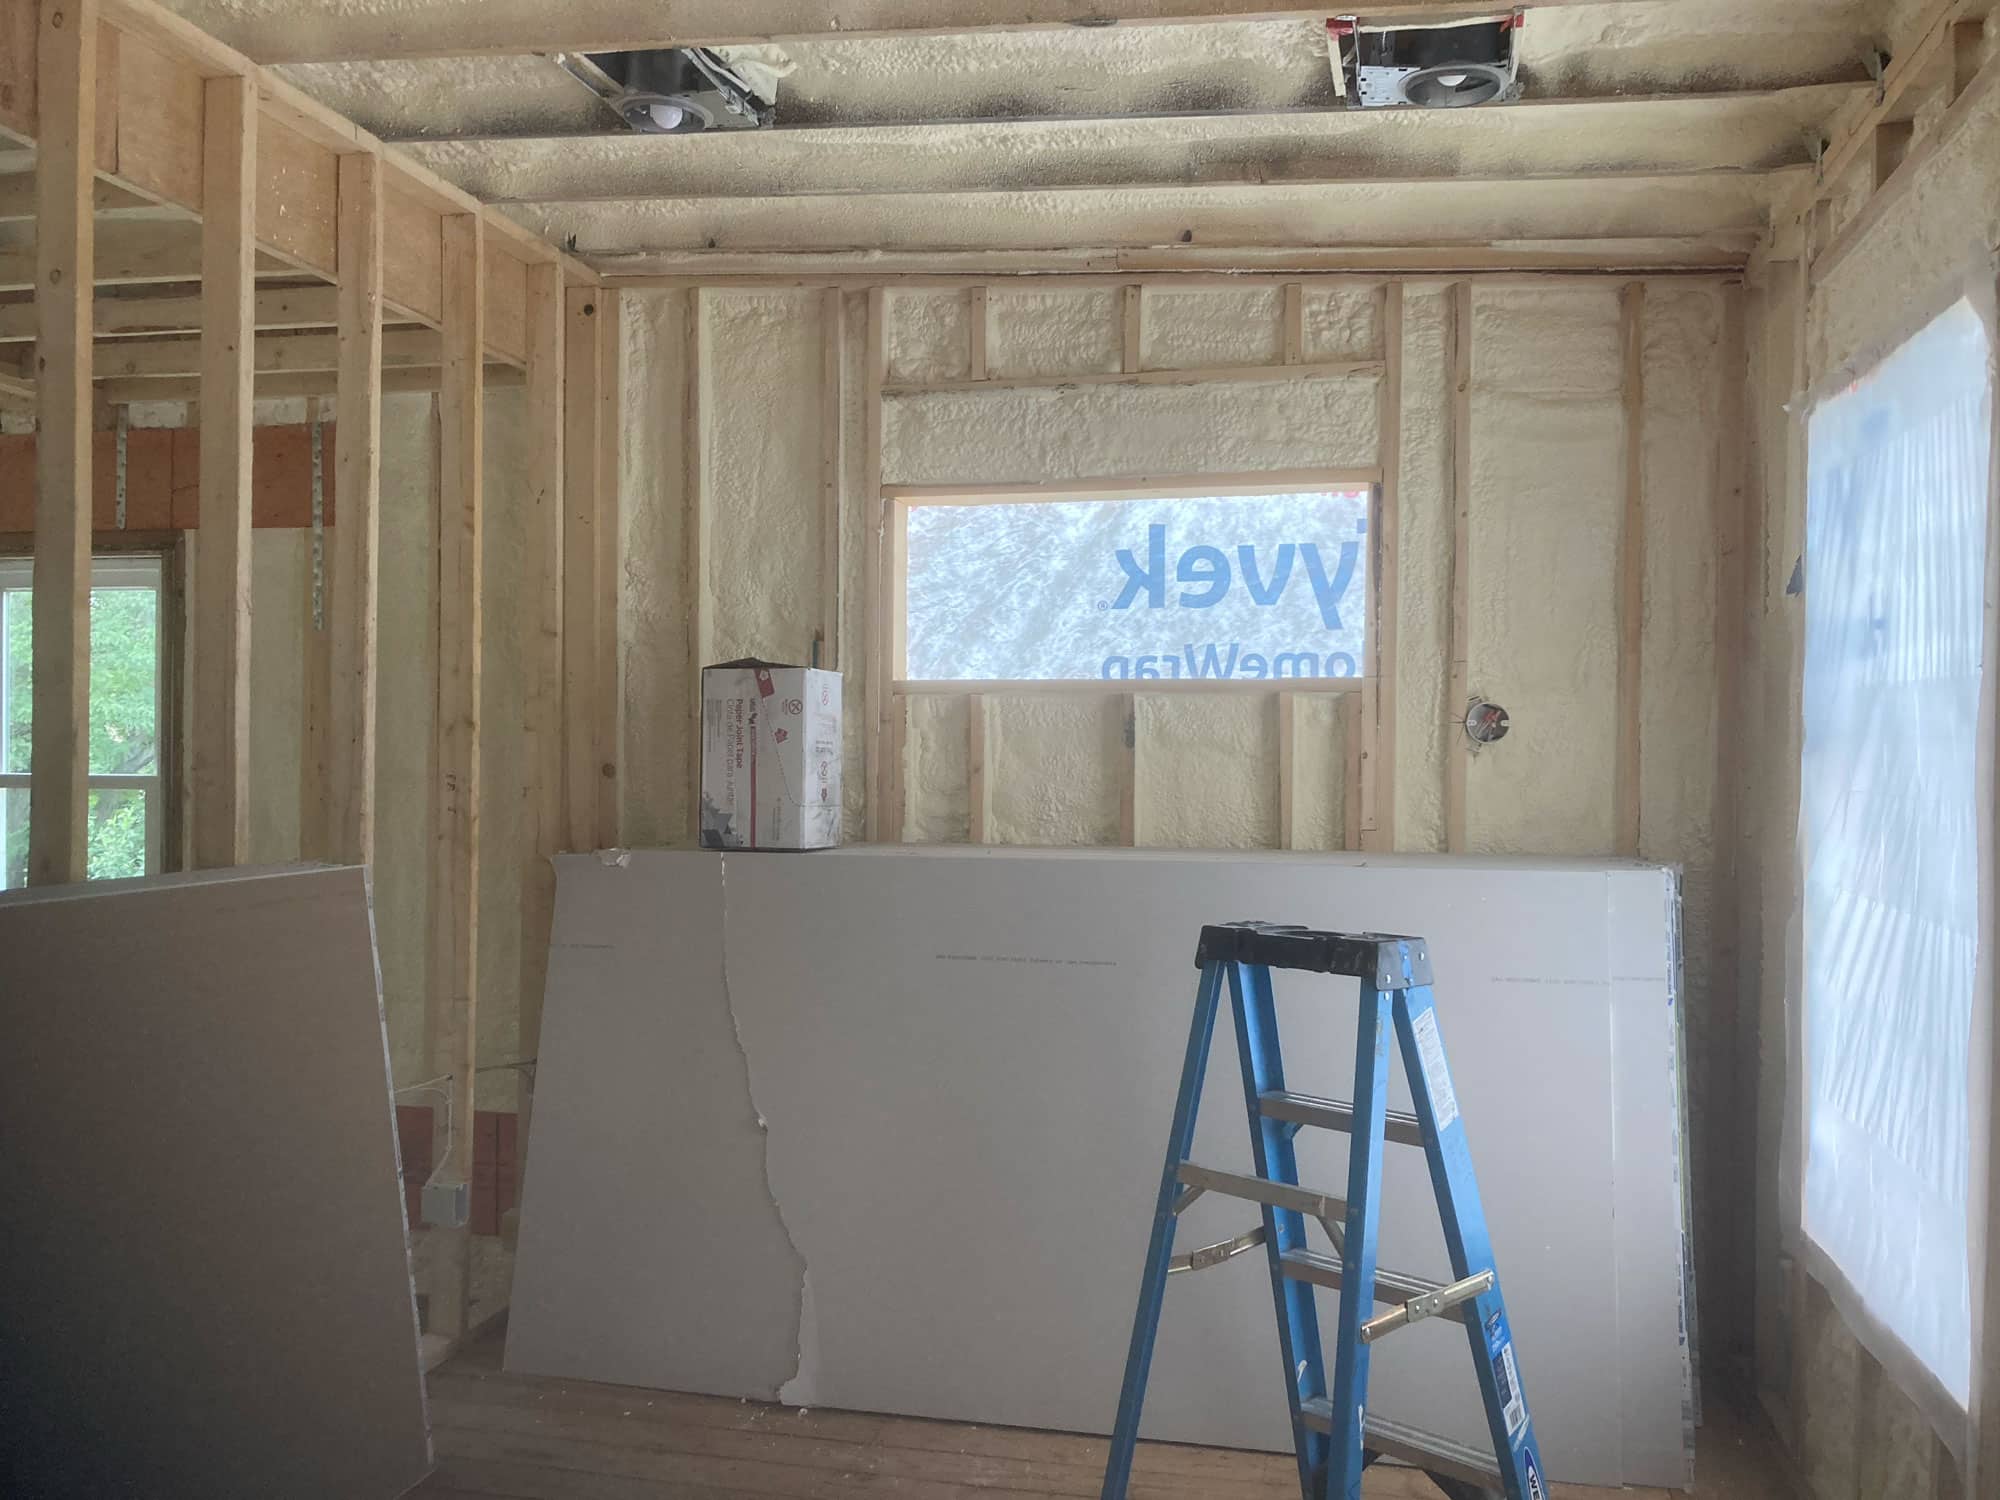
For new exterior walls, we always use spray foam to insulate. Spray foam provides a unique advantage compared to other products because the expanding foam easily fills small cracks and crevices.
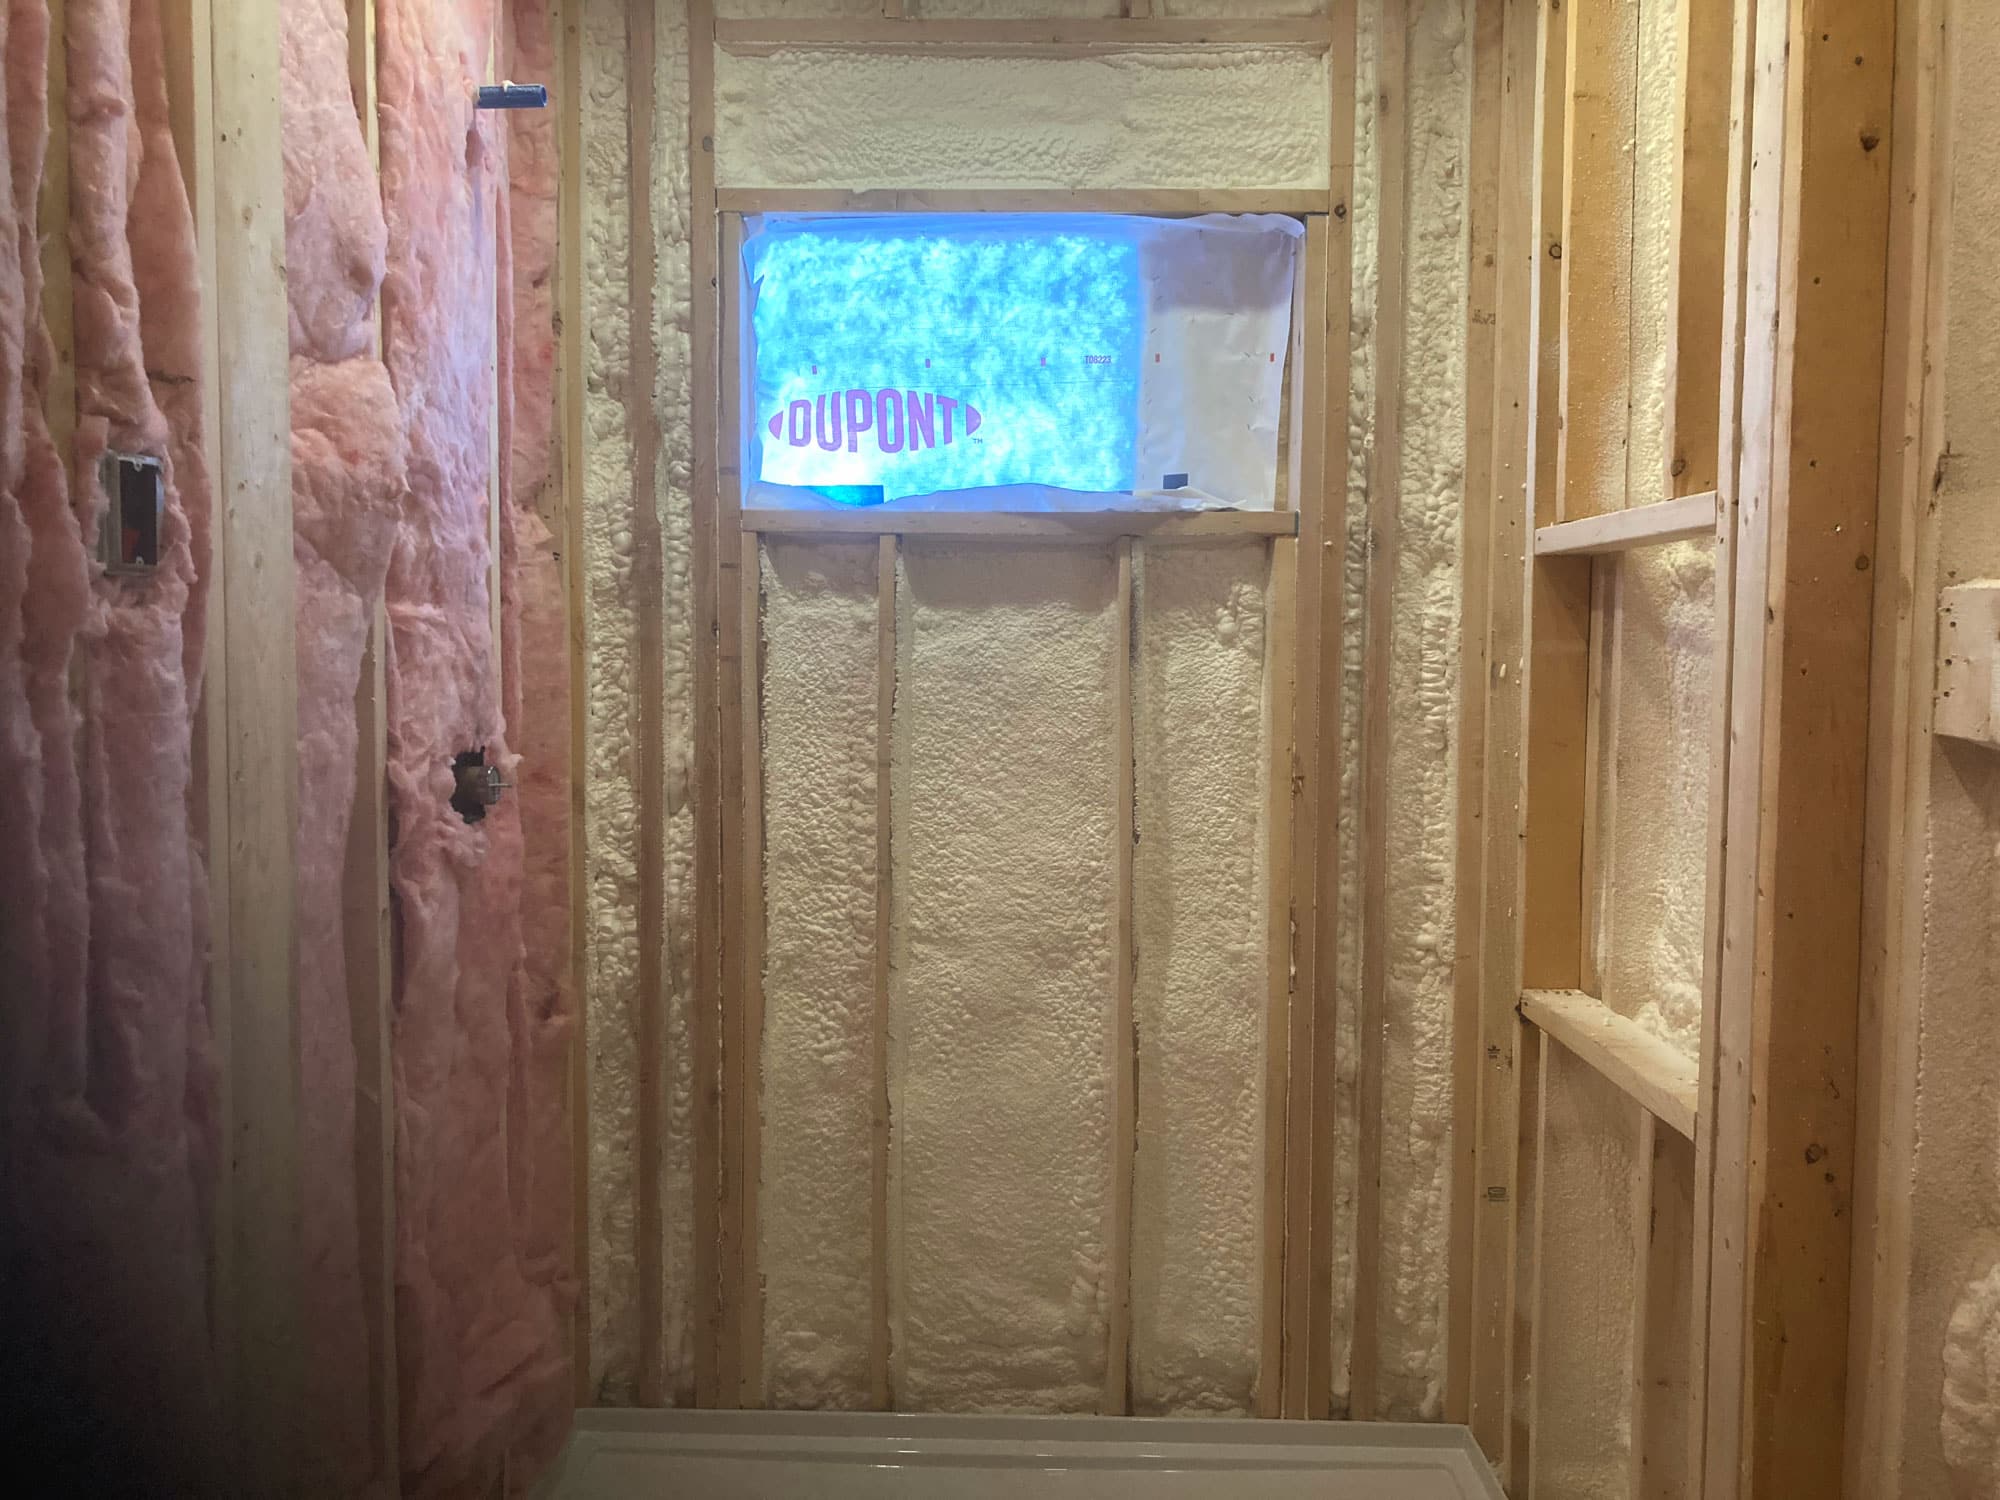
Pink batt insulation is a fiberglass product that we often use for interior applications like this new bathroom, where it also helps to dampen sound transmittance to other rooms.
We’re here to help! Check out our planning resources below, or reach out to us here.
The Twin Cities are filled with story-and-a-half homes that are perfect for a certain kind of addition, called a shed dormer. Learn more about this popular remodeling project.

So you’d love to upgrade your kitchen or add a shed dormer with a primary suite, but you’re not sure how to pay for it? Learn about three ways to finance your remodel.
Learn what it costs to remodel an attic in the Twin Cities, and what factors drive those costs.