How Much Does it Cost to Remodel a Kitchen in the Twin Cities?
Are you dreaming of a new kitchen and wondering how much you’ll need to invest? We breakdown the costs for two kitchen remodels and what factors drive those costs.
See inside as we build a mudroom addition and remodel the kitchen of this 1920s Lake Nokomis home.
Demolition is an essential part of the construction process and is often one of the first steps taken on the construction site. Here are some reasons why:
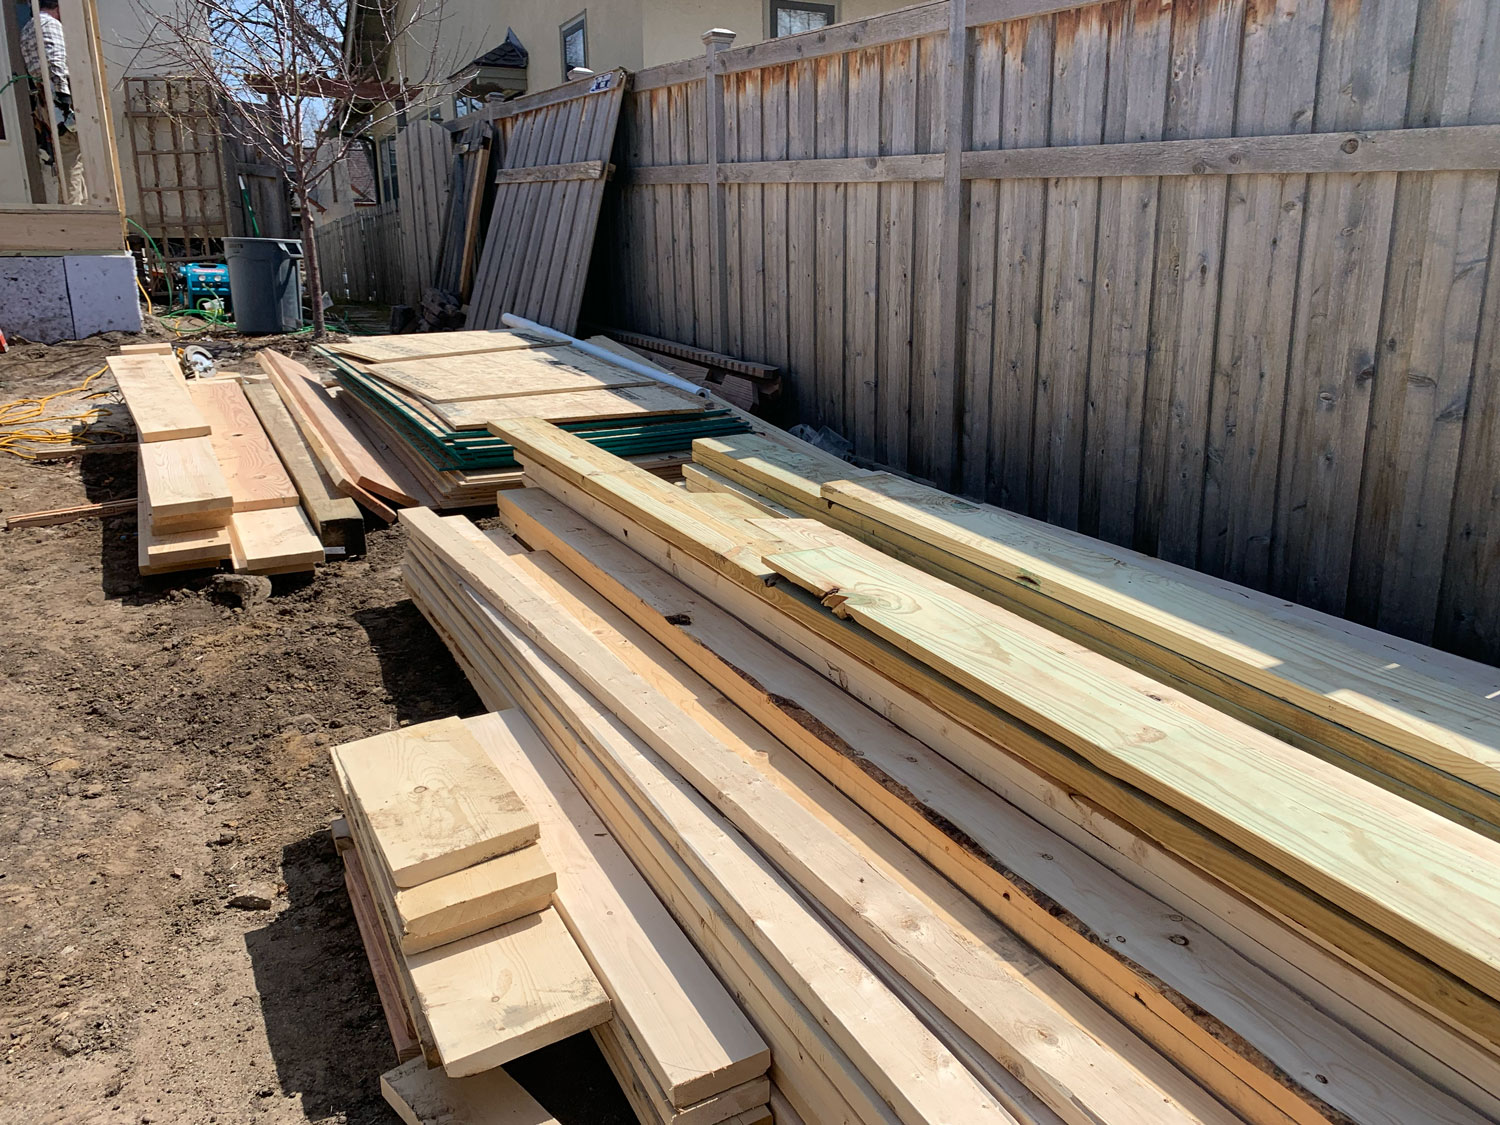
The first stage of the framing process starts with the lumber delivery. Materials are stacked neatly alongside the edge of the property to maintain a clean and efficient construction zone.
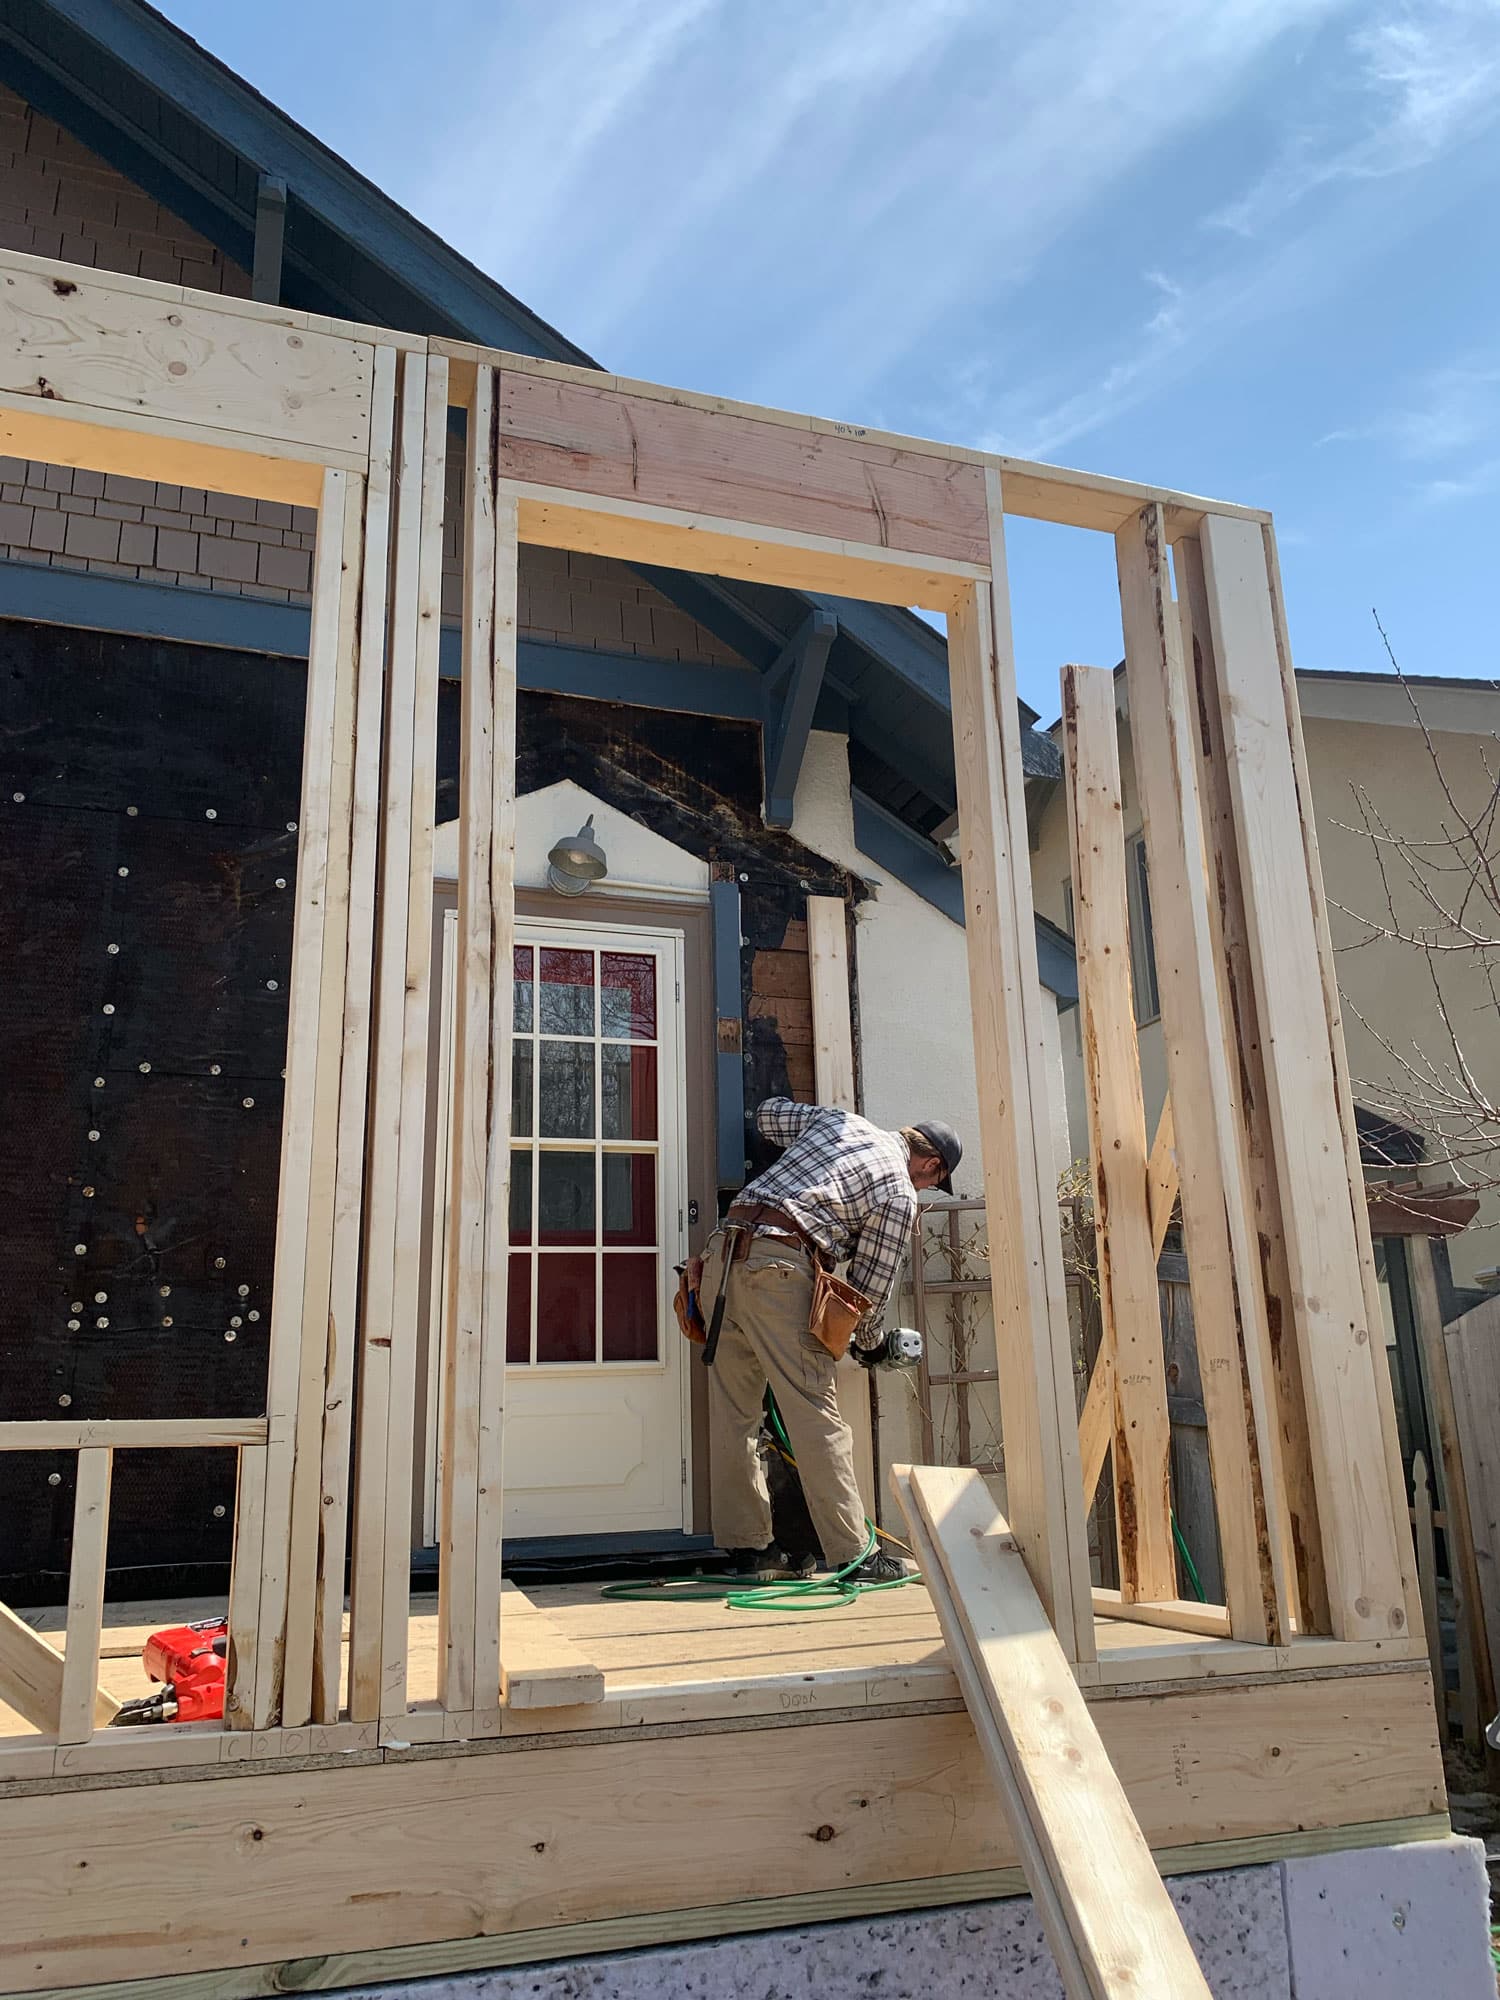
The existing wall and entry of the home will remain along the back of the house until we completely frame the addition, apply insulation, and finish the roofing. A storm midway through framing made us confident in our decision to keep the home intact, protecting it from potential water damage.
On this Lake Nokomis area home, however, we knew that the interior of the house could remain unaffected by the stress of remodeling for as long as possible if we finished framing the addition before demolishing the back elevation of the home. Here are some good reasons to hold off on demo:
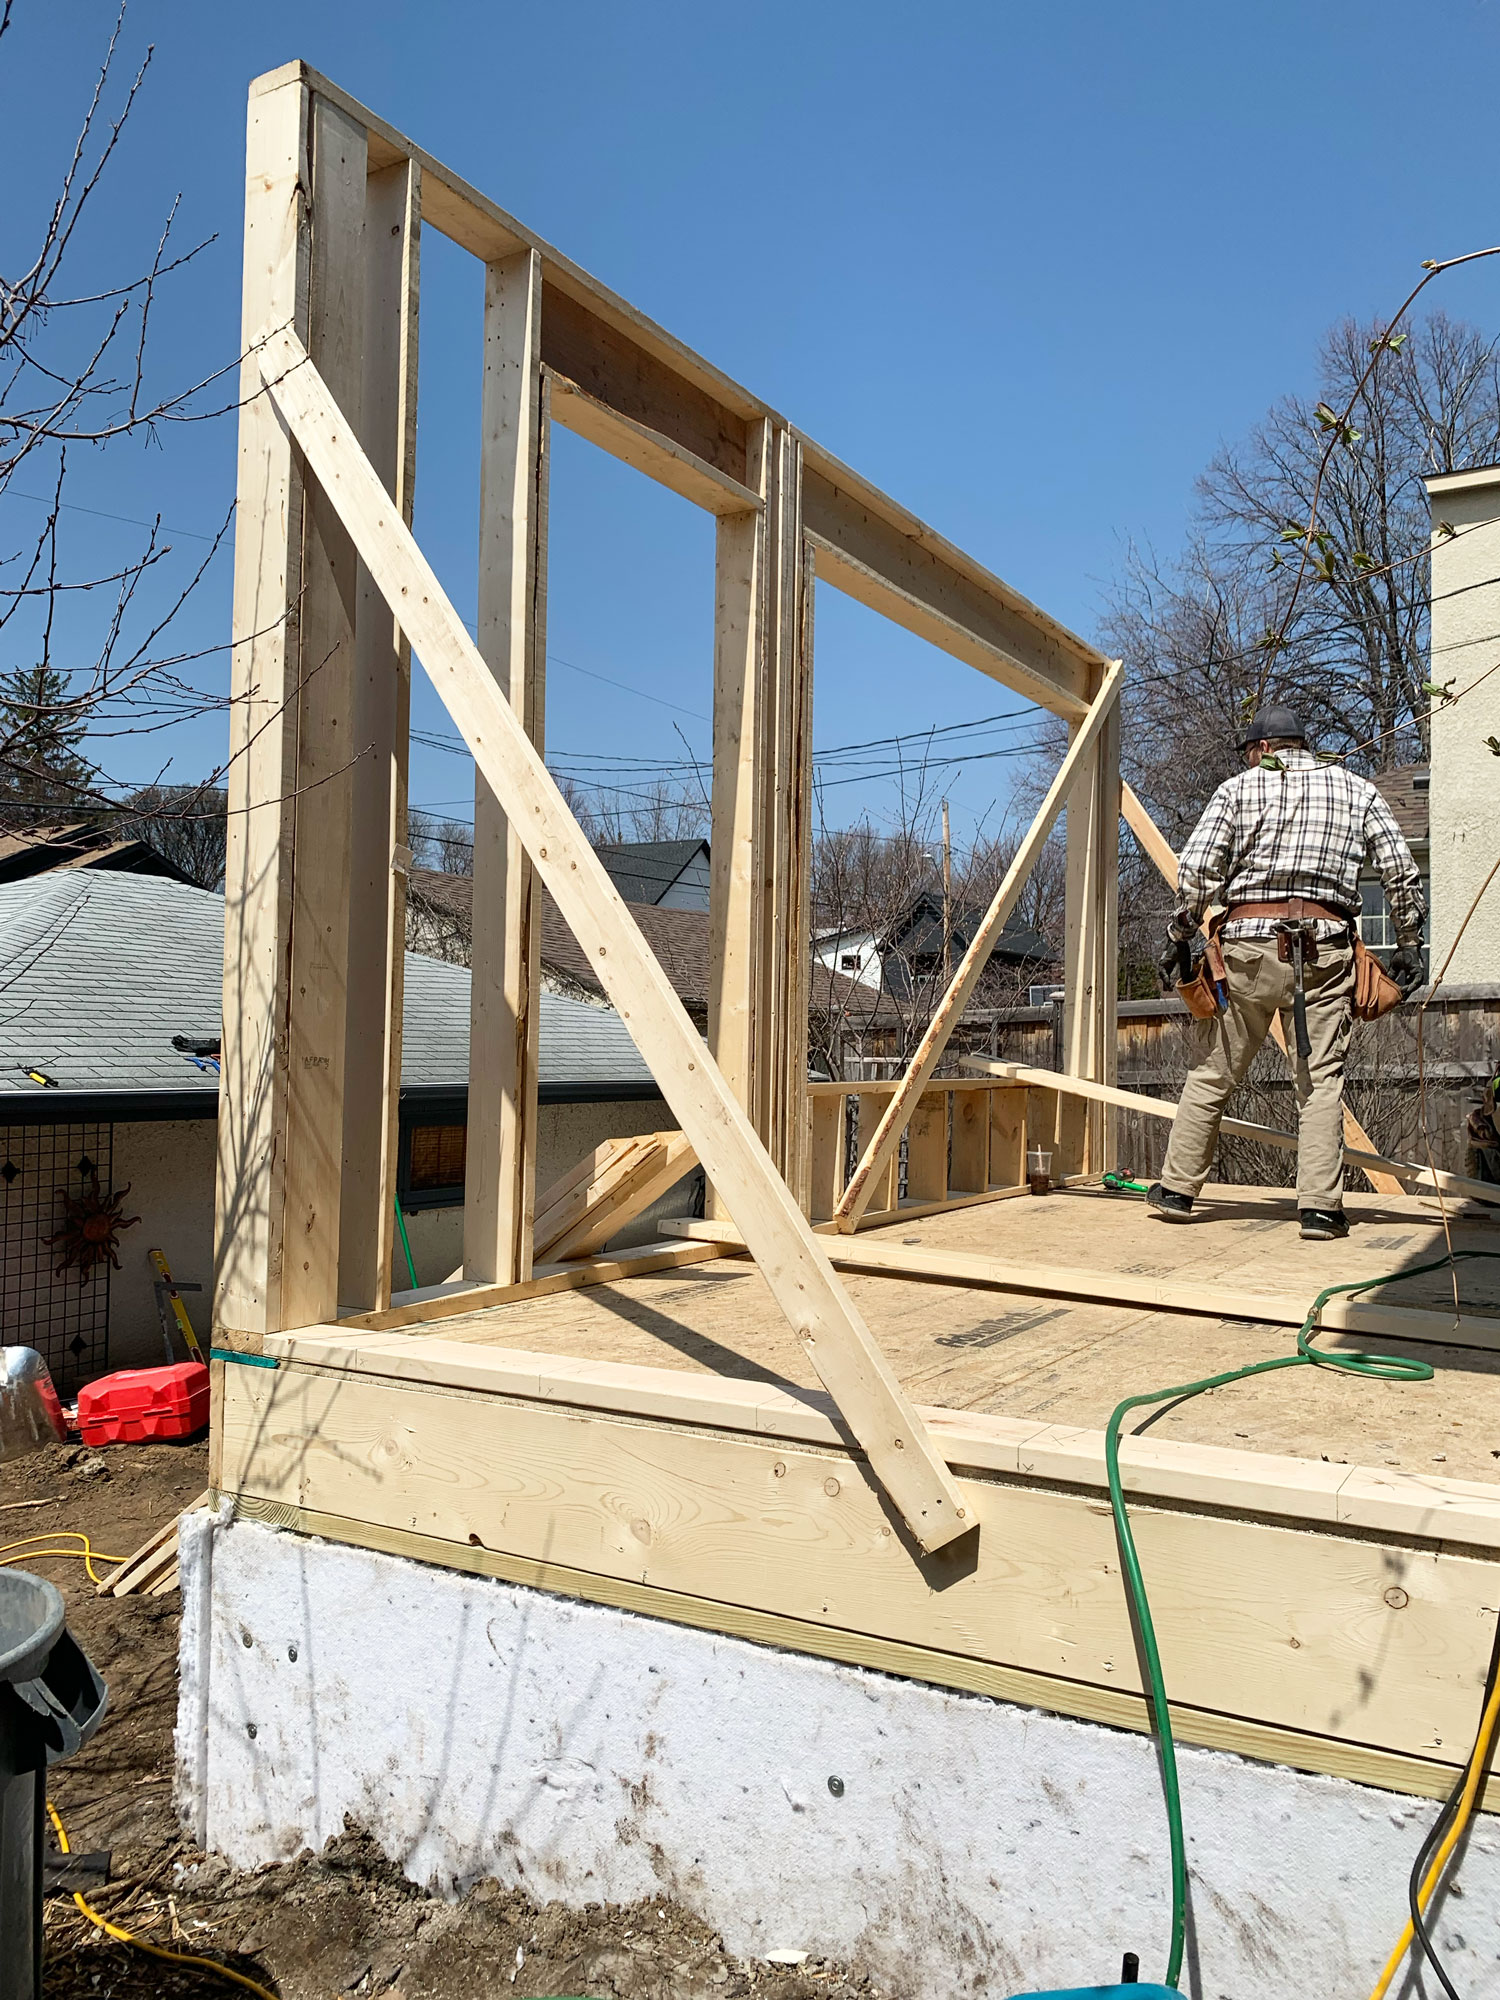
Framing is simply the process of assembling the walls, floor system, and roofing which many other systems of a building will be hidden within (like insulation, structural supports, and plumbing) then eventually covered. Though our team considers the very particular ways this can be done from project to project, here is an outline of what we did here, starting with the floor assembly:

With the floor framing completed, we switched our focus to creating the exterior walls of the addition. To do this, 2×6 studs are placed vertically, 16″ on center, and rest between 2×6 treated bottom and top plates. Whenever we have an opening for a door or window, we must increase the stability of the framing with headers that provide perpendicular supports above those openings, made here with 2×10’s.
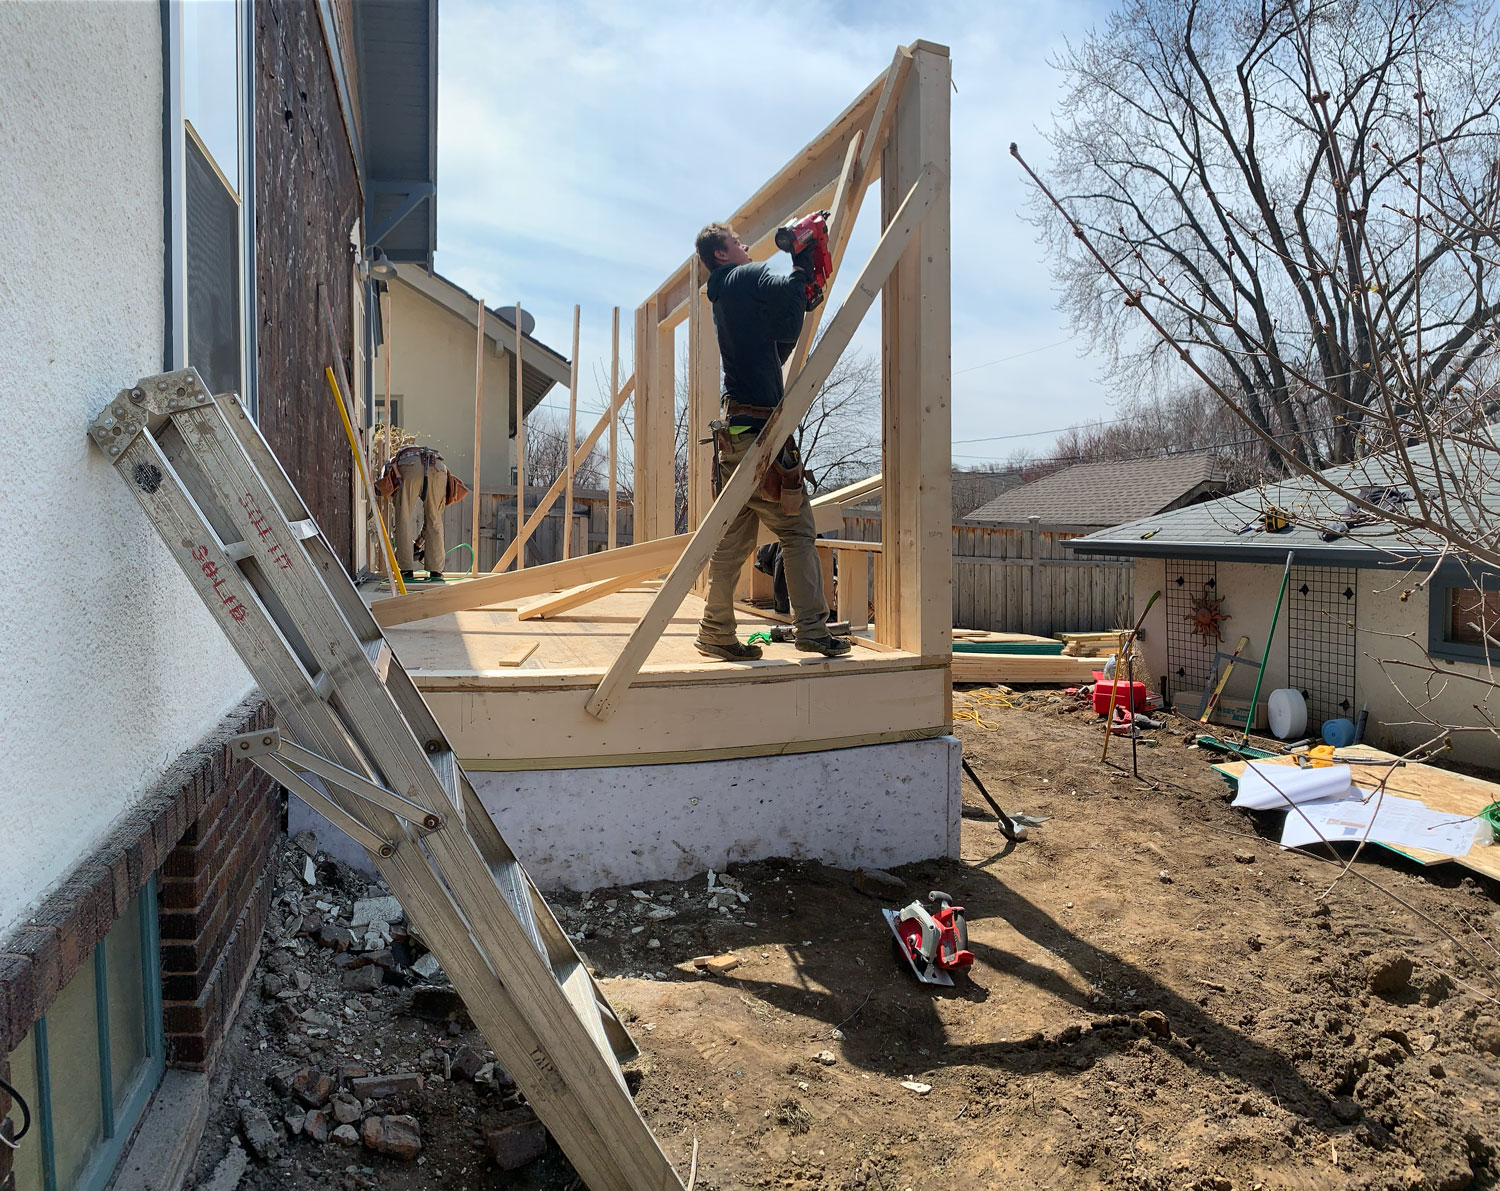
We delegate tasks across the team to maximize efficiency. With a secondary wall being framed along the side of the house, we only needed to complete 1 more wall before we could move forward with truss installation.
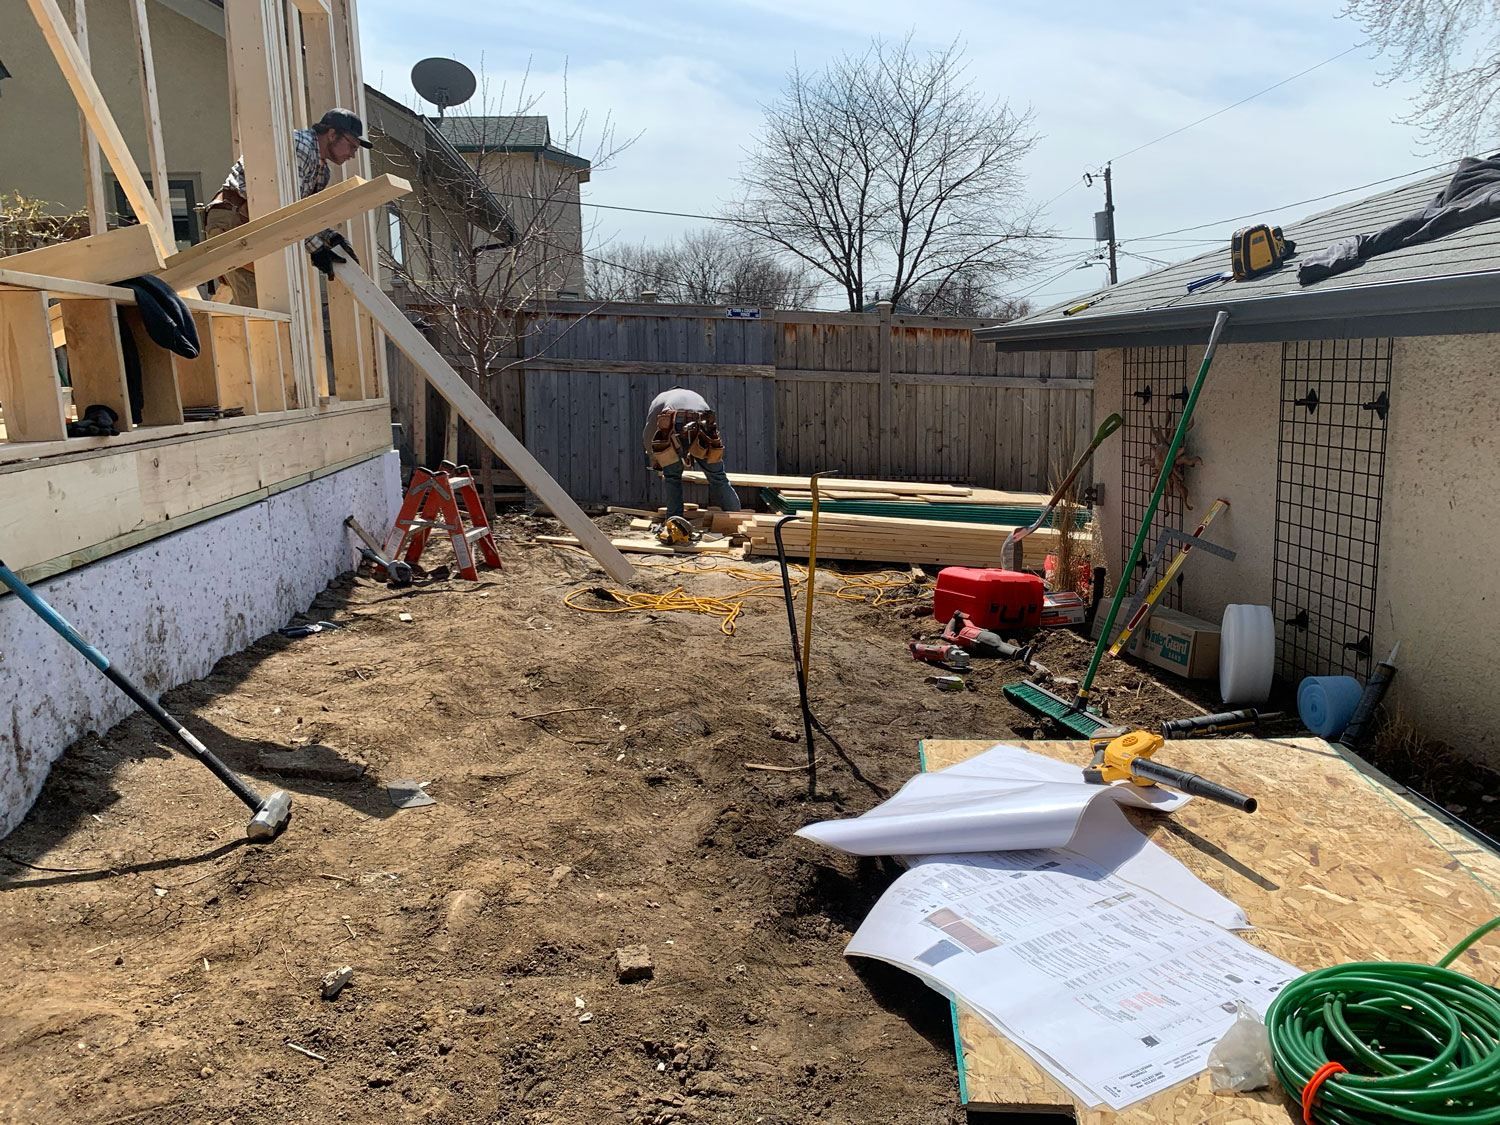
Here our crew loads more lumber into the work area by passing studs through the window openings. Plans off to the right of the image indicate to the team how the building will be assembled.
To complete the framing process, next week we’ll review truss installation and roofing, at which point we can demo the existing exterior wall and begin our work inside the home!
We’re here to help! Check out our planning resources below, or reach out to us here.
Are you dreaming of a new kitchen and wondering how much you’ll need to invest? We breakdown the costs for two kitchen remodels and what factors drive those costs.

The Twin Cities are filled with story-and-a-half homes that are perfect for a certain kind of addition, called a shed dormer. Learn more about this popular remodeling project.

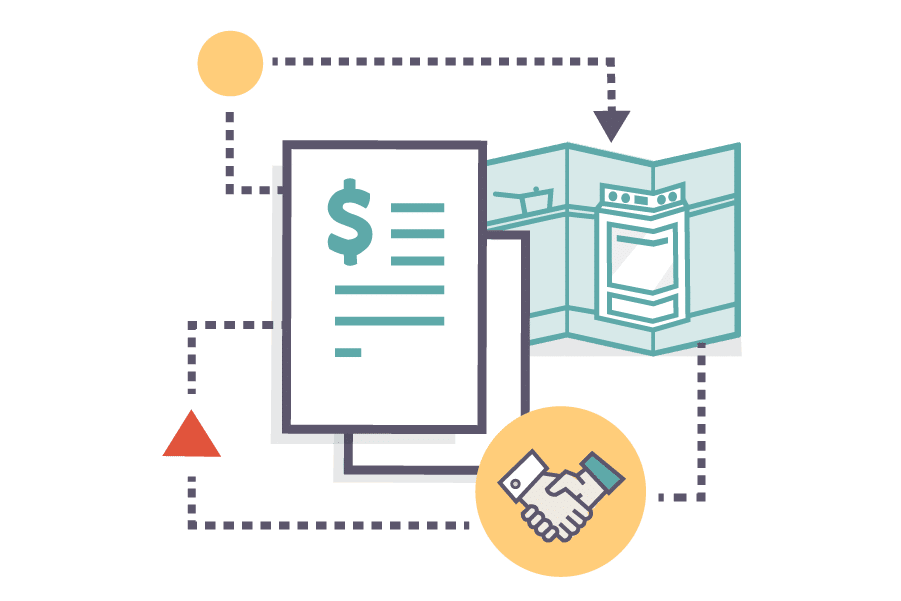
So you’d love to upgrade your kitchen or add a shed dormer with a primary suite, but you’re not sure how to pay for it? Learn about three ways to finance your remodel.