
What are shed dormers and why are they so popular around here?
The Twin Cities are filled with story-and-a-half homes that are perfect for a certain kind of addition, called a shed dormer. Learn more about this popular remodeling project.
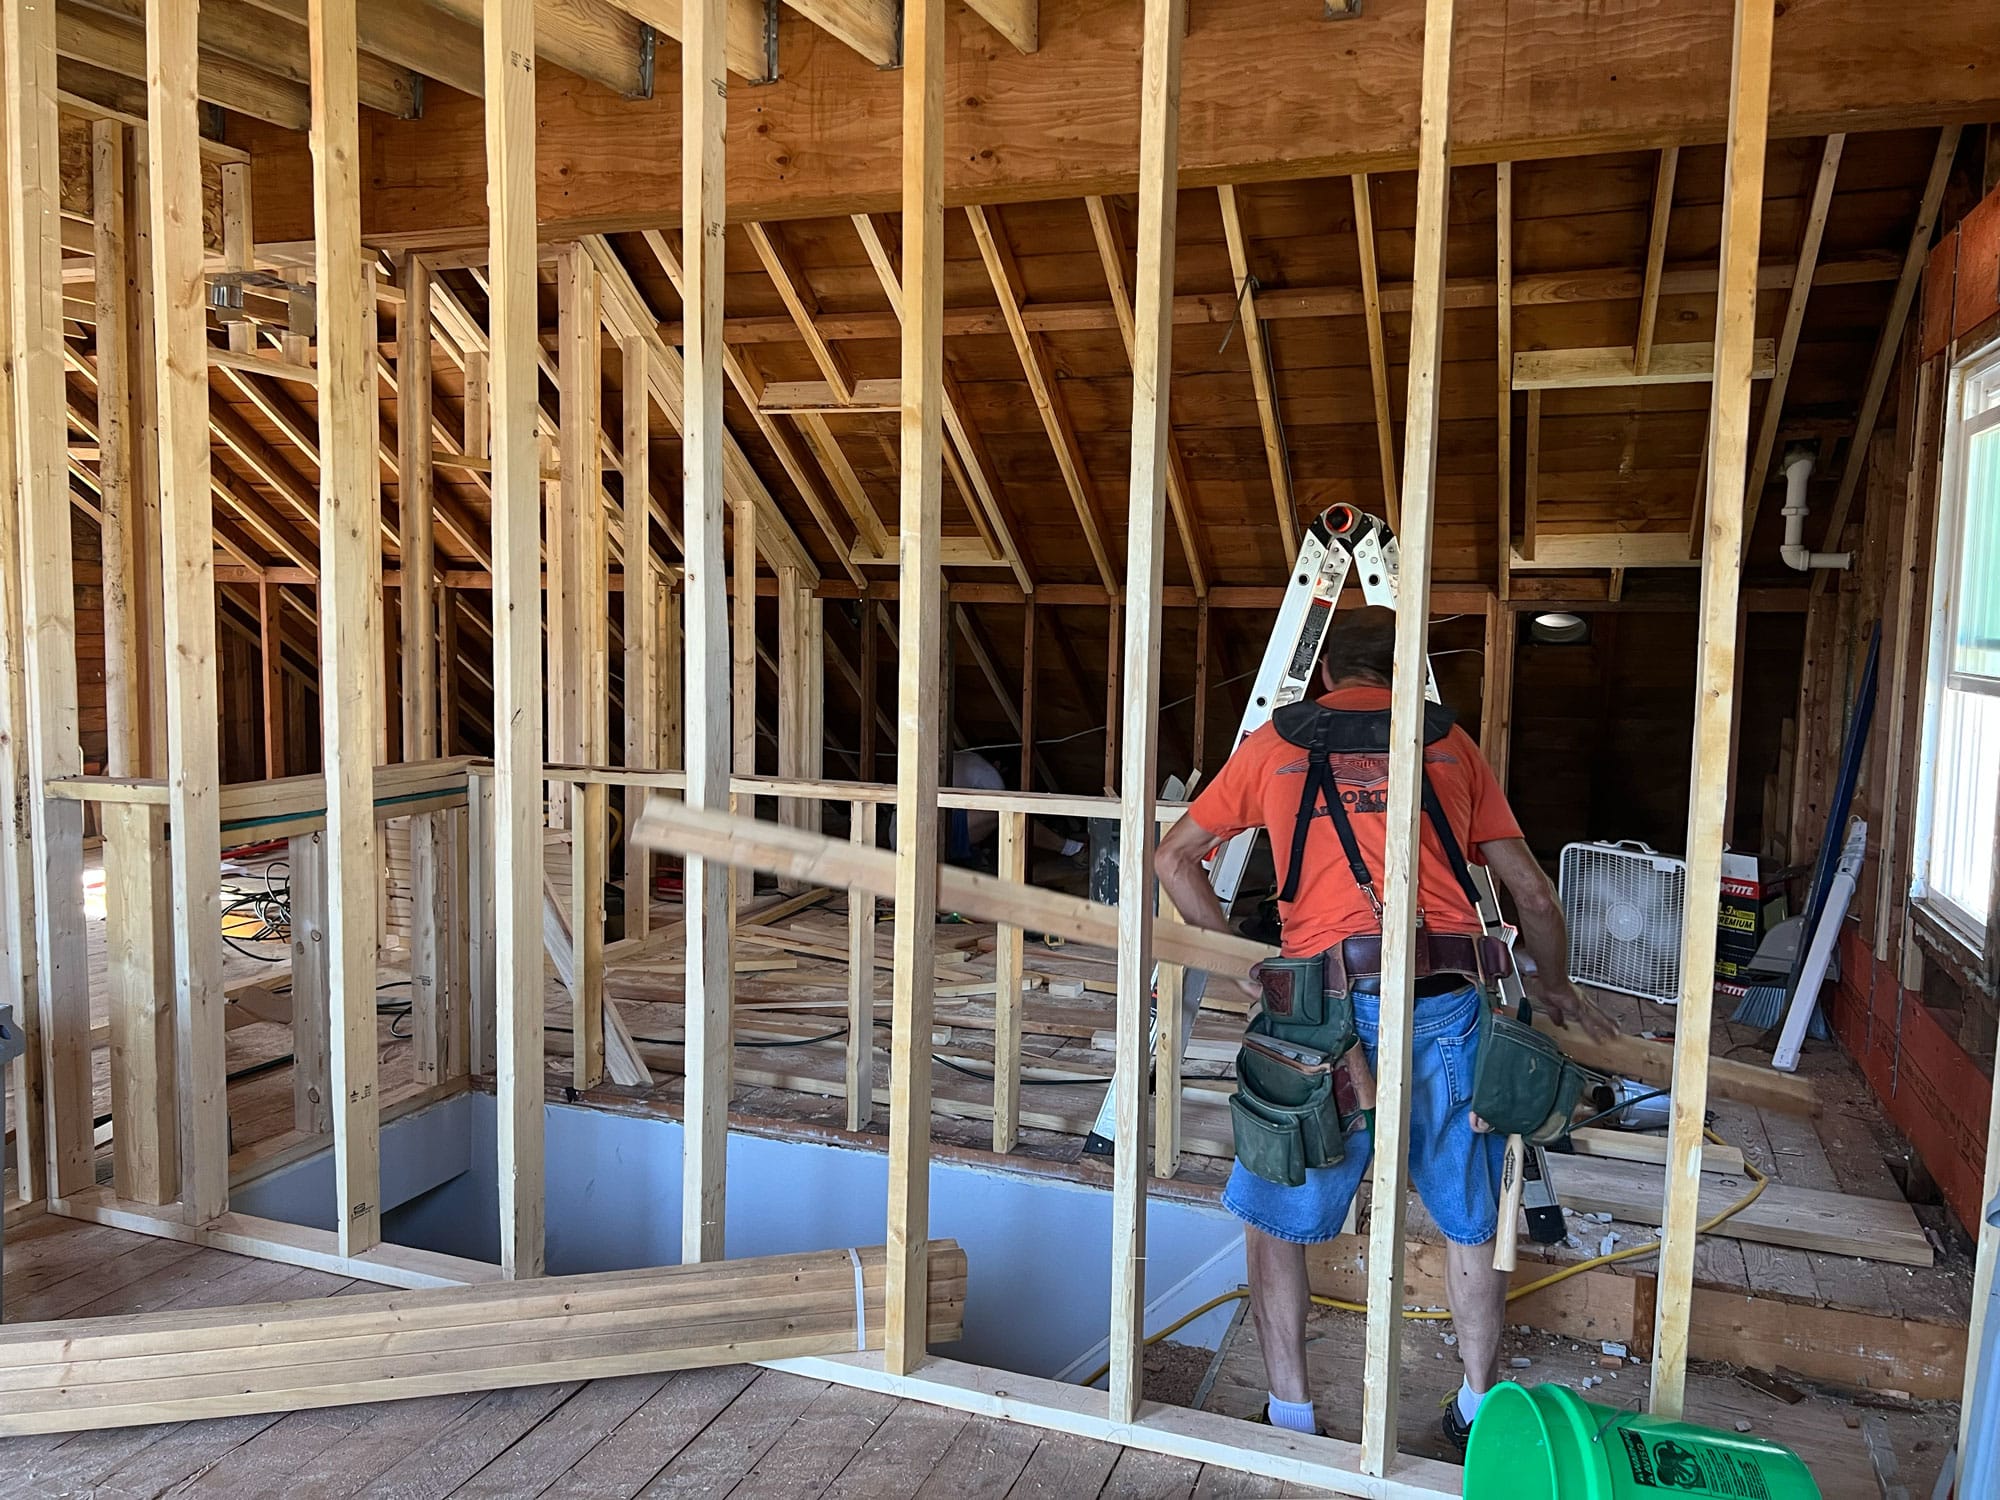
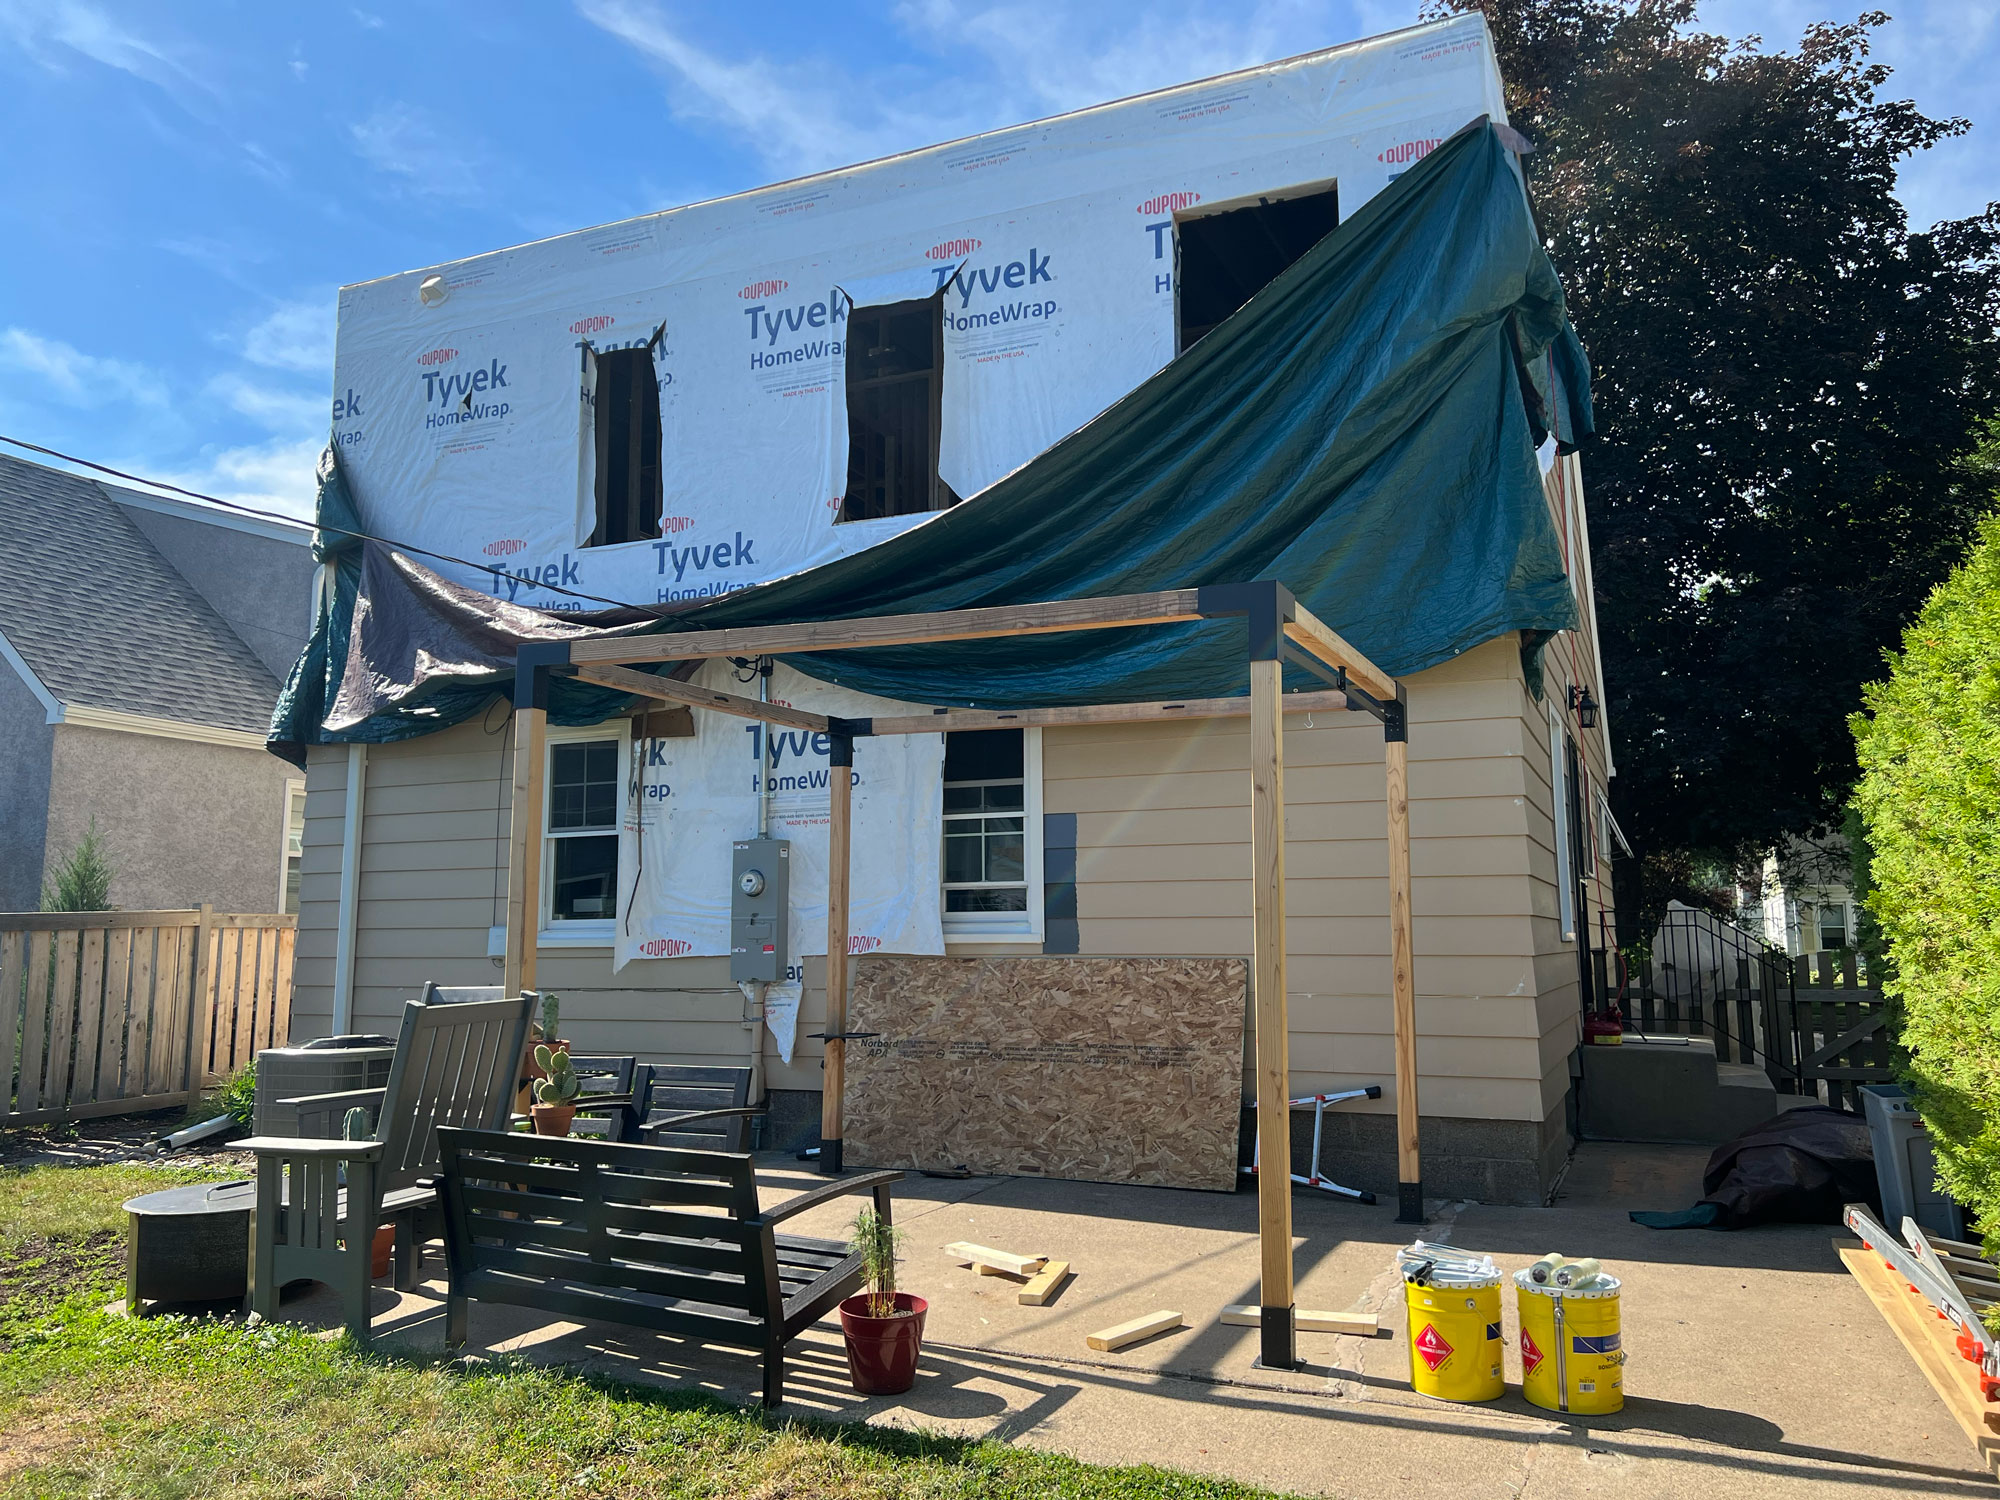
Follow along as we build a shed dormer addition along the upper level of this St. Paul Cape Cod.
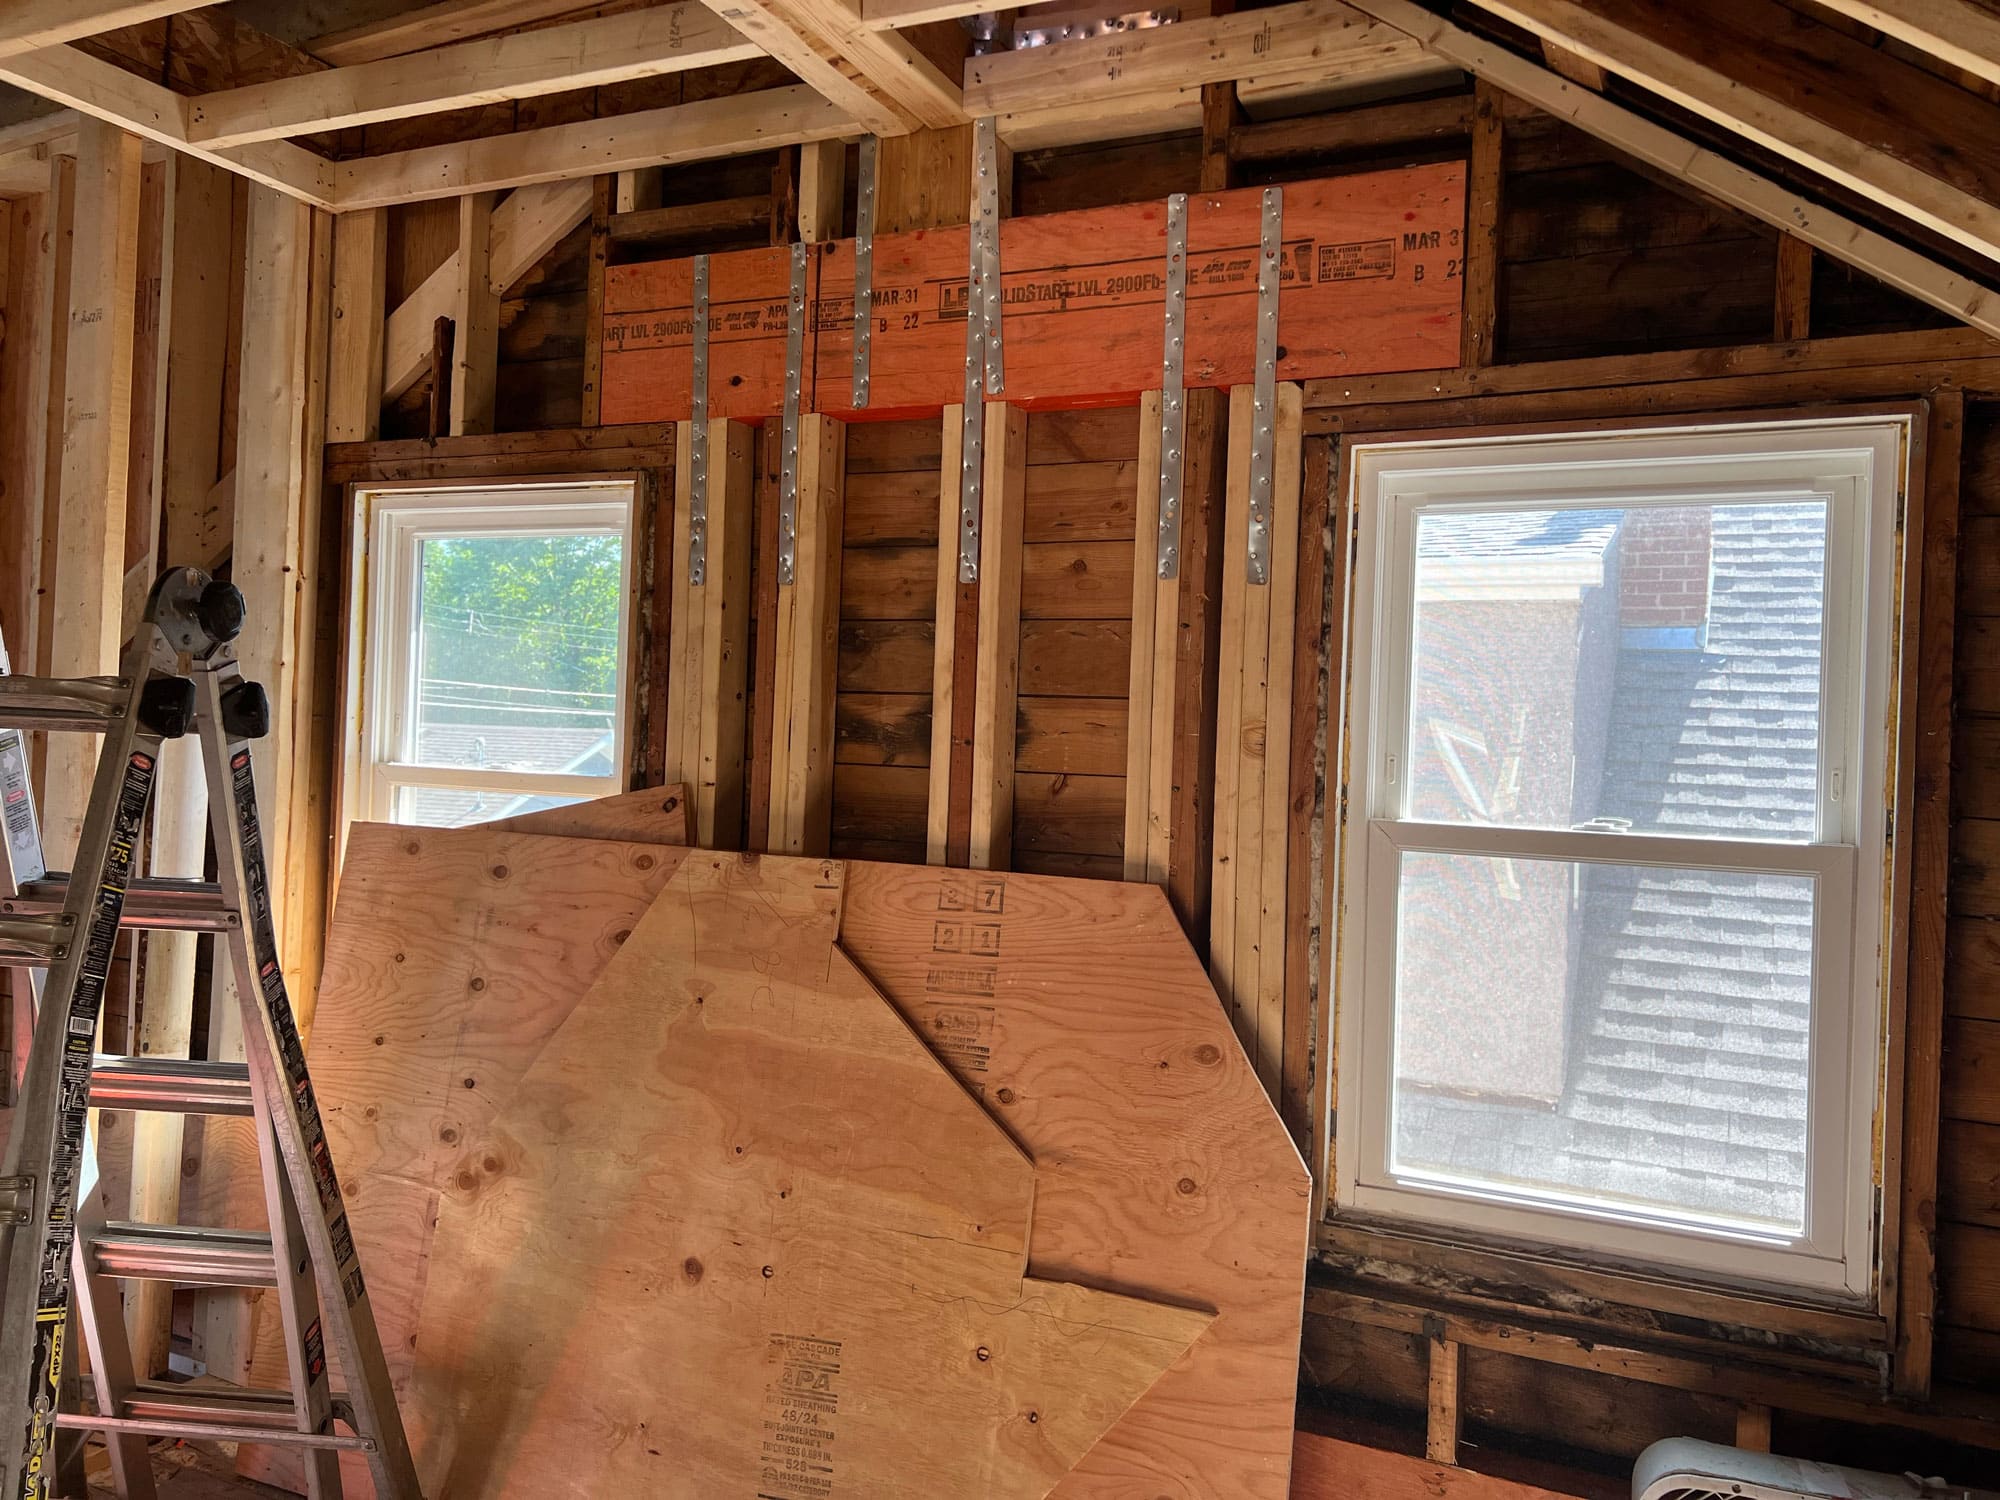
Aiming to keep the newly designed upper level as open as possible, we needed to find a way to introduce a structural system that would take the roof loads to the foundation below without adding bulky columns throughout the plan. Our office coordinated with an engineer to develop the appropriate solution, which included a new ridge beam at the center of the roof, blocking just below, a new lvl beam (laminated veneer lumber) above the existing windows, additional posts situated under the lvl at the exterior wall, and a final LVL below to disperse the structural loads to the rest of the home and foundation below. Without bulking up the structural supports at the exterior walls, we would have needed a column in the center of the floor plan and a corresponding point load on the main level which would then require additional changes to the basement and foundation!
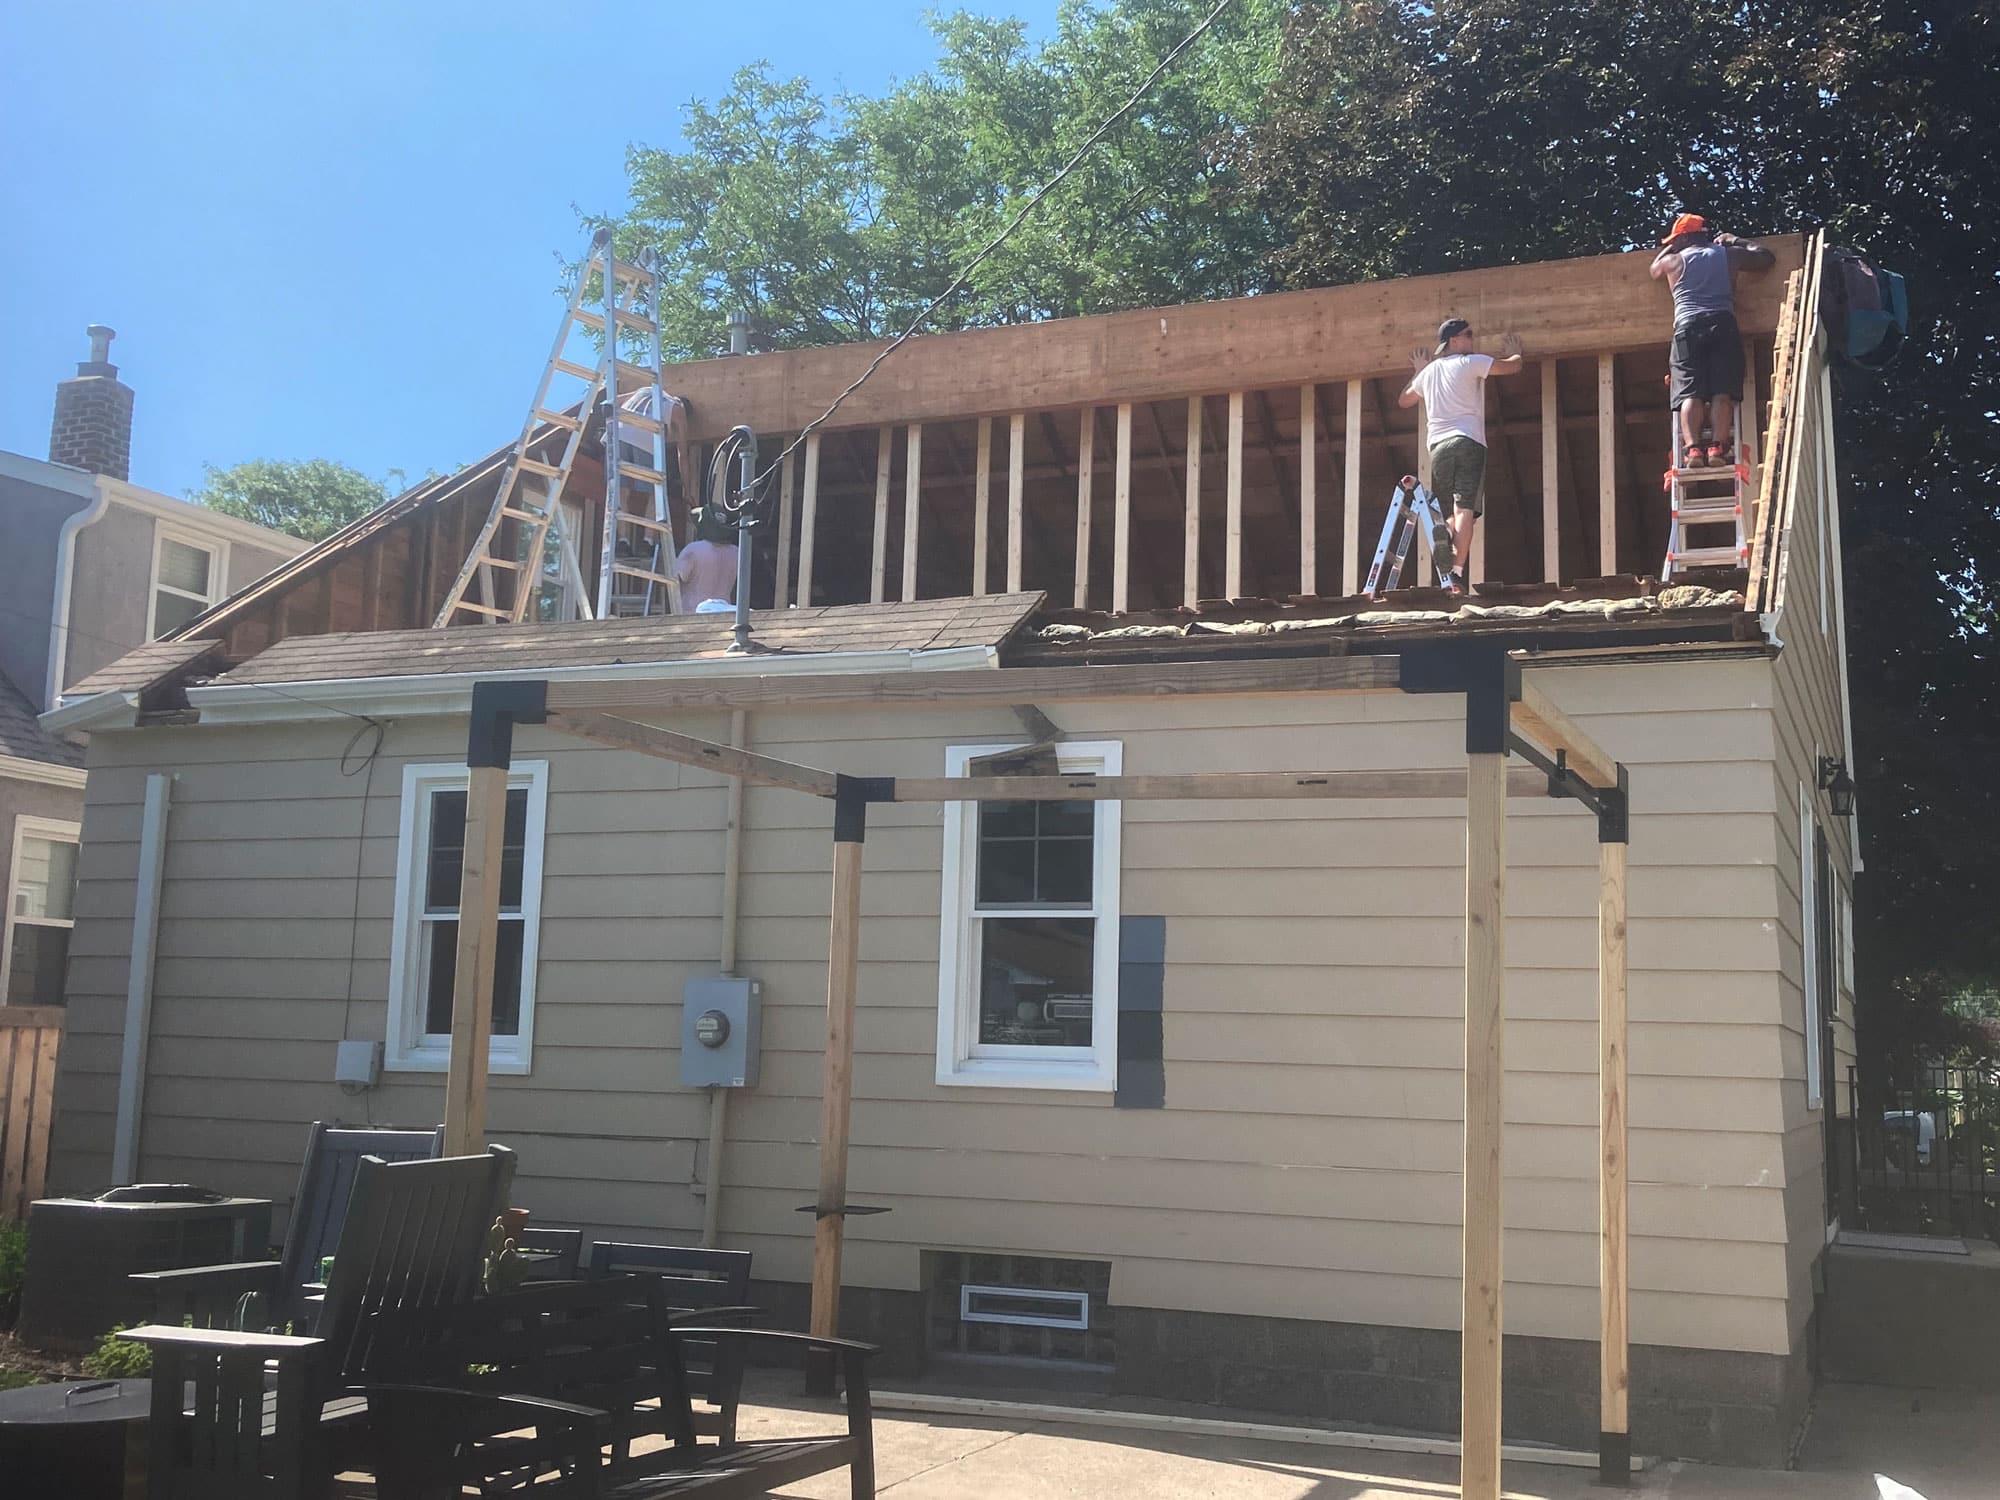
A crew of 4 worked to lift and install the new ridge beam. The ridge beam sits at the gable's peak where all the rafters will be attached to form the basic structural makeup of the roof.
The engineer specified all aspects of the structural upgrades, from the size of the Lvl to the strapping, posts, and hardware, to ensure the new build will be sound and last for the lifecycle of the home.
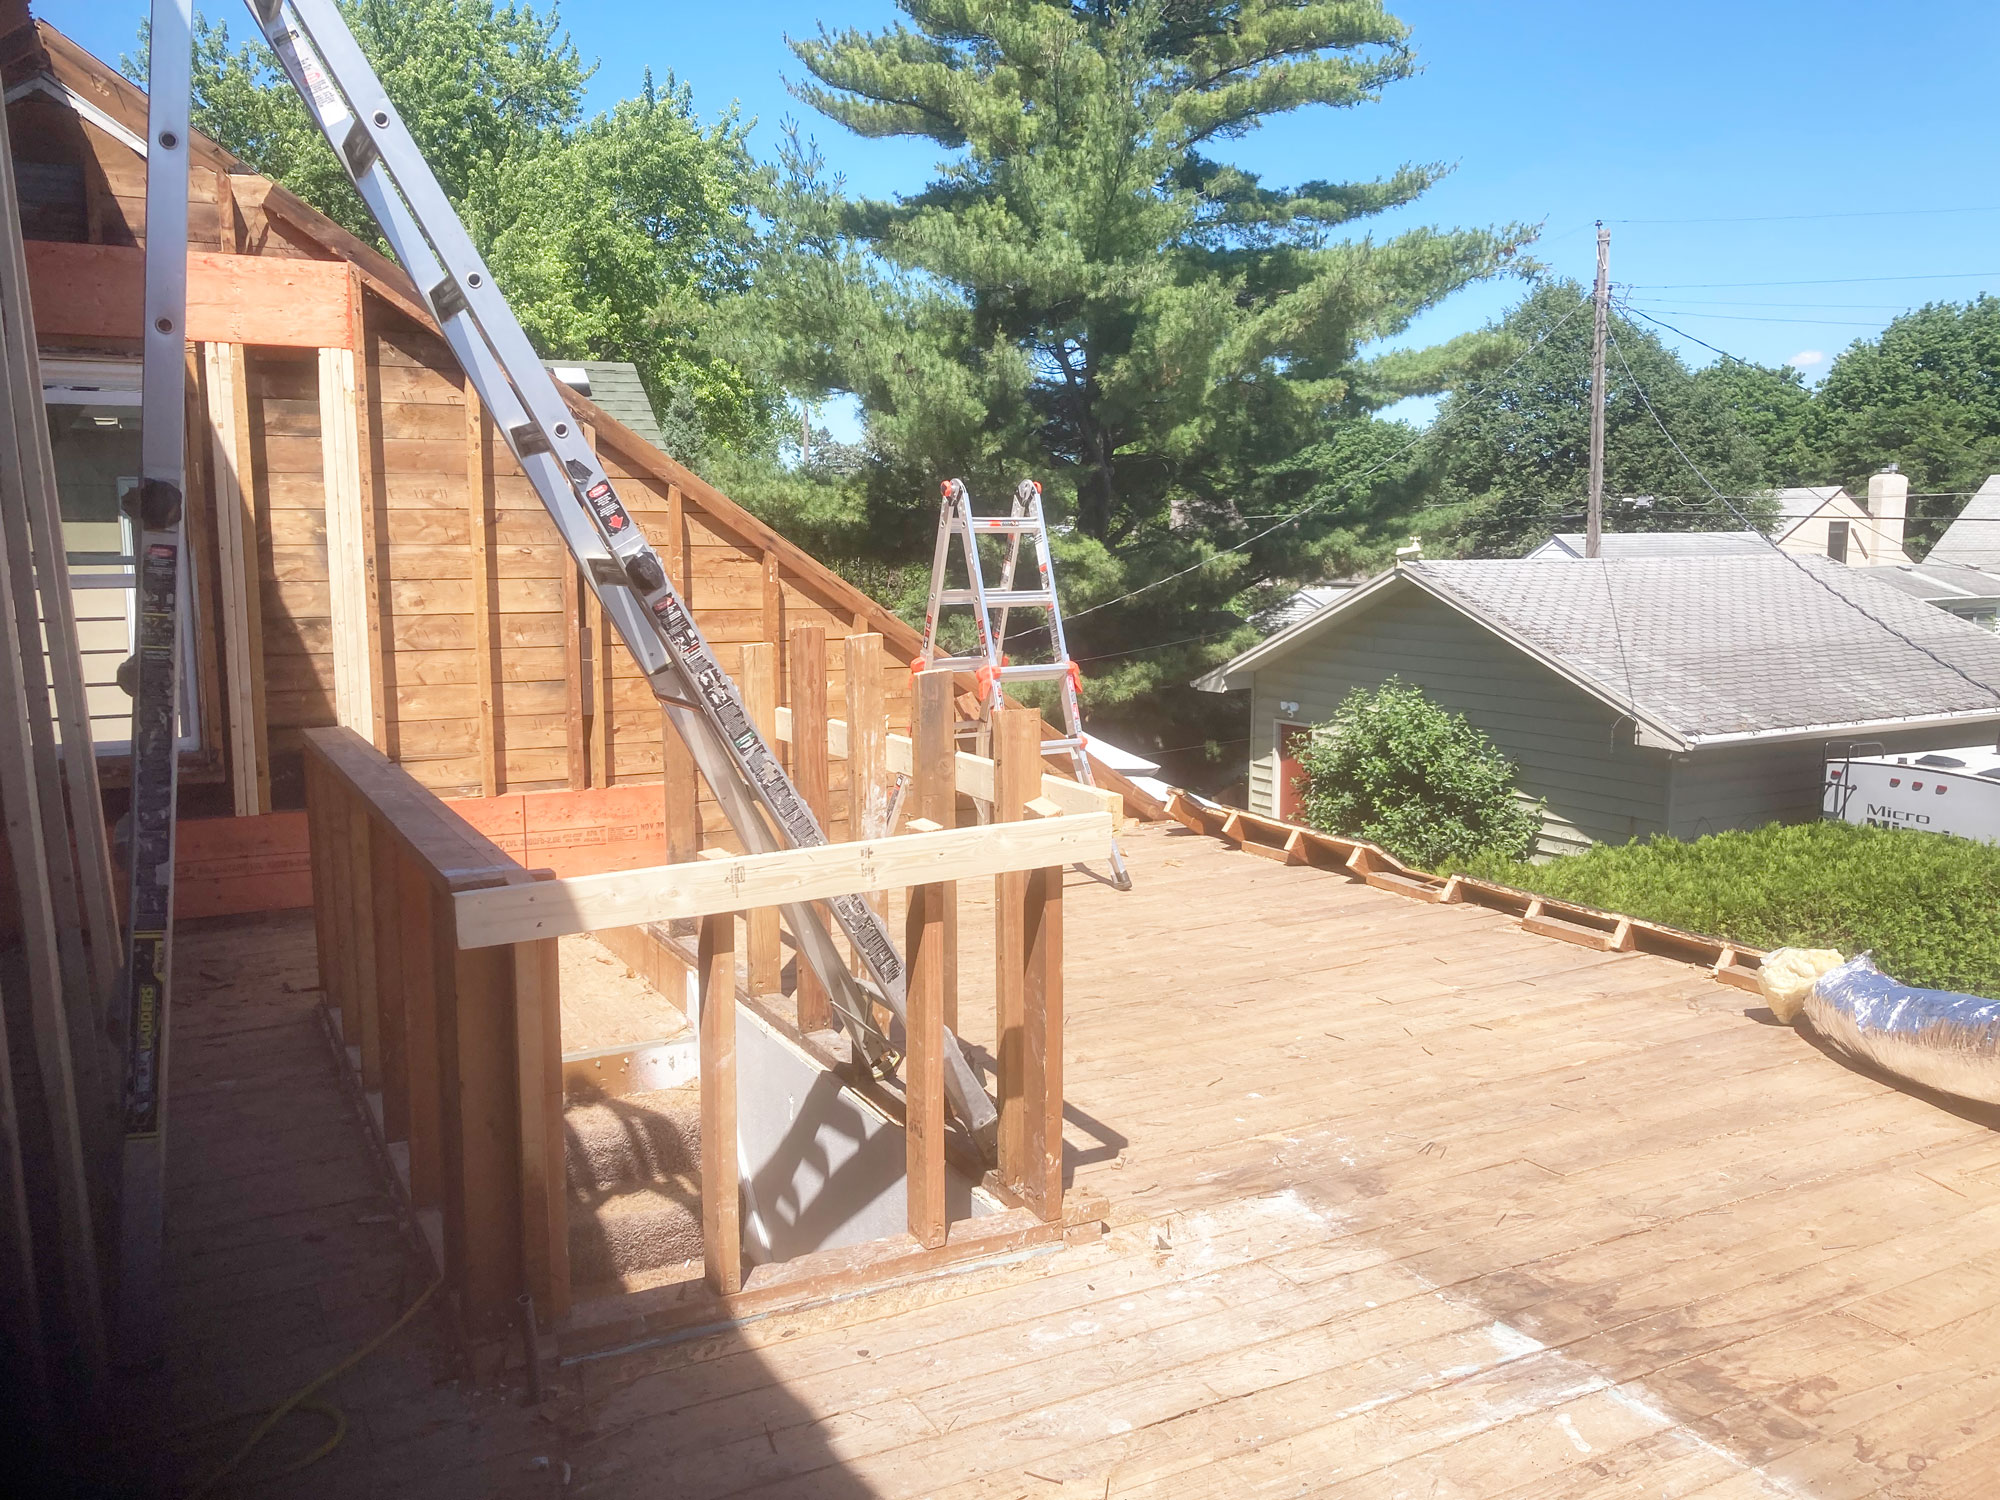
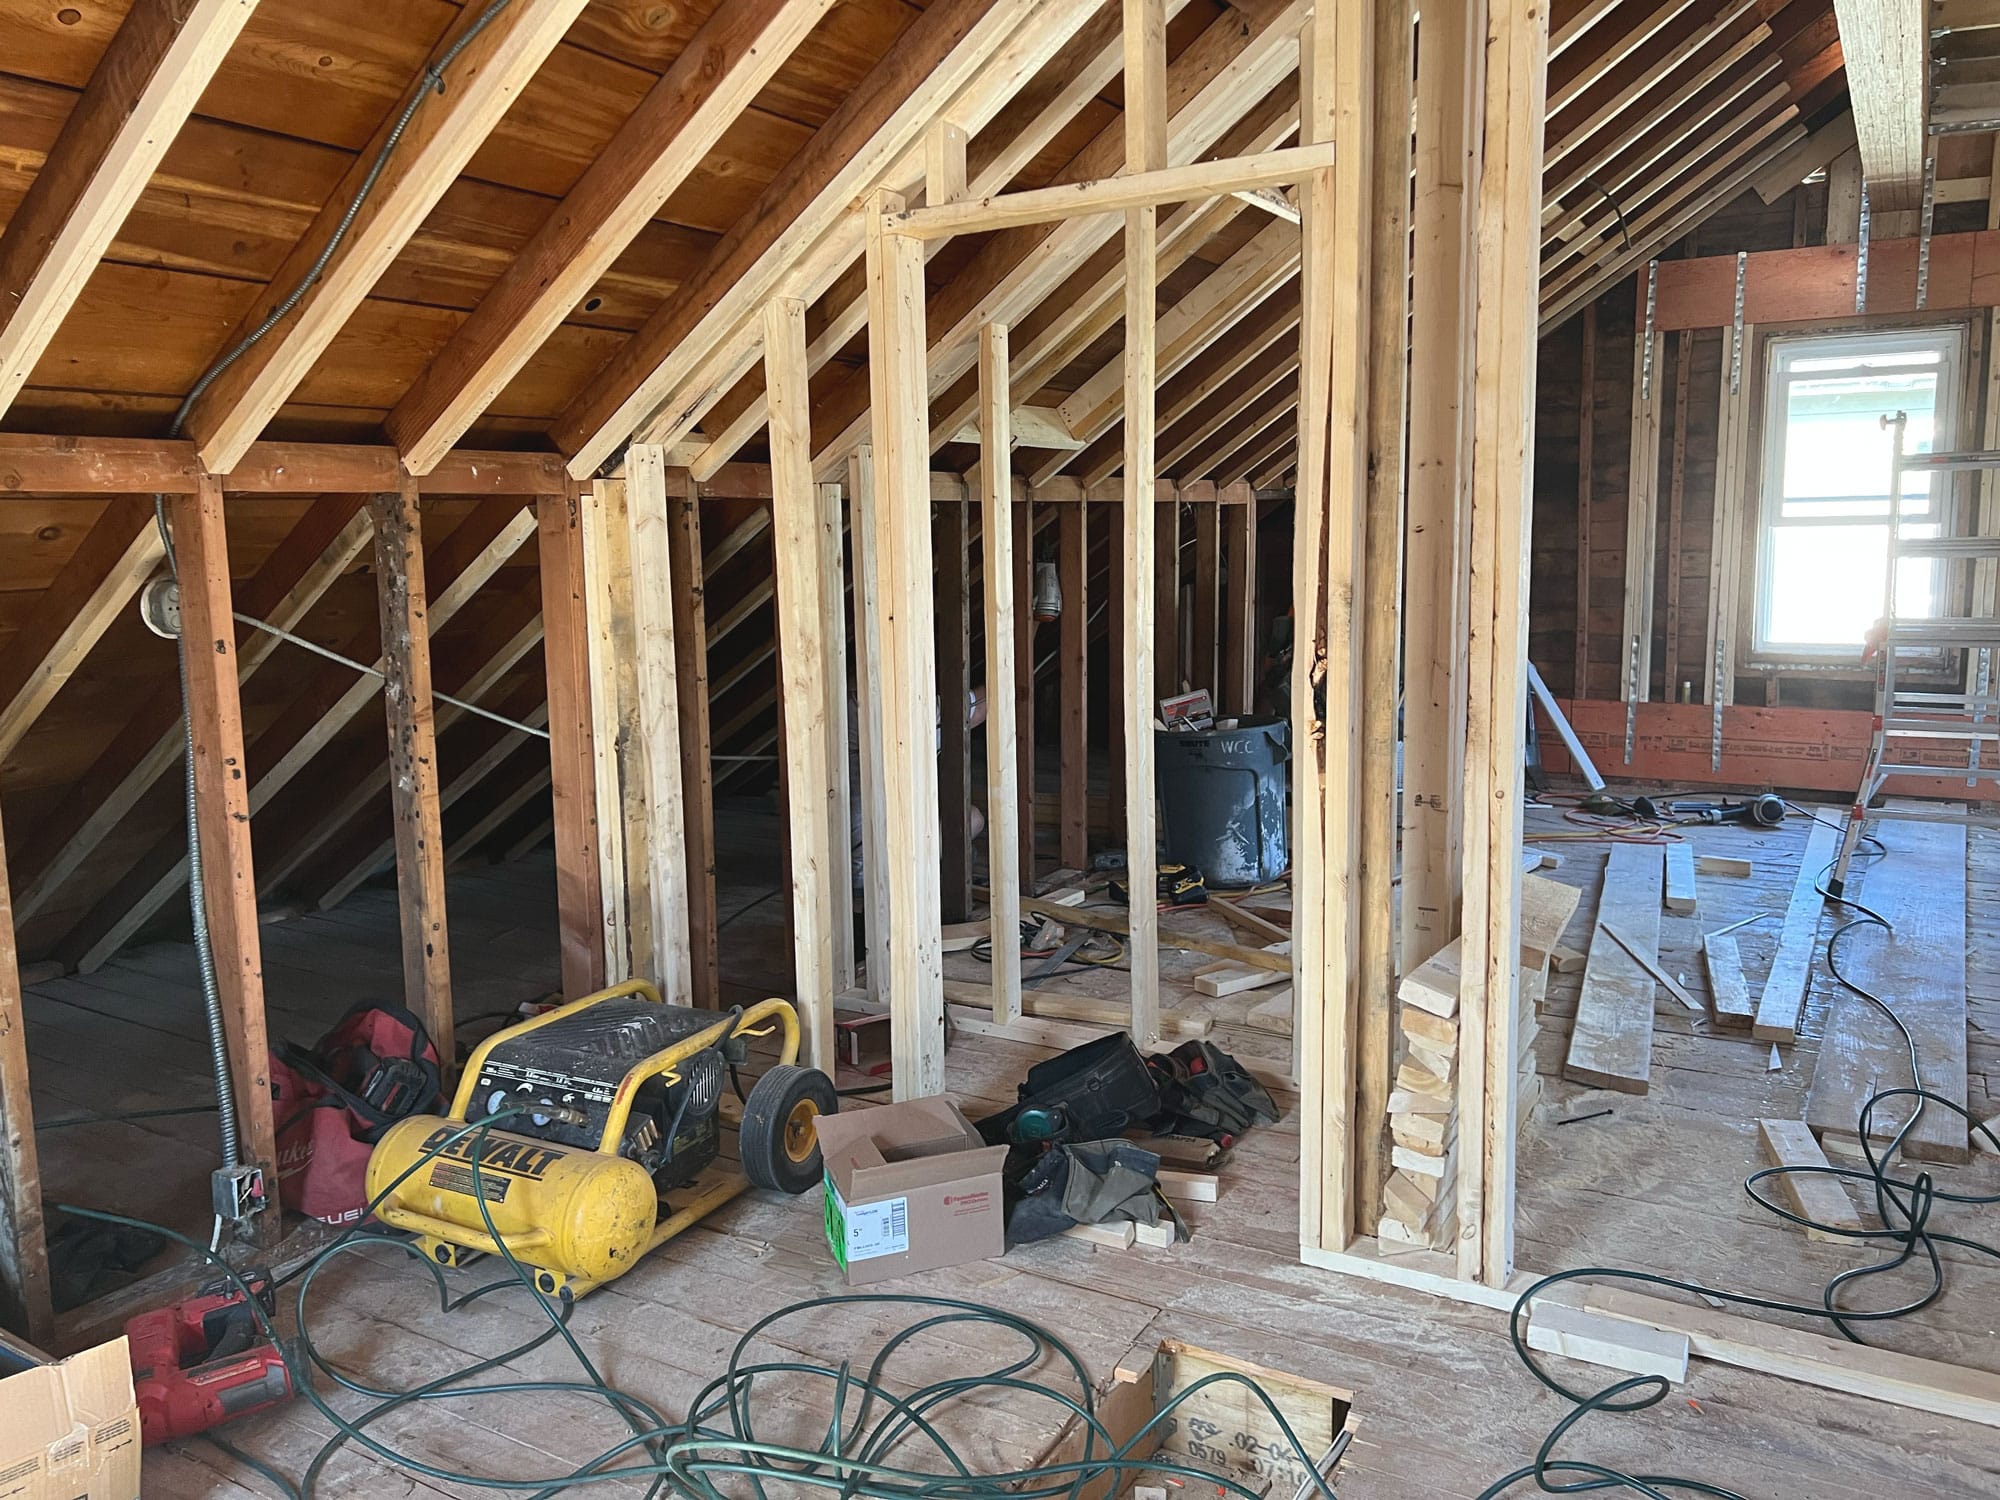
Before wall framing could start, our team installed the required lvl beams above the existing upper-level windows. This freshly demolished roof is the starting point for building out the new shed dormer.
With the major structural elements configured, here’s how we moved forward:
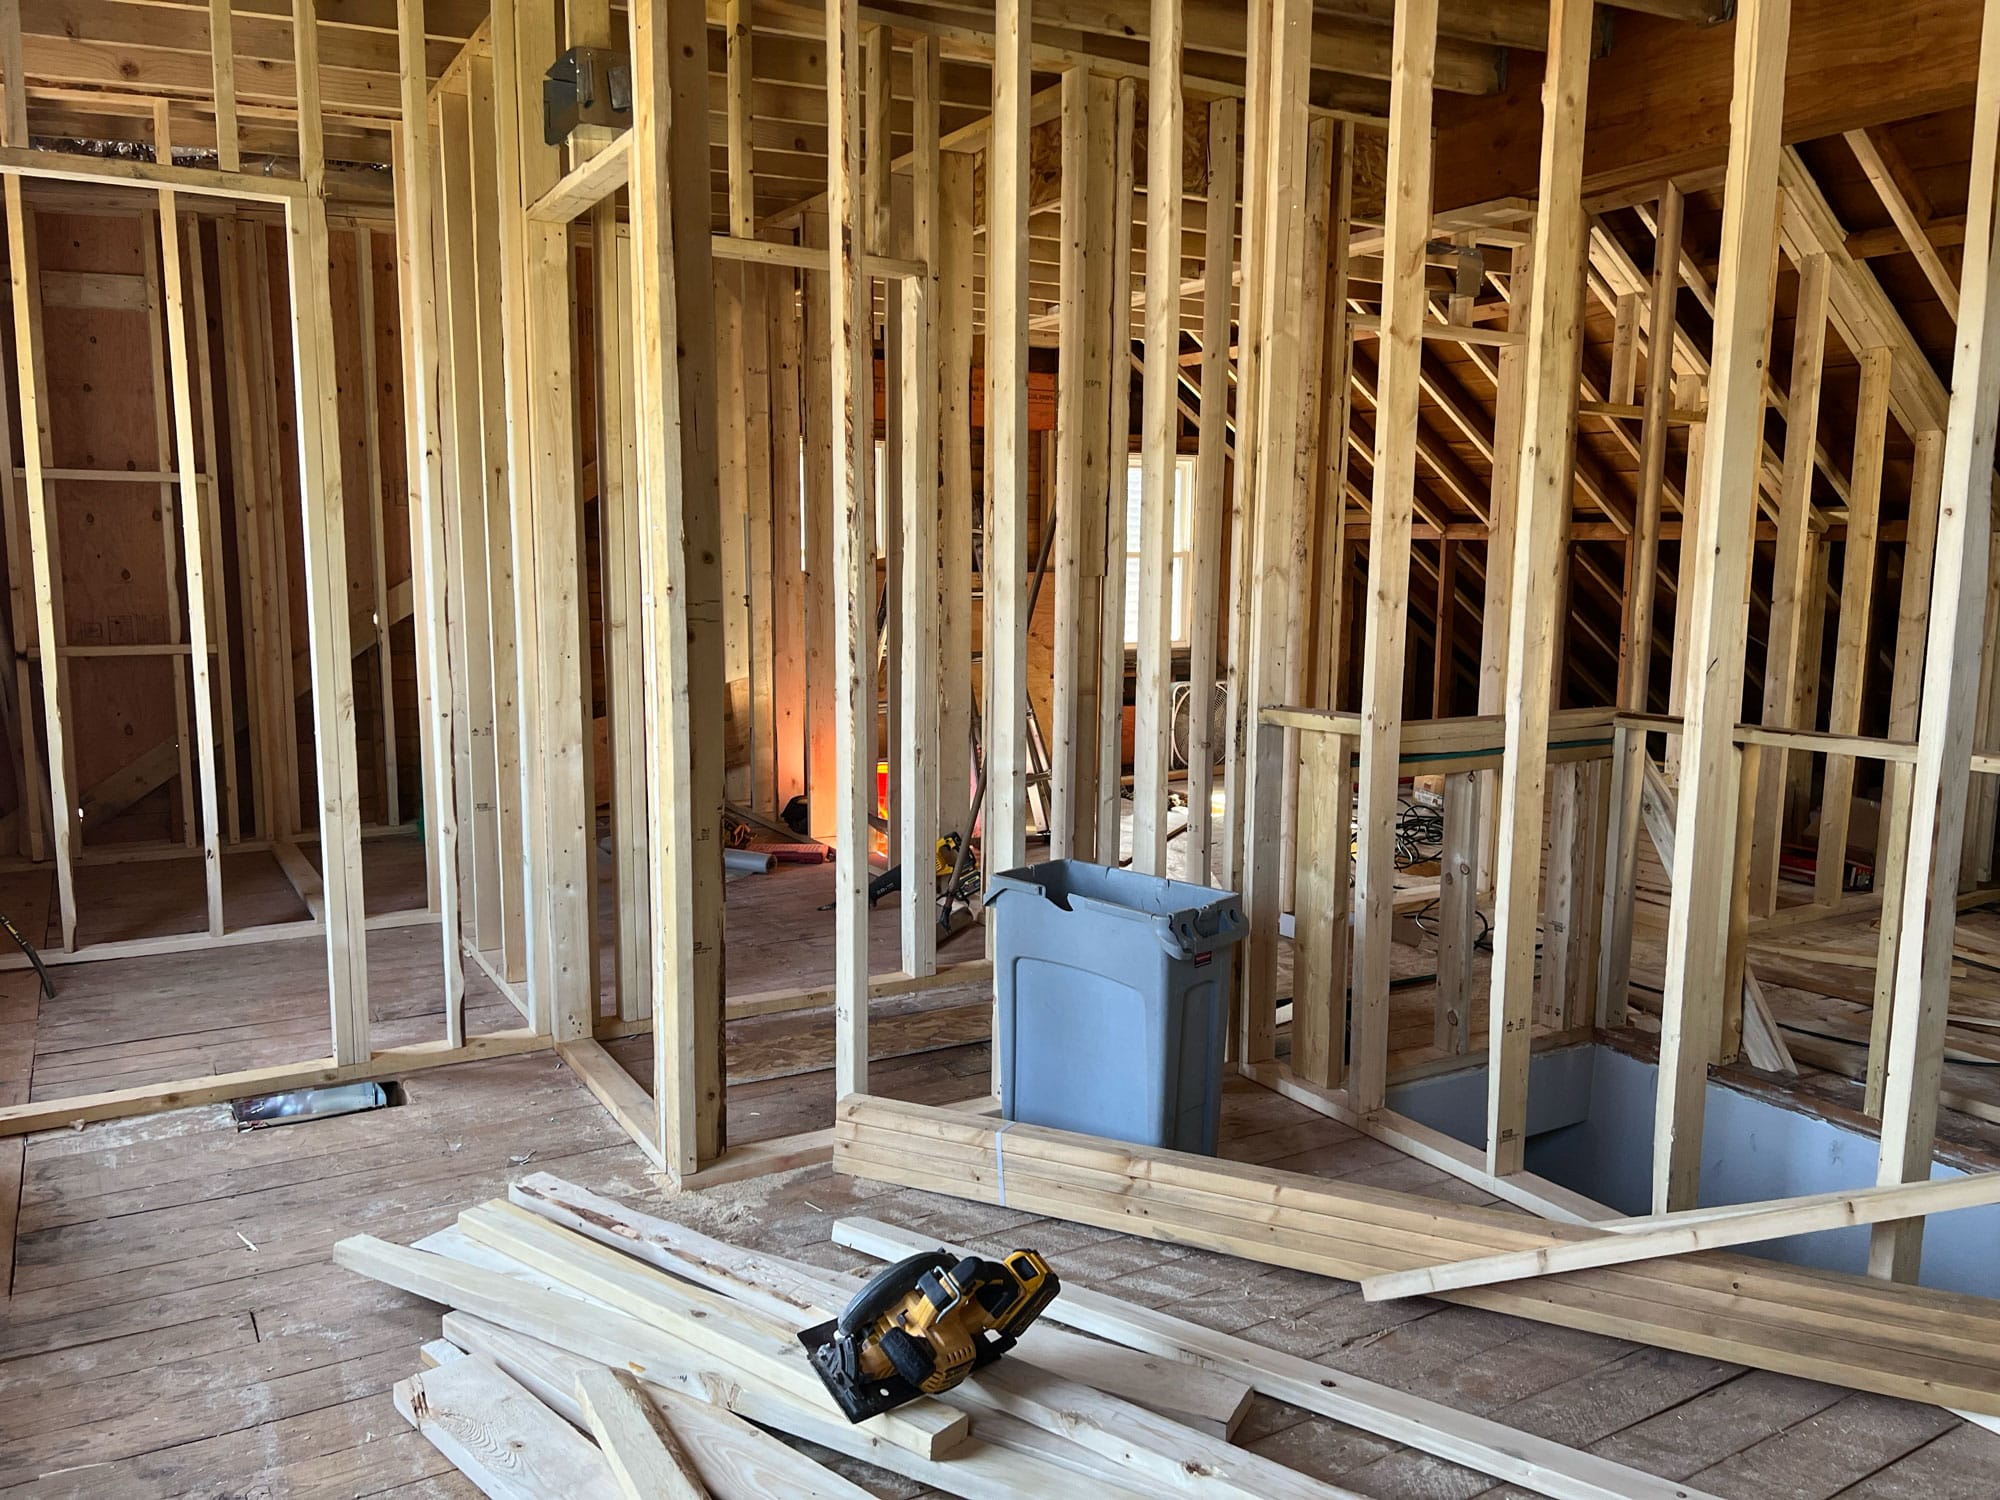
Except for plumbing walls, the interior of the home is composed of dimensional 2x4 lumber, while the exterior is entirely composed of 2x6s to ensure the proper wall depth to properly insulate the home. Like many other homes, this framing consists of vertical lumber screwed into a top and bottom plate at 16" on center. Framing for the skylights is done on the interior while the roof will be removed only when the skylights arrive.
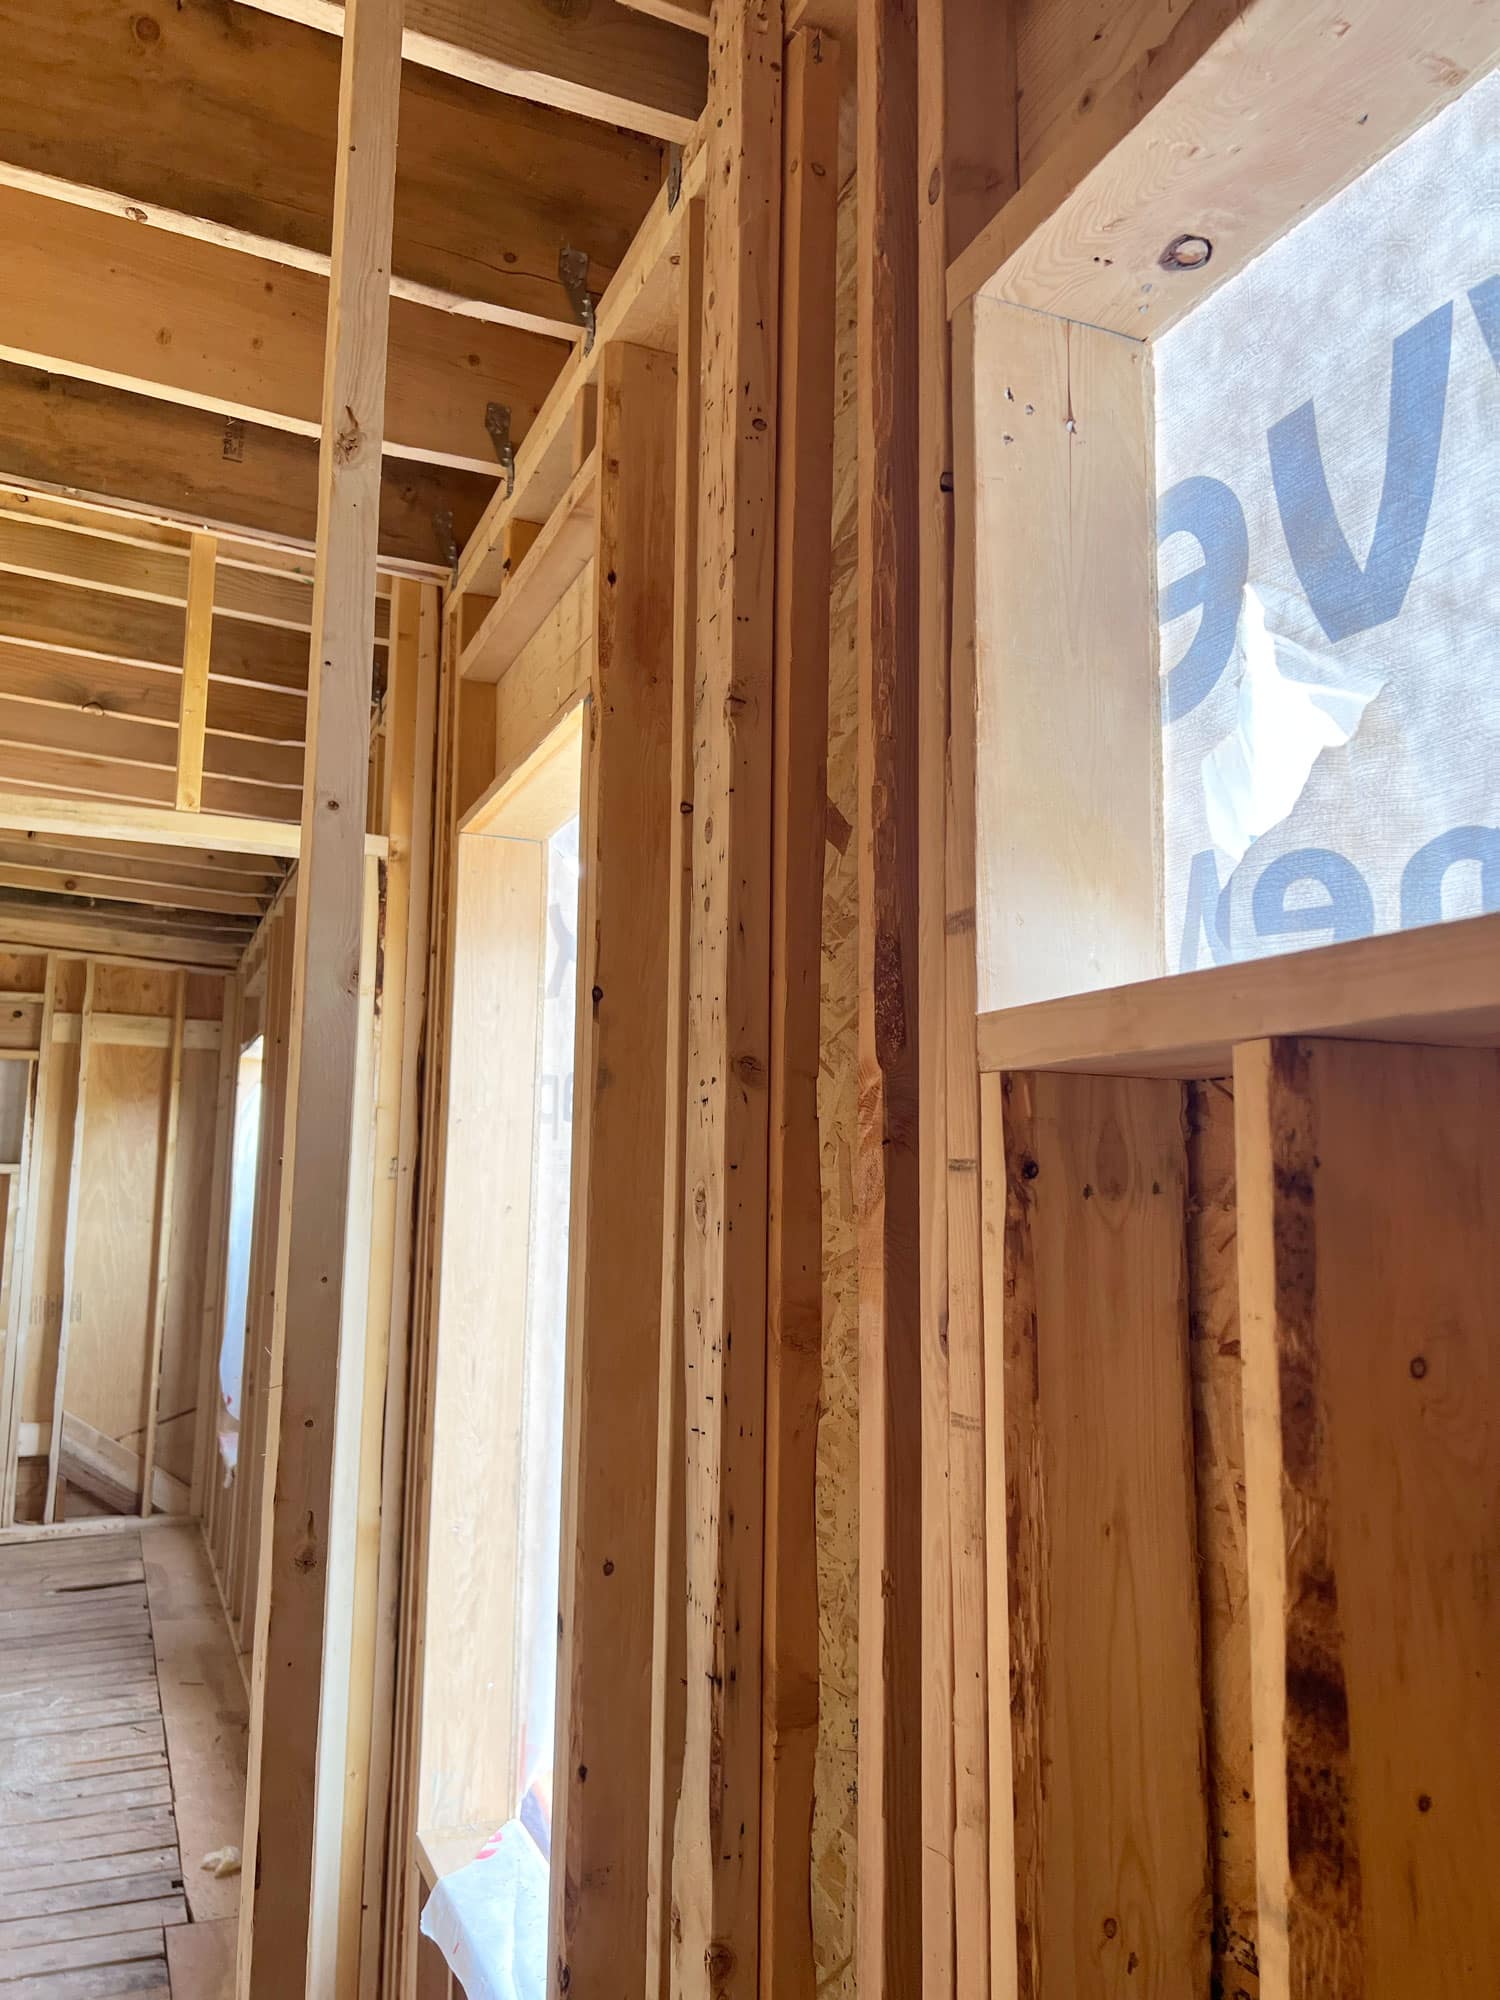
Along the existing rafters, we've added some additional framing to ensure a few extra inches of insulation space. Though it doesn't seems like much, an extra inch or so will make a big difference in both retaining heat in winter and keeping the upper level cool during the summer months.
And the changes to the home are now evident. By keeping the dormer to the back of the home, homeowners retain the quaint cape cod aesthetic which transitions to a more modern composition along the sides and rear elevation. The new windows are further proof of the added space provided by removing the steeply sloping gable. Our next steps will be to rough-in important elements like lighting, mechanical, and plumbing and then insulate before the drywall encloses the walls for good.
Within only a couple of weeks, the new dormer and upper level remodel was framed, sheathed, and reroofed with new skylights. Along the back of the home, the added upper level space is hard to miss, with all new windows set to become an excellent source of natural light and welcome component of each new room.
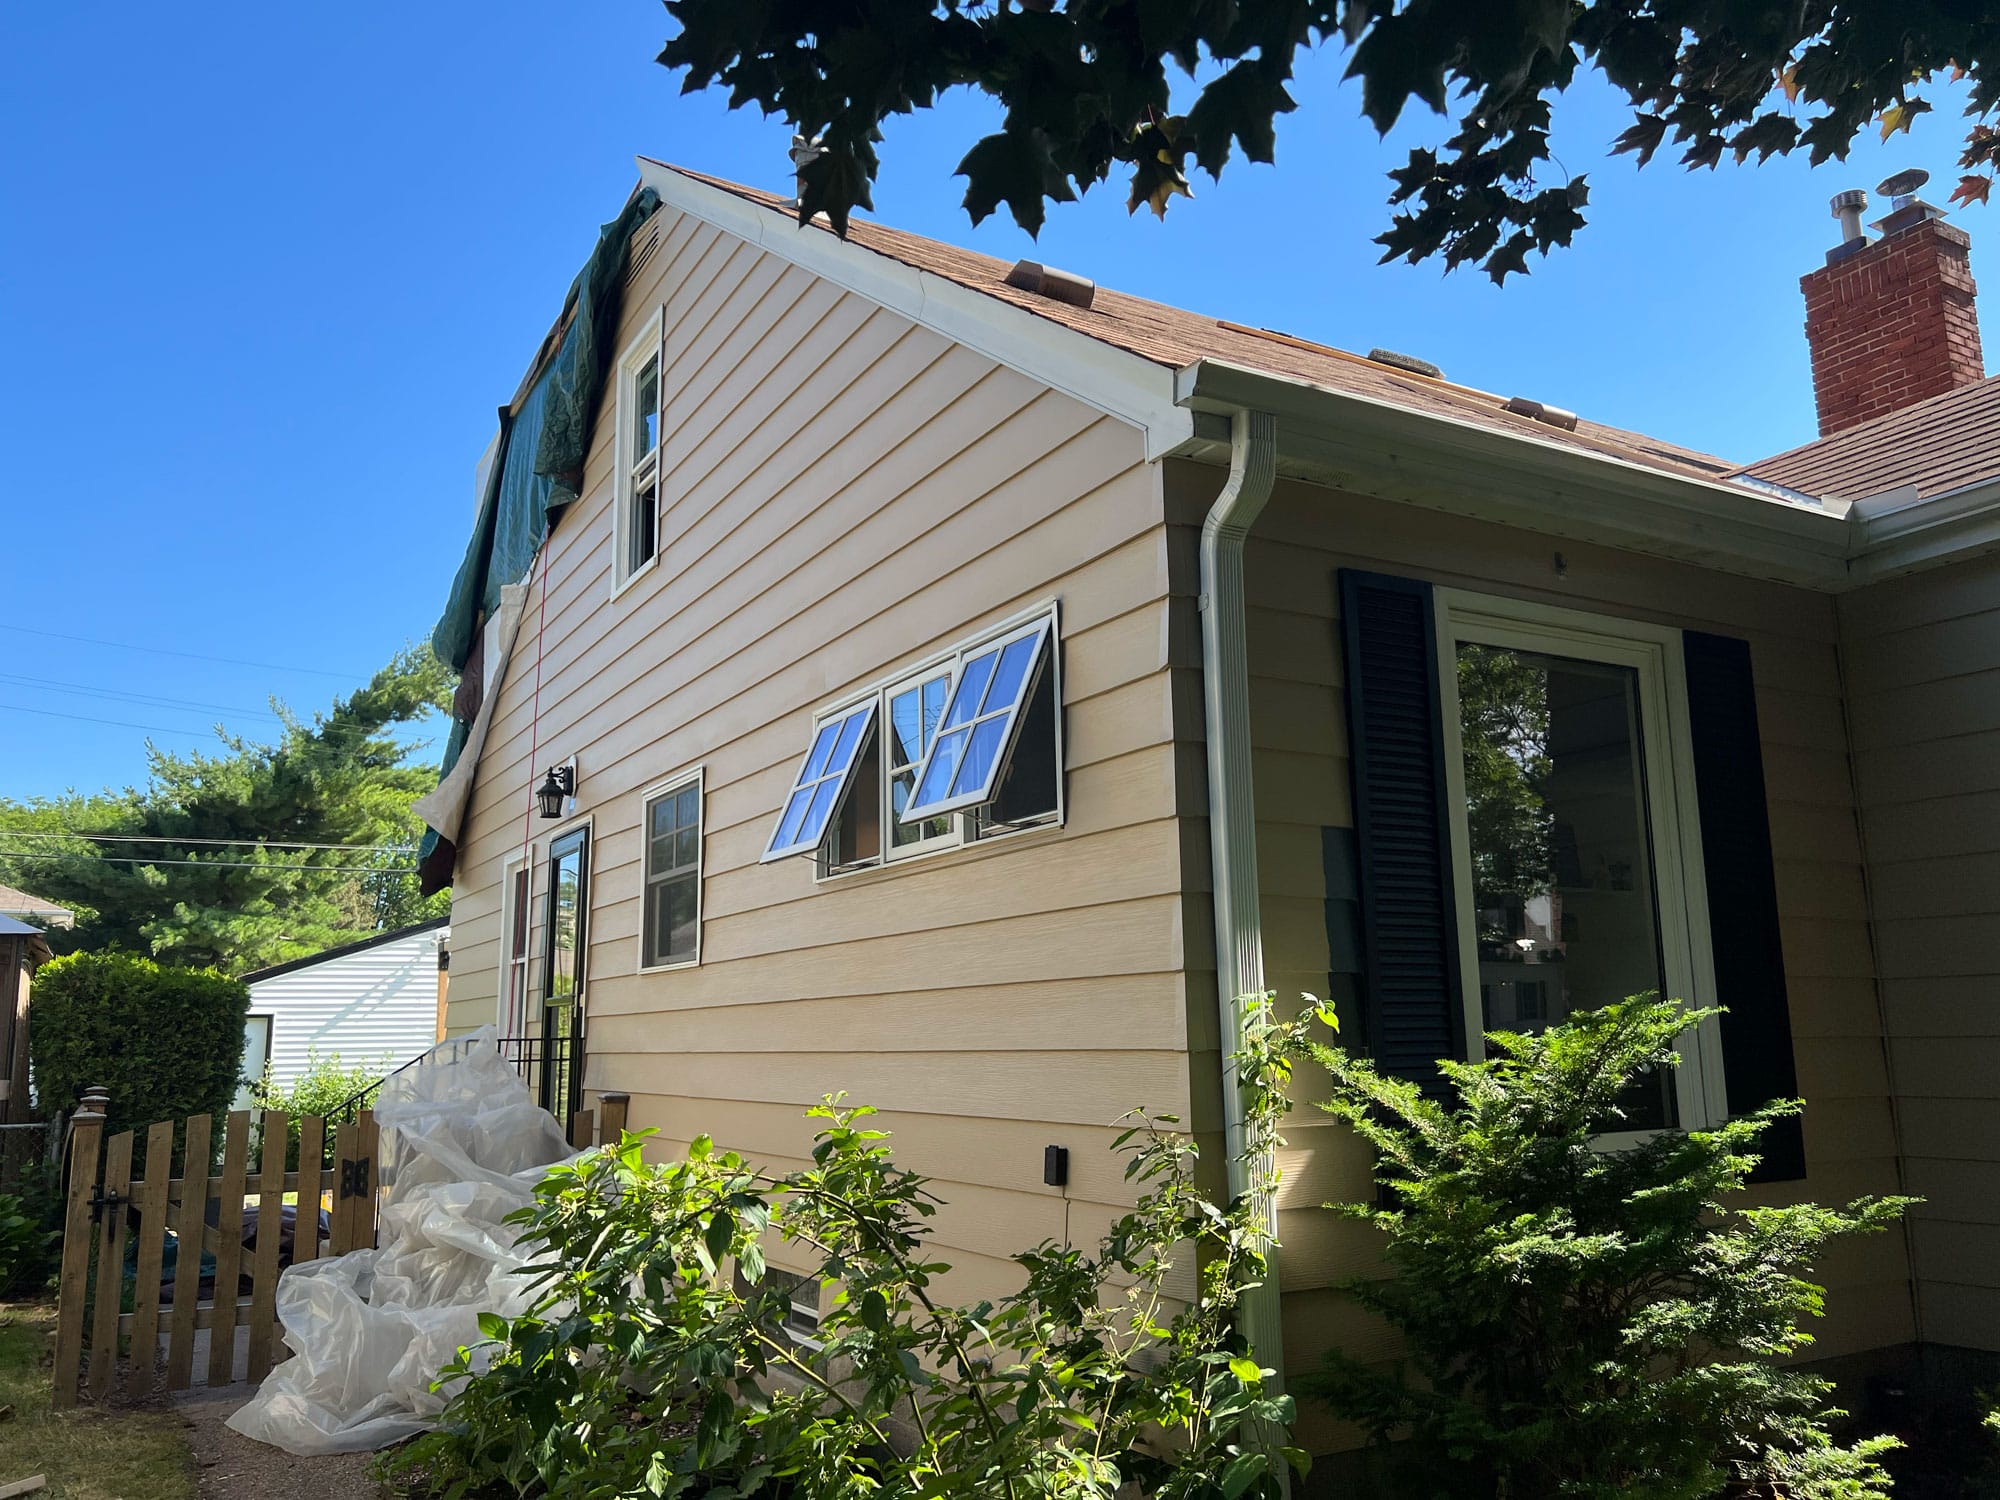
Along the side of the house, the design will shift from cute Cape Cod to a modern dormer, that transition eventually being marked with vertical siding and a trim band.
We’re here to help! Check out our planning resources below, or reach out to us here.
The Twin Cities are filled with story-and-a-half homes that are perfect for a certain kind of addition, called a shed dormer. Learn more about this popular remodeling project.
Learn what it costs to remodel an attic in the Twin Cities, and what factors drive those costs.

So you’d love to upgrade your kitchen or add a shed dormer with a primary suite, but you’re not sure how to pay for it? Learn about three ways to finance your remodel.