
How Much Does it Cost to Remodel a Kitchen in the Twin Cities?
Are you dreaming of a new kitchen and wondering how much you’ll need to invest? We breakdown the costs for two kitchen remodels and what factors drive those costs.
See inside as we build a mudroom addition and remodel the kitchen of this 1920s Lake Nokomis home.
Having completed rough-ins, our team only has one final step to complete before sheetrock goes up – to insulate. Insulation is a barrier placed inside of framing to prevent heat loss or gain between the inside and outside of the home. We actually measure how well insulation performs by using calculations called R-values. R-value is dictated by local codes since the efficiency of insulation is critical to the comfort of residents and the performance of the building. Considering our homeowners live in a cold climate with warm summers, we know insulation efficiency is essential all year round, especially during the long Minnesota winters.
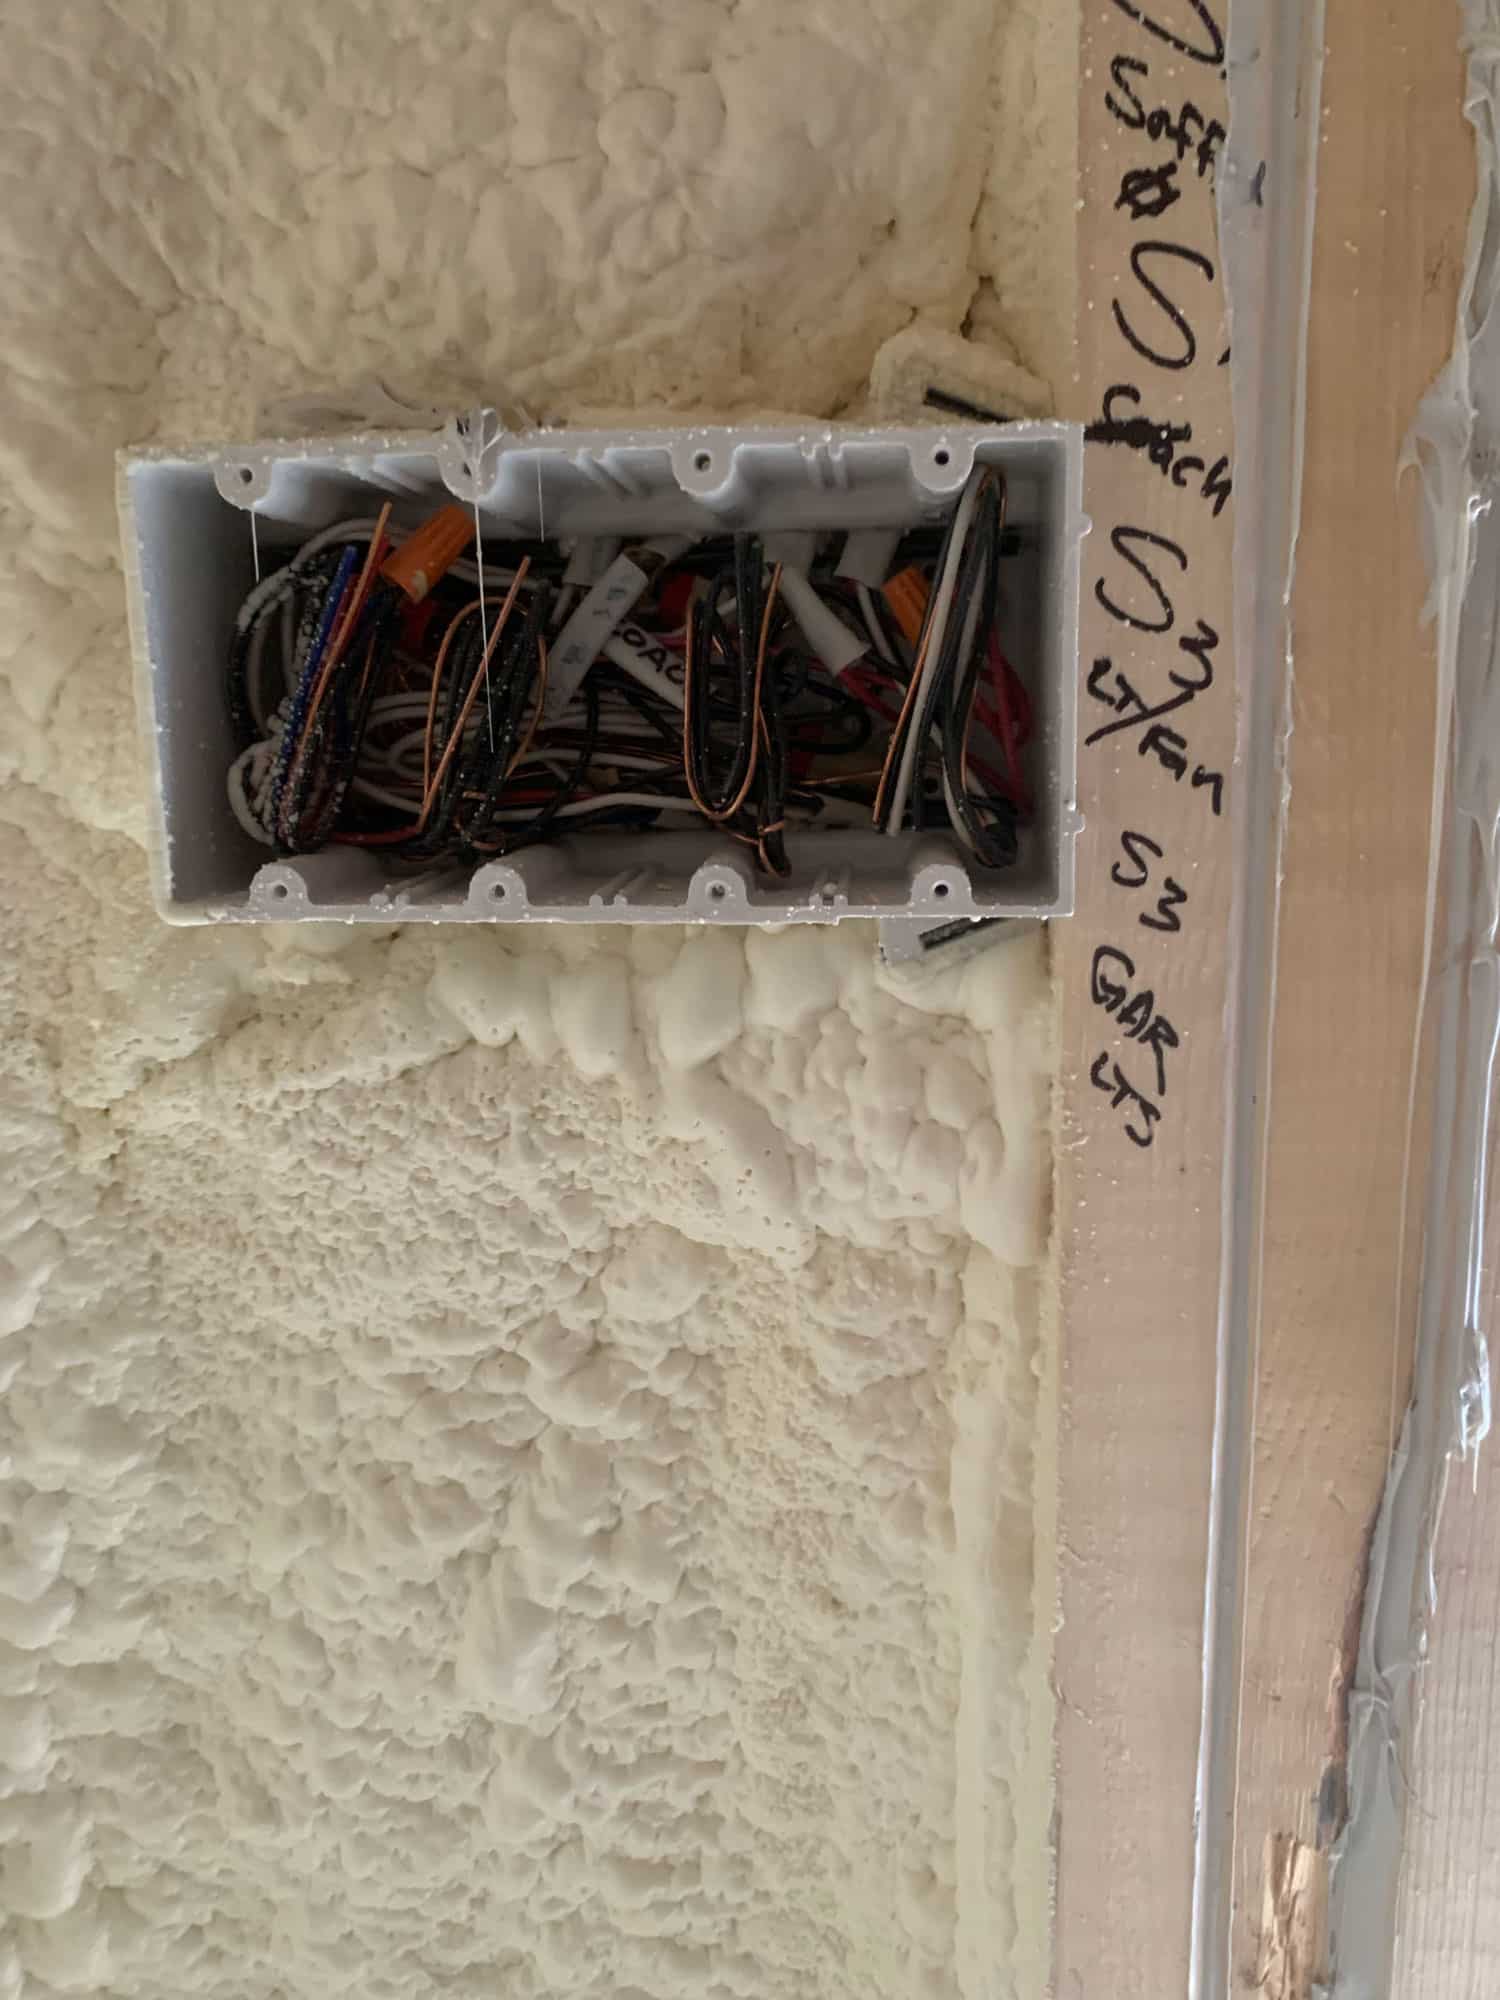
Just before insulation is blown into the cavity of exterior walls, the electrical team completes rough-ins for light fixtures, outlets, and switch boxes like this one.
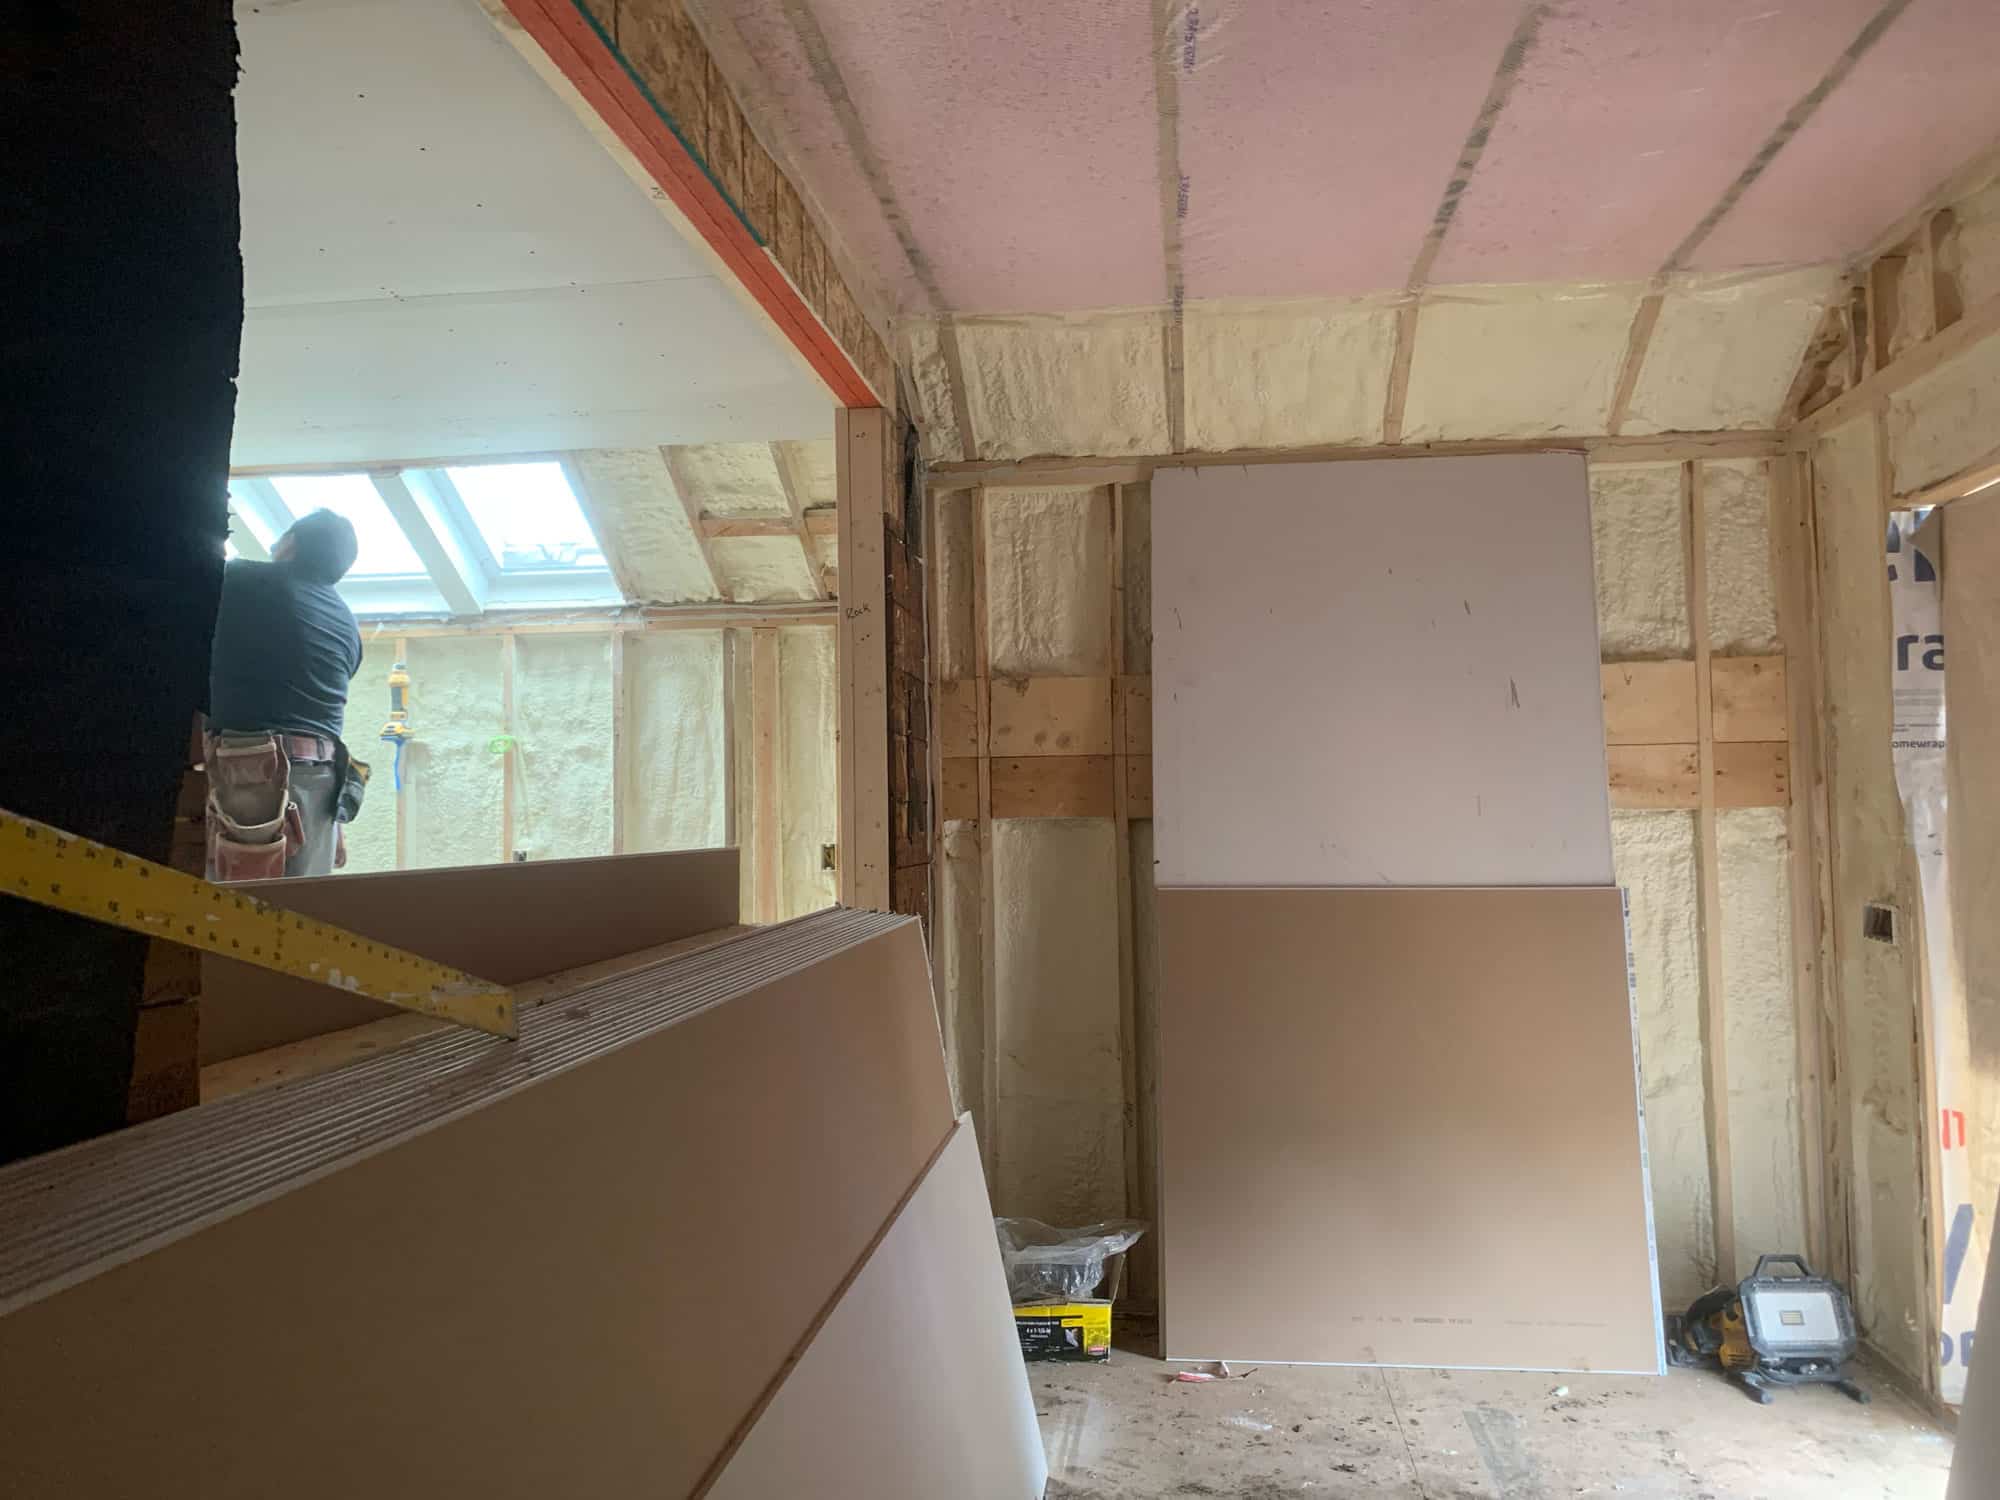
Our crew has just finished applying spray foam to the exterior framing cavities in the mudroom. Above, notice the fiberglass insulation tucked between trusses.

Taking care to get the insulation around these existing skylights is a necessary step to preventing excessive heat loss or gain, which often occurs at or around windows and doors.
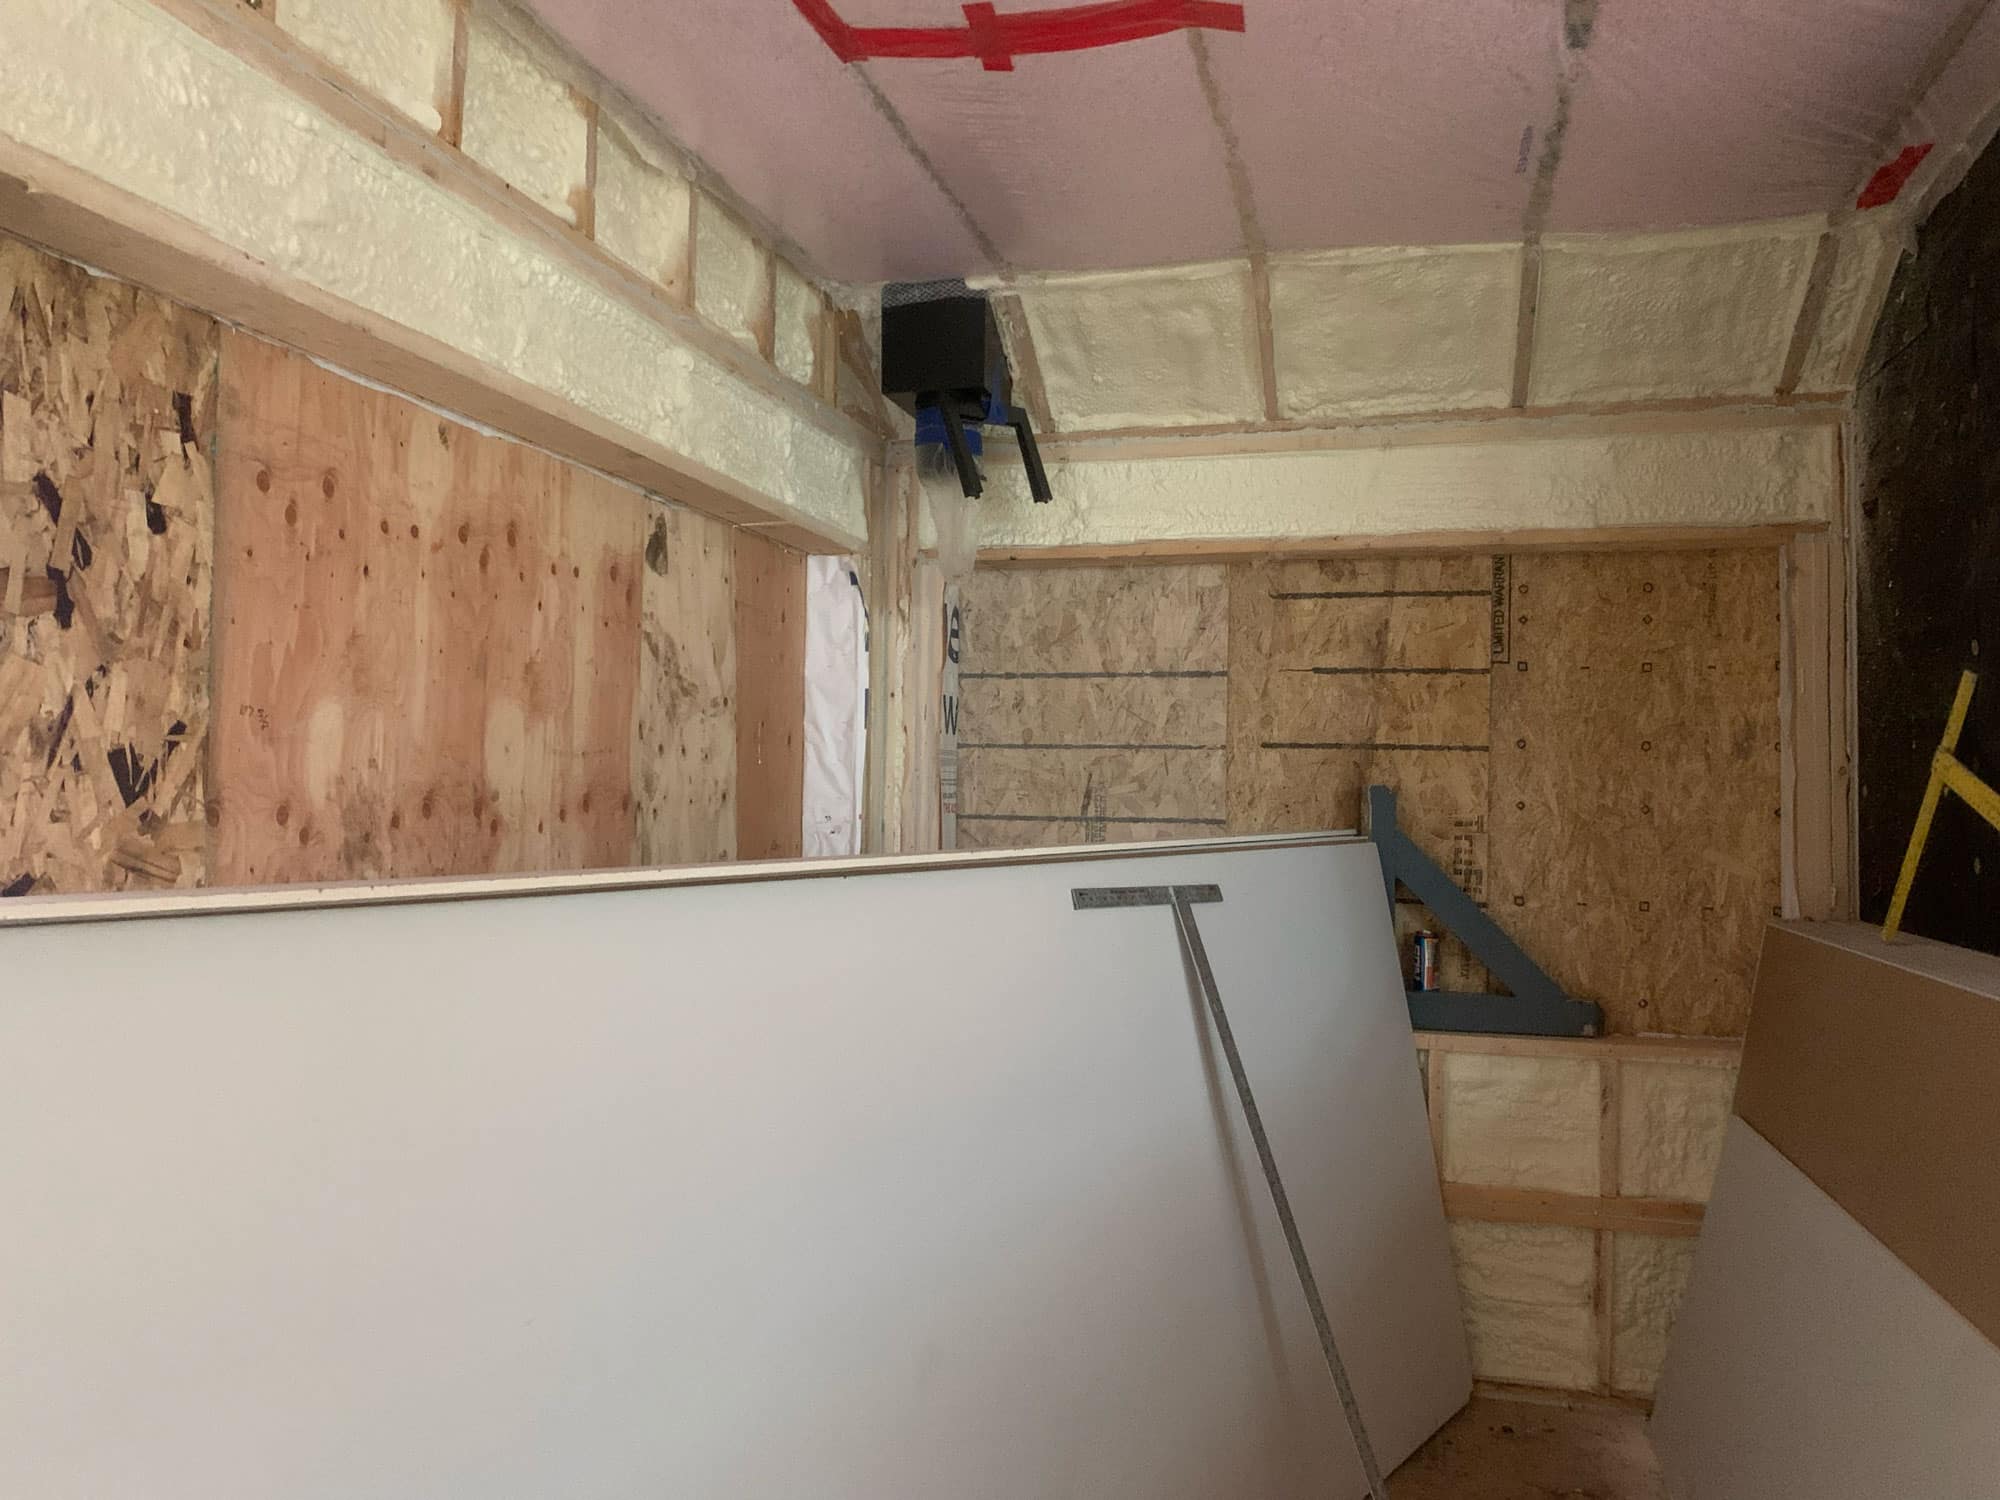
In this build, we’re using Fiberglass insulation within the joists and spray foam along all the exterior walls in the kitchen and newly built mudroom/sunroom. Using Spray foam along exterior wall framing is ideal because it provides an excellent air barrier helping to seal the room against unwanted air movement. When installed, the foam expands and seals cavities and cracks without losing shape or settling. The Spray foam used here will also help prevent condensation on walls during big temperature swings.
Visually, sheetrock installation is a big step towards making the remodeled zone look like an actual home again, as it encloses the previously open wall and ceiling cavities, no longer exposing framing, rough-ins, and insulation.
*Construction History 101: Sheetrock became the prominent interior sheathing material in the 50s, replacing plaster walls with this much less expensive paper and gypsum panel alternative.
These large sheets of sheetrock will be lifted by our crew and screwed into the new mudroom and kitchen framing. Sheetrock is commonly seen in three sizes, 4'x8", 4'x10', and 4'x12". Thickness can also vary, with 1/2" being the most common in homes. With a 5/8" thickness, drywall sheets can offer better soundproofing and fire ratings but add additional expense to a project.
Sheetrock is installed over the course of several days, and depending on the size of the project, can take much longer.

After the drywall is hung, the crew comes back to tape and mud any corners and joints, which helps to join the various sheets and create a solid wall surface. Sanding is always needed after to guarantee a smooth painting surface.
Here are the key steps to completing sheetrock install:
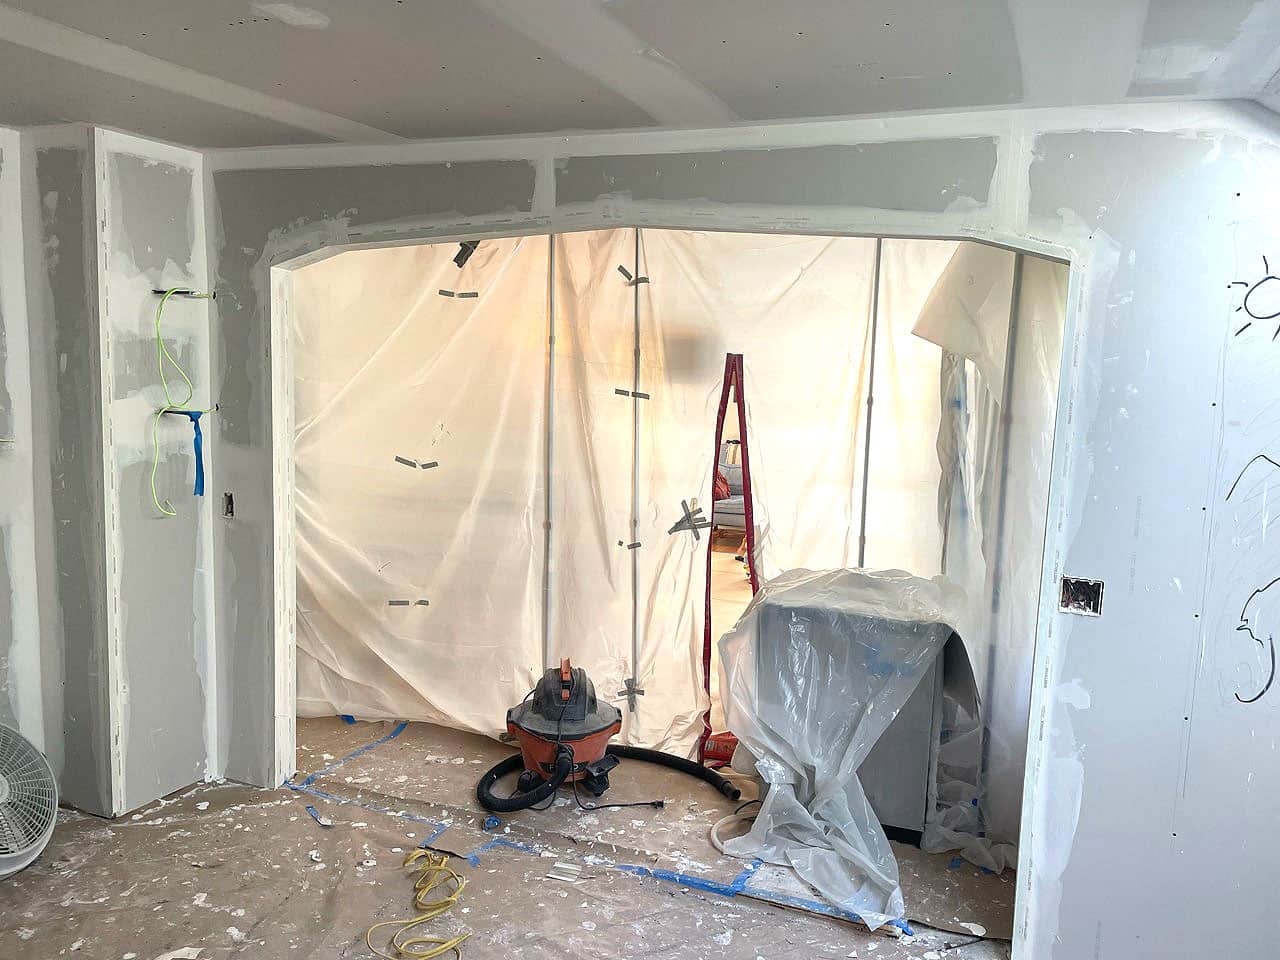
With the drywall over the new opening between the kitchen and dining room, the curved top really starts to take shape. Details like these help marry details of the existing home to the newly designed kitchen and mudroom.
Other than providing the finished interior substrate of the home, the sheetrock in this kitchen became the recipient of priceless art made by one of our client’s children. The White Crane crew was excited to see an original masterpiece when they finished up the drywall and prepped the walls for priming. As much as our homeowners will want to see these walls painted, we’ll have to say goodbye to the cheerful little landscape drawn in black Sharpie along the kitchen walls.
We’re here to help! Check out our planning resources below, or reach out to us here.
Are you dreaming of a new kitchen and wondering how much you’ll need to invest? We breakdown the costs for two kitchen remodels and what factors drive those costs.

The Twin Cities are filled with story-and-a-half homes that are perfect for a certain kind of addition, called a shed dormer. Learn more about this popular remodeling project.

So you’d love to upgrade your kitchen or add a shed dormer with a primary suite, but you’re not sure how to pay for it? Learn about three ways to finance your remodel.