How Much Does it Cost to Remodel a Kitchen in the Twin Cities?
Are you dreaming of a new kitchen and wondering how much you’ll need to invest? We breakdown the costs for two kitchen remodels and what factors drive those costs.
Follow along as we build a shed dormer addition along the upper level of this St. Paul Cape Cod.
We wanted to match the character of the addition to the existing home, which meant documenting special qualities of the existing home, like window and door casing as well as siding sizes and alignments. In order to achieve the desired consistency, we denote these existing conditions with photos and measurements, then discuss the data with our trade partners very early in the process, a practice we call the redline process. The as-built plans we prep also indicate this information to the team, adding even more details like how windows are wrapped, what the corner trim is, and how to align new siding/trim/rooflines to the existing house.
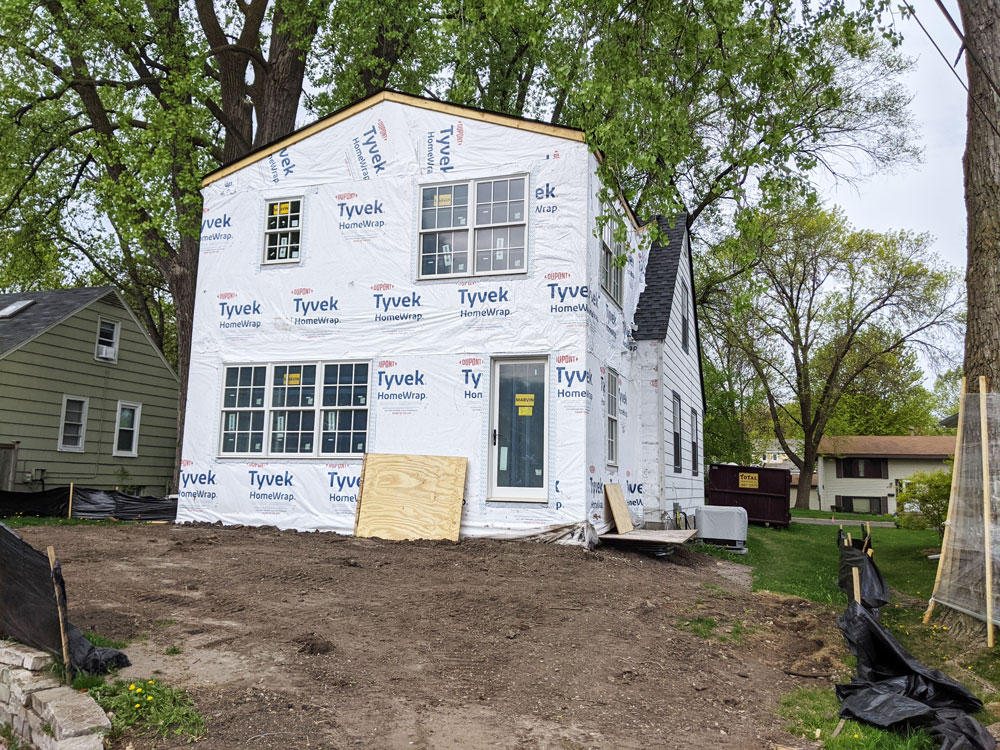
With sheathing and Tyvek now in place, we can see significant progress with the windows installed along the addition.
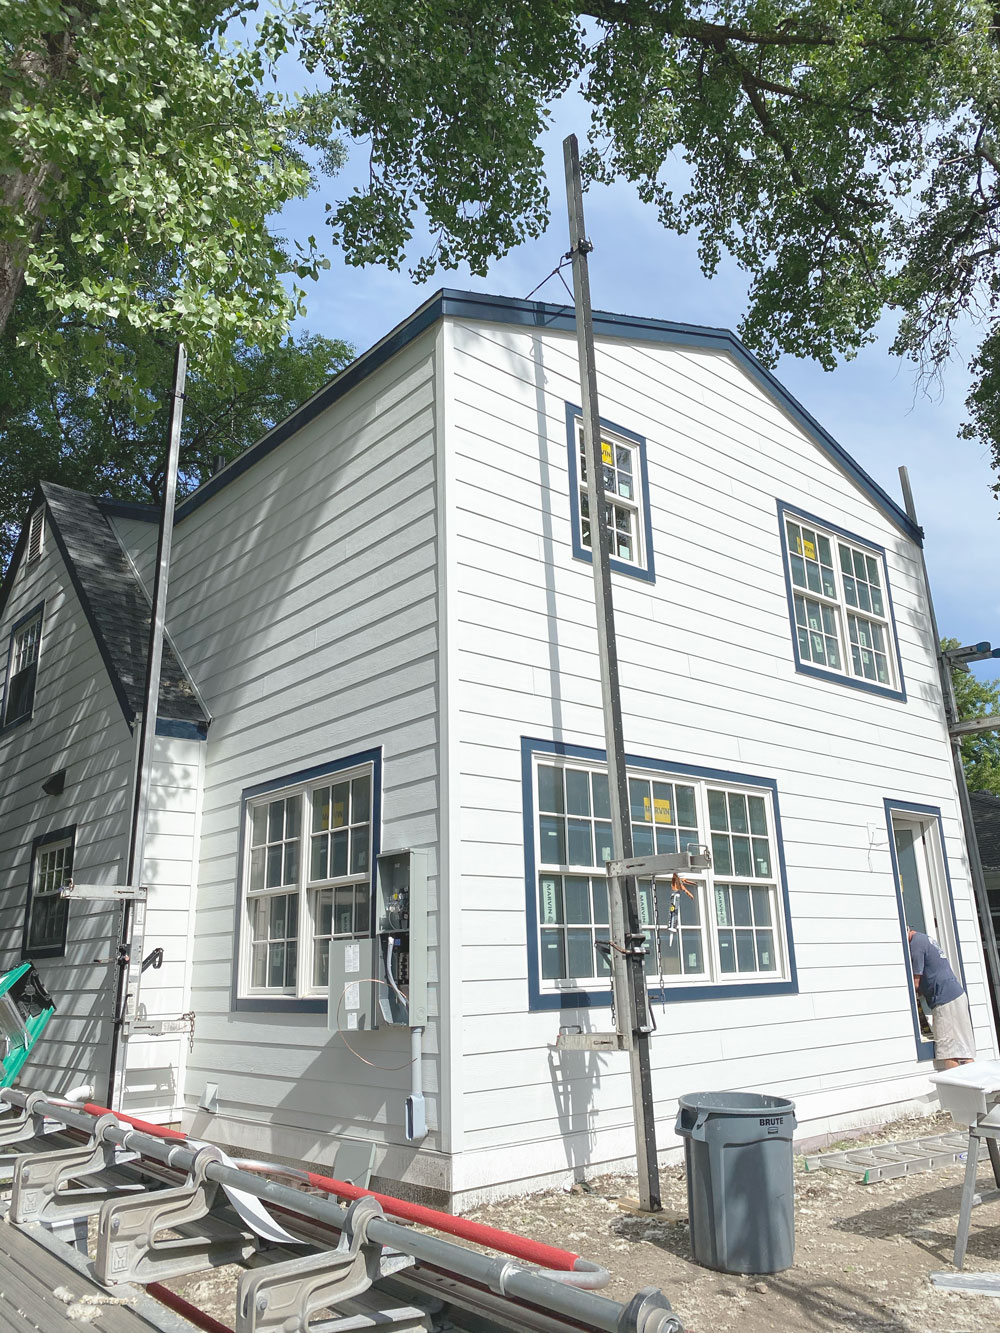
The soffit and fascia also needed to match the details on the existing home. Think of the soffit as the underside of the portion of the roof that juts out from the face of the building, while the fascia is the parallel board that runs along the outside edge of the roof. As is the case in this home, the soffit and fascia did not extend far from the home, a detail we matched using custom painted, smooth Hardie board. Though delicate, these vivid, blue bands make a big impact on the overall appearance and boost the exterior’s aesthetic presence.
We sheathed the house and wrapped the addition in Tyvek before installing the windows, which we had to time carefully due to long lead times from the manufacturer. The divided lights (white grids) on the new Marvin double-hung windows match the pattern on the existing windows to keep the aesthetic of the home cohesive.
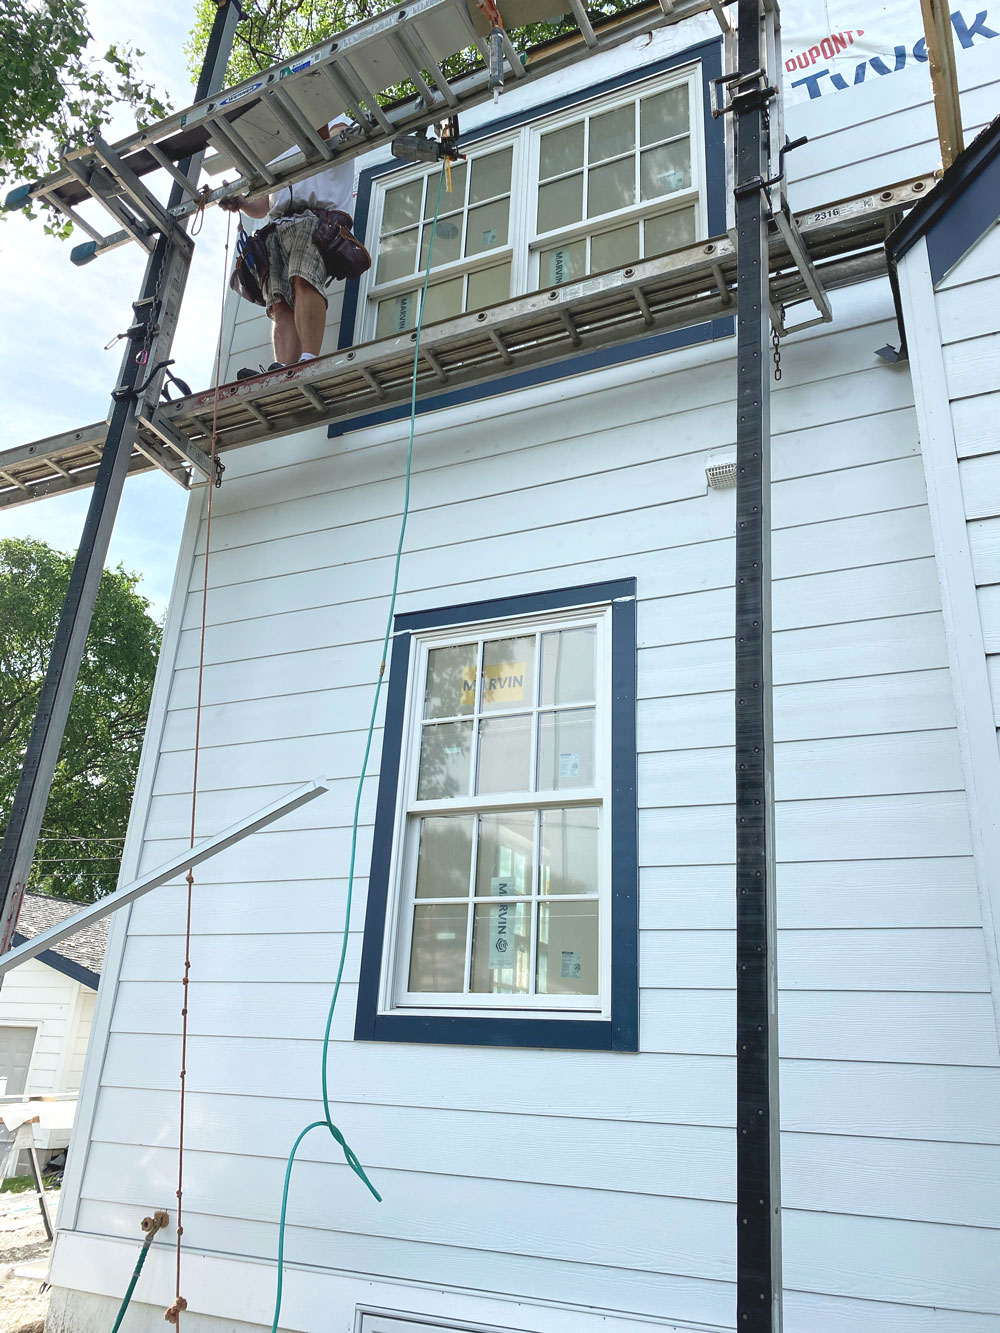
Scaffolding along the outside of the facade (exterior) is crucial for installing the new siding efficiently considering the 16’-0” long board spans.
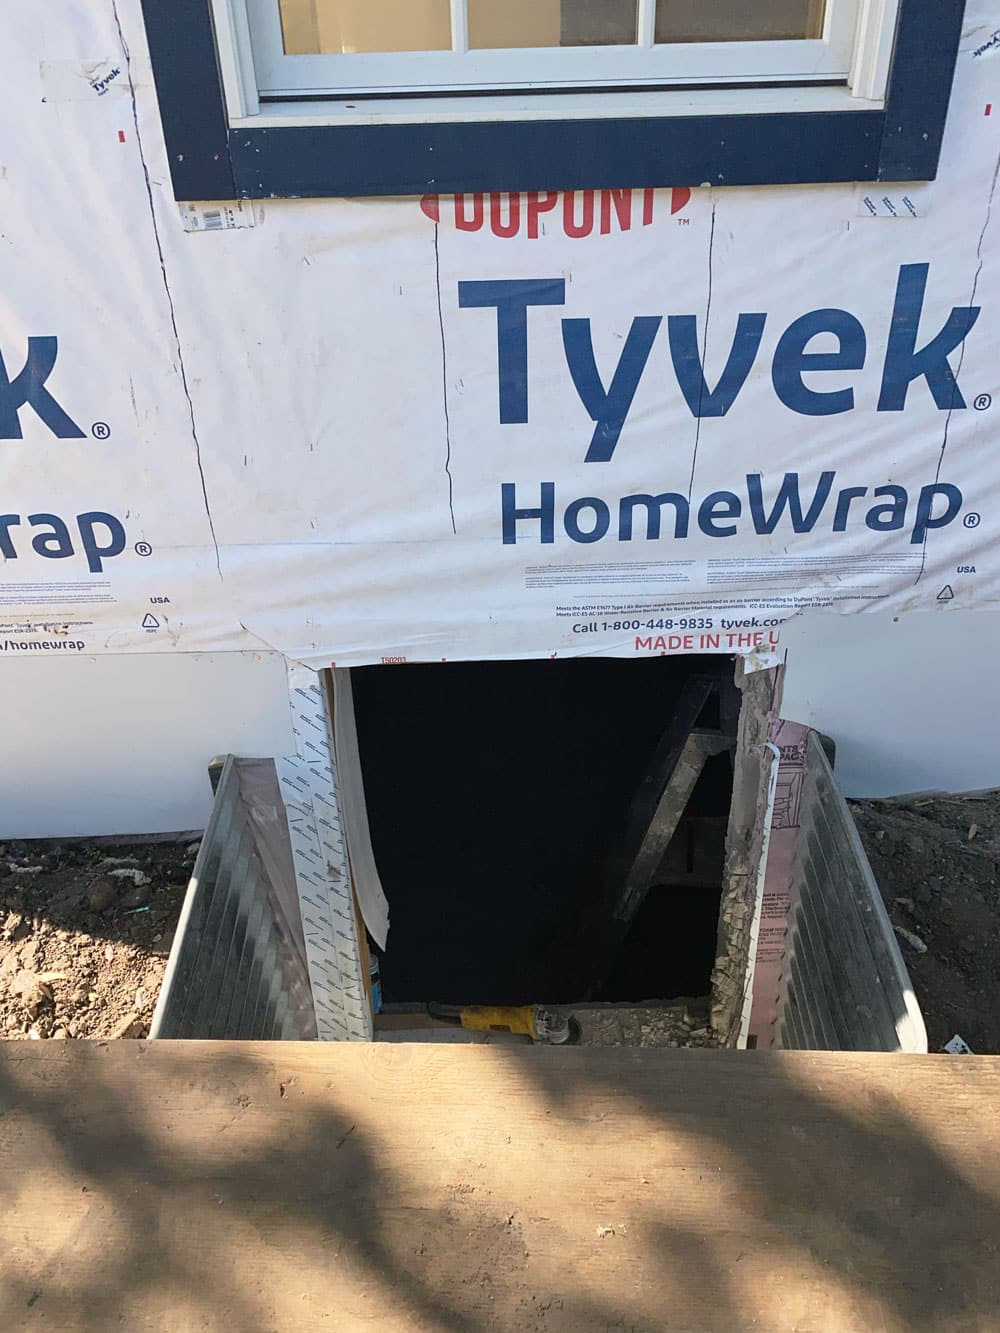
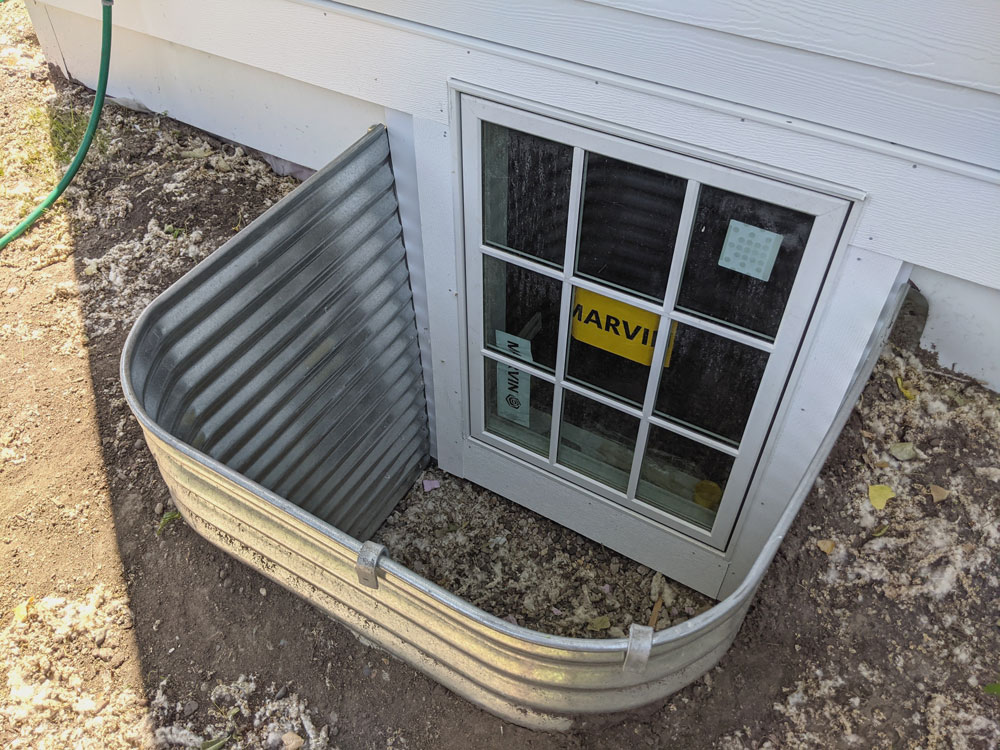
The new casement window and window well for the unfinished basement provides both a means of egress and better lighting to the lower level. Given that the basement is now conditioned with proper insulation, equipped with a new radon detection system, and hooked up to electrical, the new window is the final piece for providing clients some versatility to their lower level. Code requires that all bedrooms have an egress window, and while there are no bedrooms in the lower level, installing this window adds value to the home by giving the clients options for how they use the basement in the future. For the window’s installation, an opening was cut out of the basement block, followed by the build-out of the window well with pea gravel (for better drainage), which together provide a means of escape in case of fire or other emergency situations.
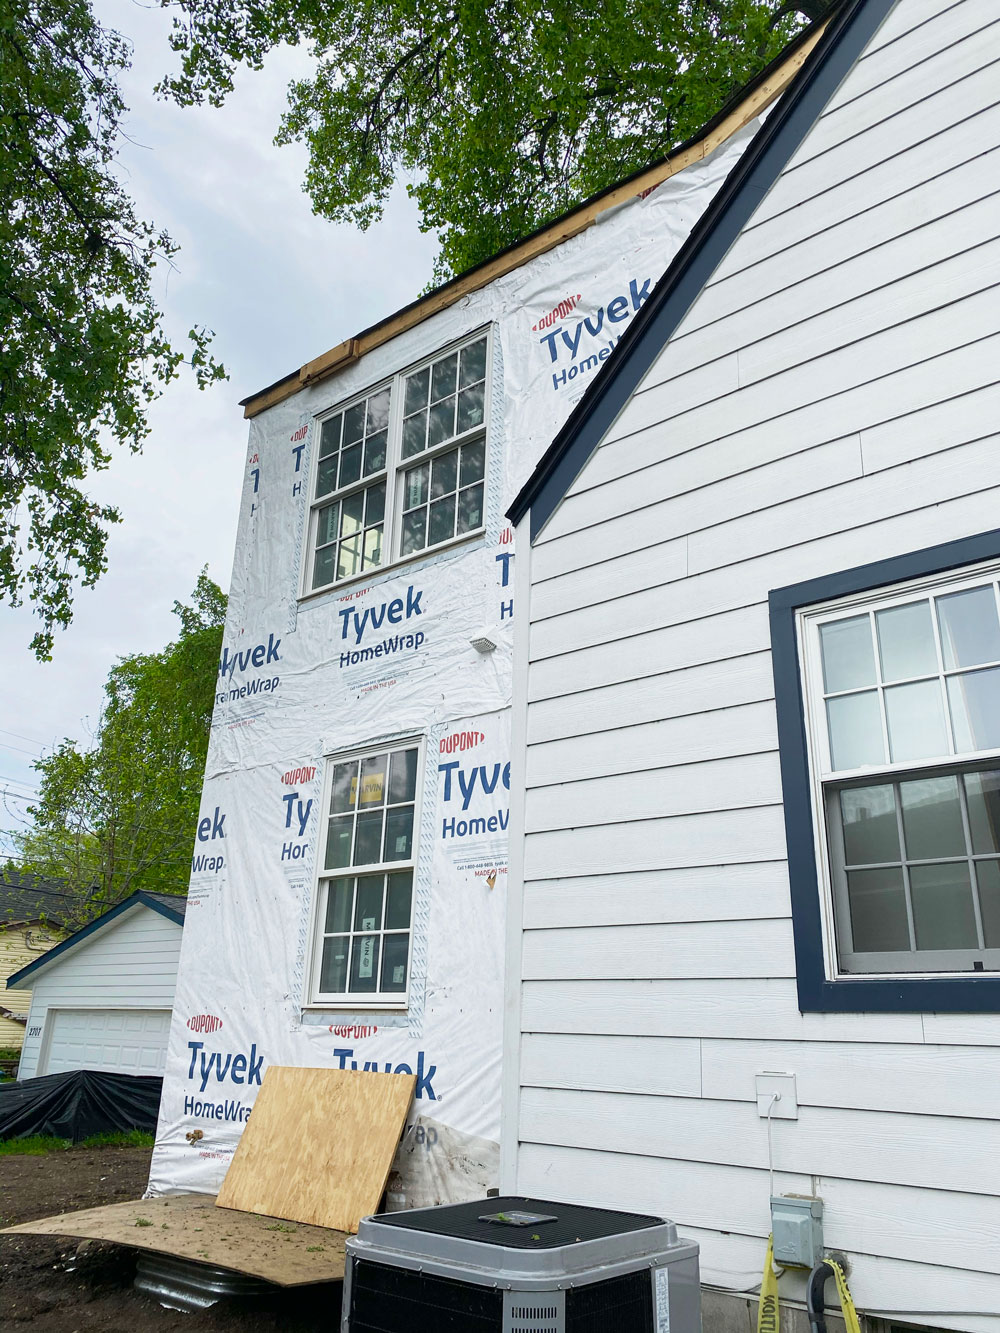
Before moving back into interior work, we needed to waterproof the house, which means installing sheathing on the roof trusses as well as an ice protection barrier, felt, and then asphalt shingles. Once complete, all the exciting interior work is finally ready to begin.
During this phase, our team also works to install the new casing on windows, new boards along the soffit and fascia, the corner trim, and then the new siding. In conjunction with the designers, the design team selected pre-finished, 8” Hardie siding, which we affixed to the sheathing after installing tyvek for water protection. Though the boards are pre-finished, all cut edges and seams get primed and painted to maintain the warranty and protect the boards. We set up scaffolding to more easily access the elevated areas of the home during install of the 16’-0” long runs of the Hardie siding. Typically the roofing and siding process takes our team about a week, with two days given to just the roof, weather permitting.
After about a week of exterior construction, windows are installed as well as the new roof and siding. Interior phases like installing flooring and cabinets can move forward. The final scope on the exterior is the landing for the new Marvin door, image right.
We’re here to help! Check out our planning resources below, or reach out to us here.
Are you dreaming of a new kitchen and wondering how much you’ll need to invest? We breakdown the costs for two kitchen remodels and what factors drive those costs.

The Twin Cities are filled with story-and-a-half homes that are perfect for a certain kind of addition, called a shed dormer. Learn more about this popular remodeling project.

We break down bathroom remodeling costs with moderate to upscale finishes by a professional remodeler in Twin Cities, Minneapolis and St. Paul.