
What are shed dormers and why are they so popular around here?
The Twin Cities are filled with story-and-a-half homes that are perfect for a certain kind of addition, called a shed dormer. Learn more about this popular remodeling project.
Follow along as we create a dormer addition for a homeowner in Southwest Minneapolis who is looking for an updated bedroom with an adjacent bathroom and primary closet.
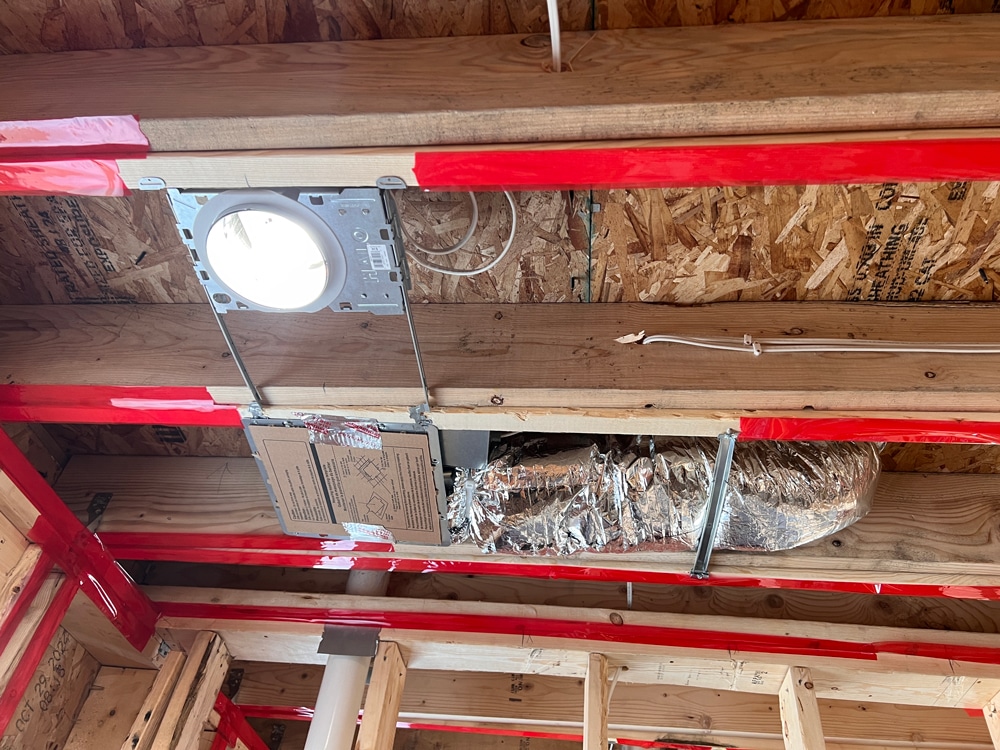
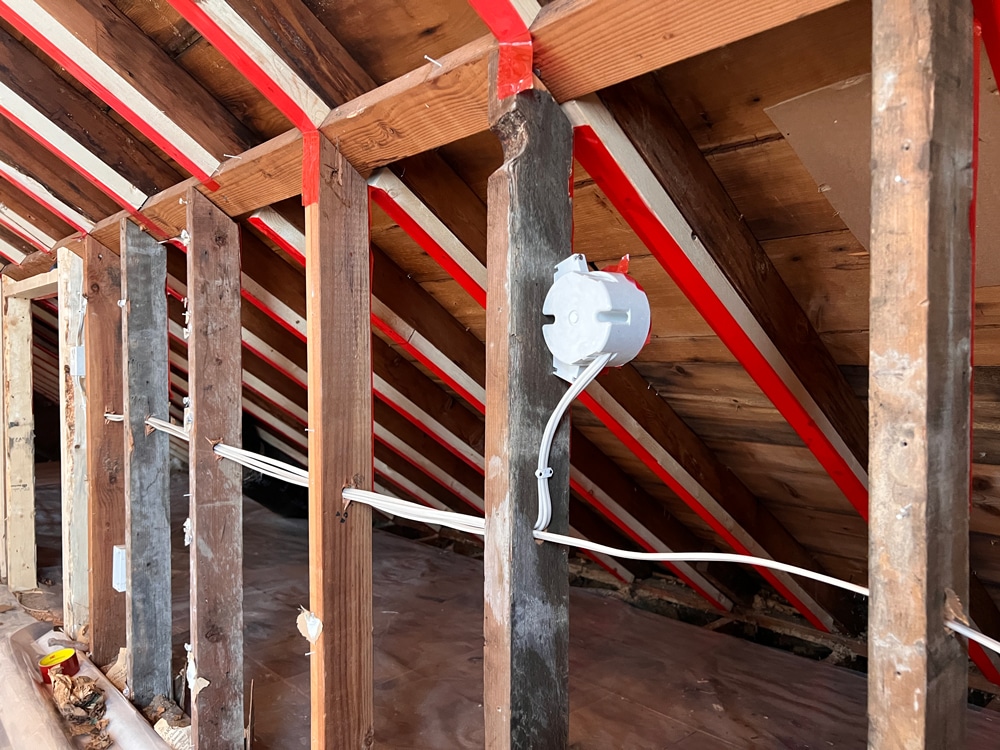
During rough-ins, we bring in licensed electricians, plumbers, and mechanical specialists to install the initial connections that will eventually be tied to fixtures, such as wall sconces and faucets. Cavities between the recently completed framing will provide the open space we need for these rough-ins.
Rough-ins for this Southwest Minneapolis home will start to solve problems that made the upper level uncomfortable for so long. Inconsistent temperatures, limited lighting control, and a bathroomless bedroom suite will no longer characterize our client’s 1941 attic.
Let’s check out how this process unfolded over the course of about 1.5 weeks.

With numerous trades and the realities of the given architecture to consider, our project manager outlined specific, strategic sequencing to prevent headaches and ensure the smoothest installation processes. In this case, we scheduled the plumber first, followed by the heating and cooling crew, and then the electrician, coming in last.
“I generally start with the plumber first, then the heating and cooling guy, and then the electrician. I go in that order, because each crew has specific spatial needs to get all their connections in place.” – White Crane Project Manager
The reason for this approach is straightforward: plumbing and HVAC (Heat, Venting, & Air Conditioning) systems have strict requirements regarding where their lines can be installed, particularly drain pipes that must maintain a proper pitch and ductwork that requires specific clearances. Electricians, on the other hand, have much more flexibility in routing their wires. By bringing them in first, we run the risk of placing lines in spots that become problematic for the other two trades.
With clever scheduling, we ensured that the plumber and HVAC installer could collaborate on-site, resolving any conflicts about which spaces each needed before the electrician arrived to complete the wiring in the remaining areas.
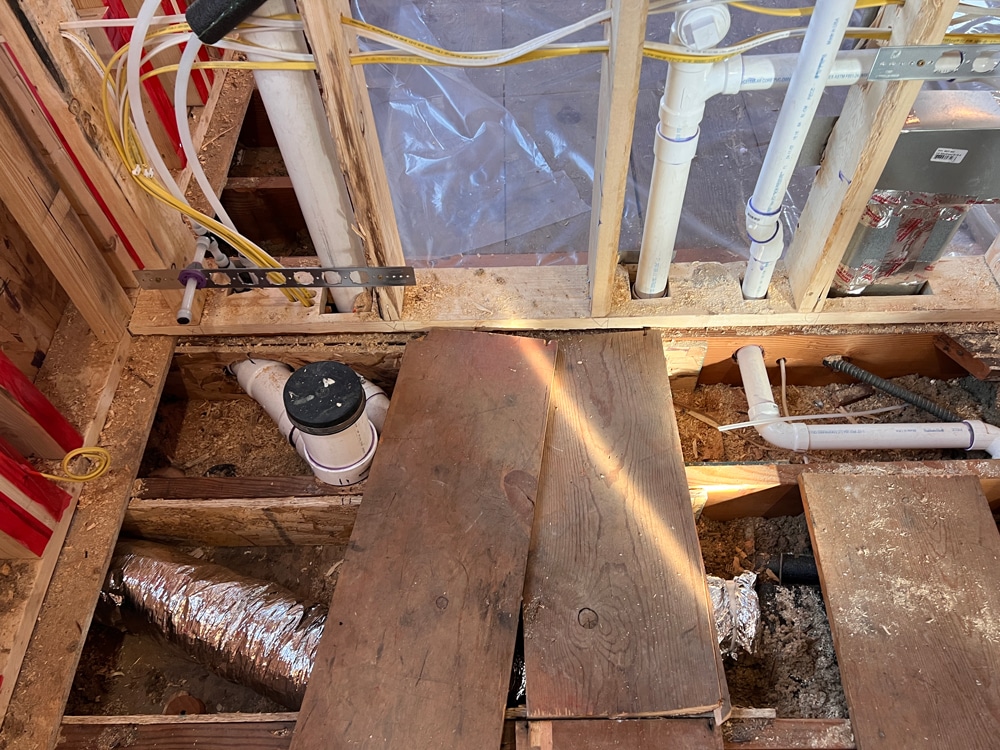
Adding a full bathroom to the upper level, which previously lacked one, presented a fundamental challenge in how to run water lines up and drain lines down without disrupting the rest of the home or sacrificing valuable storage space.
As with all our projects, designing around the reality of these hidden yet critically important elements of the remodel was a key consideration for both design and construction. From initial concepts to final construction drawings, we developed our design proposal with a clear understanding of what’s possible and what’s best for this Minneapolis home as a whole.
Additional preparations for this week actually began during our trade partner site visit, weeks before any bids were submitted. Walking through the home with the trades, design team, and project manager allowed us to verify, adjust, and agree on a path for the newly integrated systems that traveled from the basement to the attic.
“Early in the process, before bidding, we first invited all of our trades to our trade partner site visit. We walked around and discussed the plan. In this case, how were we going to get the water lines up there? How are we going to get the venting fixed, and how are we going to get our drain lines down to connect to existing systems?” – White Crane Project Manager
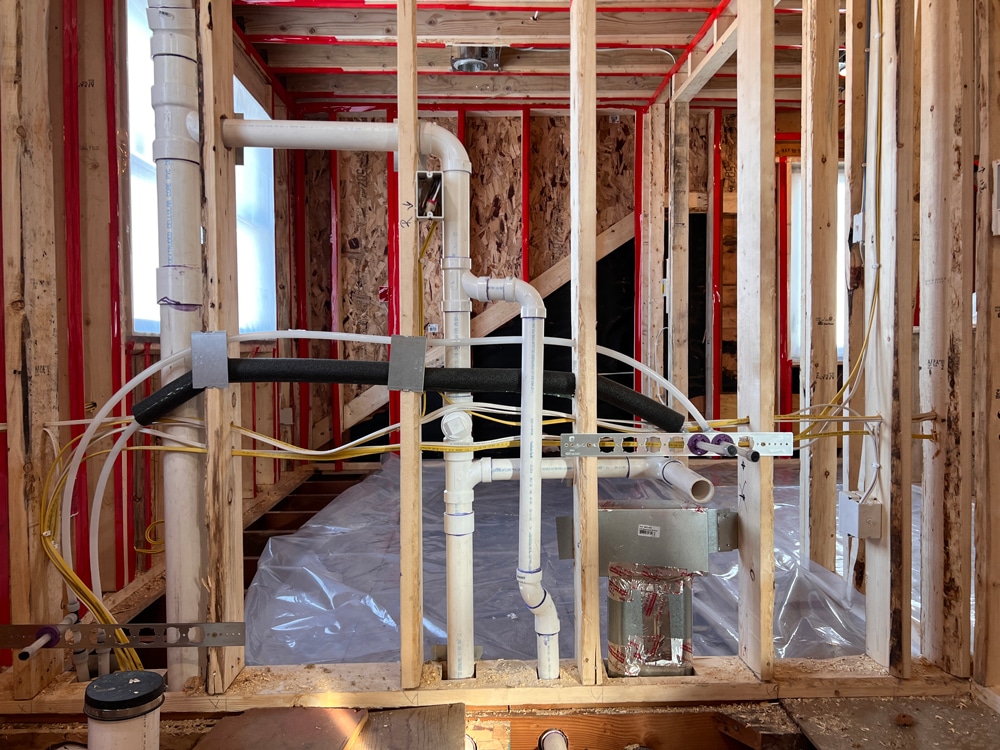
One of the first critical steps in establishing our plumbing rough-ins was to determine the locations of toilets and showers, then adjust the plans based on the existing floor joists. While joists are crucial to the structural integrity of a home, they can create significant constraints for where rough-ins can be placed, as joists typically can’t be moved or removed. Unfortunately, until the new walls were actually framed, confirming exactly where those existing floor joists ran was still relatively unknown.
In this case, we had to adjust our design to improve the drain locations, despite limited flexibility in how our new lines could be tied into those located all the way in the basement below. With creative maneuvering, our plumbing crew spent approximately two days completing all the rough-in work.
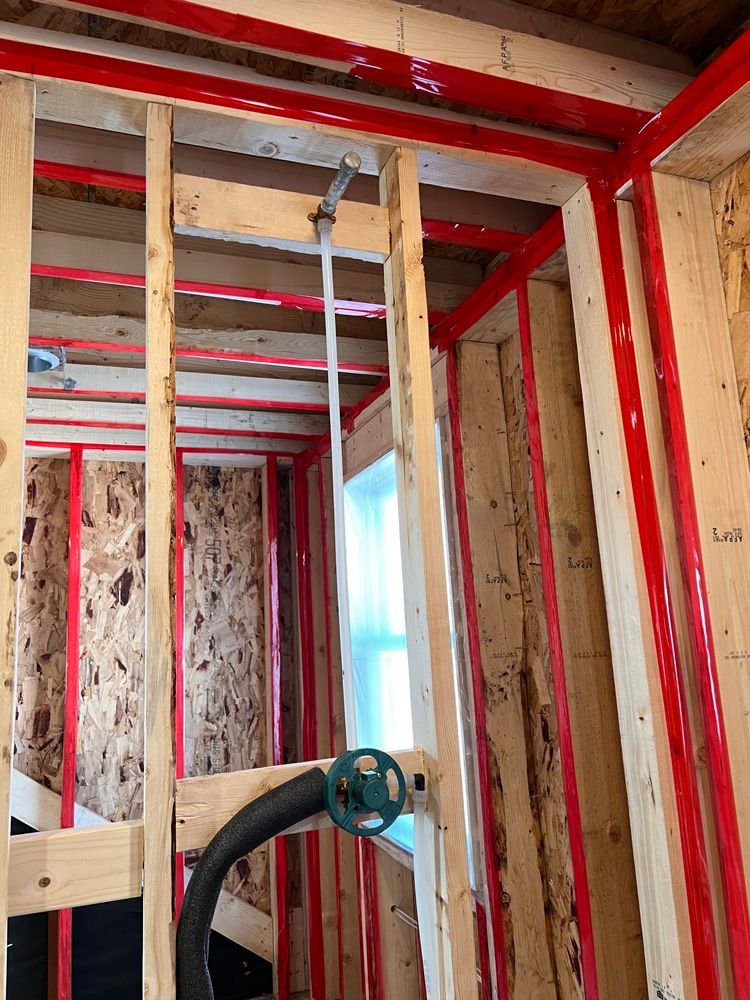
Temperature fluctuations had been one of the biggest issues with the existing half-story, as our client found the attic too hot in summer and equally uncomfortable in winter, rendering the space unusable year-round. Solving this problem required careful consideration of which heating and cooling system would work best for this unique space.
While this home had an existing forced-air furnace serving the main level, extending that system to the new dormer would have created significant challenges. In fact, installing adequate ductwork to the upper level would require sacrificing important storage areas for both supply and return trunk lines.
Instead, for dormer projects just like this one, we typically opt for baseboard heat paired with a mini split system for cooling, keeping this 1941 dormer much more evenly regulated.
“Finding a chase big enough to get one or two trunk lines up there for supply and return is usually not ideal, because that means we’re probably taking up four square feet or more of closet space, and that’s a lot of ductwork.” – White Crane Project Manager
Completing HVAC Rough-Ins
The mechanical work for this project was relatively straightforward, with about a day’s worth of actual work spread across three separate site visits. Our HVAC crew installed a new bathroom fan, rerouted the existing main-level bathroom fan, and set up the infrastructure for the mini-split system.
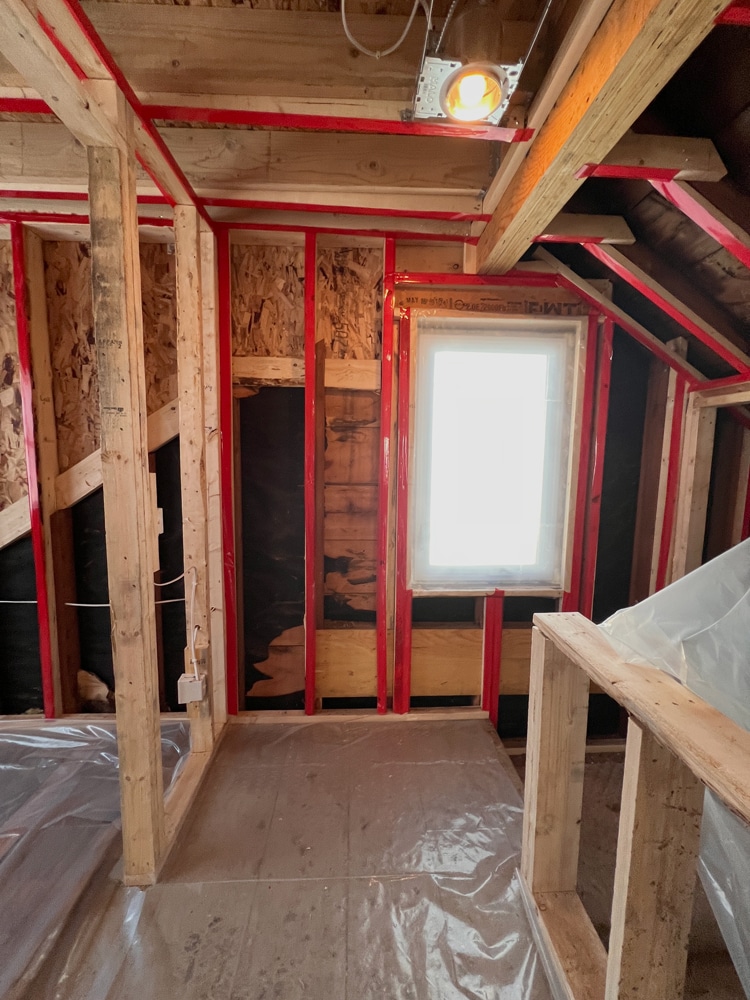
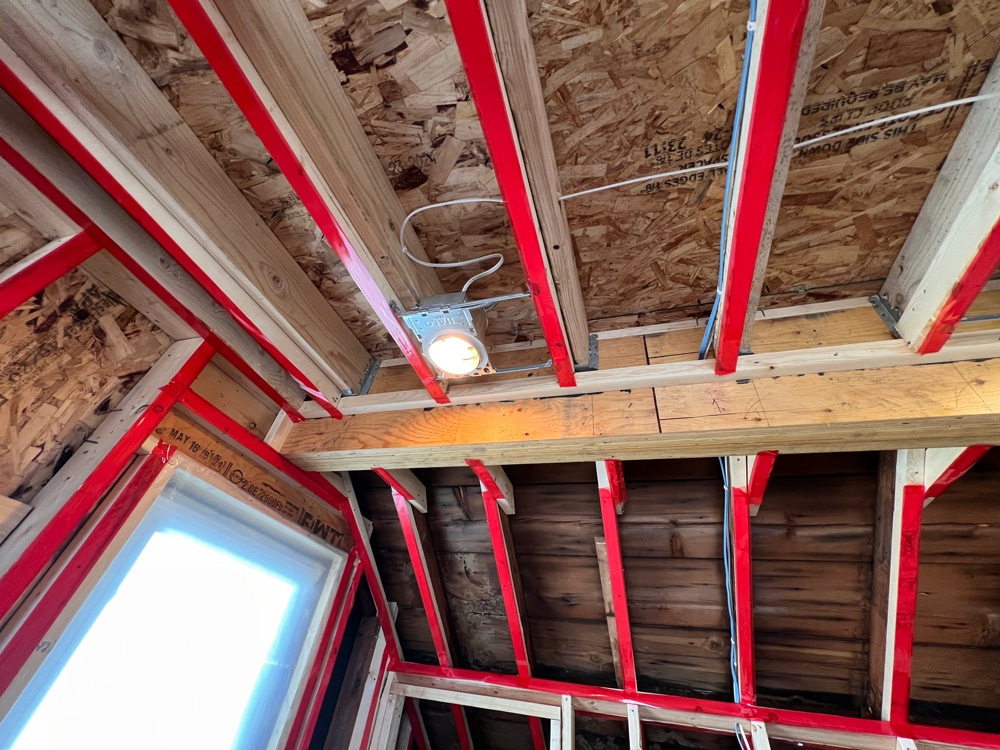
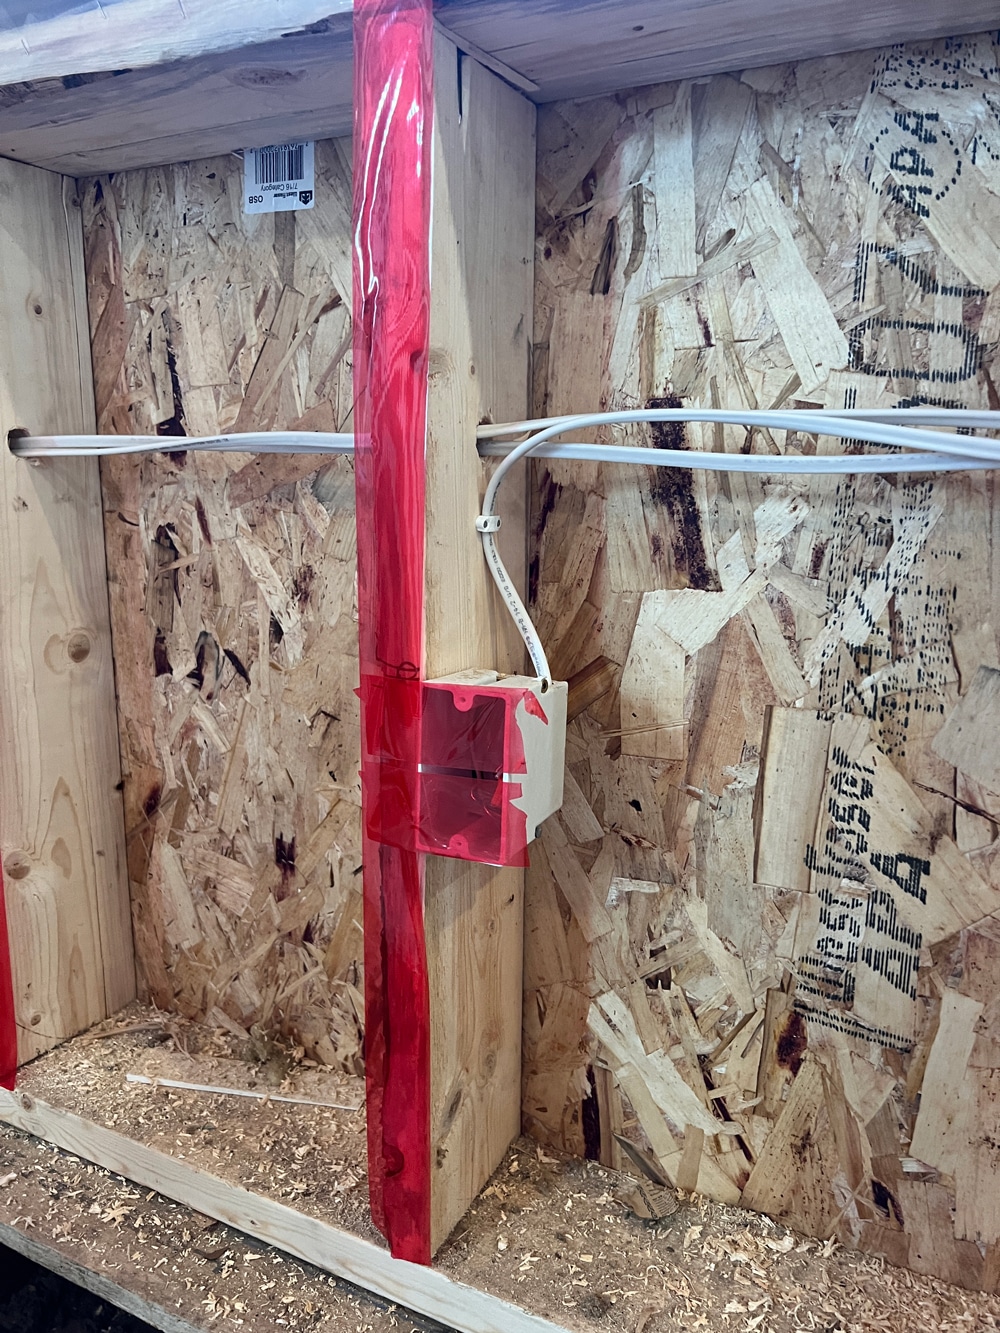
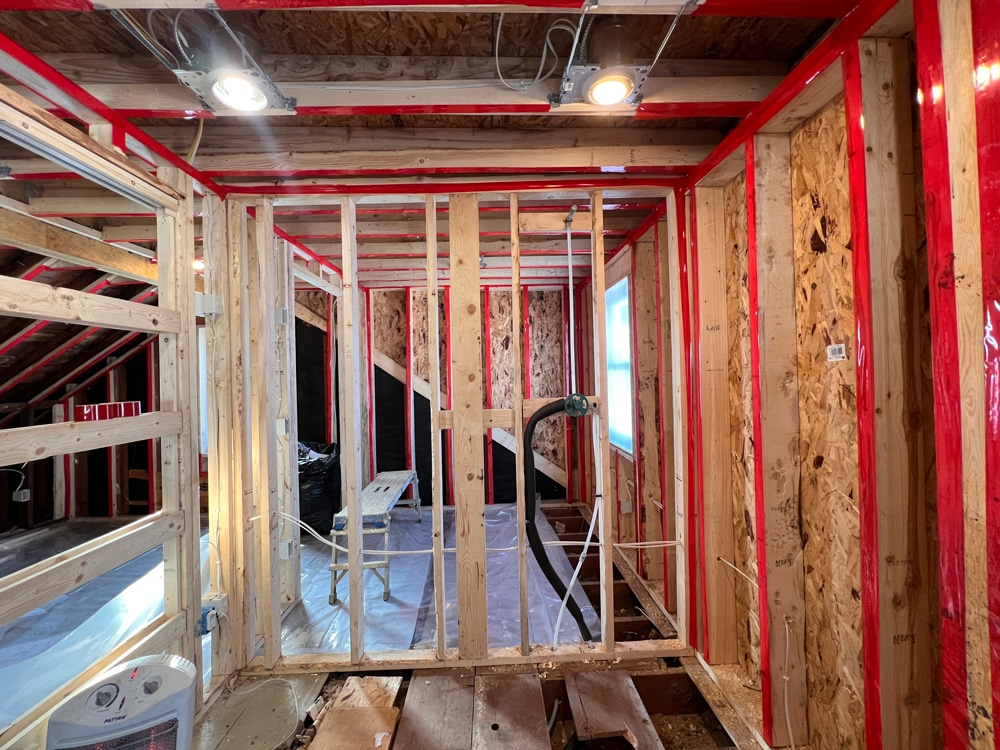
With plumbing and HVAC in place, our electrician had a clear path forward for running wiring throughout the new dormer. Over the course of two days, the team transformed the framed space into a fully wired environment ready for switches, outlets, recessed lighting, and decorative fixtures. The electrical rough-ins covered the entire upper level: the new primary bedroom, the bathroom, the bonus “snug” room, and the hallway. Every outlet, every switch, and every can light fixture is all roughed in and ready for final connections after insulation and drywall.
As each trade completed its rough-in work, city inspectors reviewed the installations to verify code compliance. These inspections are a critical checkpoint in the construction process, ensuring that work meets safety standards before it gets covered up by insulation and drywall. Inspections provide our clients with added confidence in the investment they are making in their homes.
Here’s a deeper look at what inspectors are typically looking for:
“The plumbing inspector is making sure that we’re not running water lines in unconditioned spaces, that our venting is done properly, that we don’t have undersized pipes, and that everything is pitching properly.” – White Crane Project Manager
The careful coordination of plumbing, HVAC, and electrical rough-ins means this Southwest Minneapolis dormer is set up to deliver exactly what our client has been missing: a comfortable, functional primary suite she can use year-round.
The new bathroom will finally give her privacy and improved day-to-day conveniences. The mini split system paired with electric baseboard heat will maintain consistent temperatures regardless of the season. Our client’s days of sleeping on the couch during hot summer nights are now behind them. And the comprehensive electrical system will provide ample lighting and outlets throughout the expanded space.
With all rough-ins complete and inspections passed, the next major milestone is insulation and drywall, where we will finally enclose the walls, marking another significant milestone in bringing the homeowner’s design vision to life.
We’re here to help! Check out our planning resources below, or reach out to us here.
The Twin Cities are filled with story-and-a-half homes that are perfect for a certain kind of addition, called a shed dormer. Learn more about this popular remodeling project.

Here's the step-by-step process that ensures you’ll have a remodel you love.
Learn what it costs to remodel an attic in the Twin Cities, and what factors drive those costs.