
How Much Does it Cost to Remodel a Basement in the Twin Cities?
Are you thinking about a basement remodel and wondering how much you’ll need to invest? See the cost breakdown for remodeling a basement in the Twin Cities.
Follow along as we remodel an unfinished basement inside this South Minneapolis home.
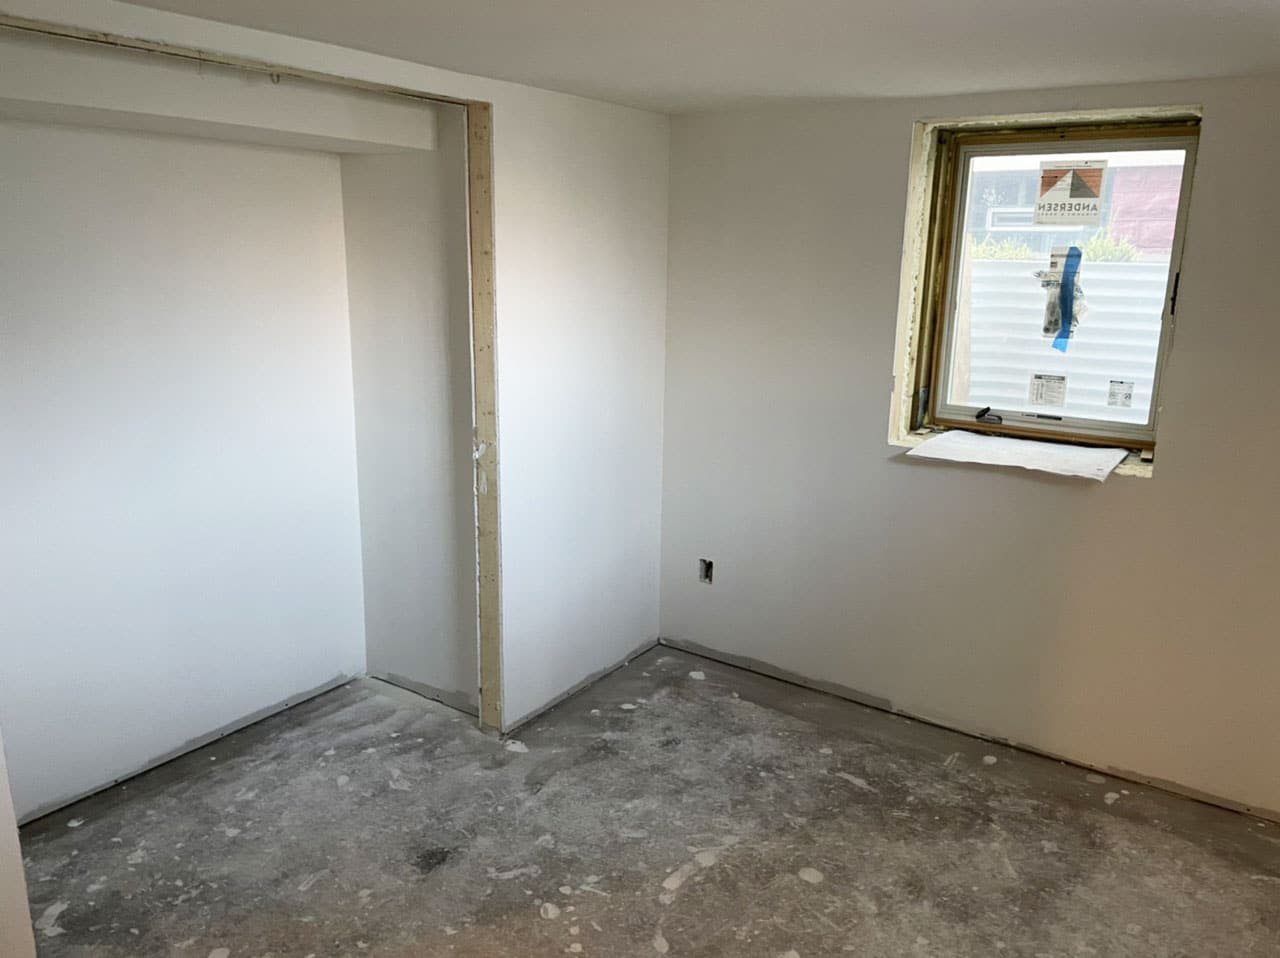
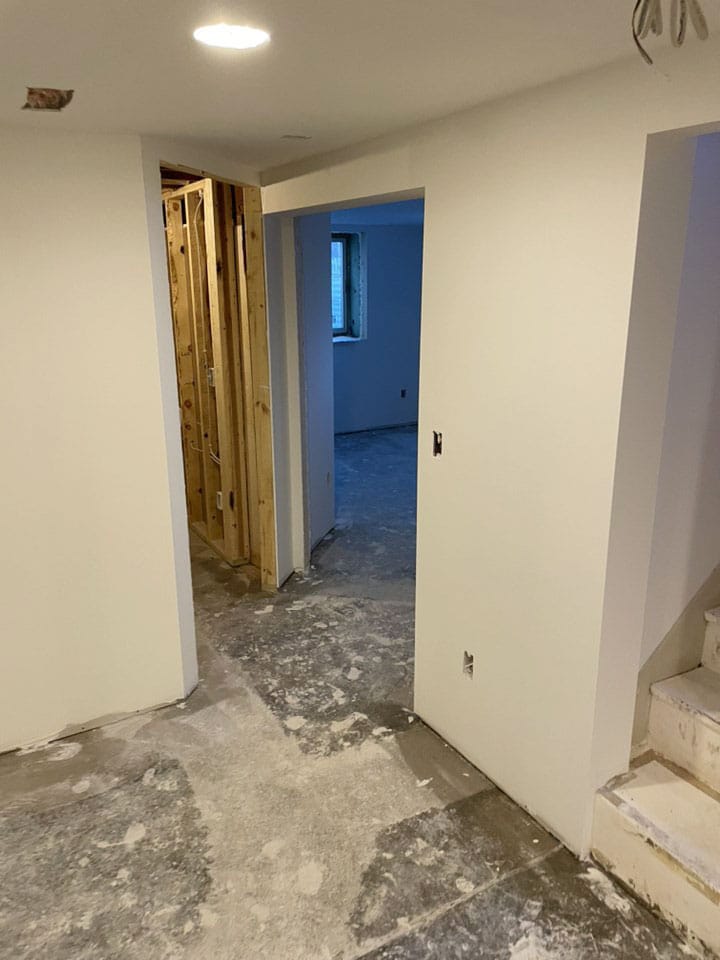
Step 1 – Sheetrock is hung.
Step 2 – Mudder arrives, tapes, and fills any imperfections, voids, or joints.
Step 3: The mud is left to dry overnight.
Step 4: Imperfections are assessed, and a second or third coat of mud is applied after drying.
Step 5: The walls are sanded for a clean final finish.
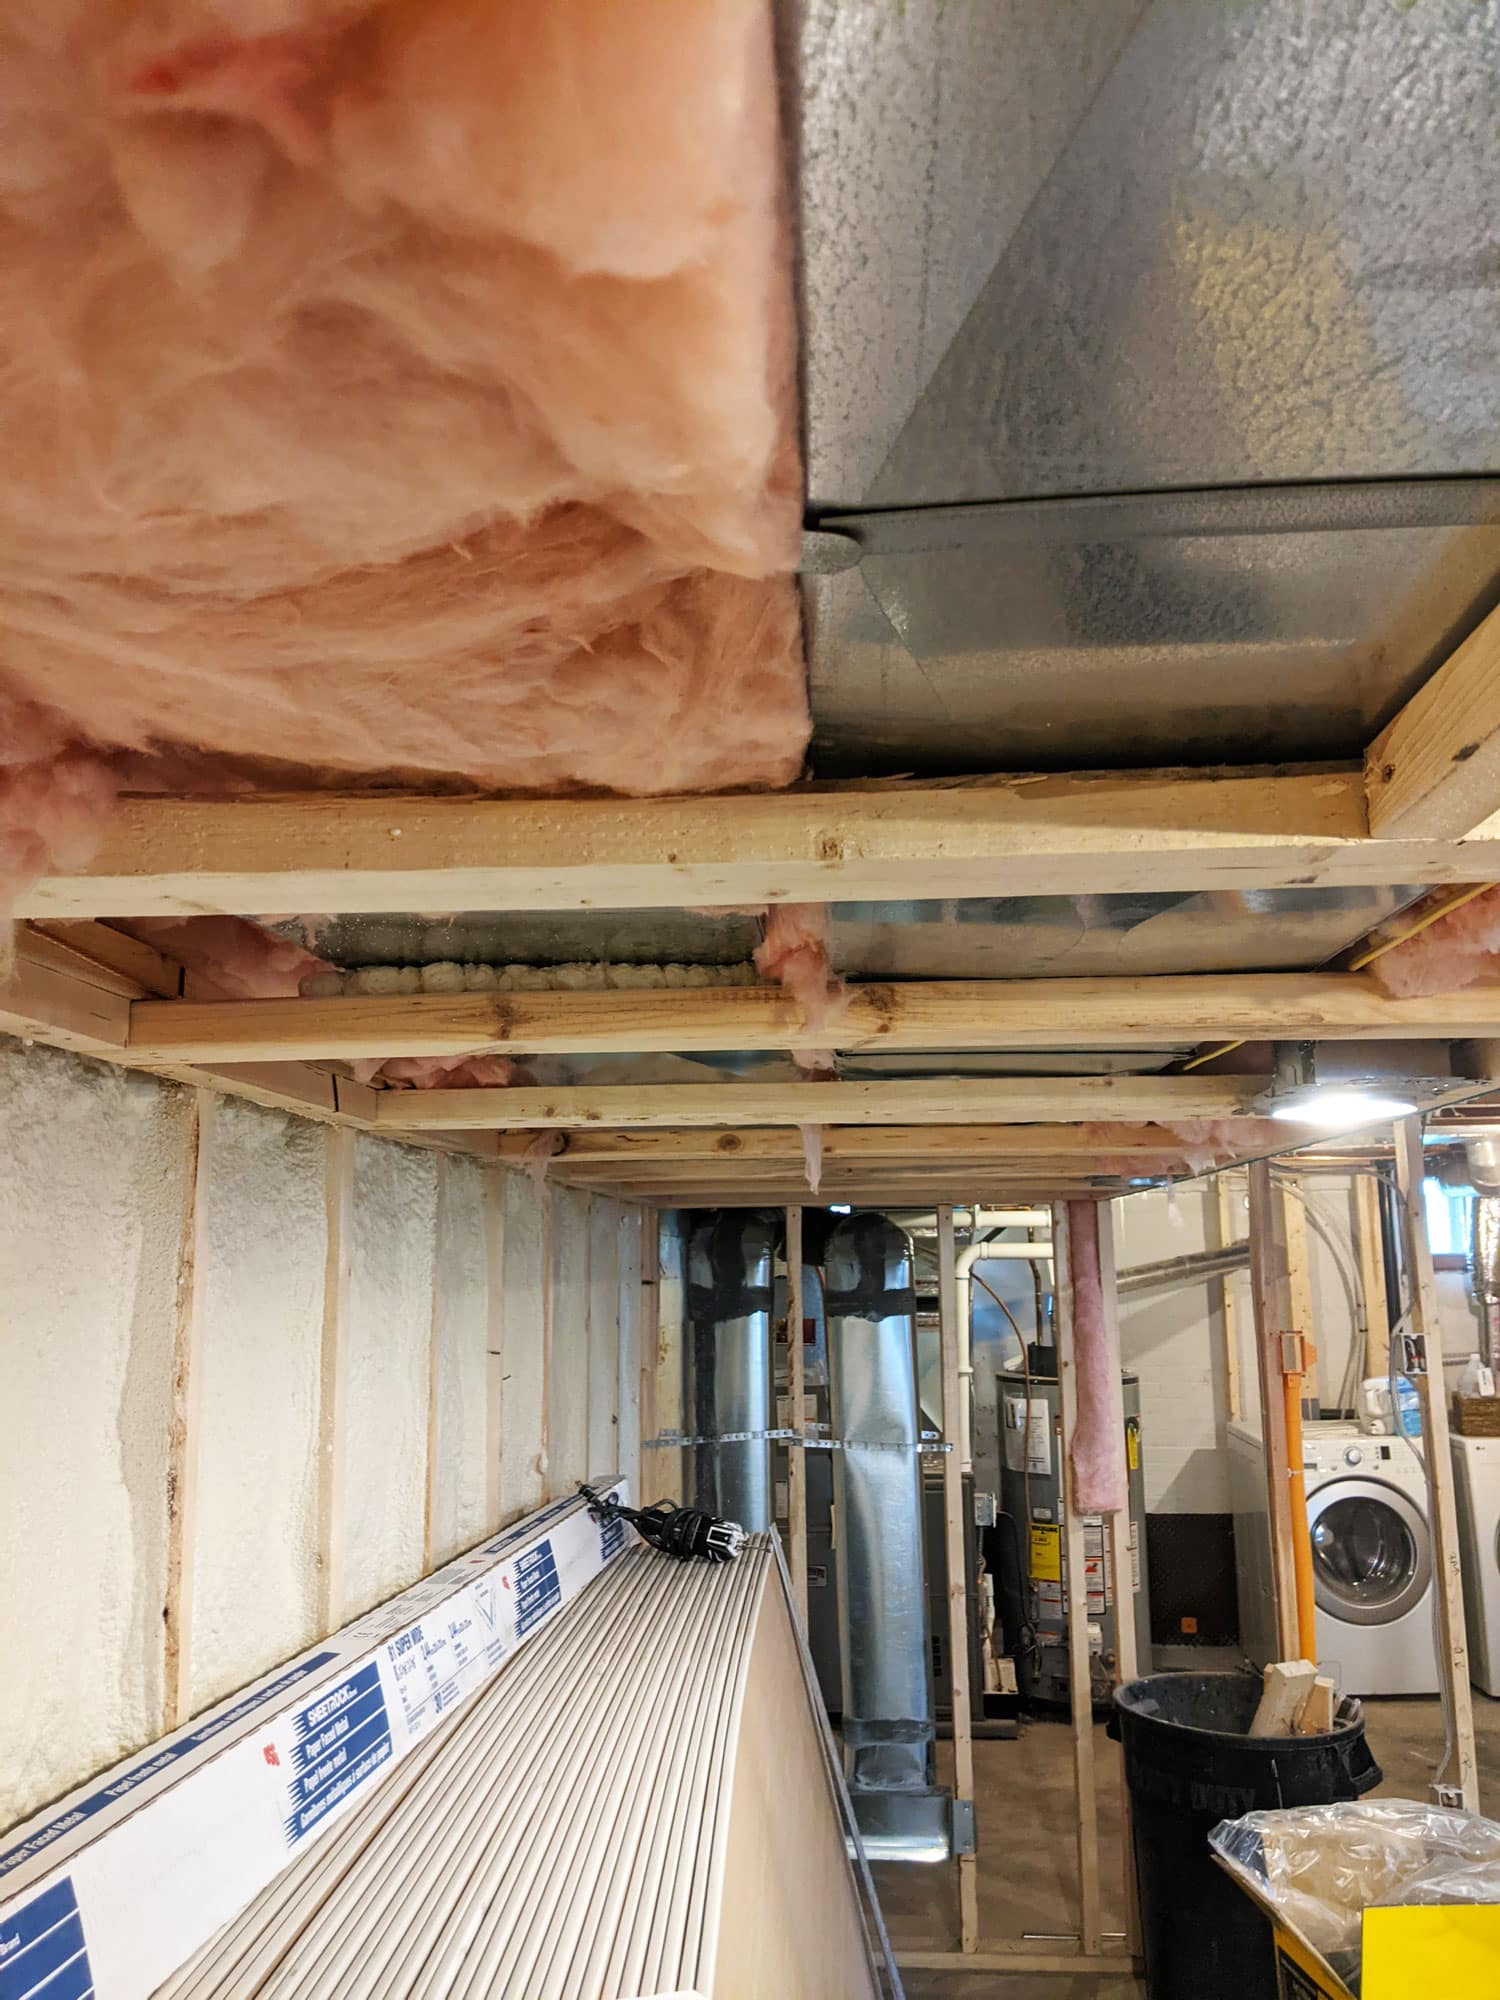
With the sheetrock delivered and brought down to the basement, the next step is to haul it to each room and hang each sheet piece by piece.
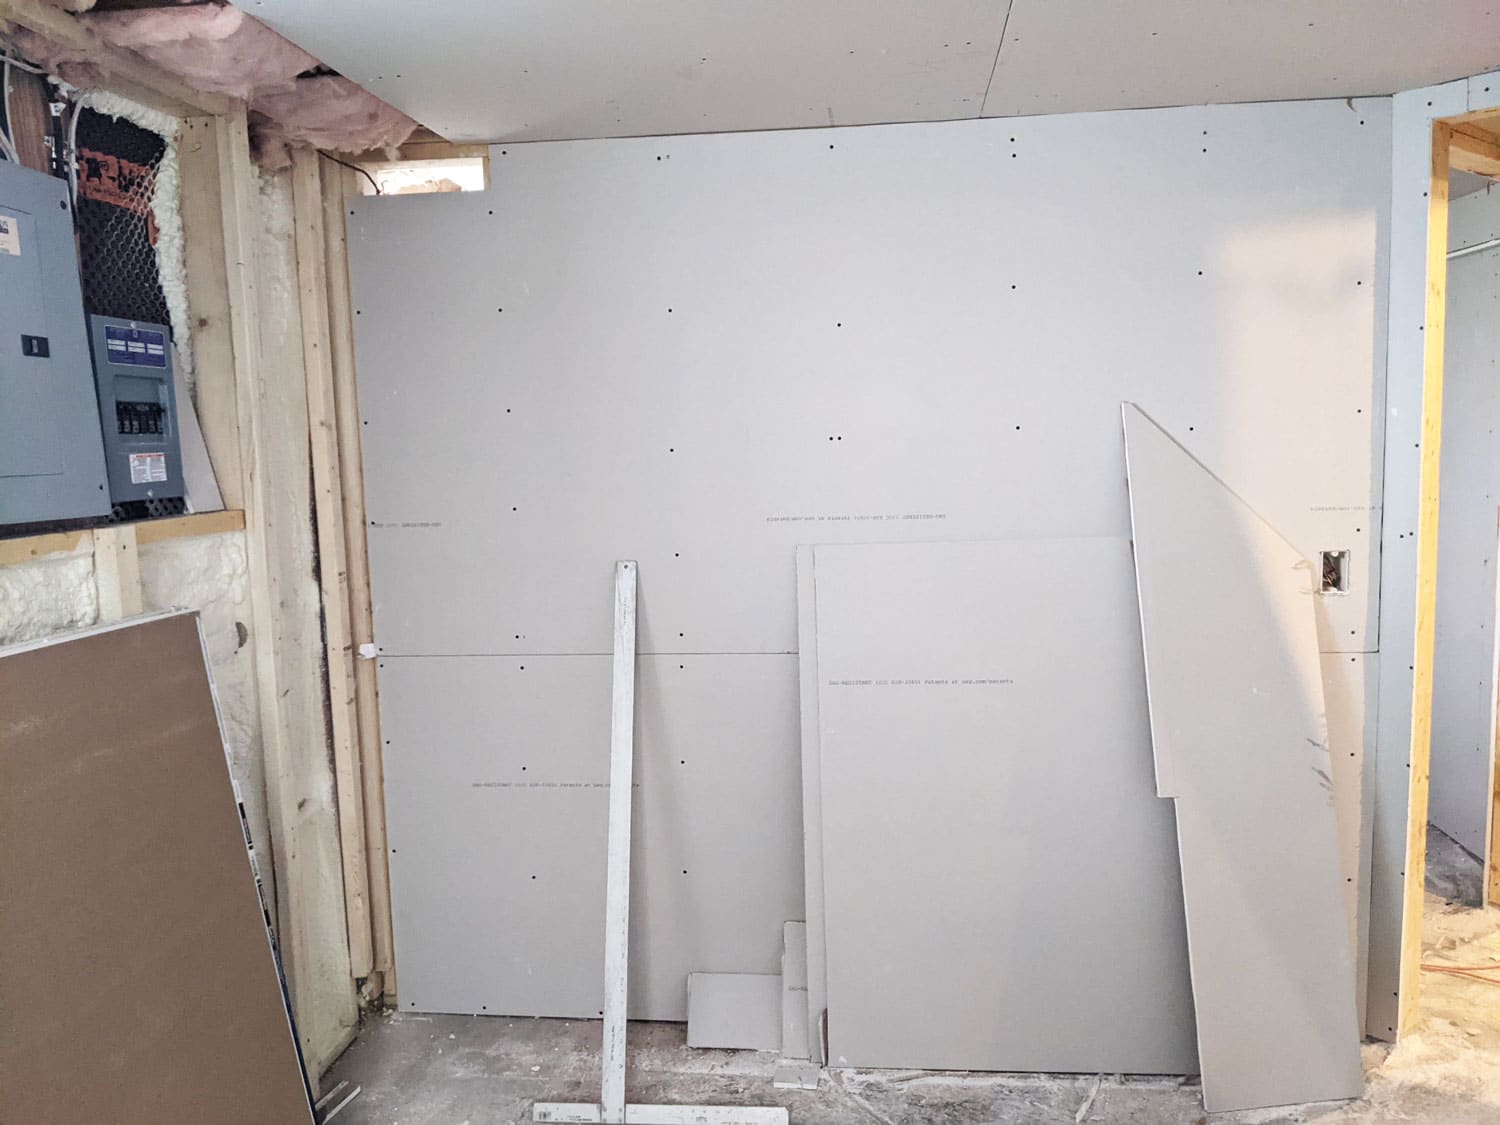
Sheetrock is hung by several installers and screwed into the newly framed wall 16" on center.
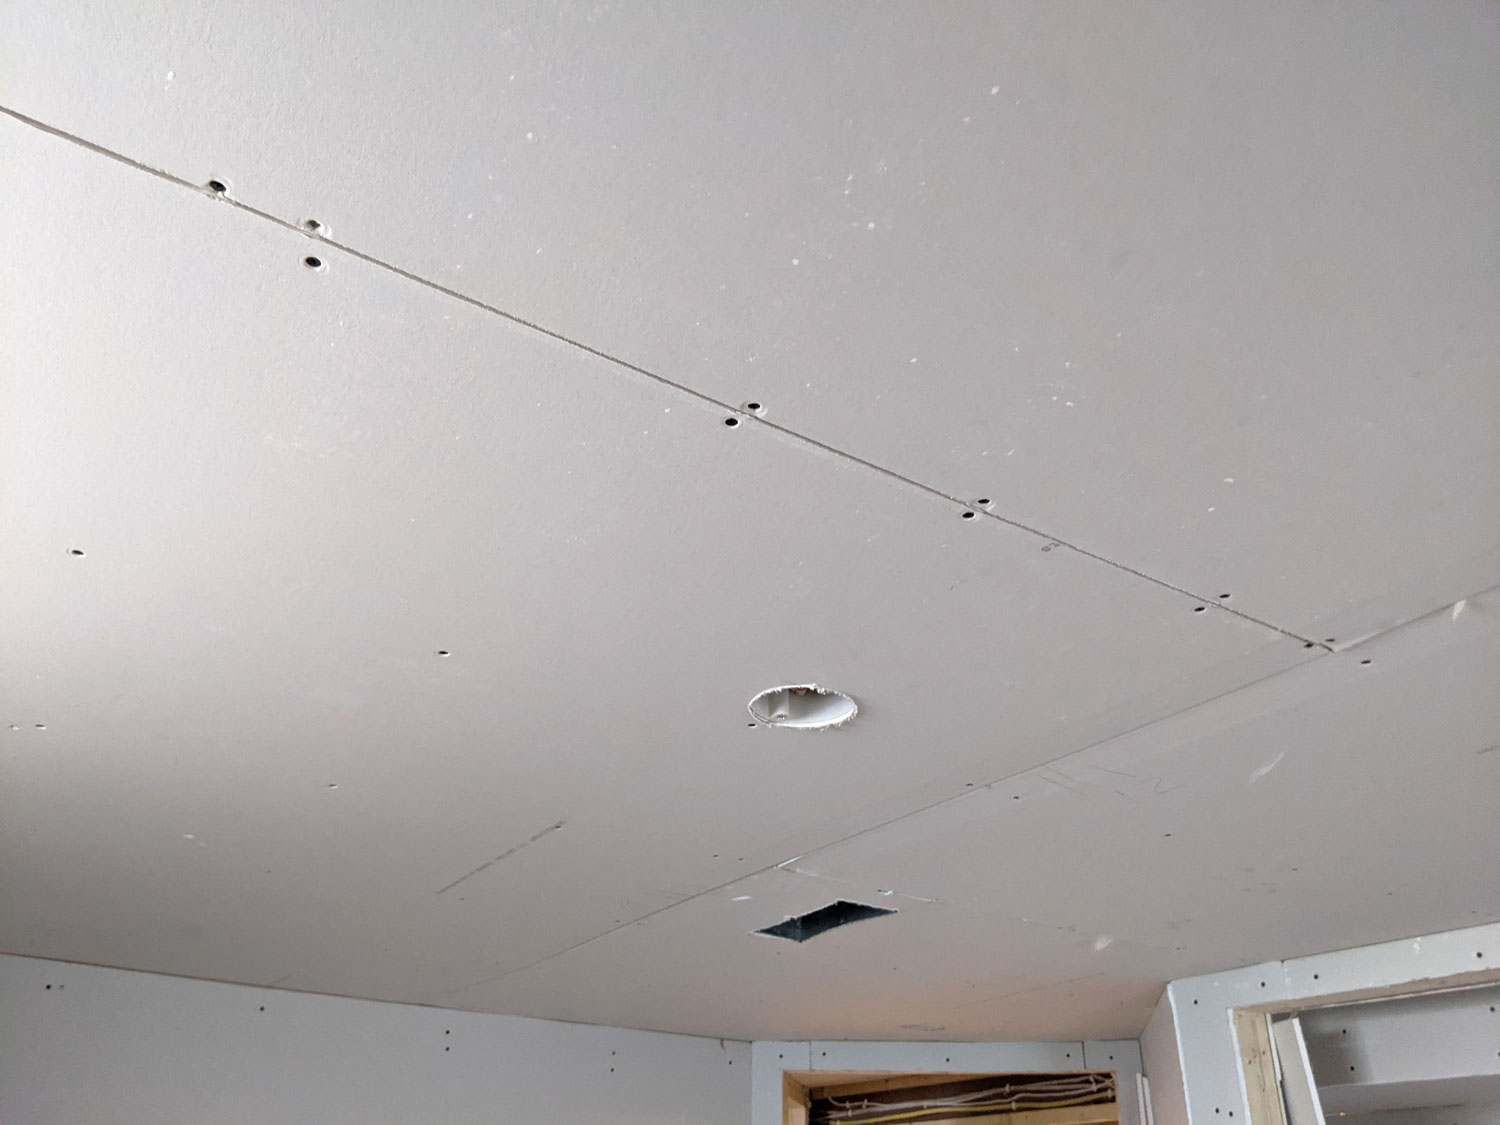
Small openings are left at the locations of the new ceiling fixtures and recessed lighting. Taping and mudding comes next.
In the shower, we stopped the sheetrock installation about 12” from the ceiling to make room for a cementitious board called Durock placed at the location of the new shower tile. Durock provides an ideal surface for mounting tile, especially in wet environments just like this shower. Being that both the Durock and sheetrock are 1/2” thick, we won’t have to worry about an obvious seem between the two different materials.
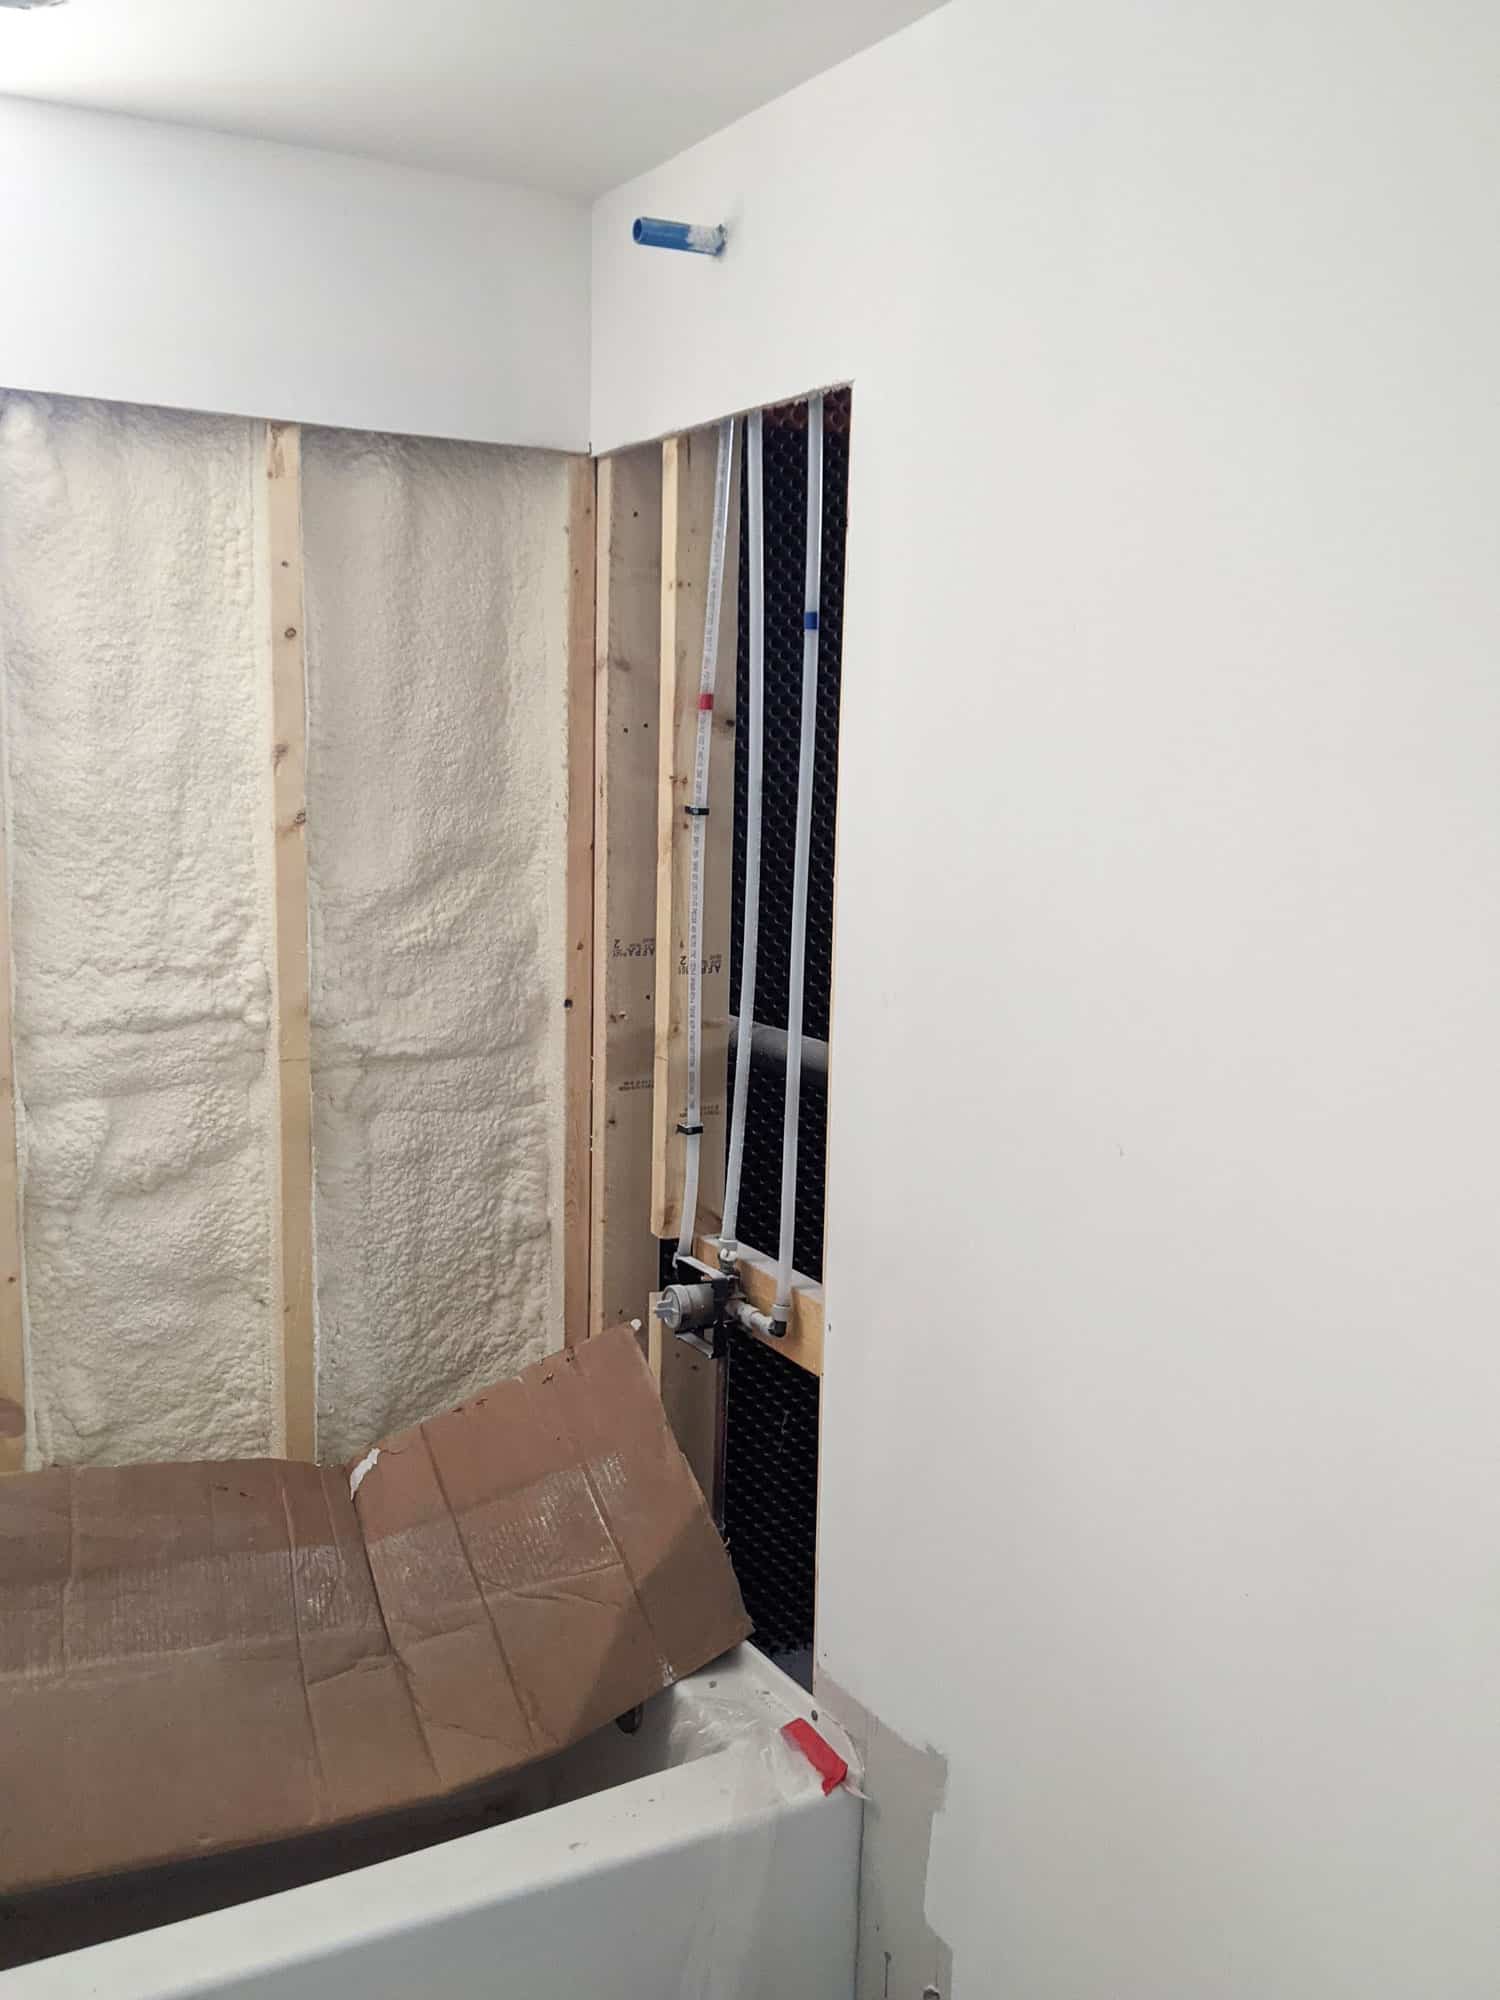
In the shower, the sheetrock crew leaves openings wherever tile will be installed. Durock will then be installed to prevent water damage and promote better tile adhesion.
Right after the sheetrock is hung, mudded, and sanded, the crew can apply the selected primer. For its cost-effectiveness, Sherwin Williams CHB primer can be a good option, especially for ceiling applications. When considering primers, think about the application and the special needs of the room. Humidity from showers, pets, the final paint finish desired, and the ease of cleaning may all play a factor in how to choose your primers and paints!
We’re here to help! Check out our planning resources below, or reach out to us here.
Are you thinking about a basement remodel and wondering how much you’ll need to invest? See the cost breakdown for remodeling a basement in the Twin Cities.

Here's the step-by-step process that ensures you’ll have a remodel you love.
So you’d love to upgrade your kitchen or add a shed dormer with a primary suite, but you’re not sure how to pay for it? Learn about three ways to finance your remodel.