
What are shed dormers and why are they so popular around here?
The Twin Cities are filled with story-and-a-half homes that are perfect for a certain kind of addition, called a shed dormer. Learn more about this popular remodeling project.
Follow along as we create a dormer addition for a homeowner in Southwest Minneapolis who is looking for an updated bedroom with an adjacent bathroom and primary closet.
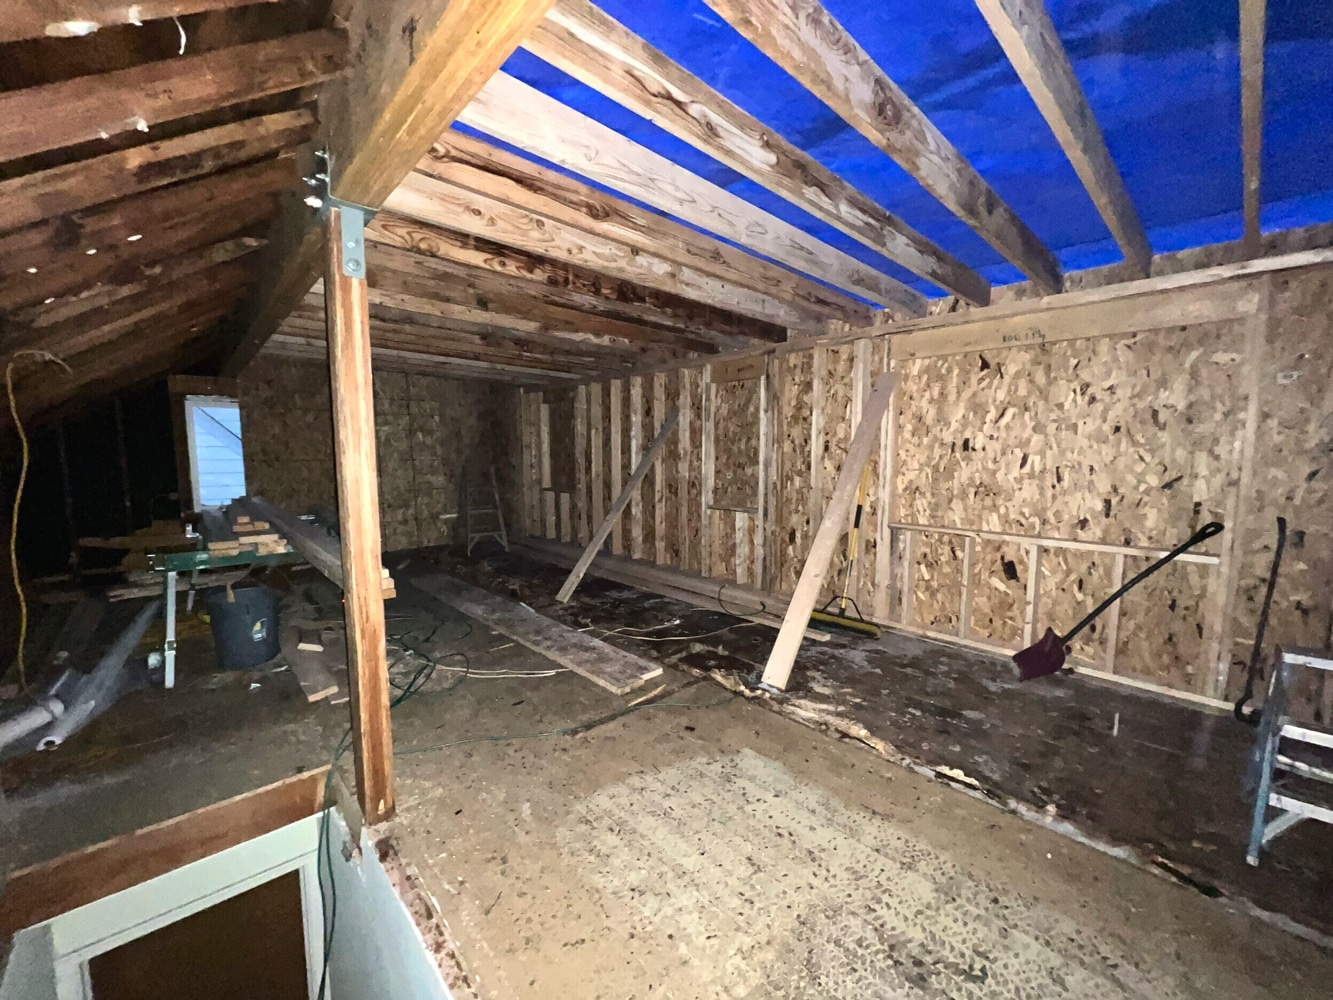
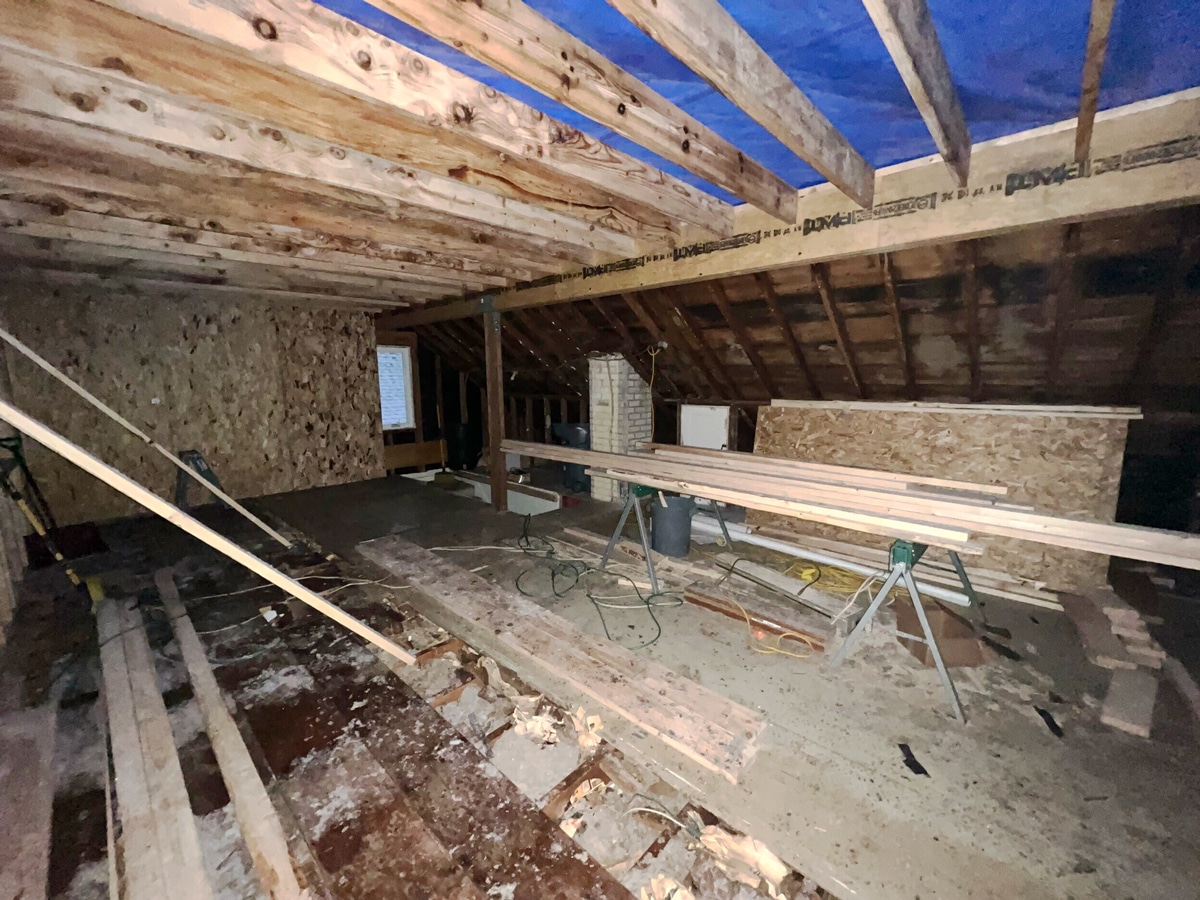
With interior demolition complete and weather delays behind us, our framing crew readied themselves to build out the updated plans for this Southwest Minneapolis attic. As the design called for the construction of a full shed dormer along the back of our client’s 1941 home, the team would not only create interior framing and new exterior walls, but we would also need to make structural modifications to accommodate a shift in weight distribution throughout the building.
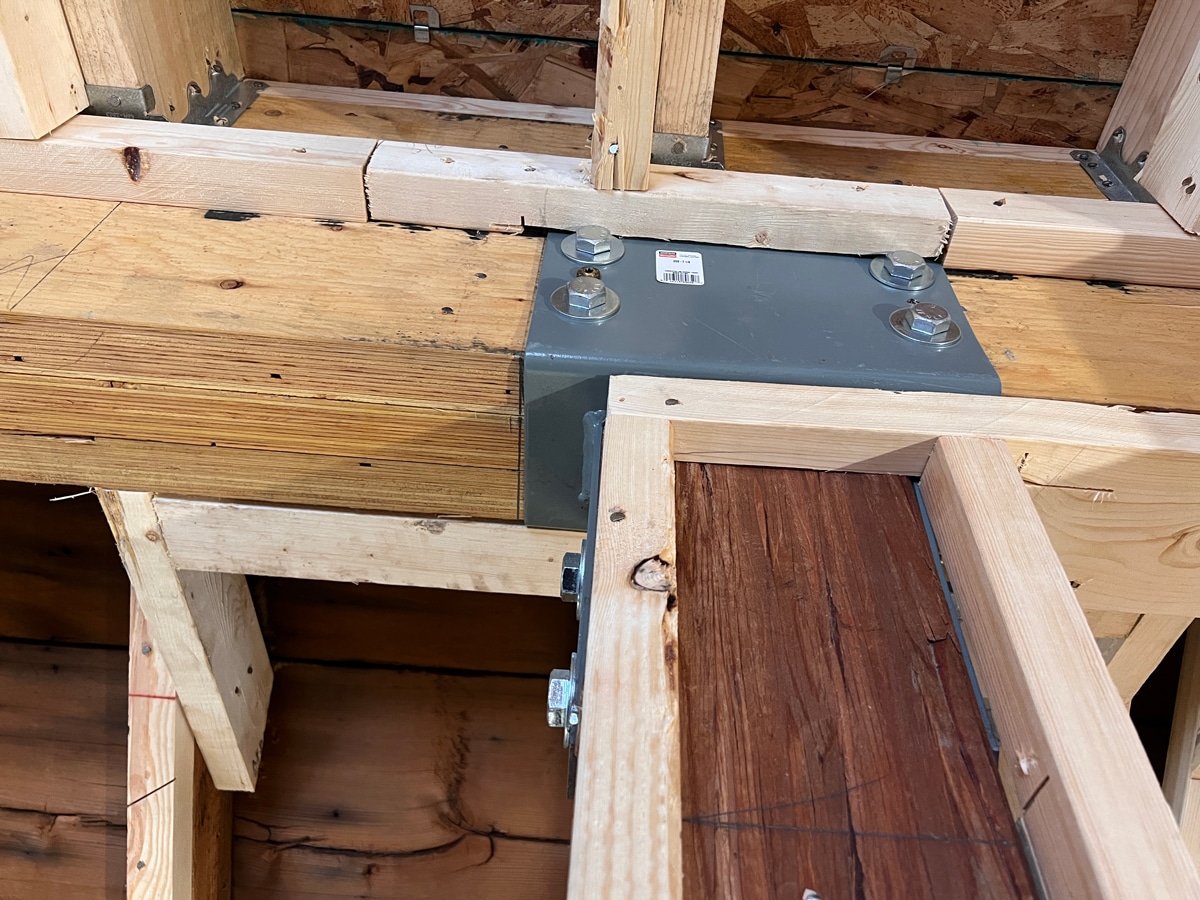
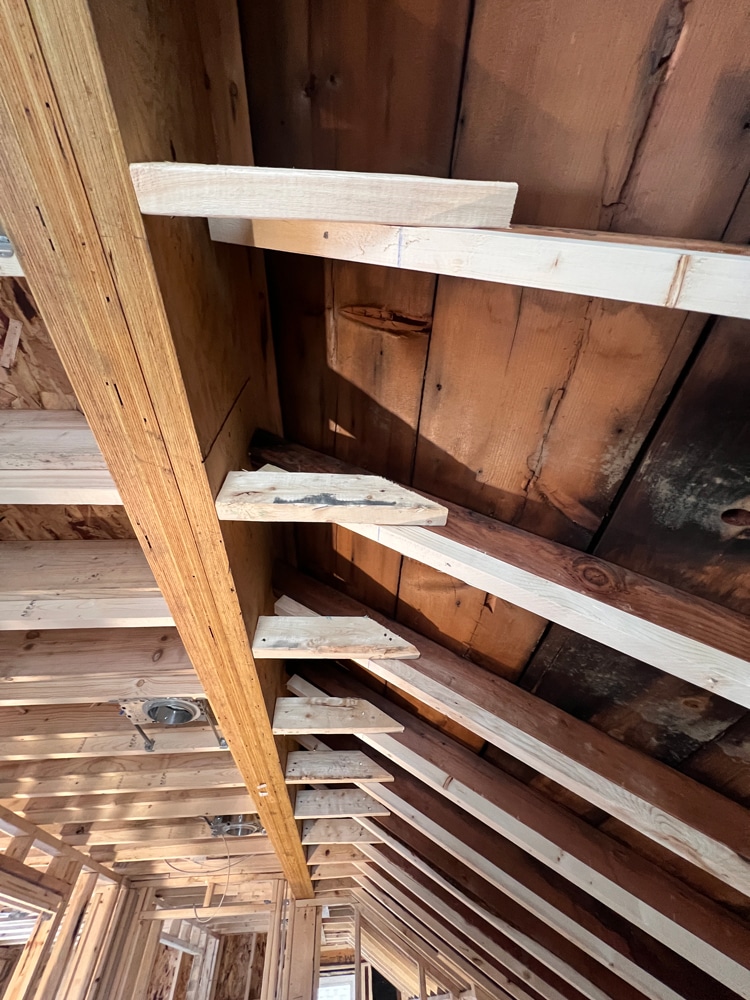
Given that the original 1×6 board running along the peak of the gabled roof wasn’t an appropriate solution for carrying the added load of the shed dormer, successful framing required careful engineering of a new ridge beam.
We removed the single 1×6 board, installing a stronger, 5.25″ x 14″ microllam beam, that spanned the entire length of the roof. Instead of weight from the roof transferring primarily to the exterior walls, as it had for 80+ years, much of that structural load now radiates from the microllam beam down to a bearing point in the middle of the house, then all the way to the basement and foundation below.
Getting a massive beam to the attic felt like another act of engineering. Avoiding pinch points at the stairwell, we lifted the lumber up to the attic from the yard below, pushing the boards upstairs for final assembly and installation.
“We took off the back of the roof, then put on a pretty flat roof for the dormer, which put a lot more load on that ridge beam. So the new beam that’s up there is made of engineered lumber, measuring 5.25″ x 14”. – White Crane Project Manager
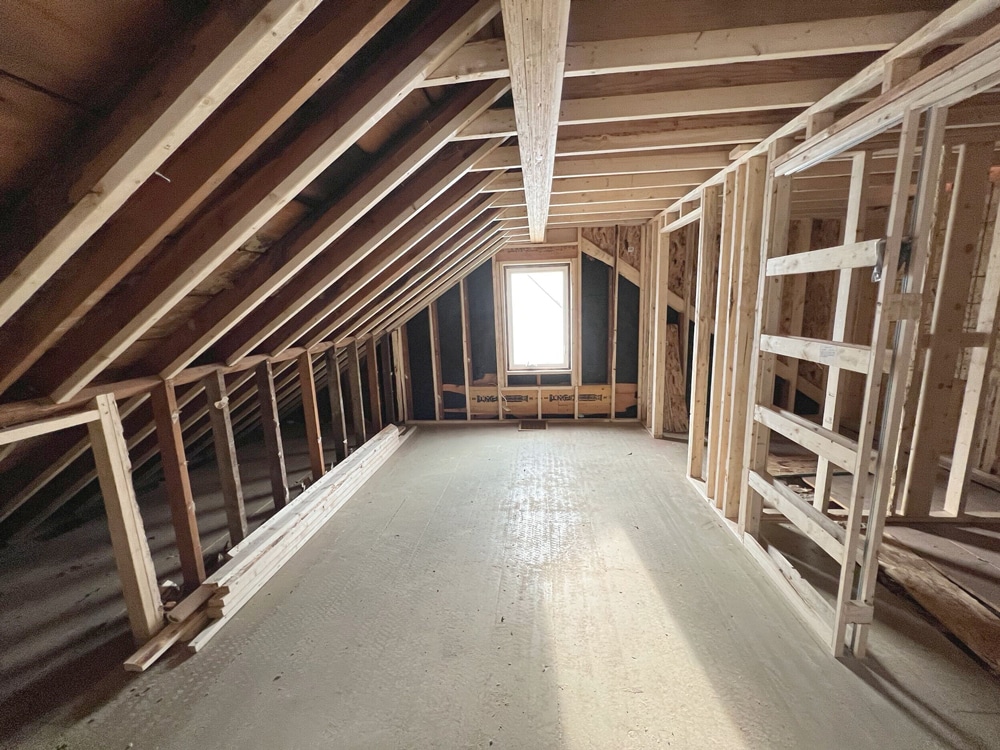
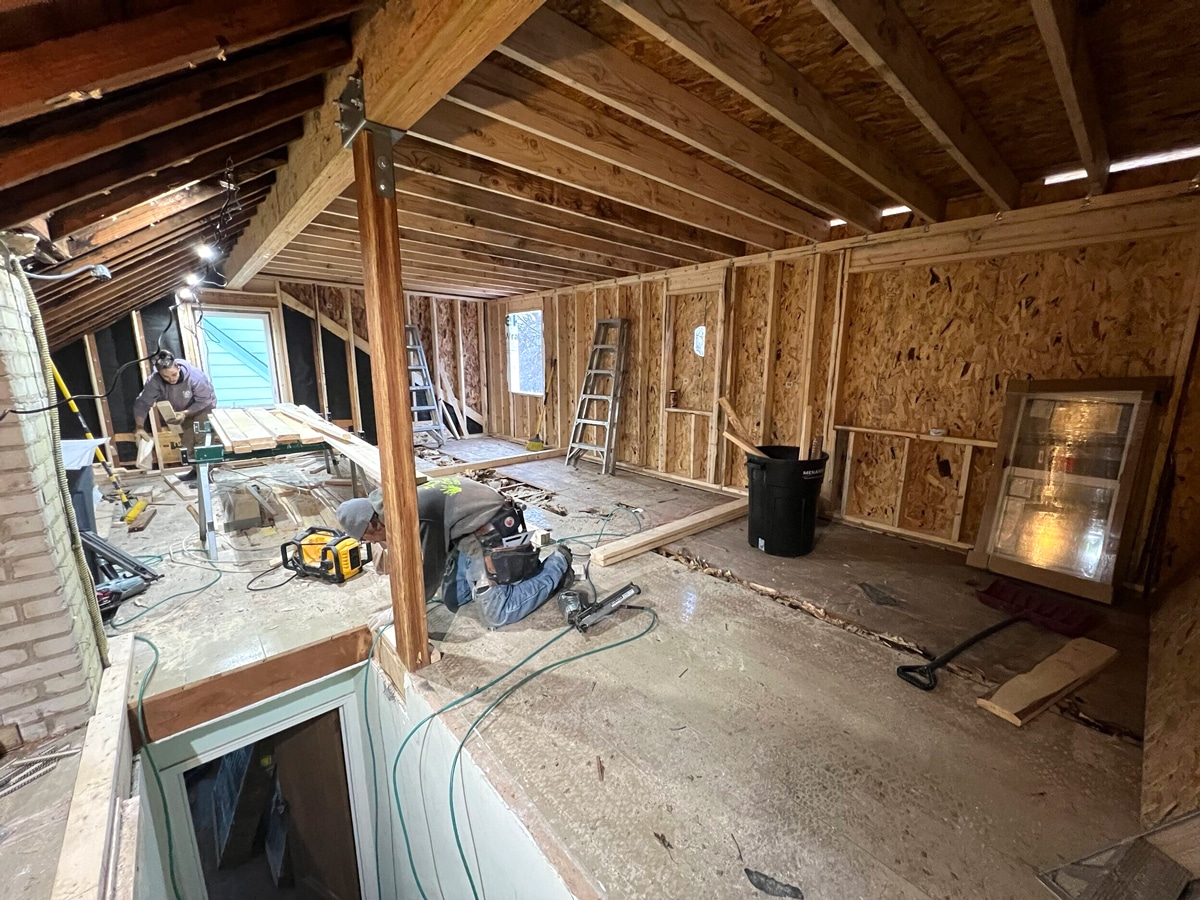
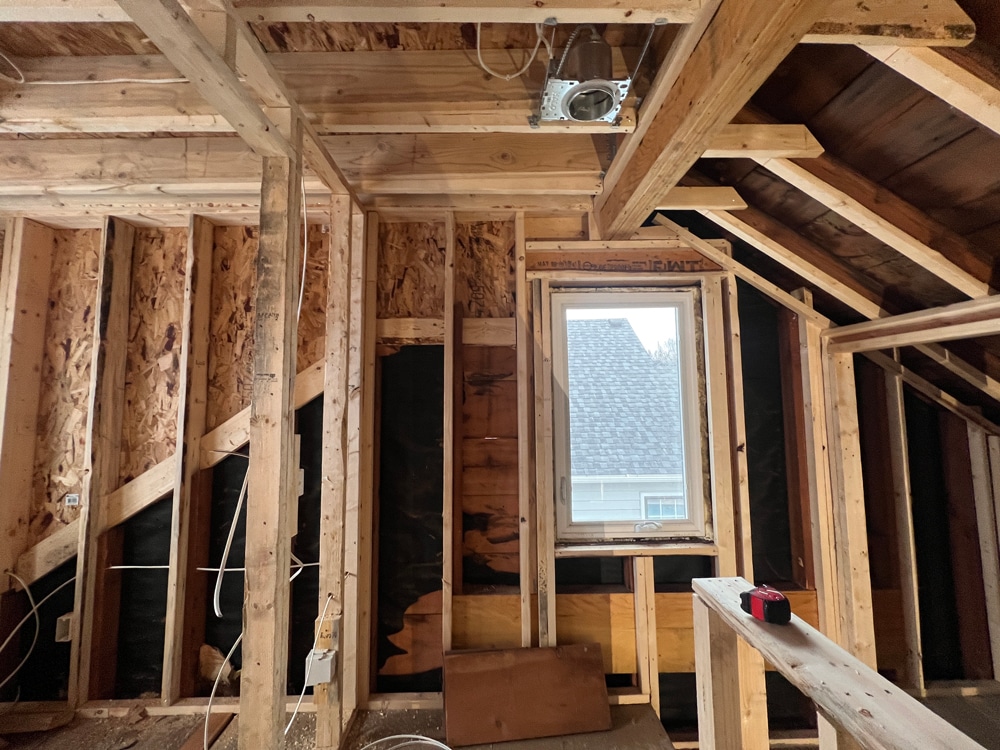
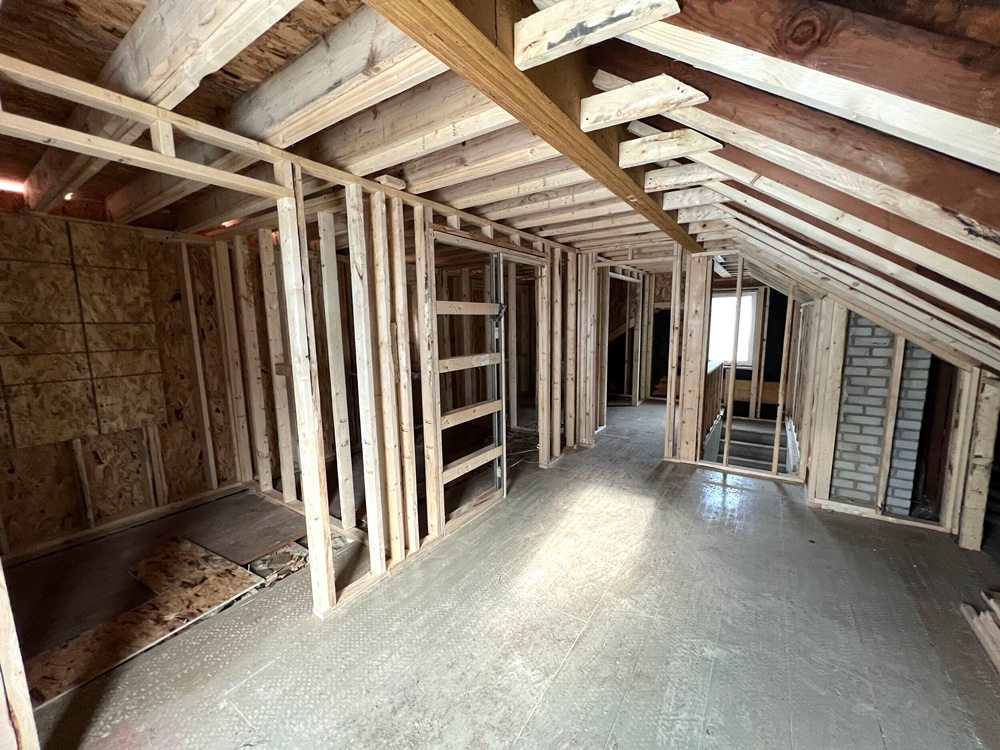
Once the ridge beam was secure, the systematic process of framing the rest of the dormer began, starting with the new exterior walls, then the roof structure, and finally, the interior walls.
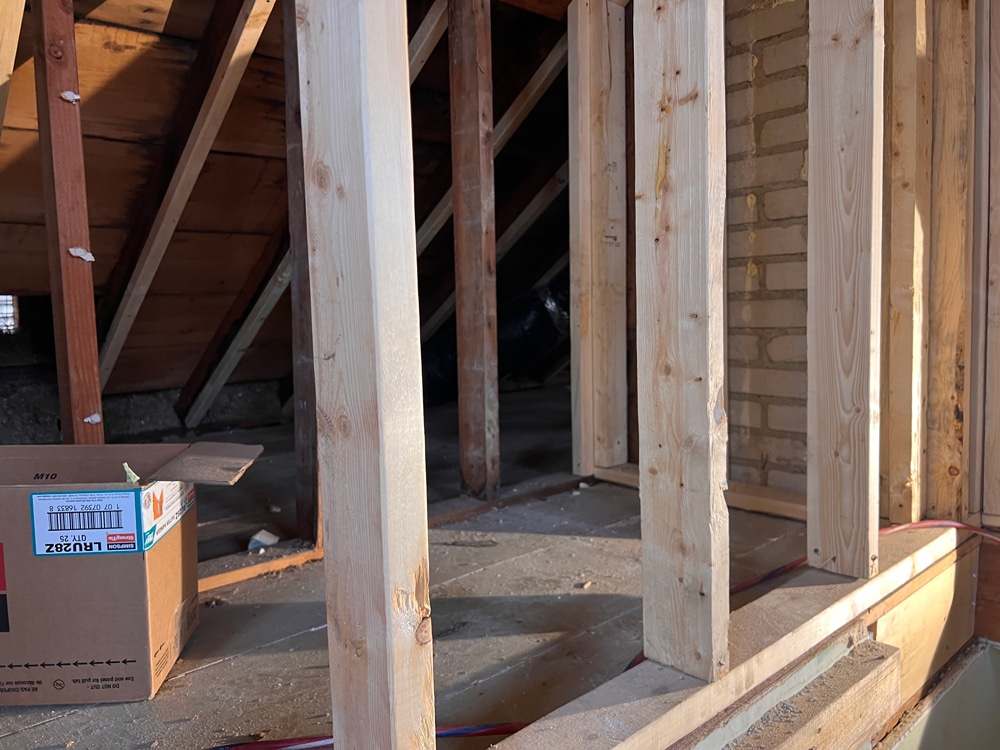
Framers used standard 2×6 boards placed 16″ on center to create the backyard and side facing exterior walls of the shed dormer. To ease the complication of working that high up, the crew started framing the longest of those exterior walls on the ground, sheathed it, and then added house wrap, before tilting and securing the wall into place on the attic level.
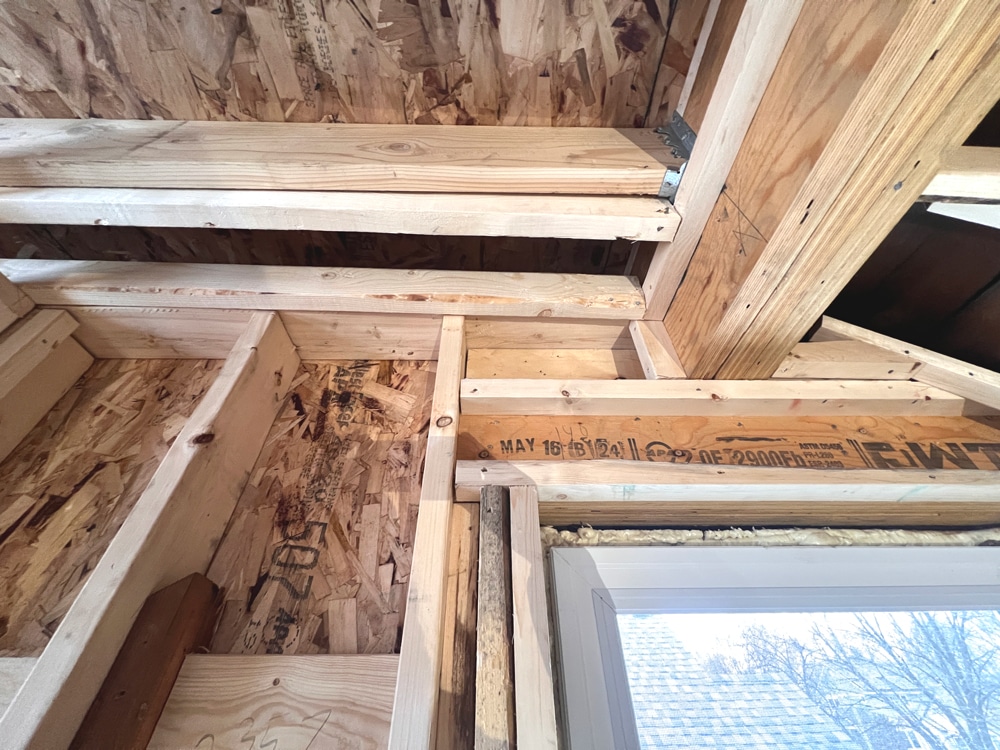
Running perpendicular to the top of our newly placed 2×6 exterior walls and the engineered ridge beam, we nailed in 2×8 rafters that defined the dormer’s gently sloping roof.
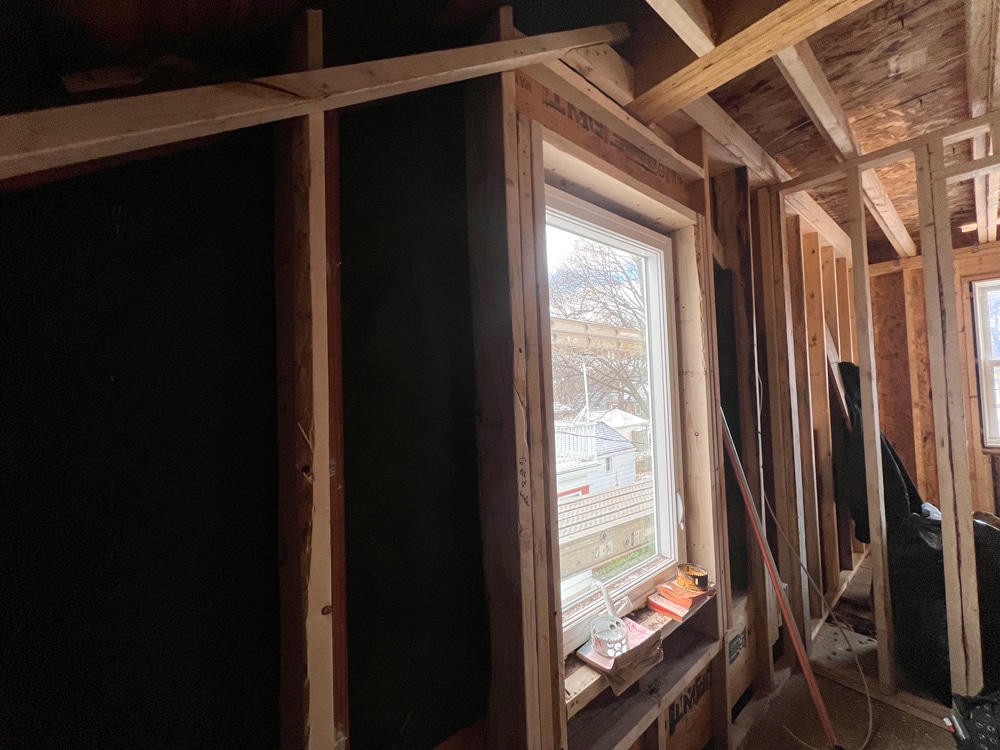
By increasing the sizing of the ridge beam, roof, and exterior wall framing, we not only strengthened the entire building assembly, but we also created deeper cavities for insulation. In Minnesota’s climate, that extra space for spray foam insulation is the difference between a comfortable year-round space and one that’s too hot in summer and likely uncomfortably cold in the winter.
“Instead of having thinner 2×4 exterior walls and 2×4 rafters, we now have a 2×6 exterior walls and 2×8 rafters.” – White Crane Project Manager
Now that we understand a little more about framing for the project, let’s talk about timing.
The rain delays during demo may have initially pushed the schedule back, but the framing crew made up for lost time with what likely was the most productive construction day of the project.
To catch up from the storms, we brought in a second crew to boost productivity. It was a bold strategy, but one that paid off.
In a single day, the framers:
The entire framing process—exterior structure plus interior walls—took about four days total. A truncated timeline like this one was only possible because of experienced crews and strategic planning.
“One day, they tore the roof off, put the ridge beam in, built the walls, put in the roof rafters, and sheathed everything, which was amazing.” – White Crane Project Manager
Southwest Minneapolis Homeowner
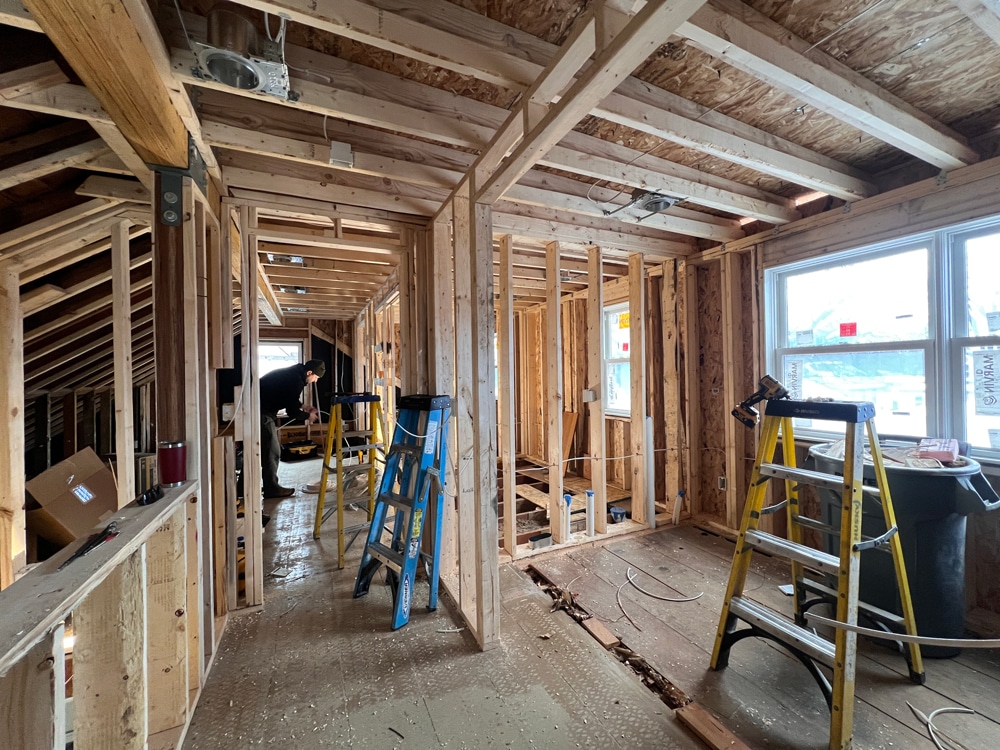
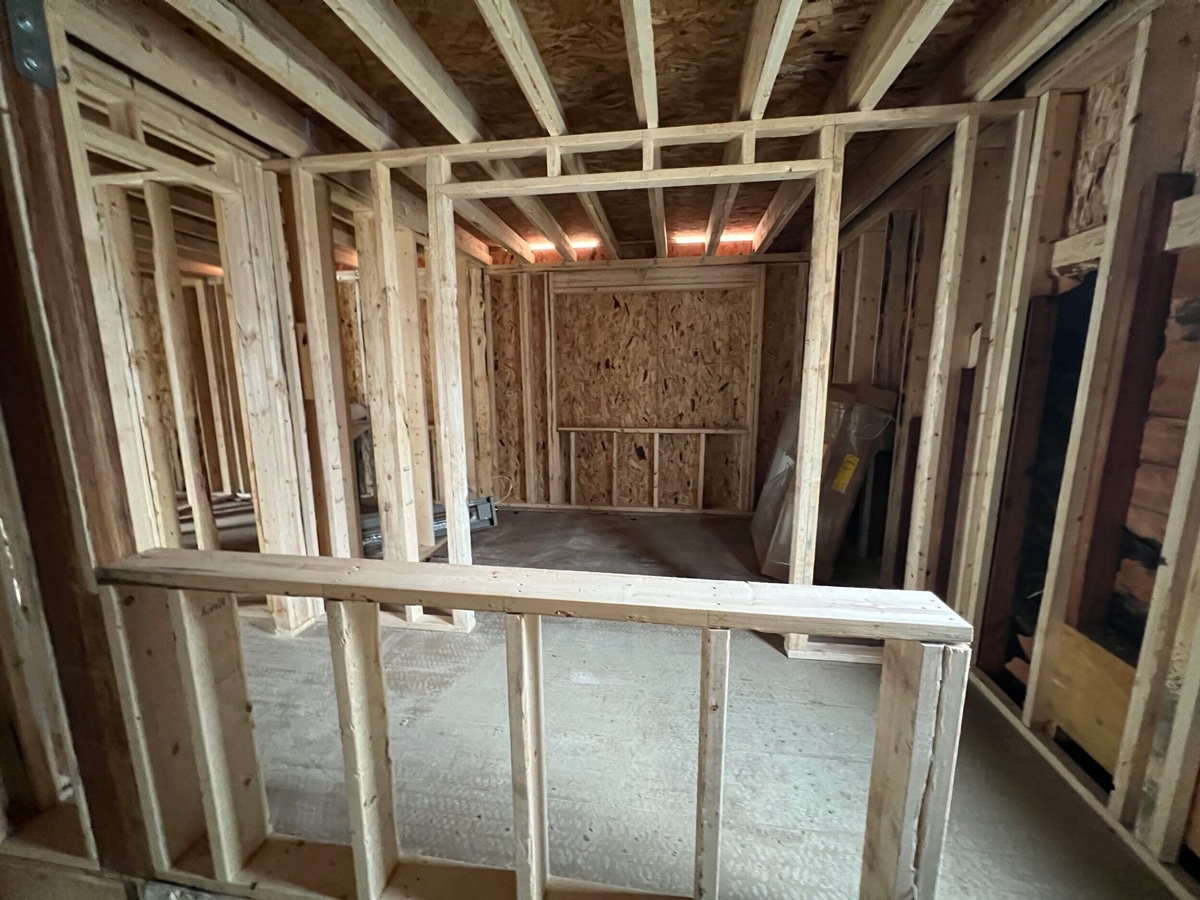
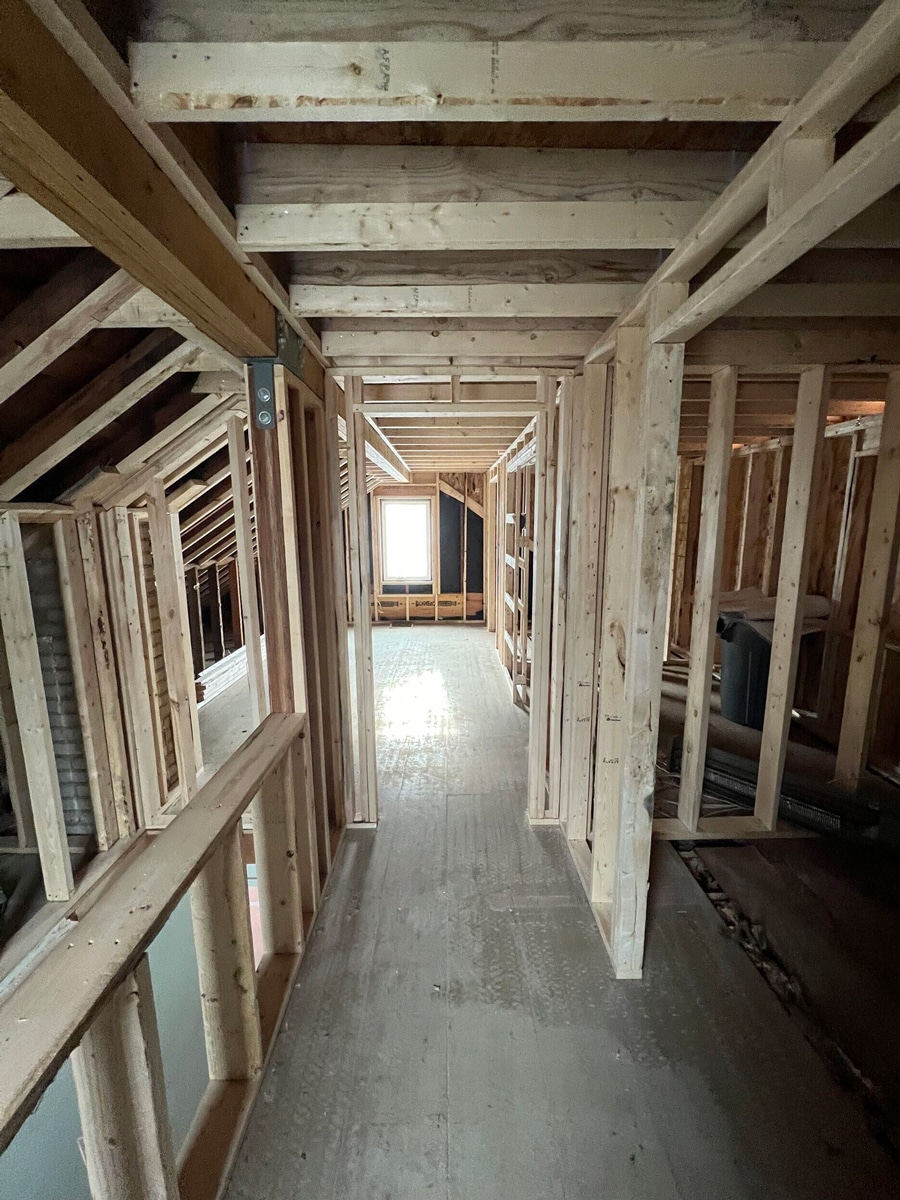
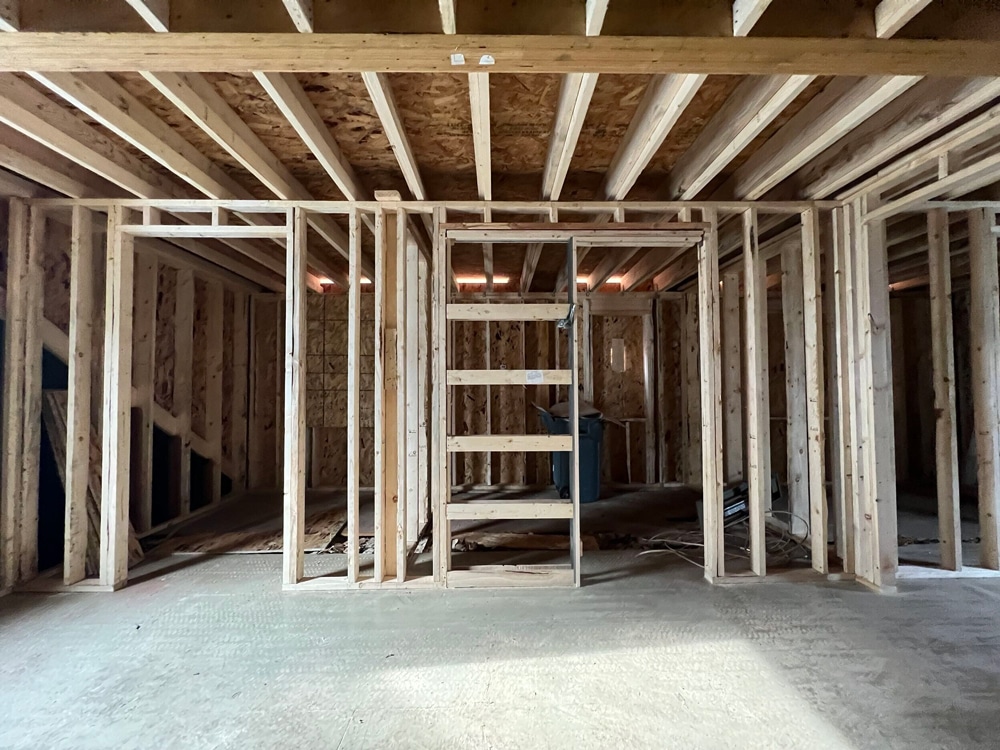
Framing is often the first phase of construction where homeowners can start to visualize their new spaces—walls that existed only on paper now suddenly define real rooms with actual proportions.
Suddenly our weekly site visits with the homeowner felt much more exciting.
While the exterior framing may have redefined the home’s architecture, our client’s vision of an upgraded bedroom, new bathroom, and bonus room was made real with interior framing. For nearly all of the redefined interior walls, we leveraged standard 2×4 lumber for framing, except where plumbing rough-ins necessitated deeper wall cavities.
In our next blog, we’ll show you more about the rough-ins that will bring modern mechanical, electrical, and plumbing systems to this reimagined Minneapolis attic, setting the stage for the insulation that will make the attic more comfortable year-round.
We’re here to help! Check out our planning resources below, or reach out to us here.
The Twin Cities are filled with story-and-a-half homes that are perfect for a certain kind of addition, called a shed dormer. Learn more about this popular remodeling project.

So you’d love to upgrade your kitchen or add a shed dormer with a primary suite, but you’re not sure how to pay for it? Learn about three ways to finance your remodel.

Here's the step-by-step process that ensures you’ll have a remodel you love.