
How Much Does it Cost to Remodel a Kitchen in the Twin Cities?
Are you dreaming of a new kitchen and wondering how much you’ll need to invest? We breakdown the costs for two kitchen remodels and what factors drive those costs.
Follow along as we design and build a new kitchen within an American Foursquare in St. Paul.
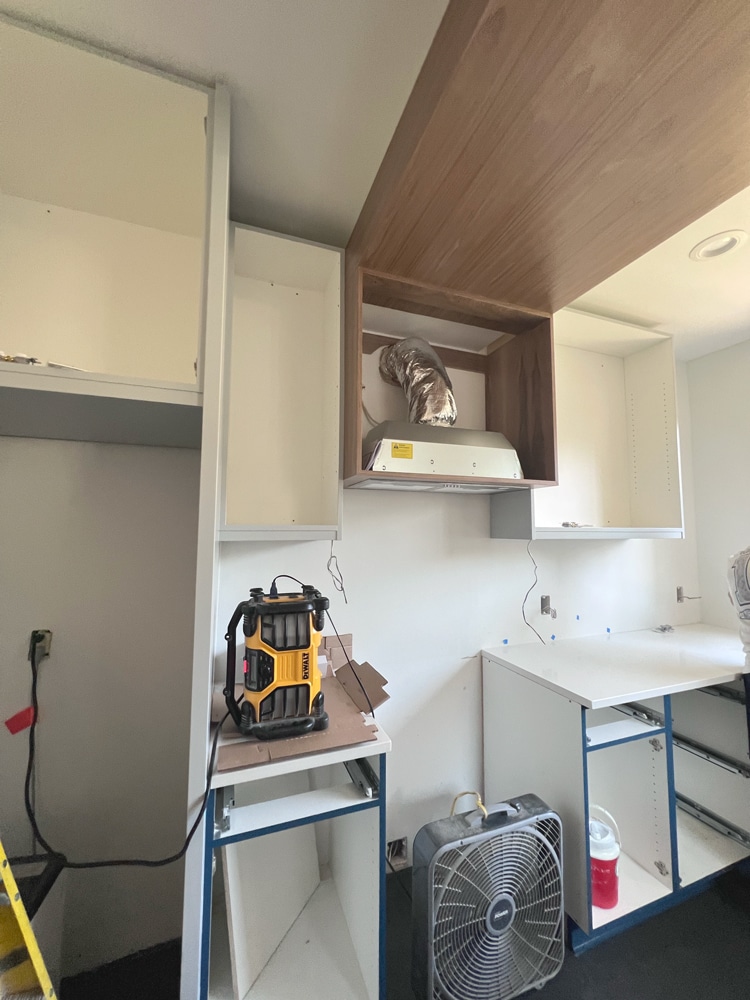
With insulation and drywall complete in this Macalester-Groveland area kitchen remodel, it’s time to install the vibrant, multi-toned cabinetry that will transform this space visually while solving the storage problems that prompted our clients to remodel.
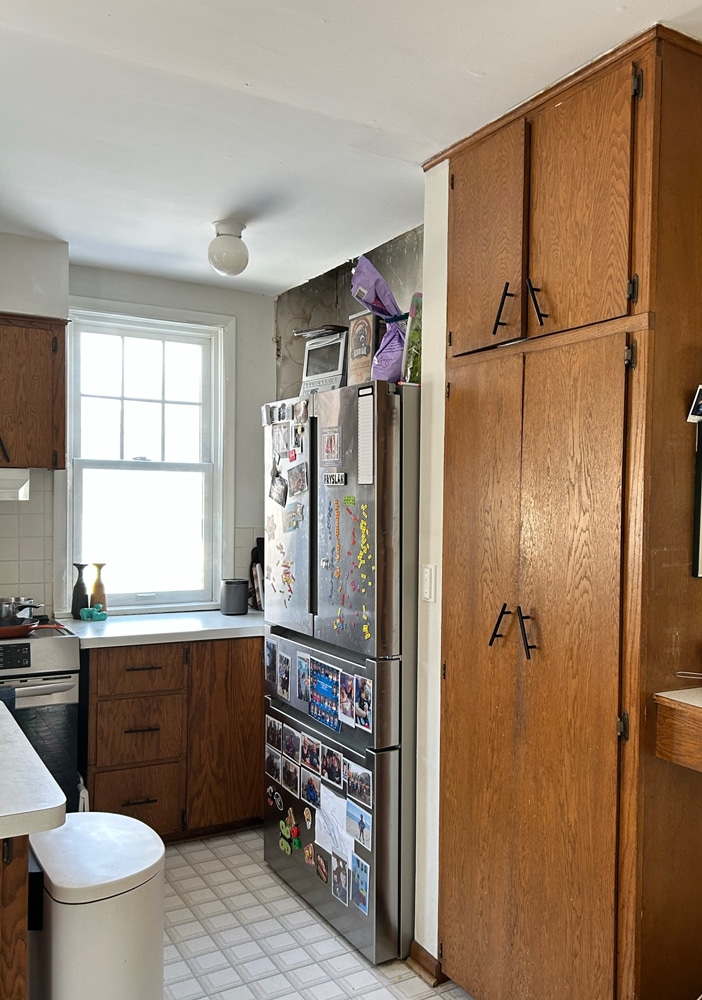
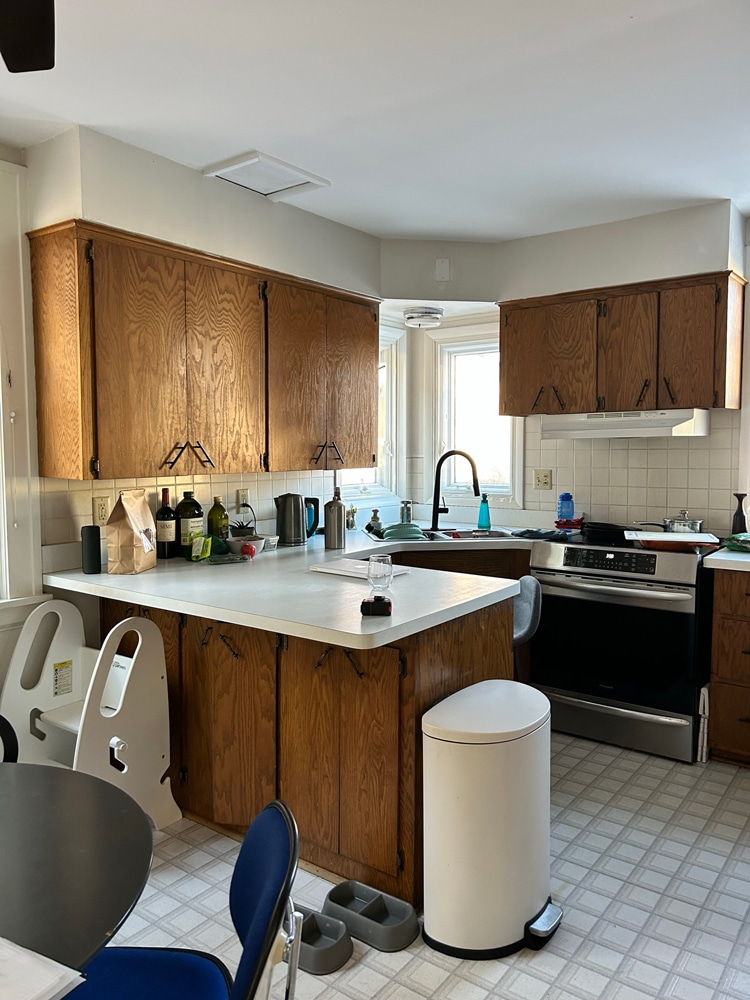
Storage was one of the most significant challenges facing the owners of this 1919 home. Their previous kitchen layout had limited cabinet space, forcing the homeowners to store everyday kitchen essentials in the basement. With what cabinets they did have, many were barely operable or had little storage functionality due to adjustments made during a 1970s remodel.
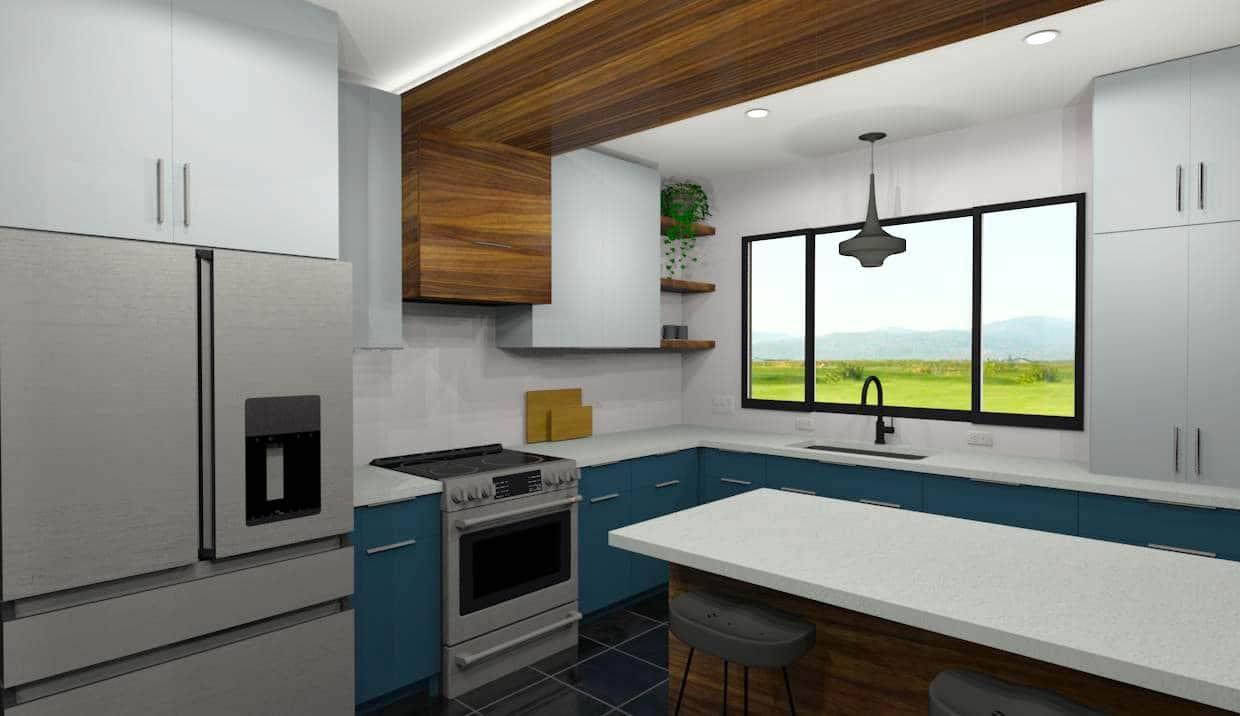
Designers worked with the homeowners to solve the existing storage issues by removing the dining nook in the kitchen in favor of a much longer run of cabinets, providing a full-height entry cabinet, adding an island, and removing smaller windows that would impede storage.
Apart from the cabinetry arrangement, these custom cabinets feature standout elements personalized for our St. Paul clients, such as:
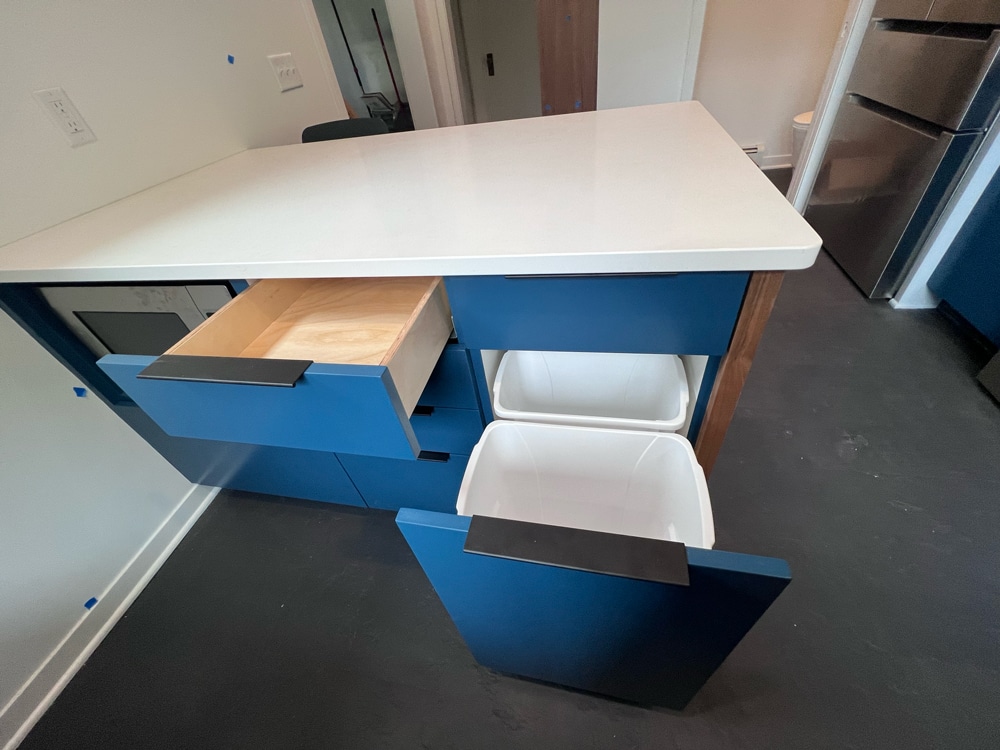
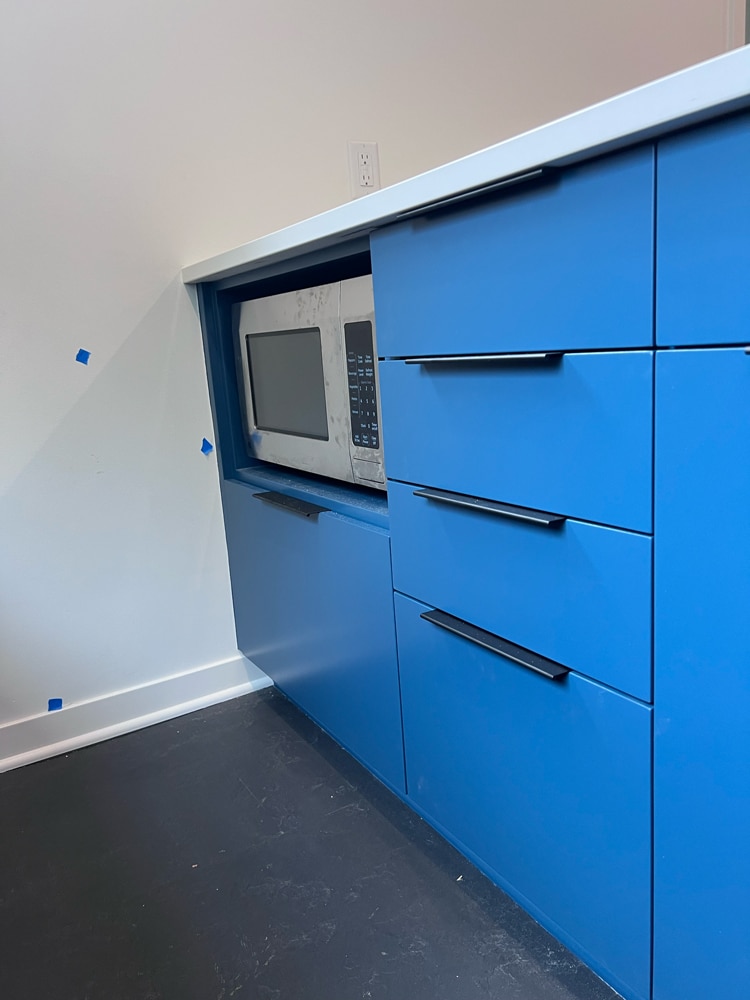
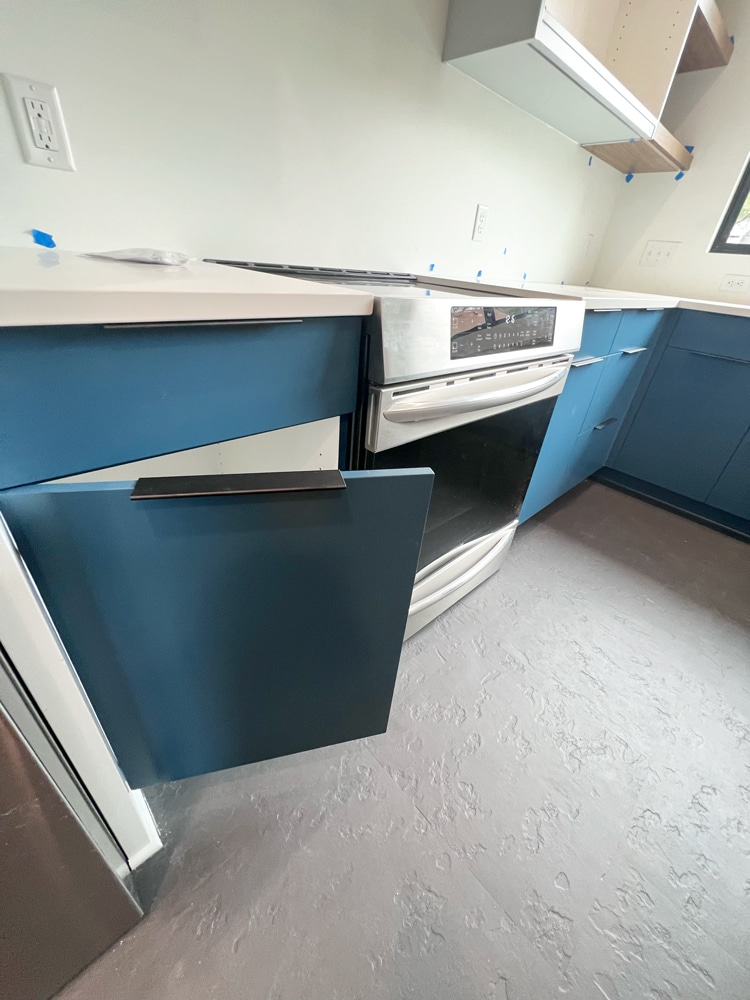
“We enjoyed getting the microwave off the counter and neatly tucked away. Same for the trash and recycling. We upgraded to a panel-ready dishwasher to keep the modern, clean lines.” – Macalester-Groveland Homeowners
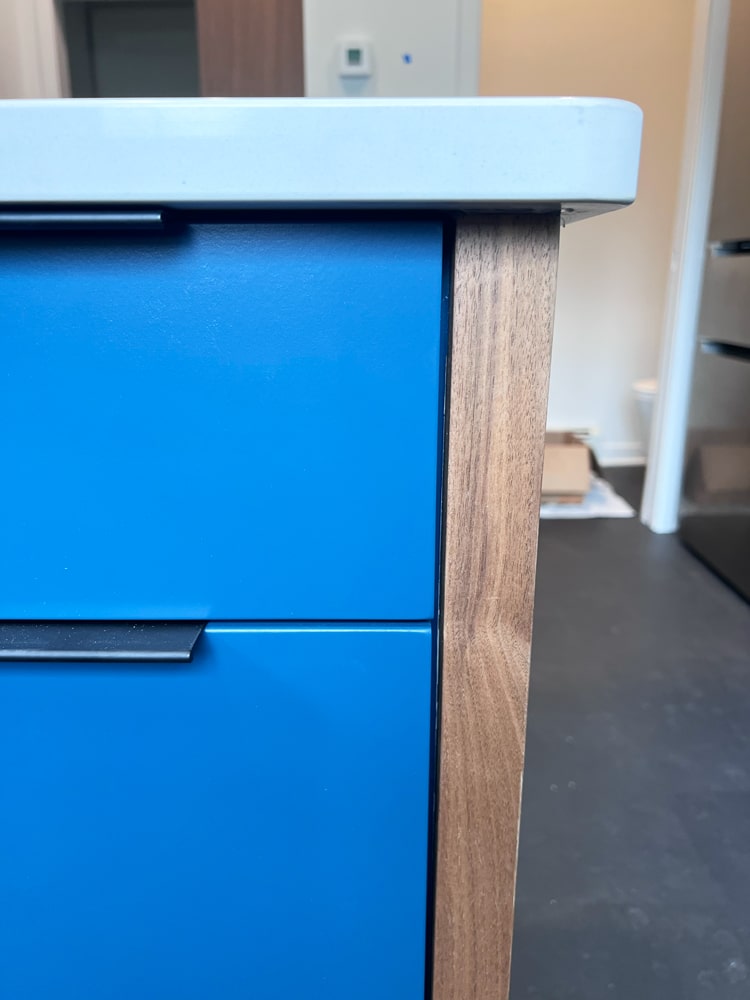
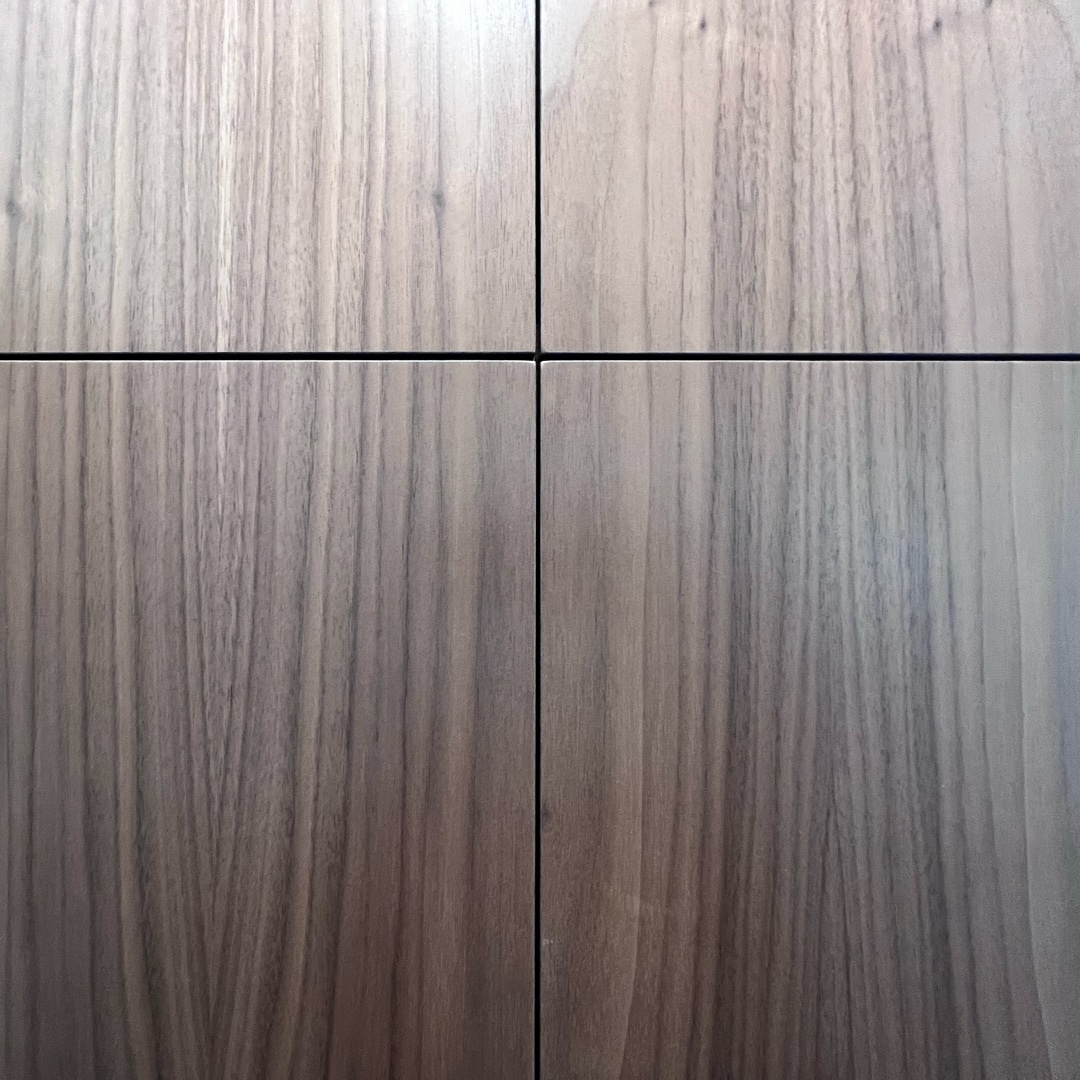
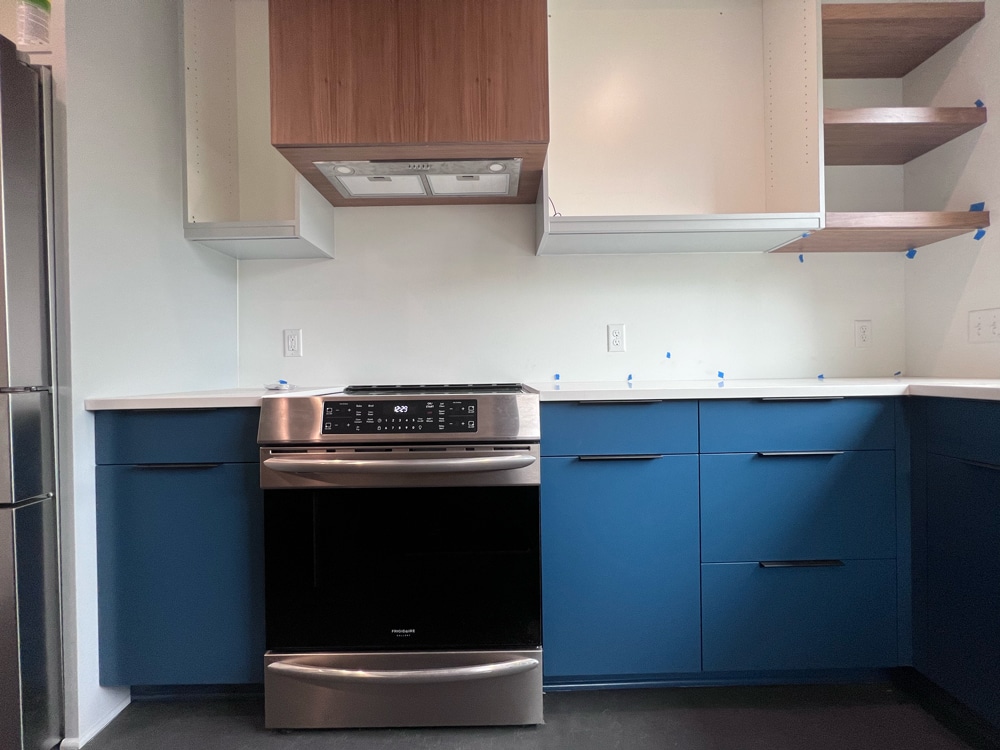
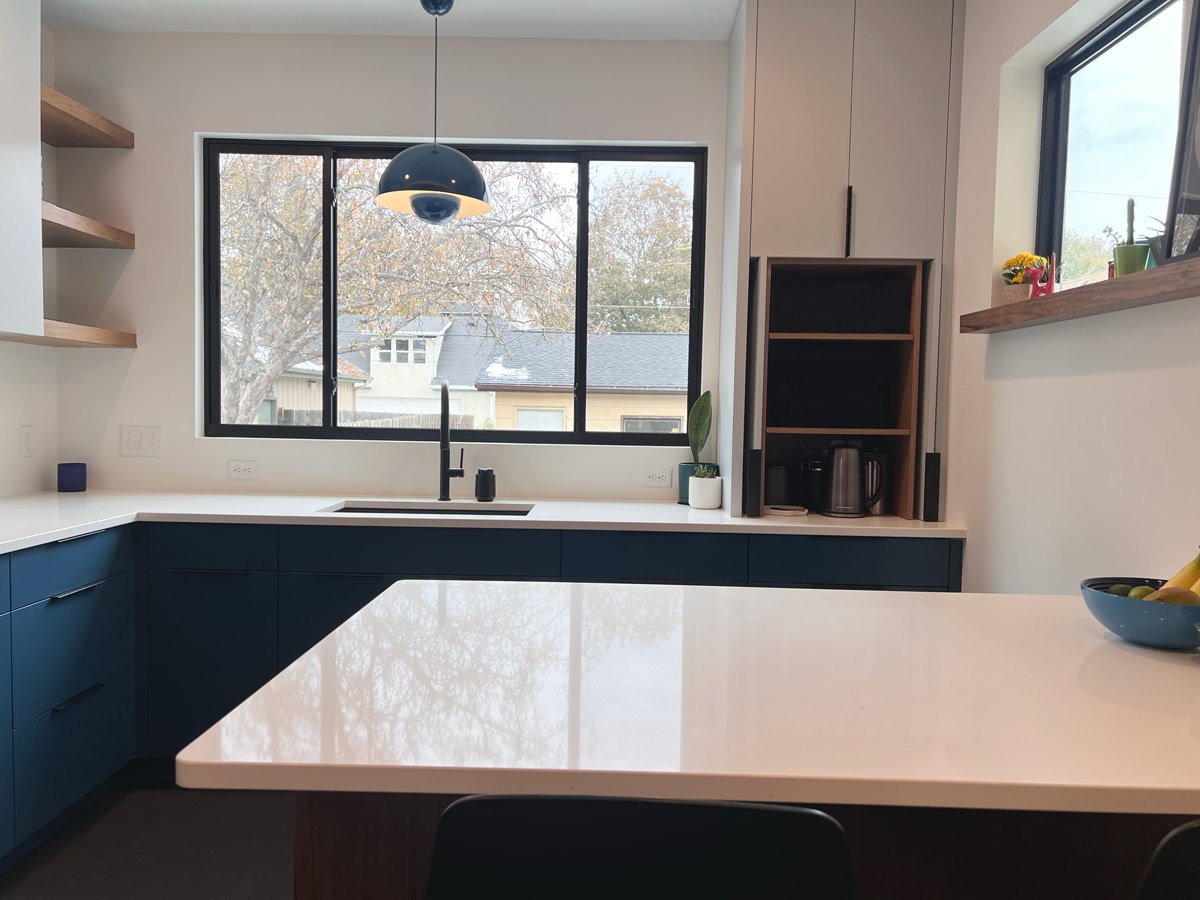
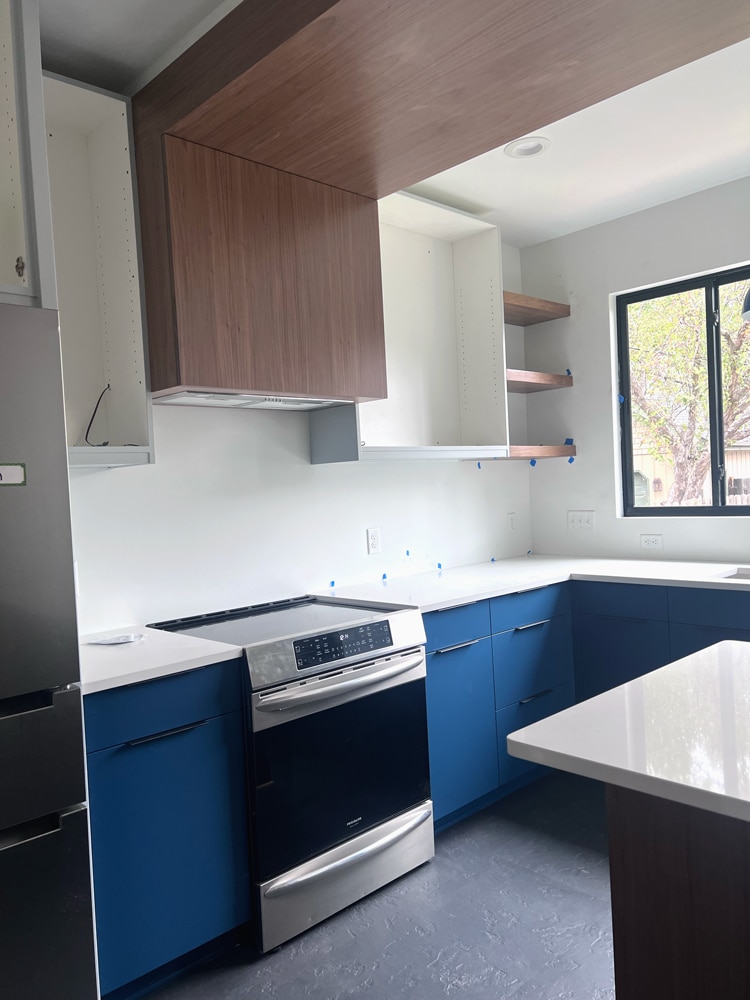
The cabinet specifications outlined modern details for this kitchen, like the flat panel, slab style cabinet fronts in soft maple with MDF interiors for durability. The sleek black hardware helps maintain the modern aesthetic our clients are after while the stain grade walnut cabinets and hood add warmth and depth to the updated kitchen.
The two-tone color scheme pairs bold blue lower cabinets (Sherwin Williams Marea Baja) with lighter gray upper cabinets (Sherwin Williams Gray Screen). While the blue lower cabinets offer an exciting design twist in this classic St. Paul home, the gray uppers are a good choice for maintaining a bright, and open kitchen.
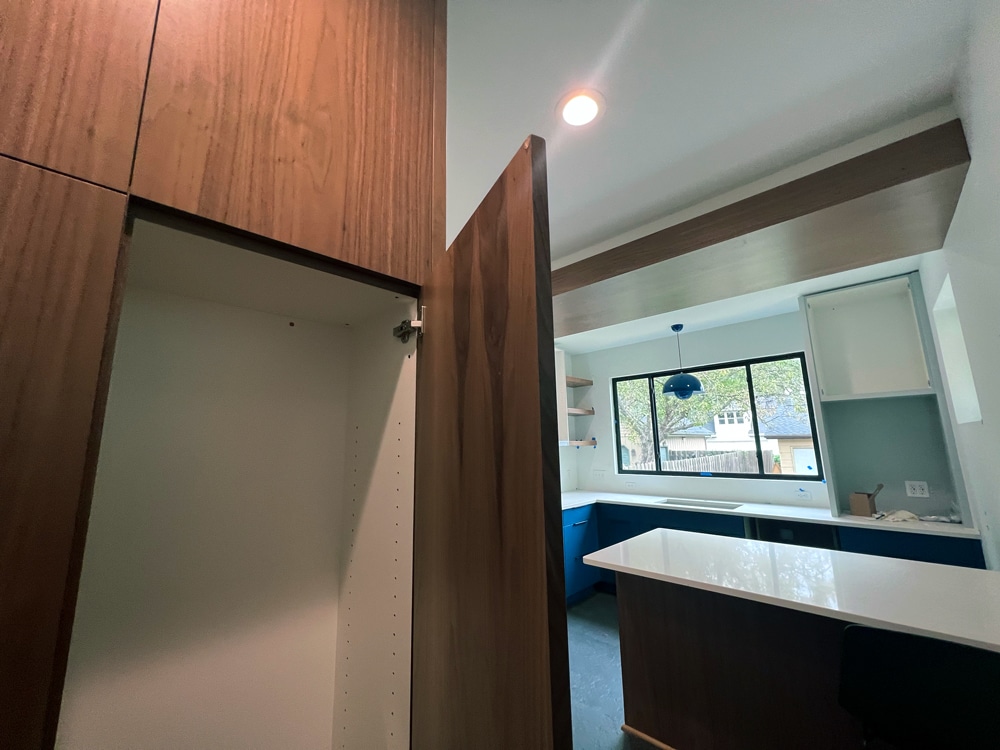

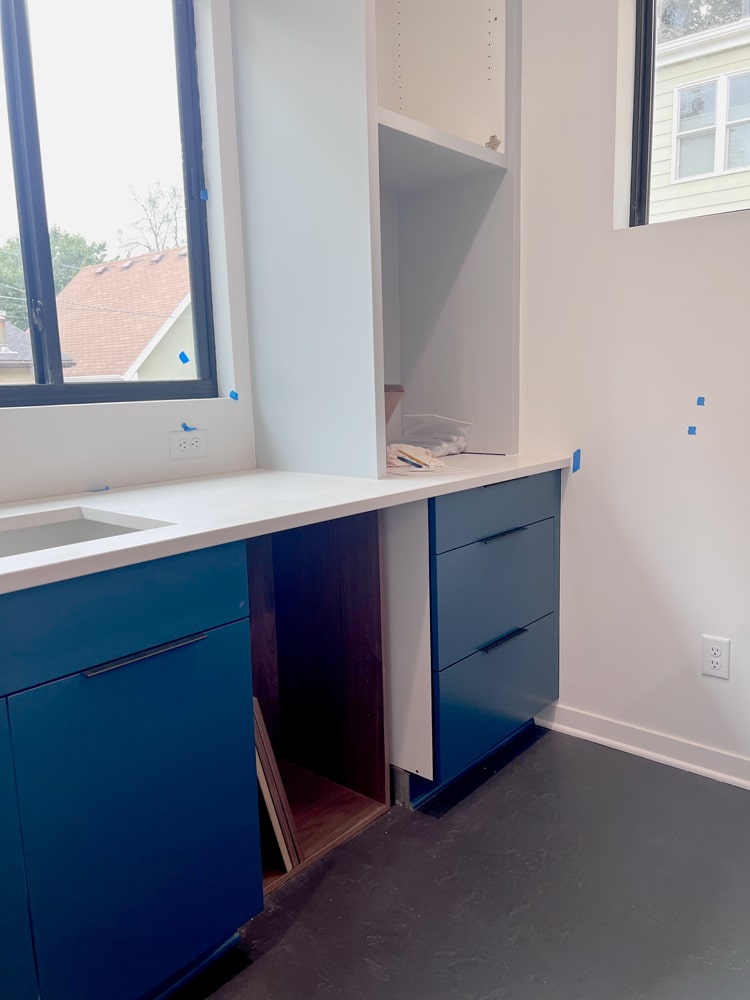
“Since pocket doors on the coffee station will frequently remain open, the clients decided to do a walnut insert. When the cabinet is open, it’s eye-catching, like a little jewel box.” – White Crane Project Manager
Macalester-Groveland Homeowners
Creating and installing the custom cabinetry for this kitchen involved several steps spread over approximately 4-5 weeks:
“We met with the homeowners on site, looked at all the cabinet drawings, and tweaked them based on final window placement, ceiling heights, and other specific details that would influence the cabinet build.” – White Crane Project Manager
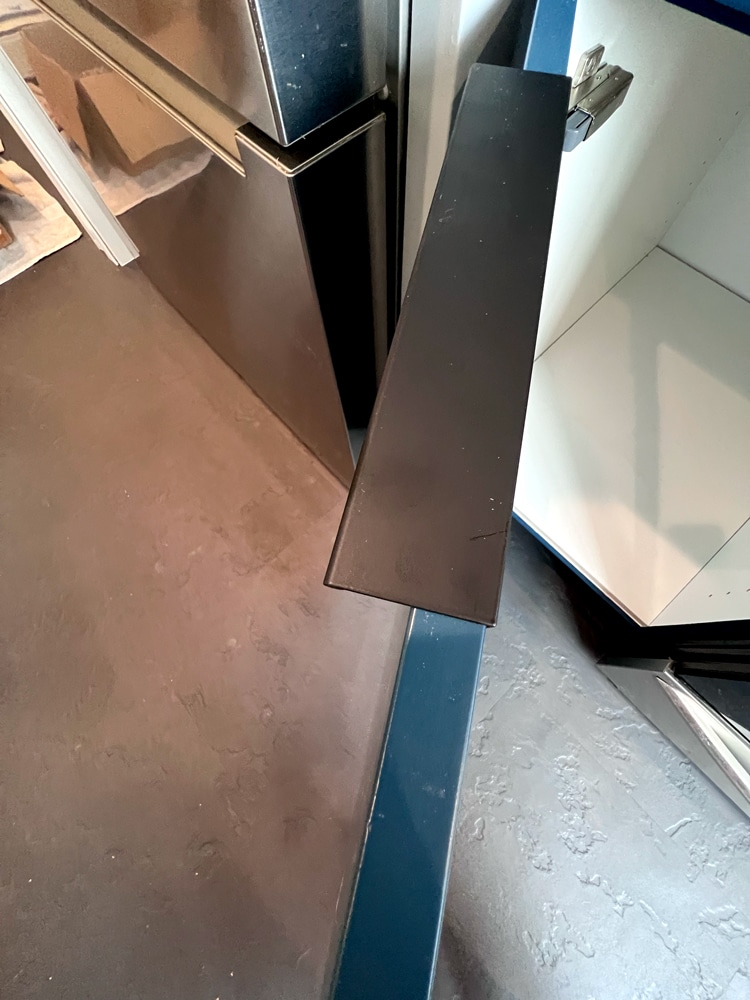
After the cabinets were painted or stained, we flagged imperfections for additional finishing. The stain on the walnut cabinets and hood required expert attention to achieve a more flawless finish.
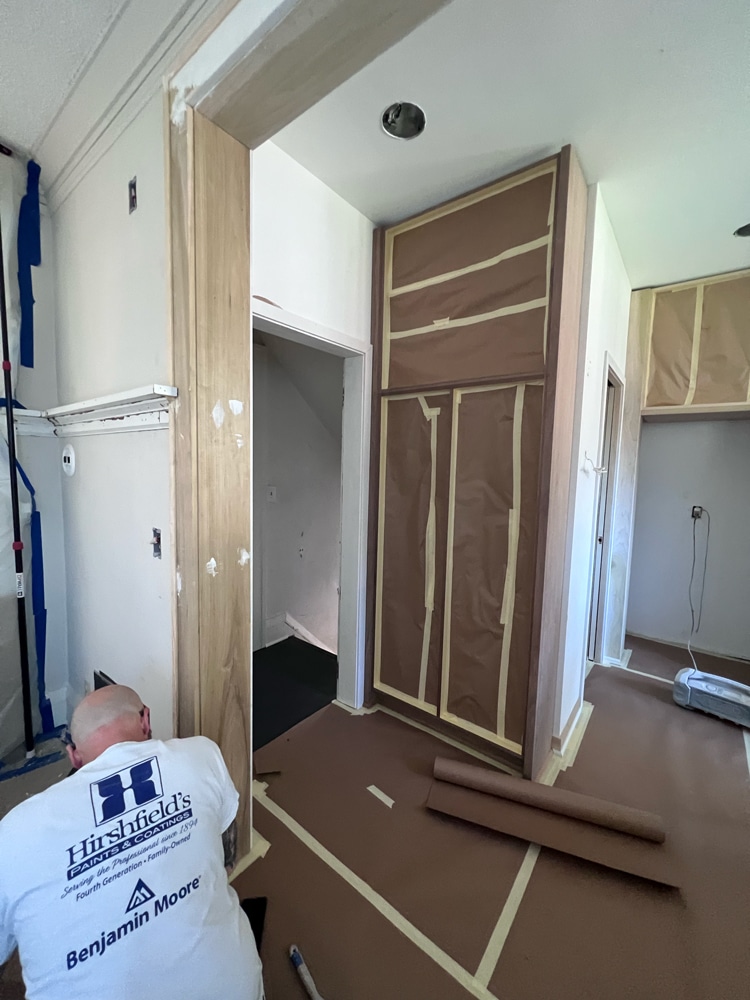
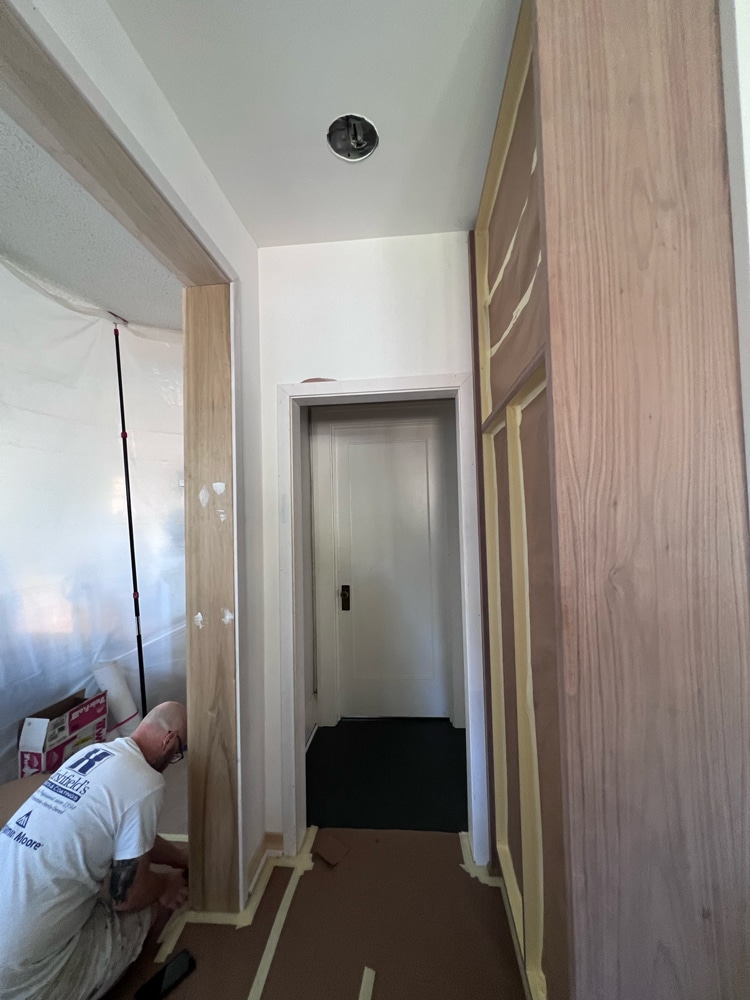

“When they spray each finish, they have to tape off other cabinets because of overspray. Since there were multiple finishes, the painting process took several days.” – White Crane Project Manager
We’re here to help! Check out our planning resources below, or reach out to us here.
Are you dreaming of a new kitchen and wondering how much you’ll need to invest? We breakdown the costs for two kitchen remodels and what factors drive those costs.

Here's the step-by-step process that ensures you’ll have a remodel you love.

So you’d love to upgrade your kitchen or add a shed dormer with a primary suite, but you’re not sure how to pay for it? Learn about three ways to finance your remodel.