
Ten Steps to the Home You Love
Here's the step-by-step process that ensures you’ll have a remodel you love.
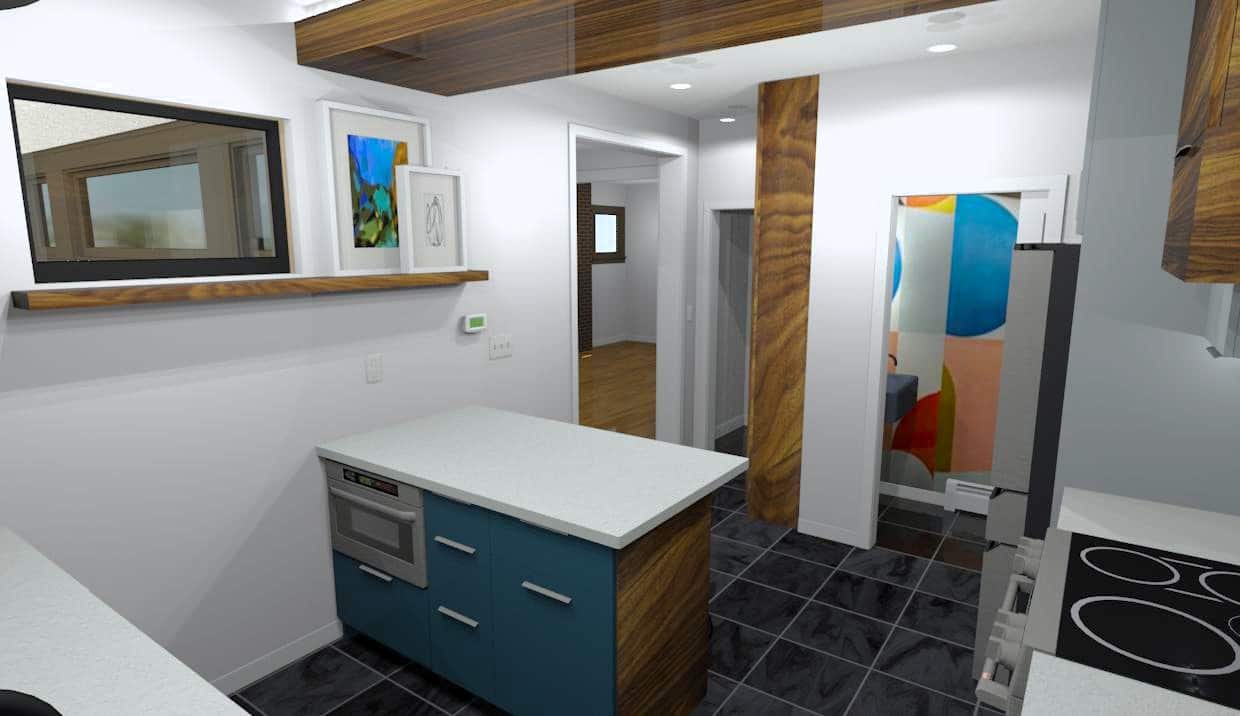
Follow along as we design and build a new kitchen within an American Foursquare in St. Paul.
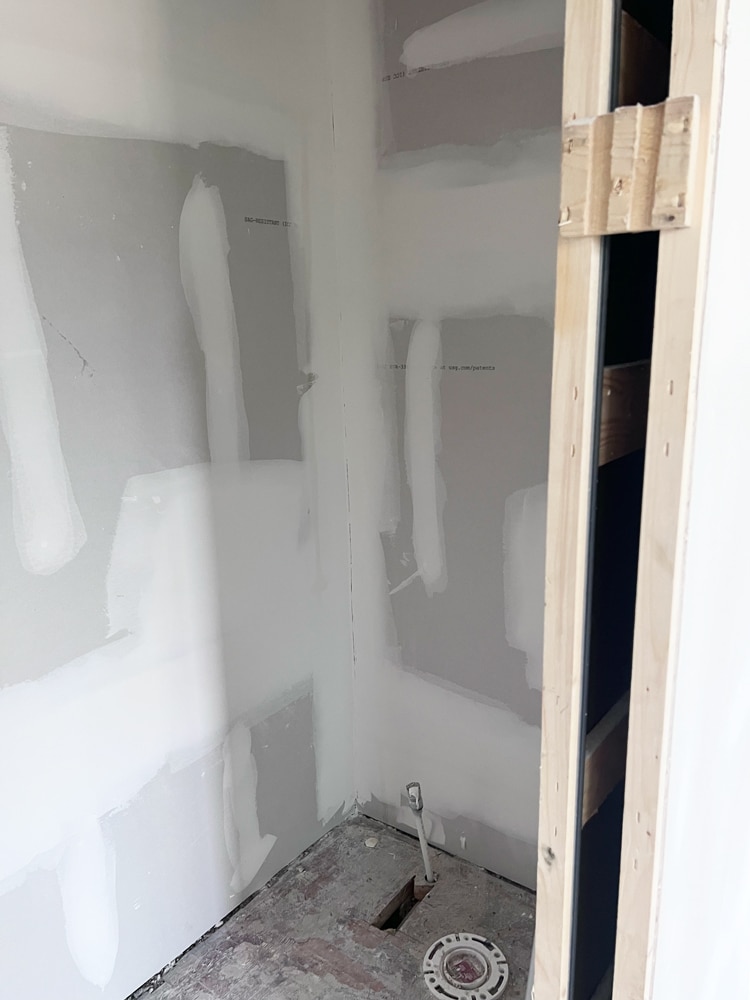
When the owners of this American Foursquare came to us looking to completely reimagine their kitchen, we knew the cold interior and freezing pipes needed solutions. While improvements to plumbing and HVAC will help, insulation is another important part of keeping the kitchen at a consistent, comfortable temperature. So, let’s take a look at the insulation process in this 1919 remodel and the drywall that will enclose the walls of this American Foursquare once again.
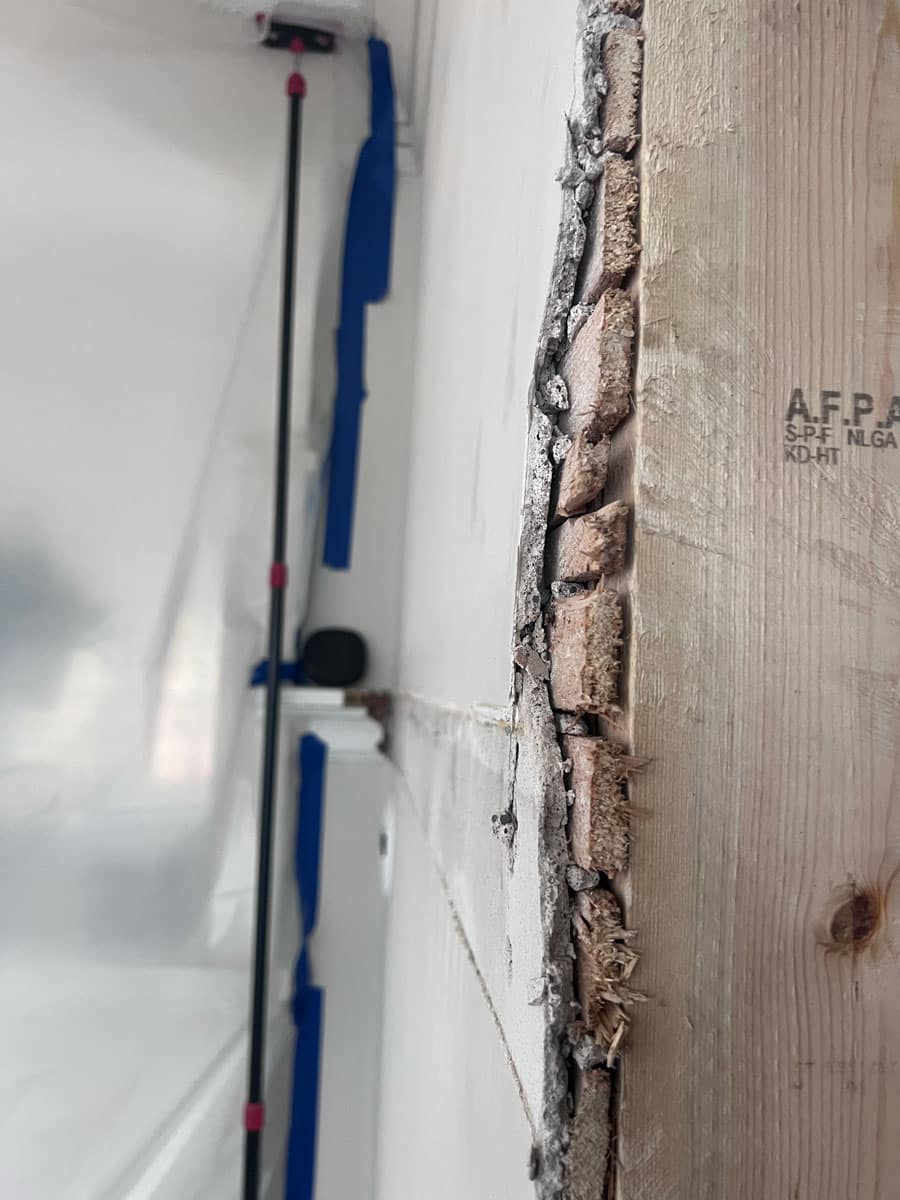
There are many insulation strategies and materials to consider depending on various factors, including budget, local codes, performance, climate, and even general building detailing. To overcome the kitchen’s existing heating and cooling issues, we knew we needed to opt for a material with an excellent R-value, which measures how well a material transfers cold or heat from one surface to the next.
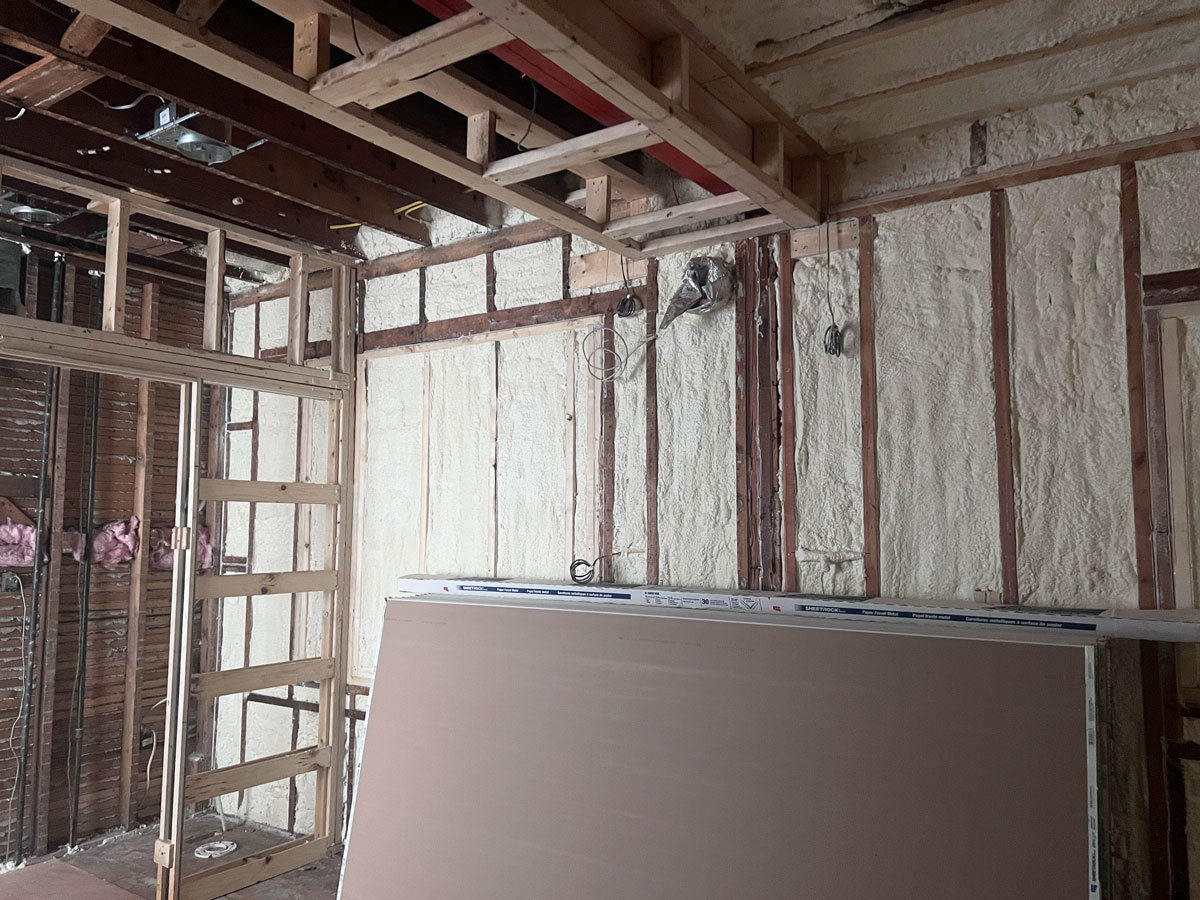
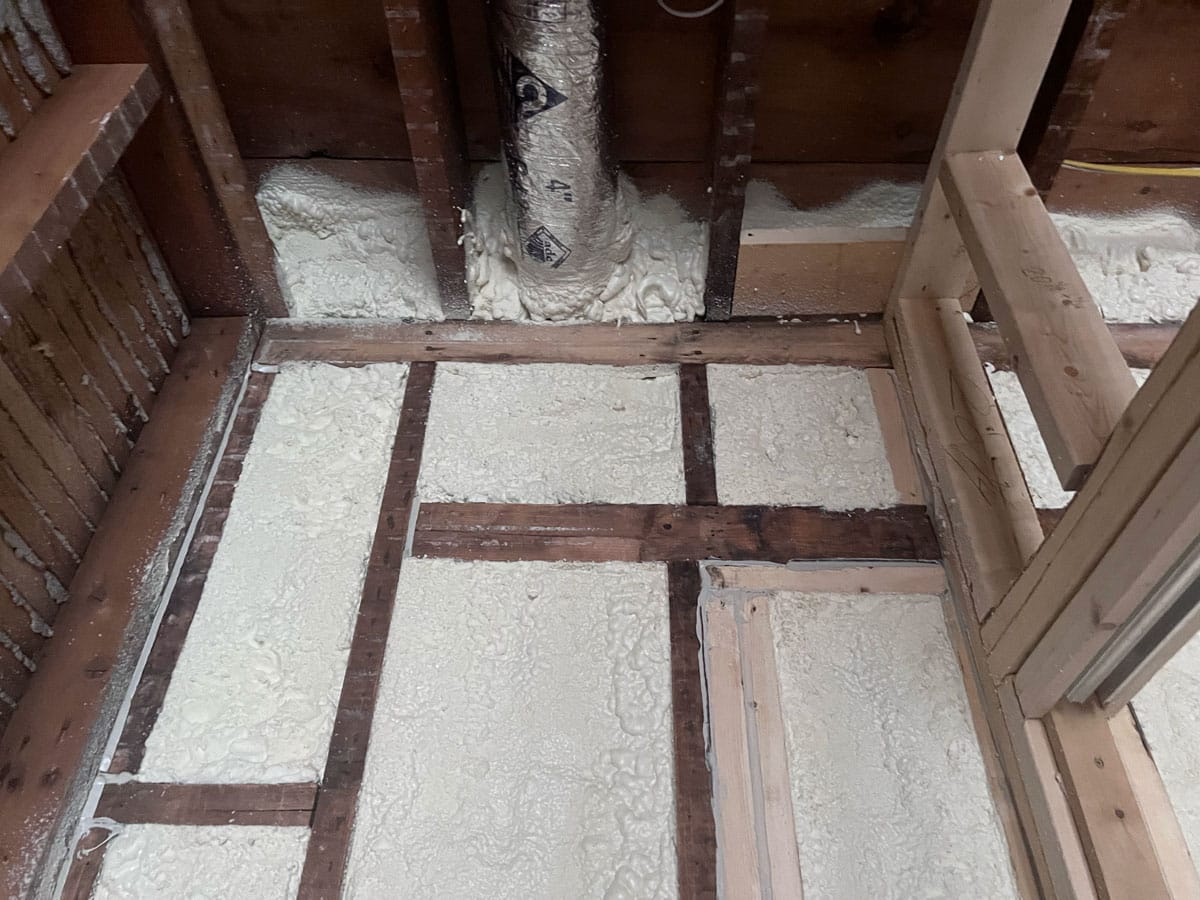
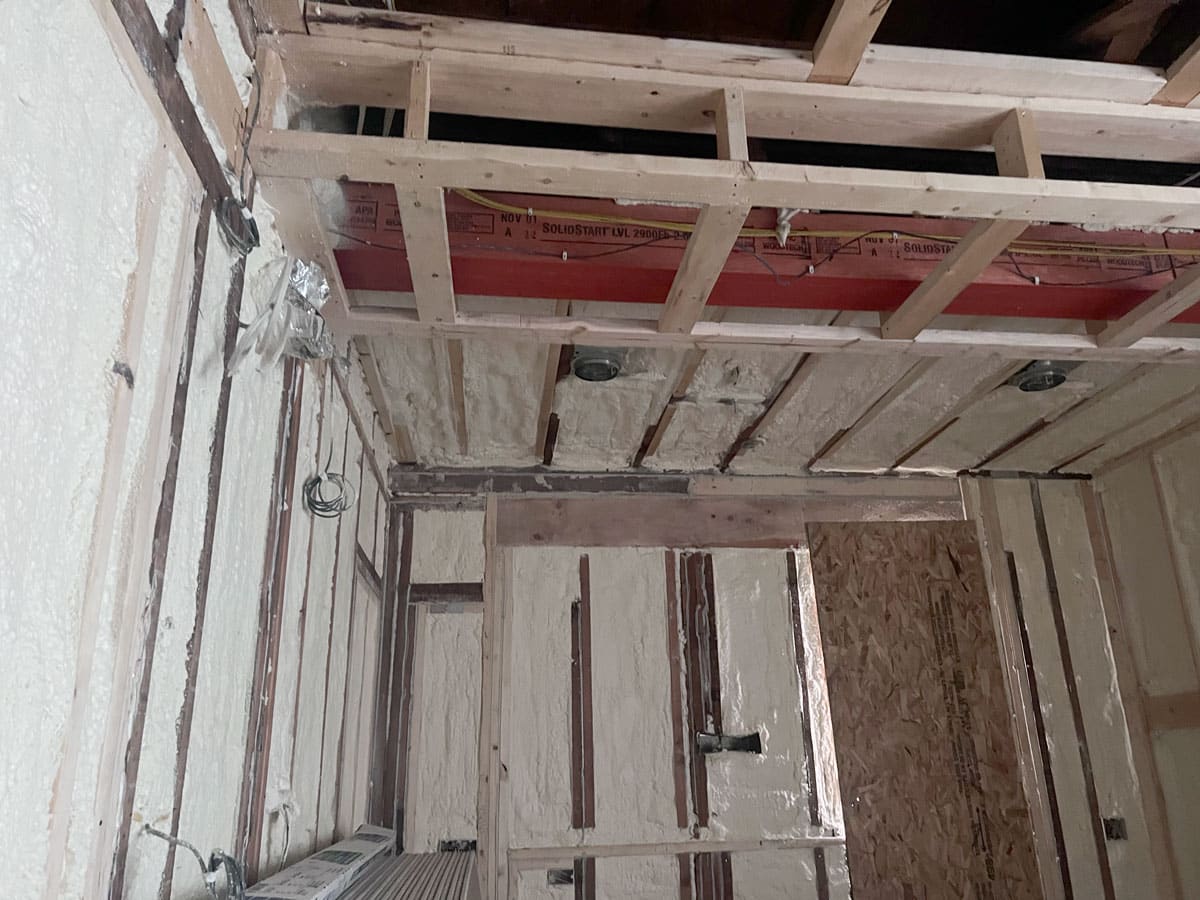
Knowing the clients already struggled to warm the kitchen without space heaters, we chose spray foam for its increased r-value, offering our clients and their plumbing more resistance to our harsh midwestern winters. While spray foam is more expensive, the quickly expanding foam will seal just about any opening that might have otherwise allowed cool air to enter.
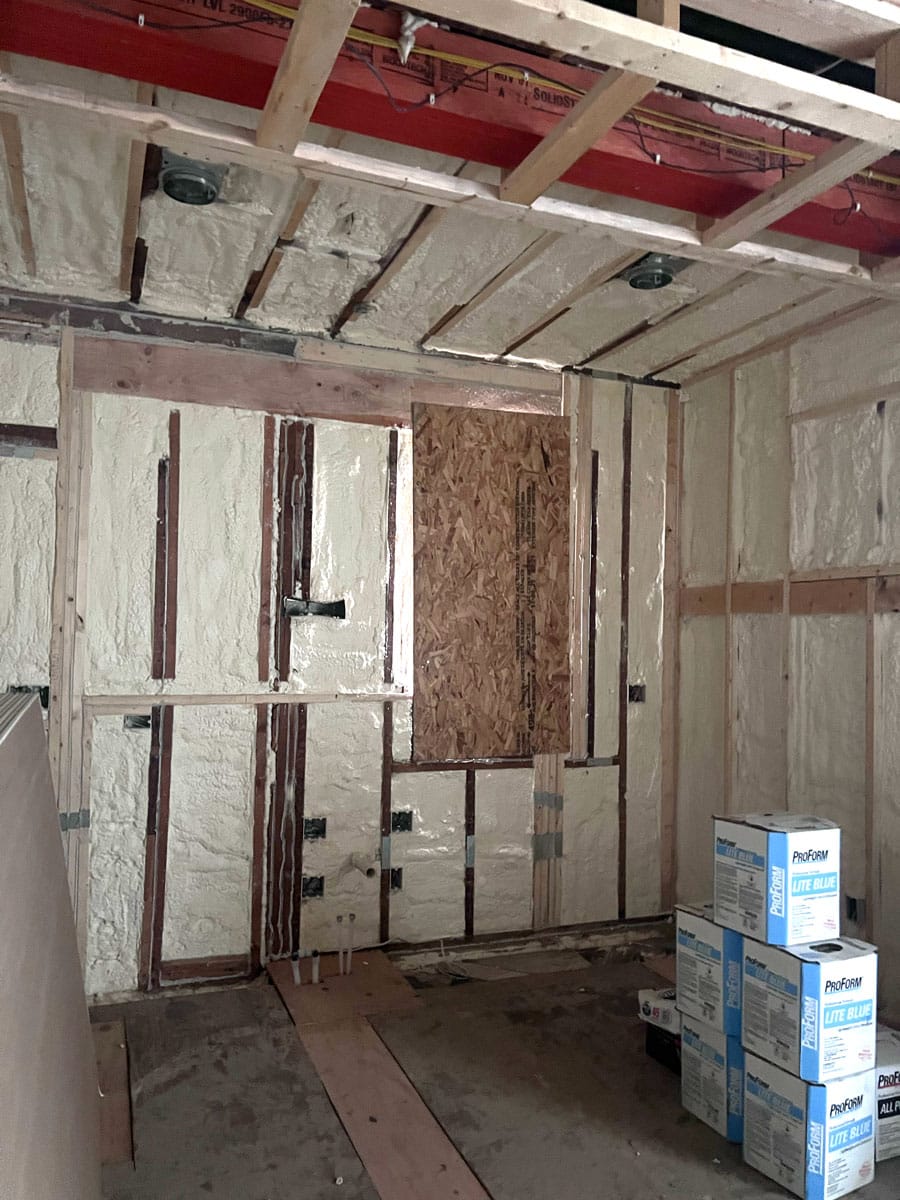
Outfitted in protective gear, a two-person team came out to apply spray foam to several key zones that had been major draft sources within the kitchen of the 1919 home. The spray foam duo focused on adding insulation to:
The process of applying the foam, while seemingly simple, requires a well-trained and outfitted technician. The team first prepared the site by sealing openings and protecting any surface that we did not want covered in foam, like vents, recessed cans, or switch boxes. They then administered the mixture with a specialized spray gun nozzle attached to a hose that ran all the way to their rig, spraying between joists and framing. Before our clients could return home, the foam needed time to fully cure and harden.
“Insulation brings pretty significant value. That old kitchen was cold, no matter how much the clients cranked up their radiator.” – White Crane Project Manager
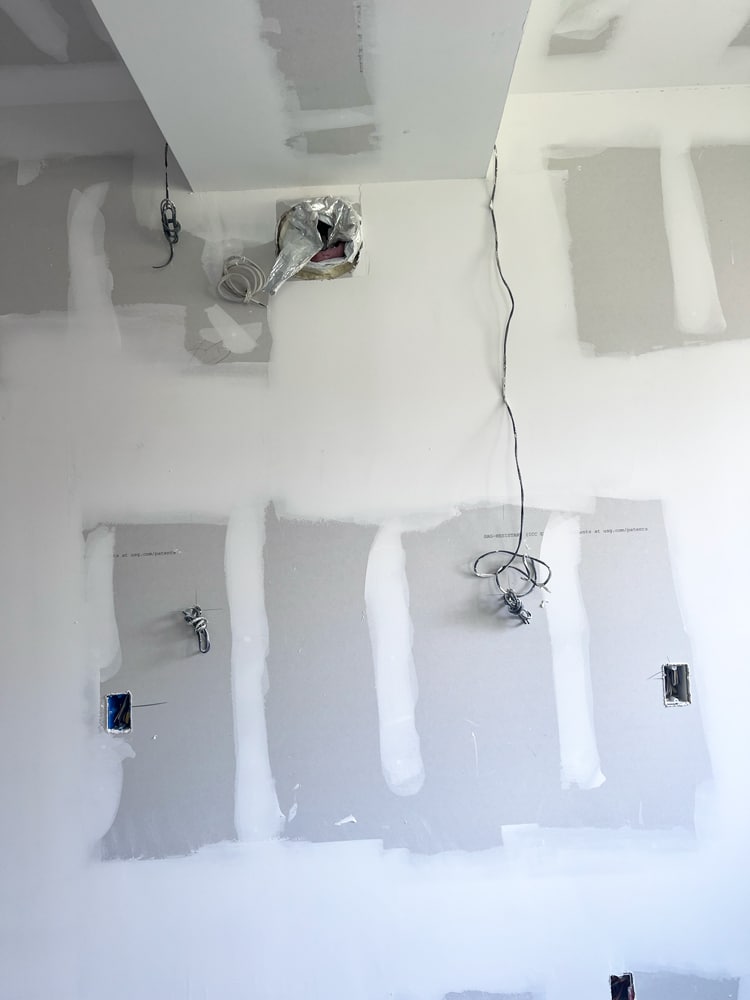
Installing drywall for this St. Paul Kitchen remodel required forward thinking from our project manager and framers to better ensure level walls for painting. There were two areas our framers needed to adjust for.
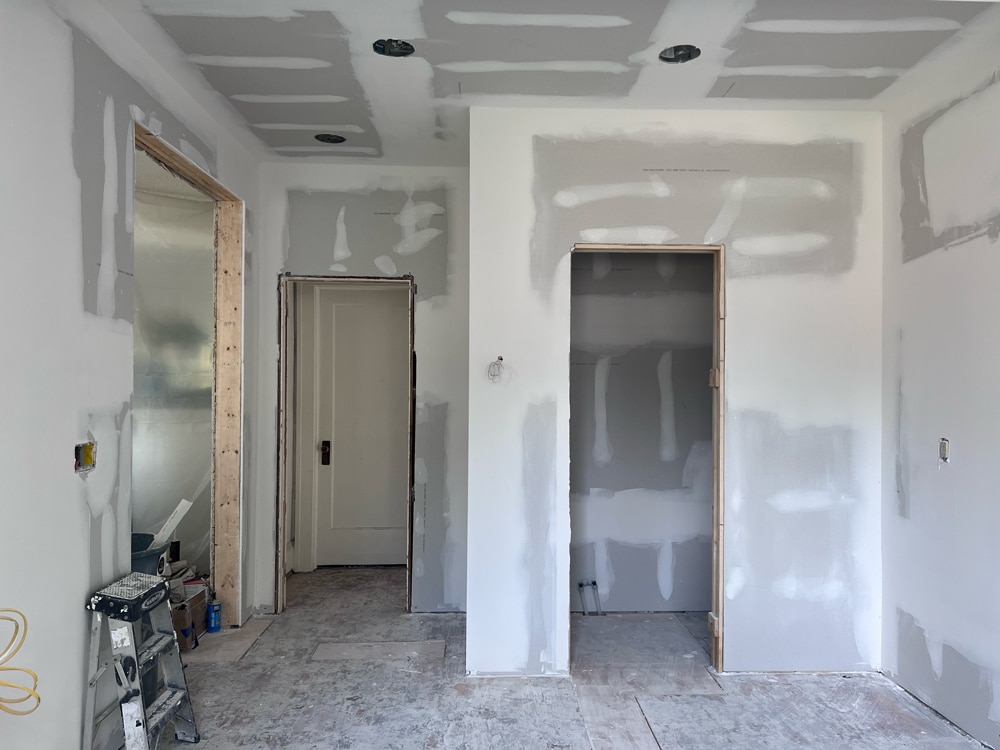
With insulation applied, we could finally enclose the walls of this new kitchen with drywall.
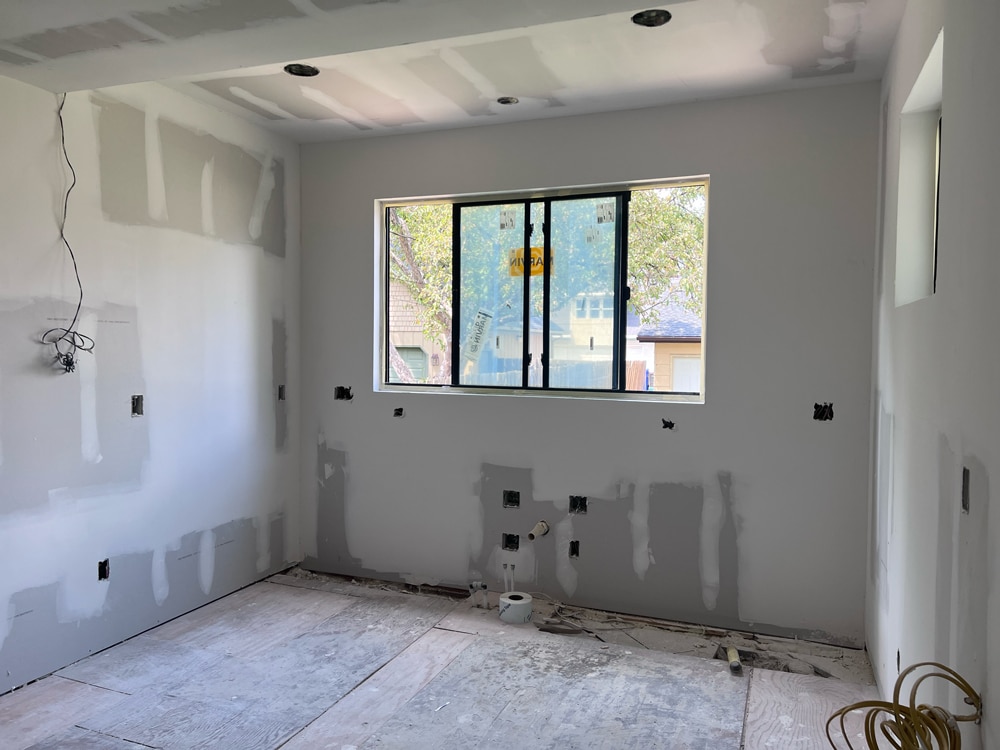
Drywall installation is a repetitive process that involves lifting drywall sheets and screwing them into framing. To establish a unified interior wall surface, the crew then taped, mudded, and sanded joints, screw holes, and other seams. With each subsequent mudding and sanding, the drywall team created cleaner, smoother surfaces for painting.
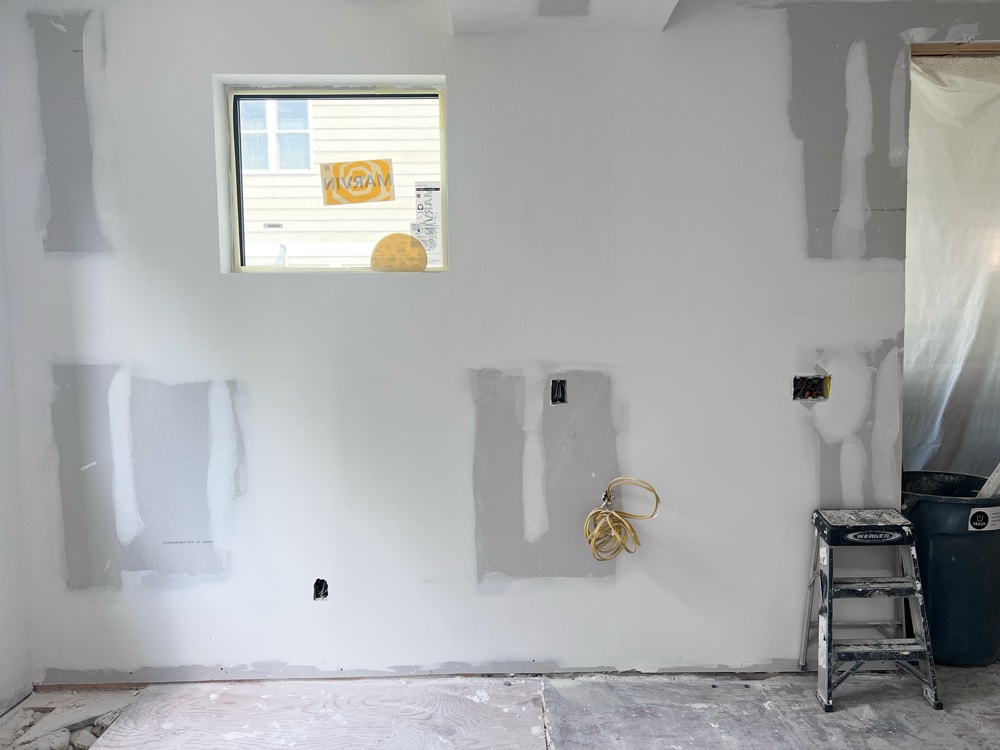
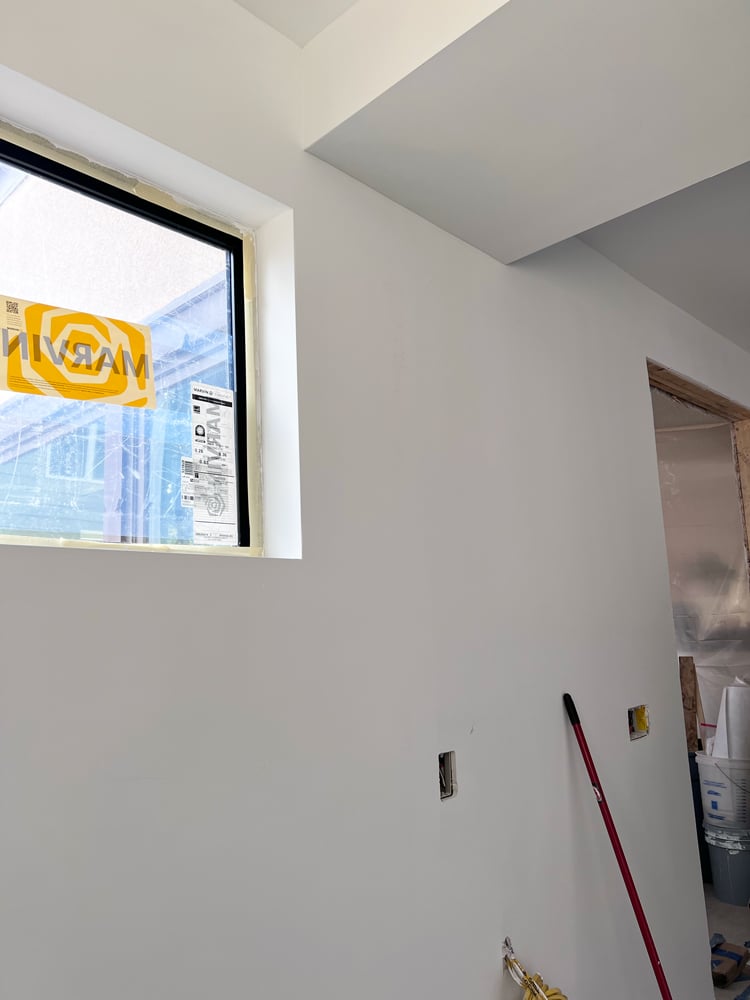
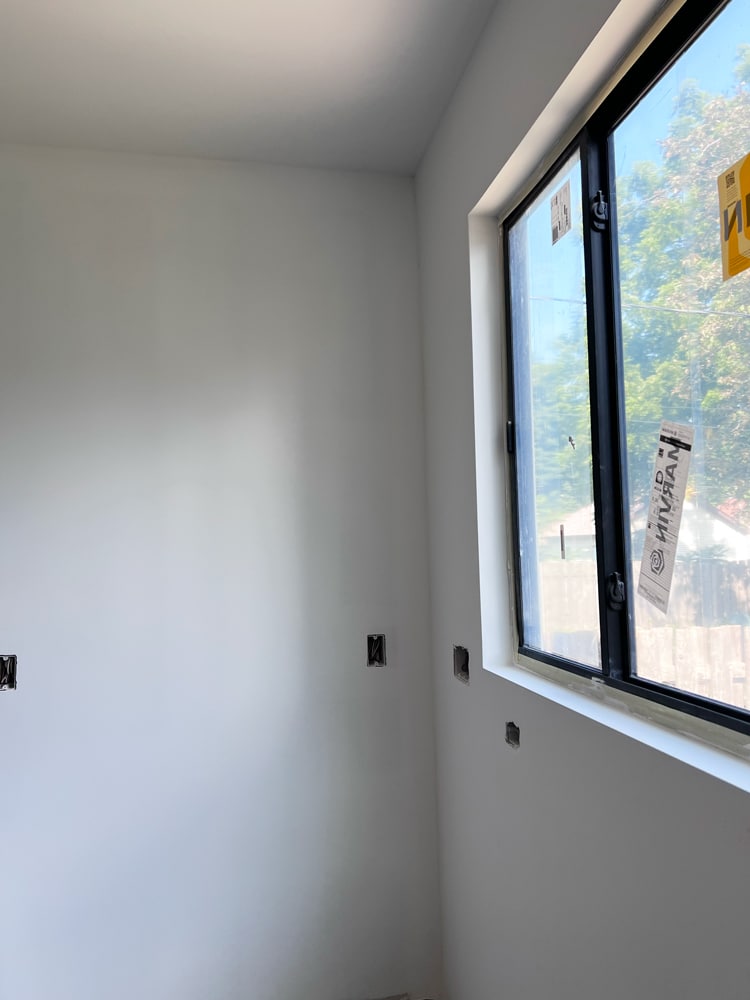
We needed a skilled drywall team to achieve our clients’ modern kitchen design. We were looking for ultra-crisp drywall edges at each window, given we specified sheetrock returns instead of traditional millwork details, like a sill and apron. With the team working iteratively, we successfully disguised seams without millwork to create perfectly squared corners.
We’re here to help! Check out our planning resources below, or reach out to us here.
Here's the step-by-step process that ensures you’ll have a remodel you love.

Are you dreaming of a new kitchen and wondering how much you’ll need to invest? We breakdown the costs for two kitchen remodels and what factors drive those costs.

So you’d love to upgrade your kitchen or add a shed dormer with a primary suite, but you’re not sure how to pay for it? Learn about three ways to finance your remodel.