What Will It Cost To Remodel My Attic?
Learn what it costs to remodel an attic in the Twin Cities, and what factors drive those costs.
Follow along as we create a dormer addition for a homeowner in Southwest Minneapolis who is looking for an updated bedroom with an adjacent bathroom and primary closet.
With rough-ins now complete on this Minneapolis dormer addition, we’re moving forward with insulation and drywall, which together will make the home look and feel livable again. Let’s see what’s new as construction continues to transform this attic into an enviable bedroom suite.
In Minnesota, homes face punishing temperature extremes that can unfavorably affect interior temperatures, especially in attics like this one. Worse still, older heating and cooling systems often fail to keep up, weren’t installed in the first place, or lack the efficiency needed to keep utility bills reasonable and homeowners comfortable year-round.
Given our homeowner’s experience in the space, where hot summers gave way to cold winters, we knew simply adding more forced-air wouldn’t solve the fundamental problem of an inefficient building envelope. We needed a comprehensive insulation approach that, alongside upgrades to the active systems, would properly condition the entire attic.
The entire insulation process took about 4 days—a relatively quick phase that will pay dividends in comfort for decades to come. Here are some ways we addressed the insulation deficiency in this Minneapolis attic.
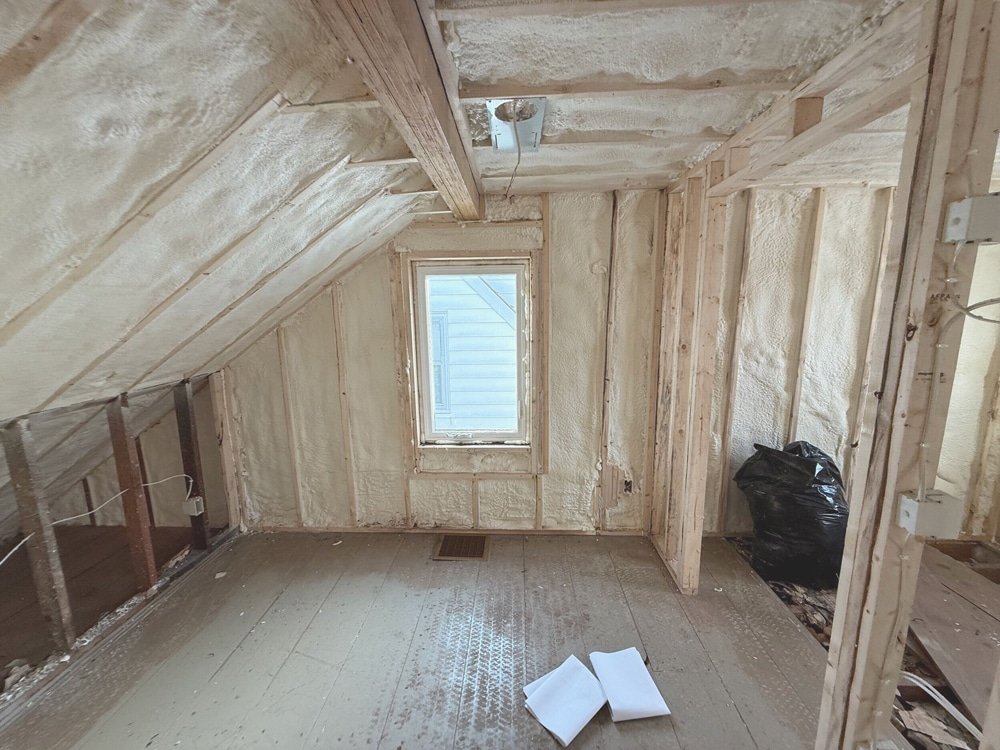
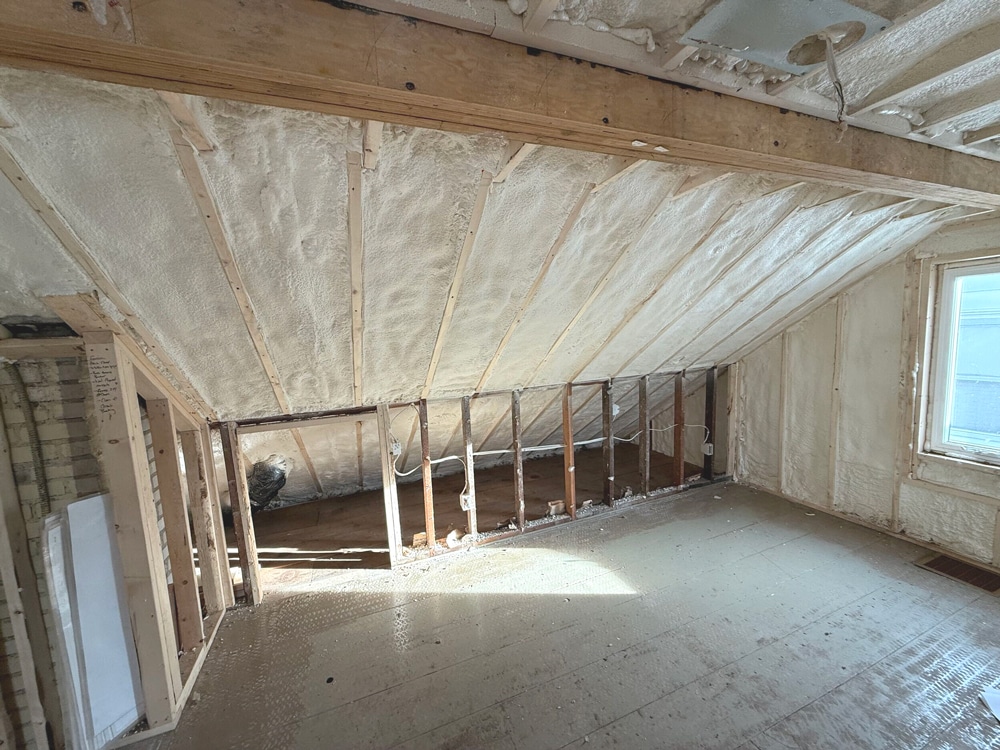
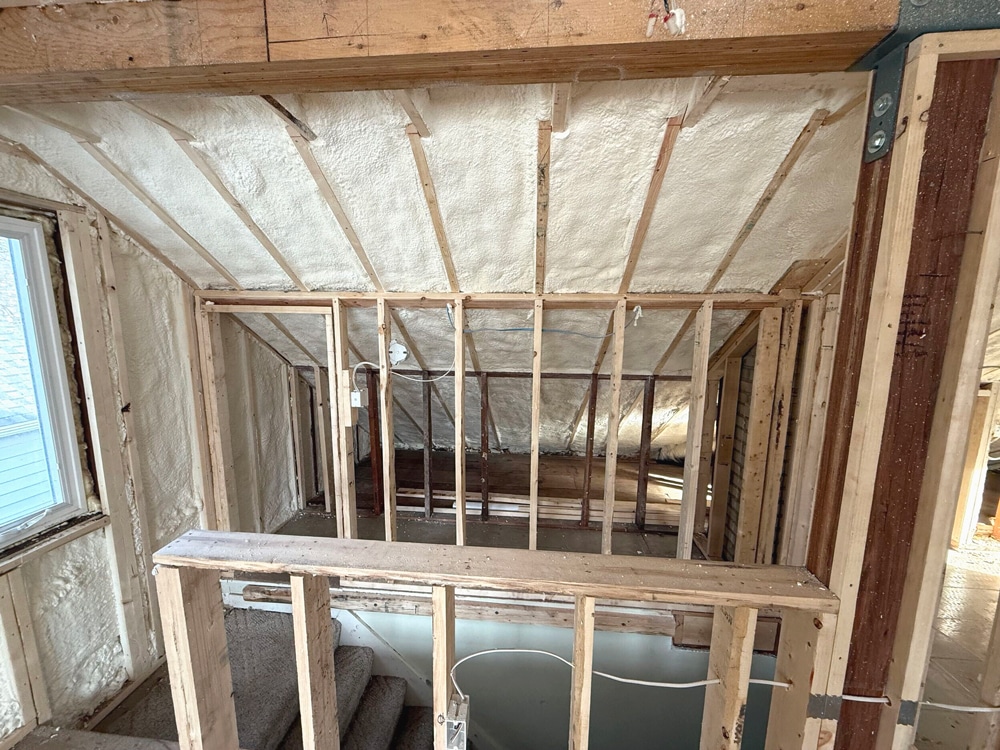
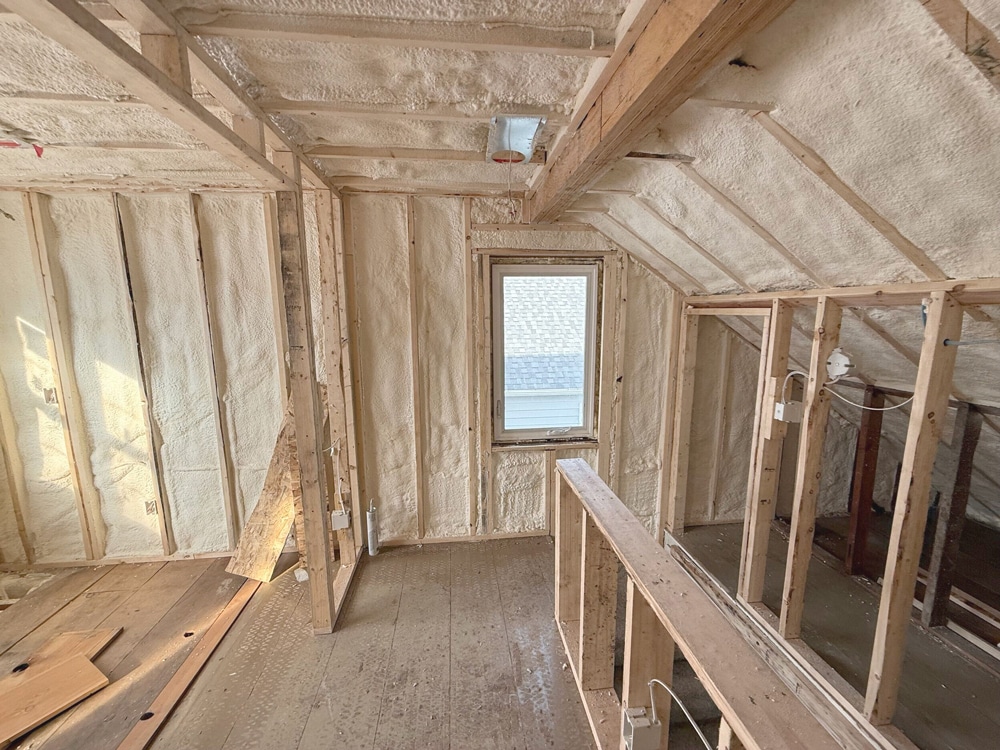
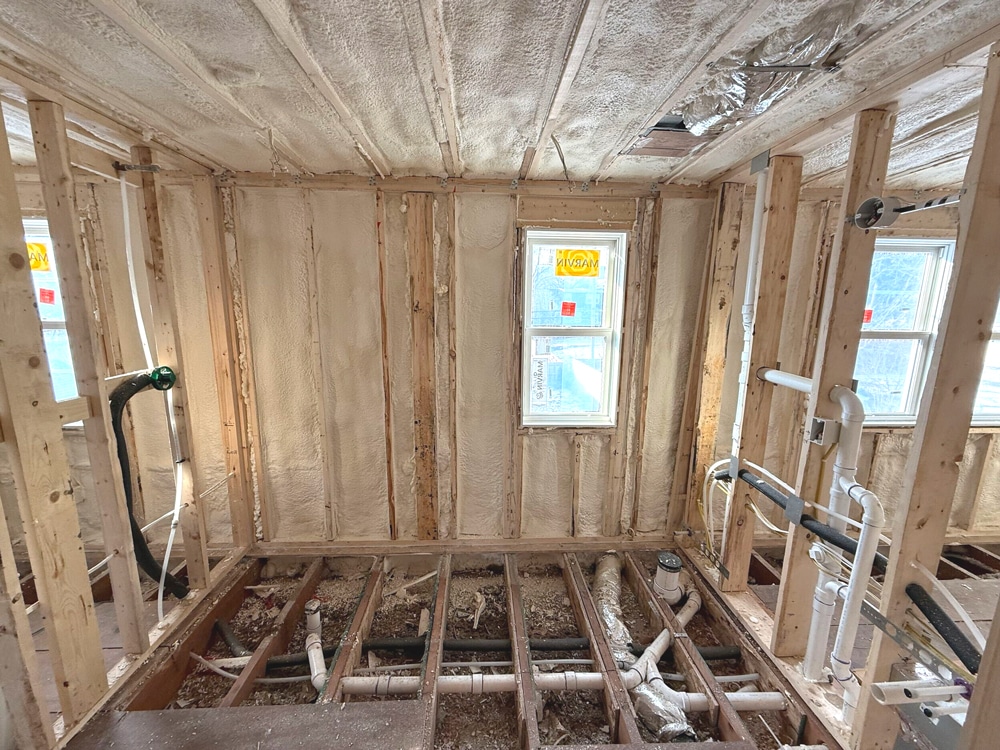
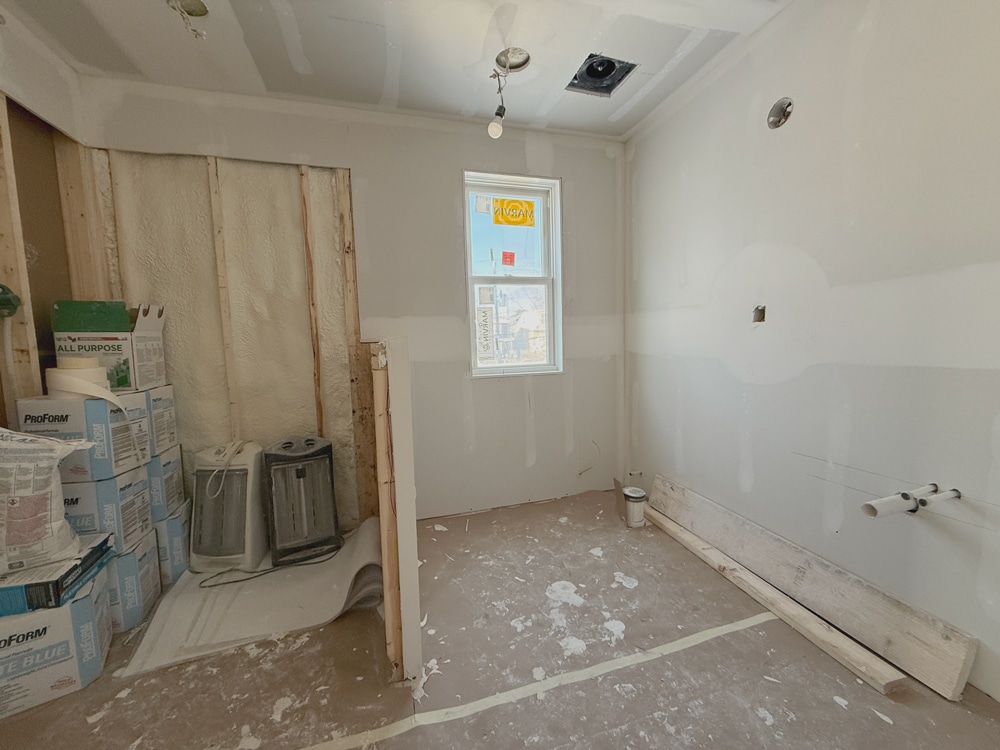
To start, insulators spray-foamed the roof deck and ceiling to completely envelope the upper level. This “hot roof” technique creates a thermal barrier at the roofline itself, preventing heat transfer before it reaches the living space below. The spray foam expands to fill cracks and crevices that would be impossible to seal with other materials, creating an airtight, highly efficient barrier. For that reason, we also opted to use spray foam on all exterior walls, which, by code, require a specific R-value, a measure of how well a material resists heat flow.
For select interior walls, like those in the new bedroom and bathroom, our crew used batt insulation—the pink fiberglass material most people recognize. While it also aids with temperature control, another benefit here is sound dampening.
From the roof to the exterior and interior walls, the new insulation is a clear improvement over the newspaper insulation we found during demolition. Furthermore, thanks to the insulation strategies we’ve used, the home’s active heating and cooling systems will not have to work quite as hard to maintain consistent temperatures.
Before the first sheet could be hung, the crew had to solve a logistics problem we commonly face in older homes: how do you get enough drywall for an entire upper level into a space with narrow stairs and no other direct access?
“In an older house like this, the logistics of getting drywall sheets to the attic are different than new construction. You know, typically, we can only use 4×8 sheets, whereas, in new construction, you can use much larger 4×10 or 4×12 sheets.” – White Crane Project Manager
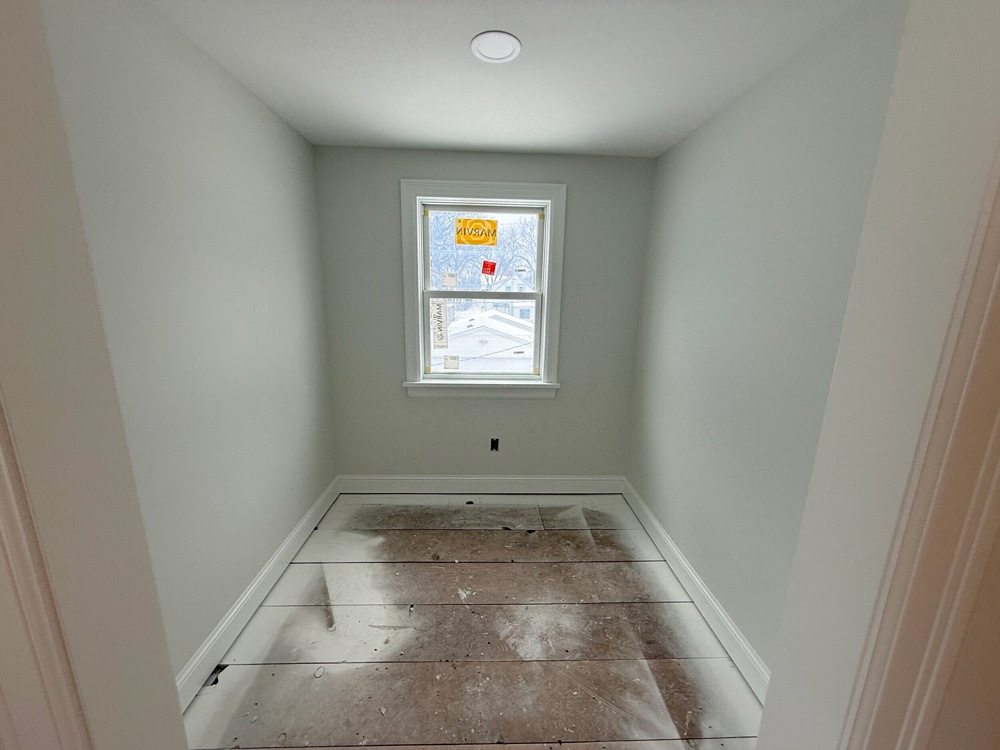
For this project, the crew craned drywall sheets through a window opening. In some instances, when cranes couldn’t access the site due to trees or other obstacles, sheets had to be carried up by hand—a time-consuming, physically demanding process.
The 4×8 sheets selected for this Minneapolis attic remodel offer a little more maneuverability in the tight upper level stairwell, but they come with a trade-off: they require more seams than the larger sheets used in new construction. Each seam means spending more time taping and mudding later, but the compromise was necessary to make the project feasible.
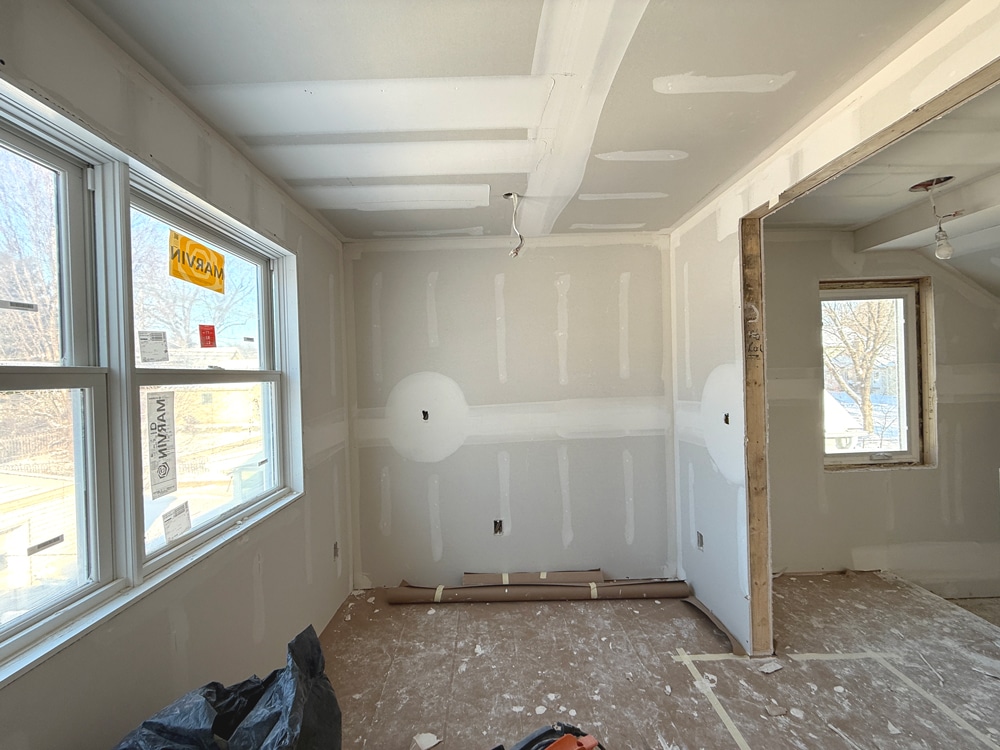
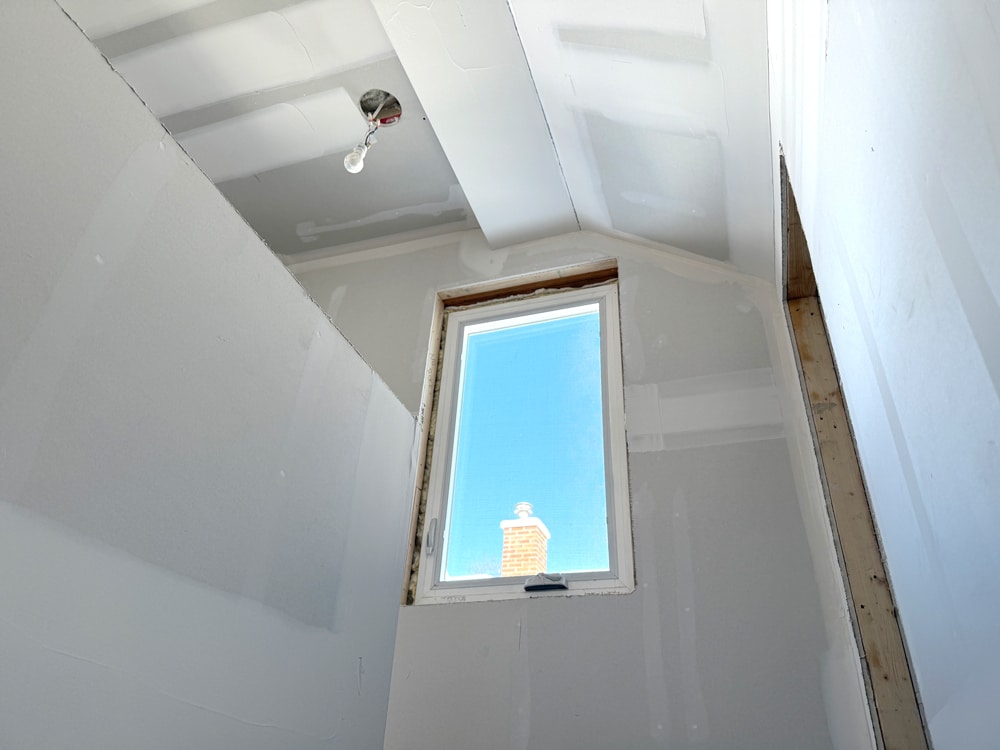
Hanging drywall is transformative, as the gypsum sheets cover the formerly exposed framing, insulation, and rough-in work, leaving a smooth wall surface for later paint application. While the visual change is striking, this milestone involves construction realities we prepare our homeowners for, including dust mitigation, disruptive noise, and cleanup procedures. These discussions are especially important for homeowners who live at home during the remodel, work from home, have pets or allergies, or who might otherwise not understand how the process works.
“The actual hanging goes fast. On many of our smaller projects, the crew can put all the drywall up in one day. But drywall can be one of the worst parts of the project. It’s messy. The first day, when they’re installing it, it’s really loud. There are drills going on all day. Plus, the first day is really dusty when they’re cutting.” – White Crane Project Manager
First, we hang the drywall sheets.
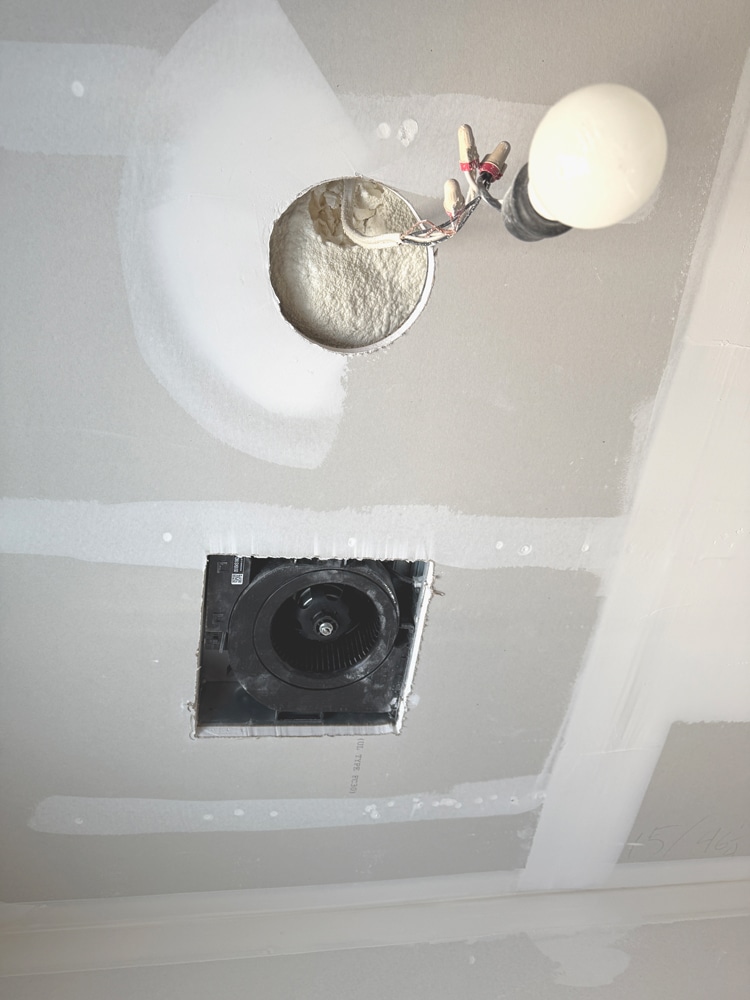
Once the sheets arrived on site, the hanging process moved quickly. A two-person crew lifted each half-inch-thick sheet of gypsum and screwed it directly into the framing at 16 inches on center, cutting openings for windows, doors, light fixtures, and outlets as they went.
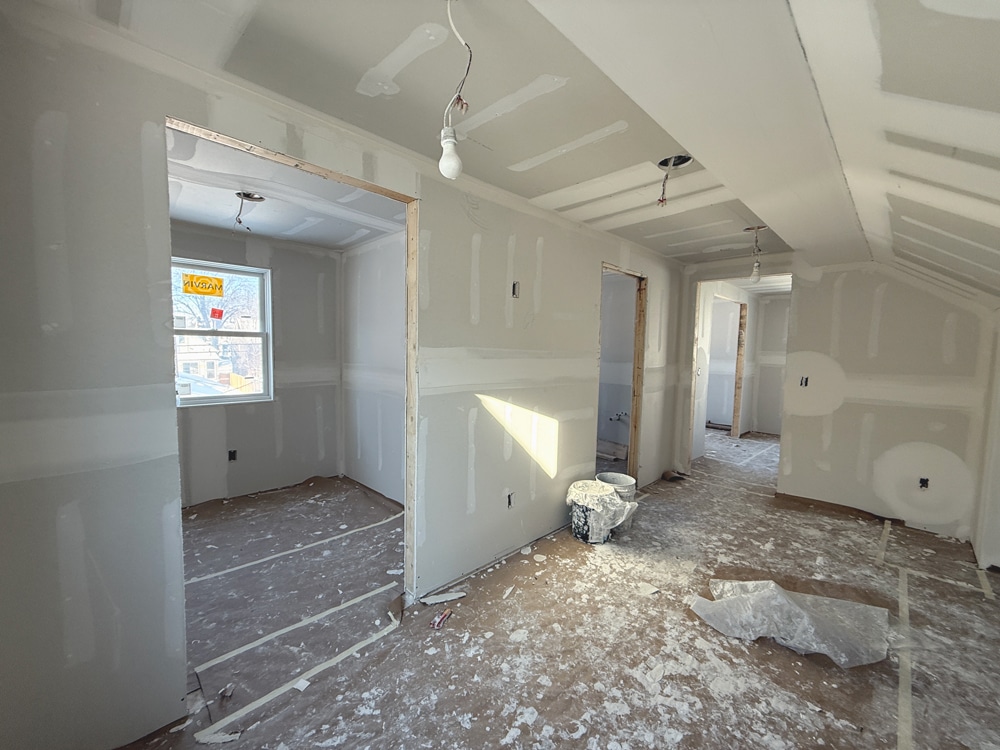
Next, we tape and start the repetitive finishing process.
The crew taped all the seams where panels met, then applied joint compound, commonly called “mud,” to help create a smooth wall surface. The necessary drying time between the three consecutive coats required the crew to come in for a few hours, apply mud, then leave while the compound dried. In the following days, they would return to the site, apply additional layers of mud, and then sand after the mud dried. Including the drying times, the entire process of hanging and finishing the drywall sheets took about 7-10 working days.

Finally, we check our work and start priming.
For our project managers, completing drywall means performing quality control checks and working with the team to resolve any visible issues, such as uneven corners, scratches, or dents. With the drywall approved, we cleaned the site before priming to help seal any remaining drywall dust on walls and ceilings.
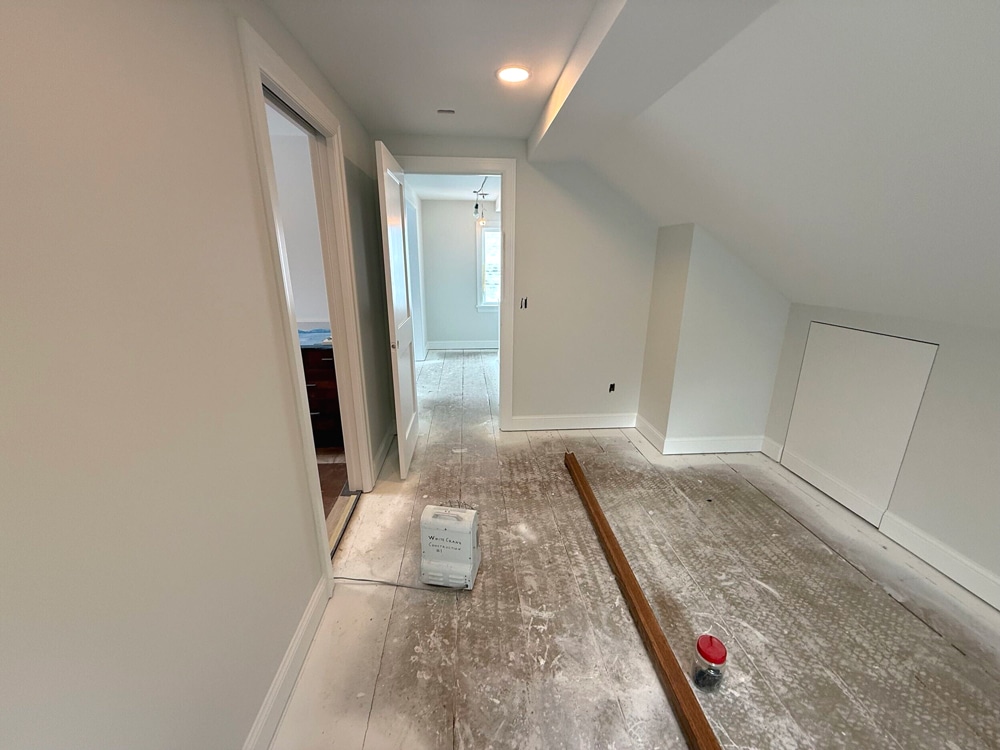
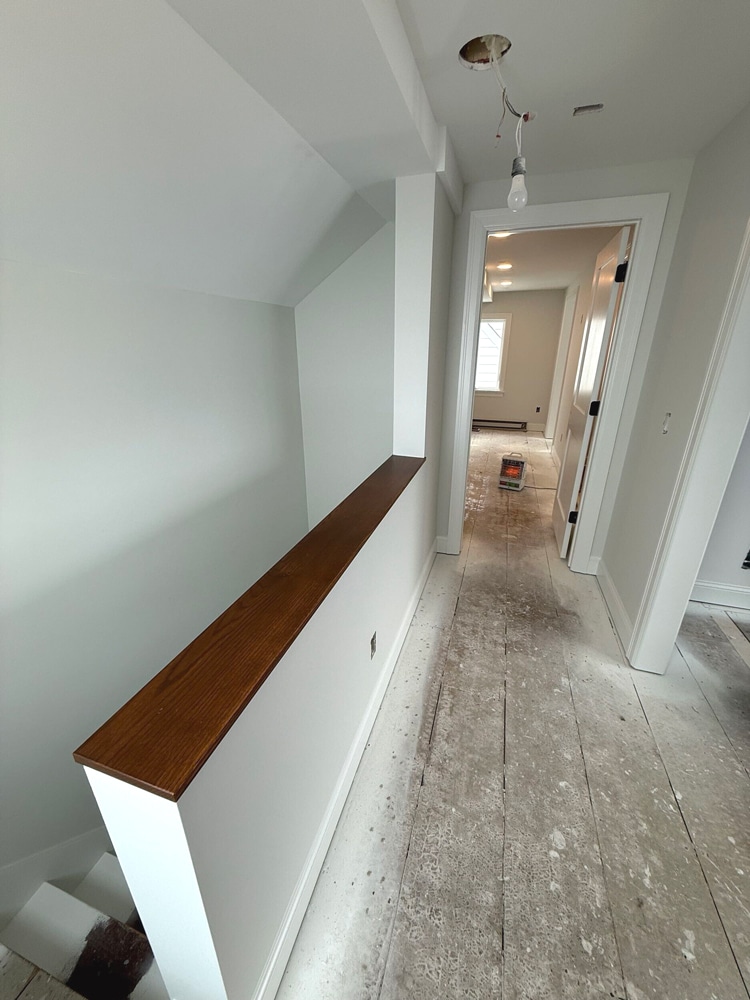
Completing insulation and drywall marks a shift in the construction process. Ahead lies even more refined work, such as installing flooring, millwork, fixtures, tile, and final finishes—all places where the homeowners’ design choices become visible.
We’re here to help! Check out our planning resources below, or reach out to us here.
Learn what it costs to remodel an attic in the Twin Cities, and what factors drive those costs.

Here's the step-by-step process that ensures you’ll have a remodel you love.

So you’d love to upgrade your kitchen or add a shed dormer with a primary suite, but you’re not sure how to pay for it? Learn about three ways to finance your remodel.