How Much Does it Cost to Remodel a Kitchen in the Twin Cities?
Are you dreaming of a new kitchen and wondering how much you’ll need to invest? We breakdown the costs for two kitchen remodels and what factors drive those costs.
Follow along as we build a shed dormer addition along the upper level of this St. Paul Cape Cod.
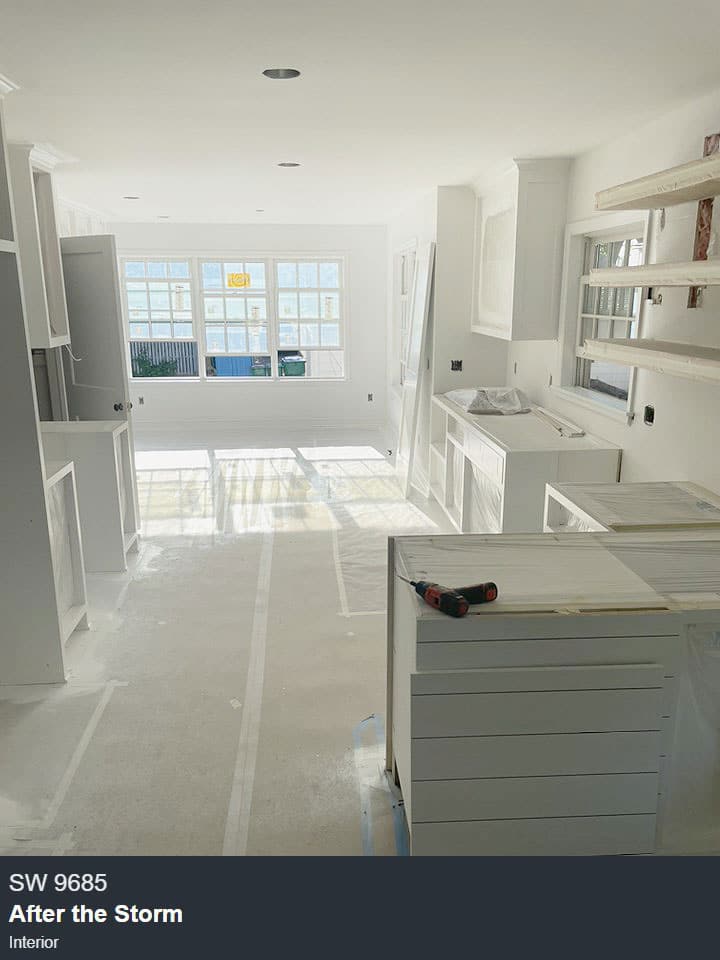
Our team of professional trade partners and designers always choose high-quality paints to guarantee lasting, quality finishes. In this case, we predominantly used a mixture of Sherwin Williams Emerald, flat or semi-gloss enamel paint, which is a more durable choice for protecting against typical wear-and-tear in a home, especially scuffs caused by kids and animals. Other than quality, our design team had to narrow down color selections based on our client’s vision of their new home. In this case, we used timeless whites with bold splashes of blue to unite new, modern finishes with a hint of vintage design.
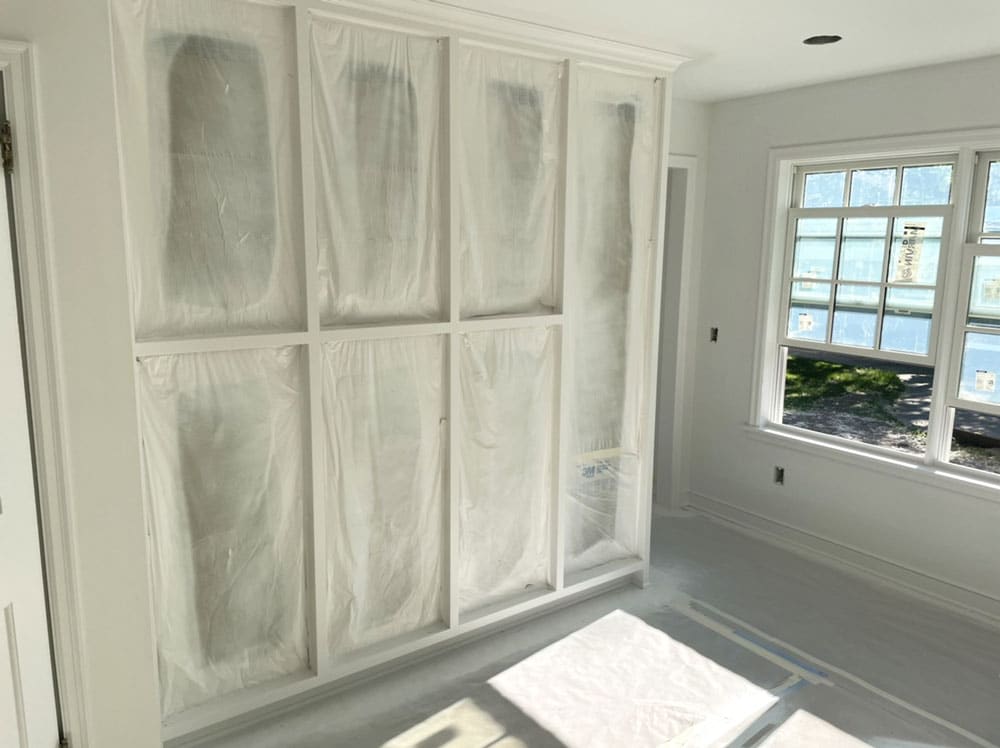
A plastic barrier temporarily taped into cabinets protect the interior boxes from splattering paint as the outside of the cabinets receive the final coats of paint.
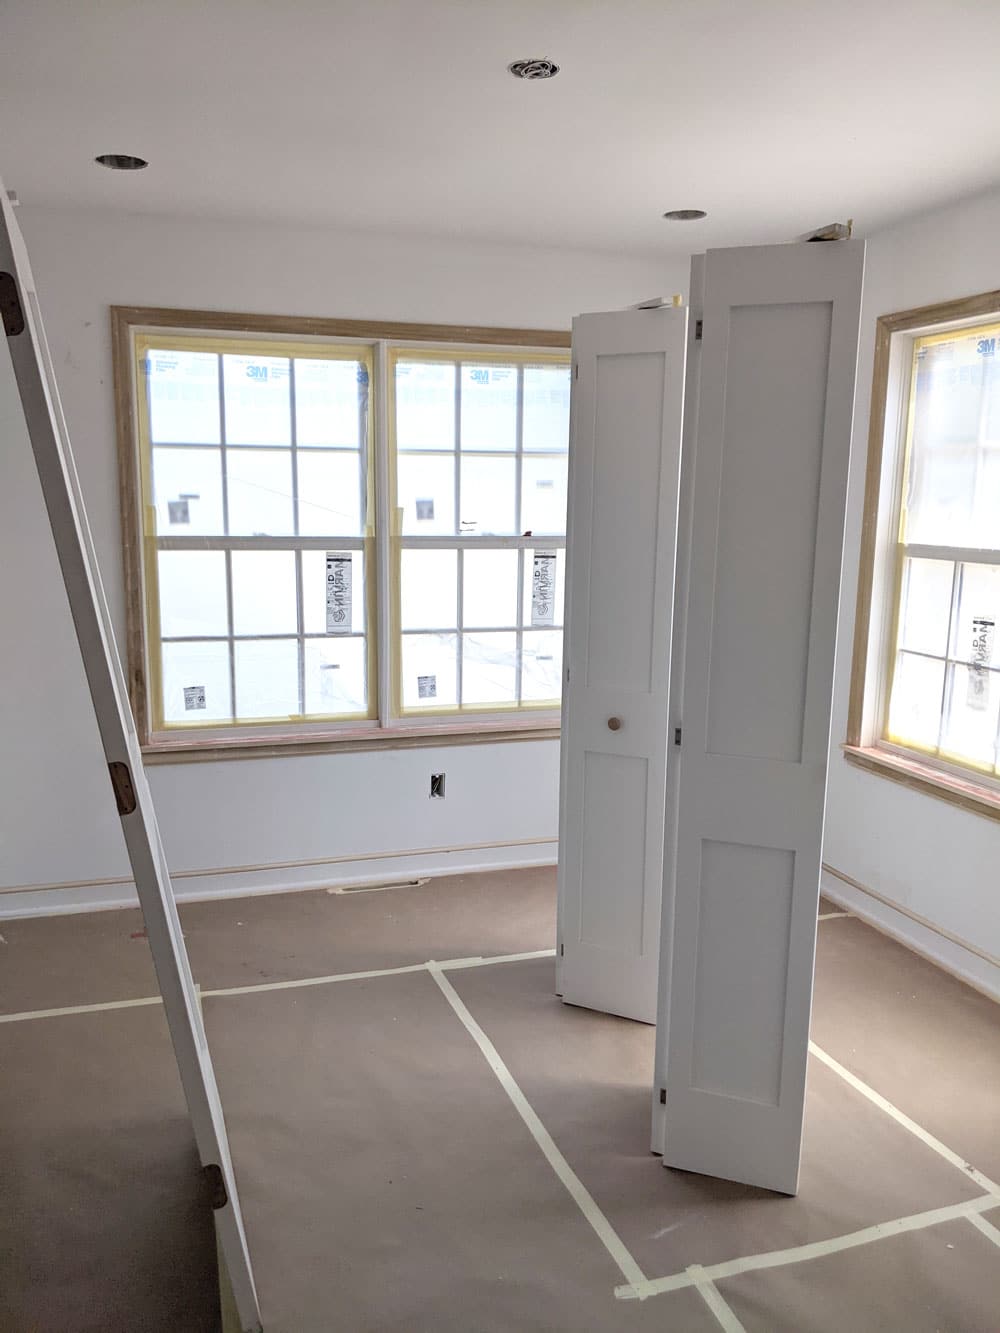
New doors for the addition get removed and placed in a separate painting zone for a better quality painting process.
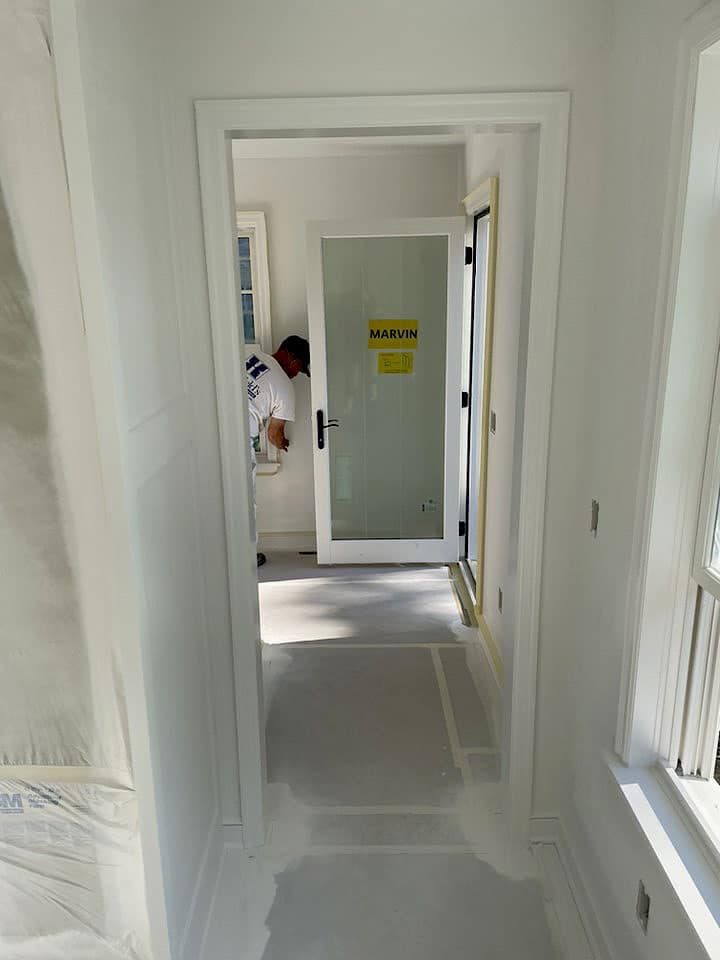
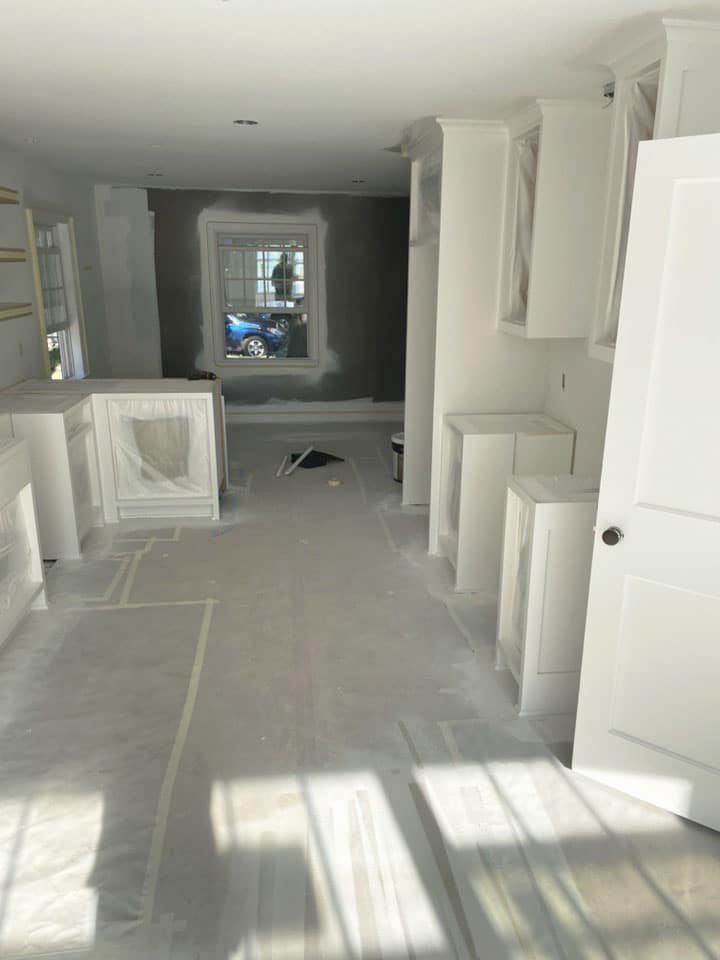
Before painting began, our painters taped and masked impacted surfaces on the home, like all the floors and interior cabinets, to protect them from the paint being sprayed on adjacent surfaces. Painters also filled any nail holes or imperfections that may have occurred along walls or millwork. Then they cleaned, sanded, or caulked affected surfaces to ensure a clean paint application. Other surfaces got temporarily removed as a precautionary and quality control measure prior to painting. Just like cabinet drawers and doors, the team removed interior doors, setting up a separate door painting area elsewhere in the home.
With the removal of interior doors, hinges, and hardware, painters sprayed the doors along with any stair parts, millwork, and cabinets throughout the entire addition with primer, then a first and second coat of enamel paint. The ceiling then received several coats of paint, in this case, Sherwin Williams, Snowbound, matching the paint selection on the kitchen cabinets. Painting wrapped up within 2-3 days when painters finished the interior walls, which is always the final surface to receive paint. In a vivid departure from the calming Pearly White used throughout the remainder of the kitchen and mudroom, the design team selected a striking blue called, After the Storm, to mark the south-facing kitchen wall.
Early on, our design team worked with the clients to find the right tile selections for the vintage-modern feel they wanted in their newly remodeled home. Tile selections throughout the home, like the bright white subway tile and black hexagonal tiles in the primary suite bath, helped our installers execute those design ideas perfectly. For the classic subway tile along the primary bathroom shower walls, the tile crew chose a durable substrate called Goboard to start applying tile against. We then waterproofed the seams and nail holes, applied thinset (adhesive mortar), and installed the tile. For the modern aesthetic we were looking for, the crew finished the job by neatly grouting and sealing the tile. Completing the shower actually took about a week, accounting for pouring the concrete curb, inspections on the initial waterproofing, tile install on the walls and floor, and miscellaneous drying times. For backsplashes, like those in the kitchen, our crew could apply tile directly over the sealed drywall without an additional backer board, using a mastic mortar for its superior binding strength in non-wet applications.

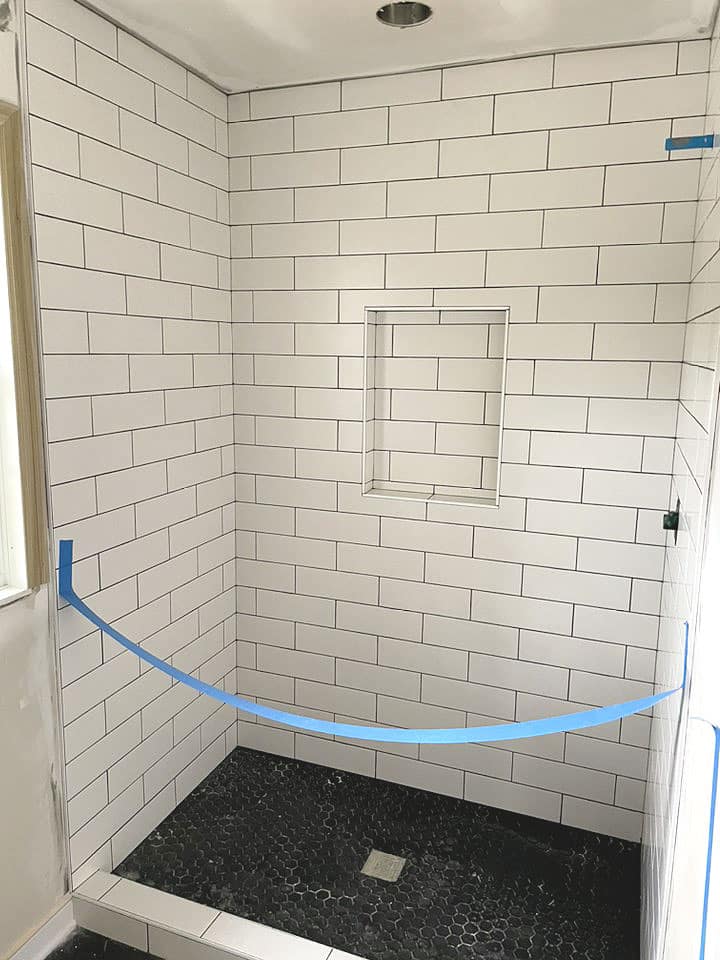
The new white subway tile on the shower walls combined with the black 1 1/2" hexagonal floor tile give this new primary bathroom the modern-vintage feel our clients were looking for. In next week's finished reveal, we'll show how the natural walnut vanity help finish this timeless bathroom.
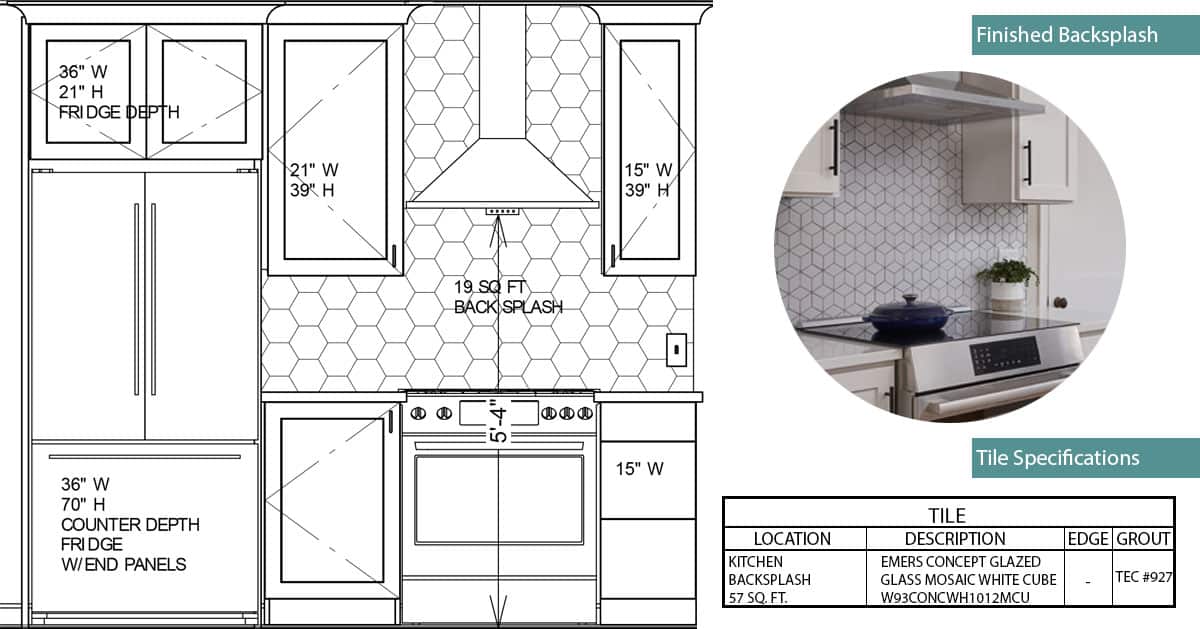
When water isn't as much of a concern, the crew can install tile directly over drywall using a stronger bonding mortar, called Mastic mortar. This sneak peek gives us a brief glimpse of the final project reveal to come next week!
We’re here to help! Check out our planning resources below, or reach out to us here.