How Much Does it Cost to Remodel a Kitchen in the Twin Cities?
Are you dreaming of a new kitchen and wondering how much you’ll need to invest? We breakdown the costs for two kitchen remodels and what factors drive those costs.
Follow along as we build a shed dormer addition along the upper level of this St. Paul Cape Cod.

In the previous construction stage for this St. Louis Park addition, we framed the addition and new interior walls, which set up the later stages of the project for success. In this case, success meant checking for possible height differences from settling within an existing foundation compared to the new systems built for the addition. By simply checking for and adjusting for height differences between the existing foundation and new floor system, we could guarantee a smooth transition between the finished flooring where the addition meets the existing home. With the prep work finalized for the future install of the finish floor and the interior wall framing completed, the team is now able to move forward with the rough-in process, mechanical install, and insulation.

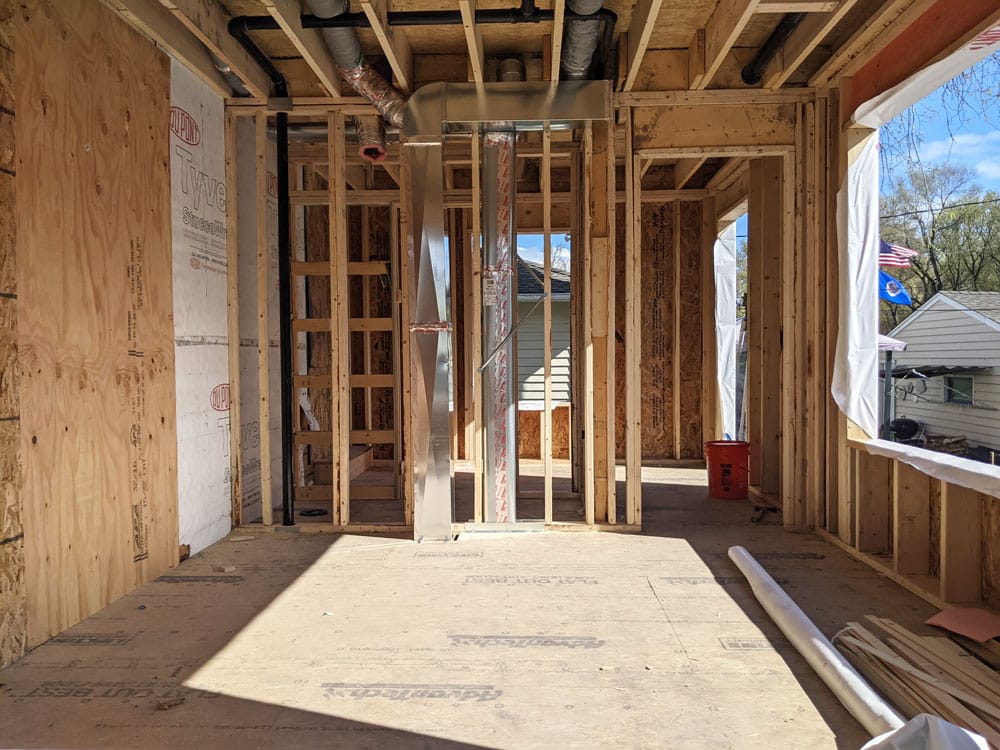
With the framing complete, our team transitions to getting necessary and efficient systems like these HVAC ducts located and installed. The new framing provides sufficient space for fitting new mechanical trunk lines.
During the rough-in stage, we are working to get efficient systems in place for making the house livable, like installing mechanical trunk lines, plumbing lines, and wiring for lighting according to the design documents. Rough-ins for lighting and plumbing define the location for the client’s new fixtures, such as new sinks, shower faucets, and pendant lights, while also providing the right utilities for these selections to function properly.

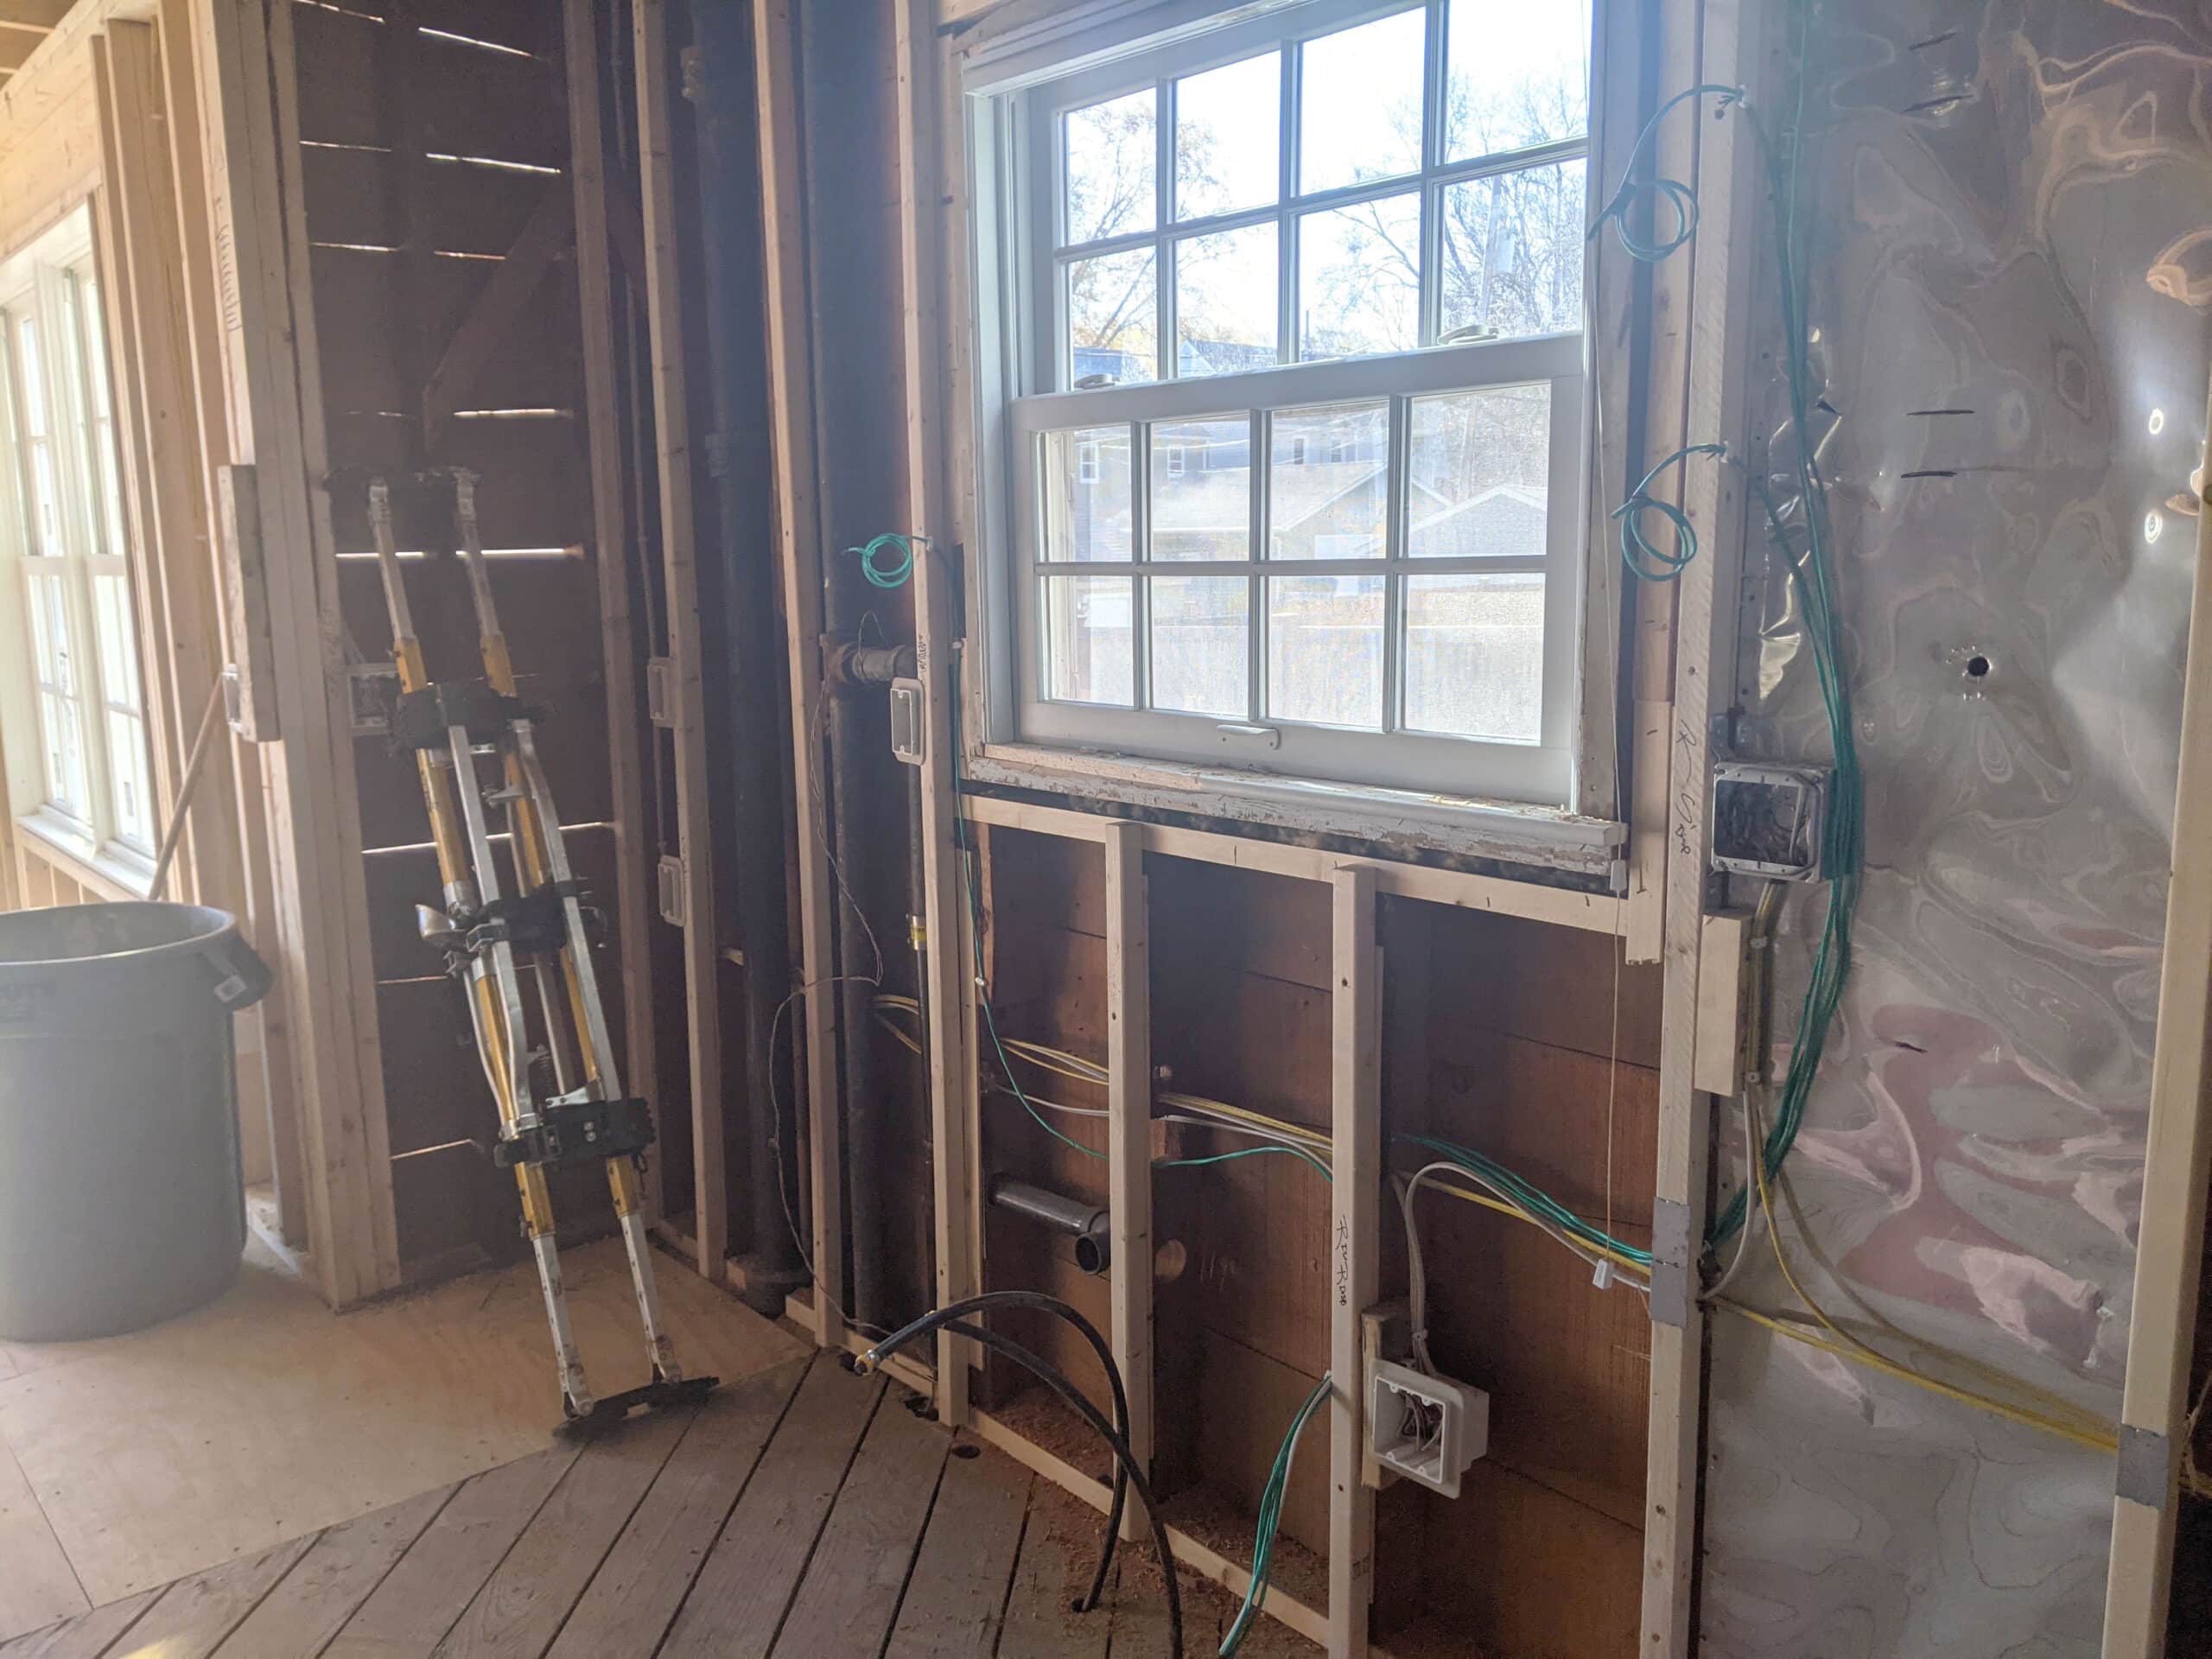
A specially detailed floating shelf will sit opposite the kitchen window, requiring wiring for the hidden puck lites installed within voids under each 3" walnut board.
The diversity of lighting, plumbing and HVAC needs in the kitchen showcase some of the unique rough-in requirements of this project. One example is the lighting for the open walnut shelving adjacent to the kitchen window. To start, we installed a metal backer rod hidden in the framing to support these 3” floating walnut shelves. Then we roughed-in the wiring for future puck lights, which will eventually rest within a hidden 1 ½” void at the underside of each shelf and provide a clean aesthetic for the naturally finished walnut. Other than plumbing for the new sink and appliances, we also used the kitchen design to hide the new mechanical trunk lines behind the kitchen cabinets, giving the room a clean appearance without usurping additional square footage.

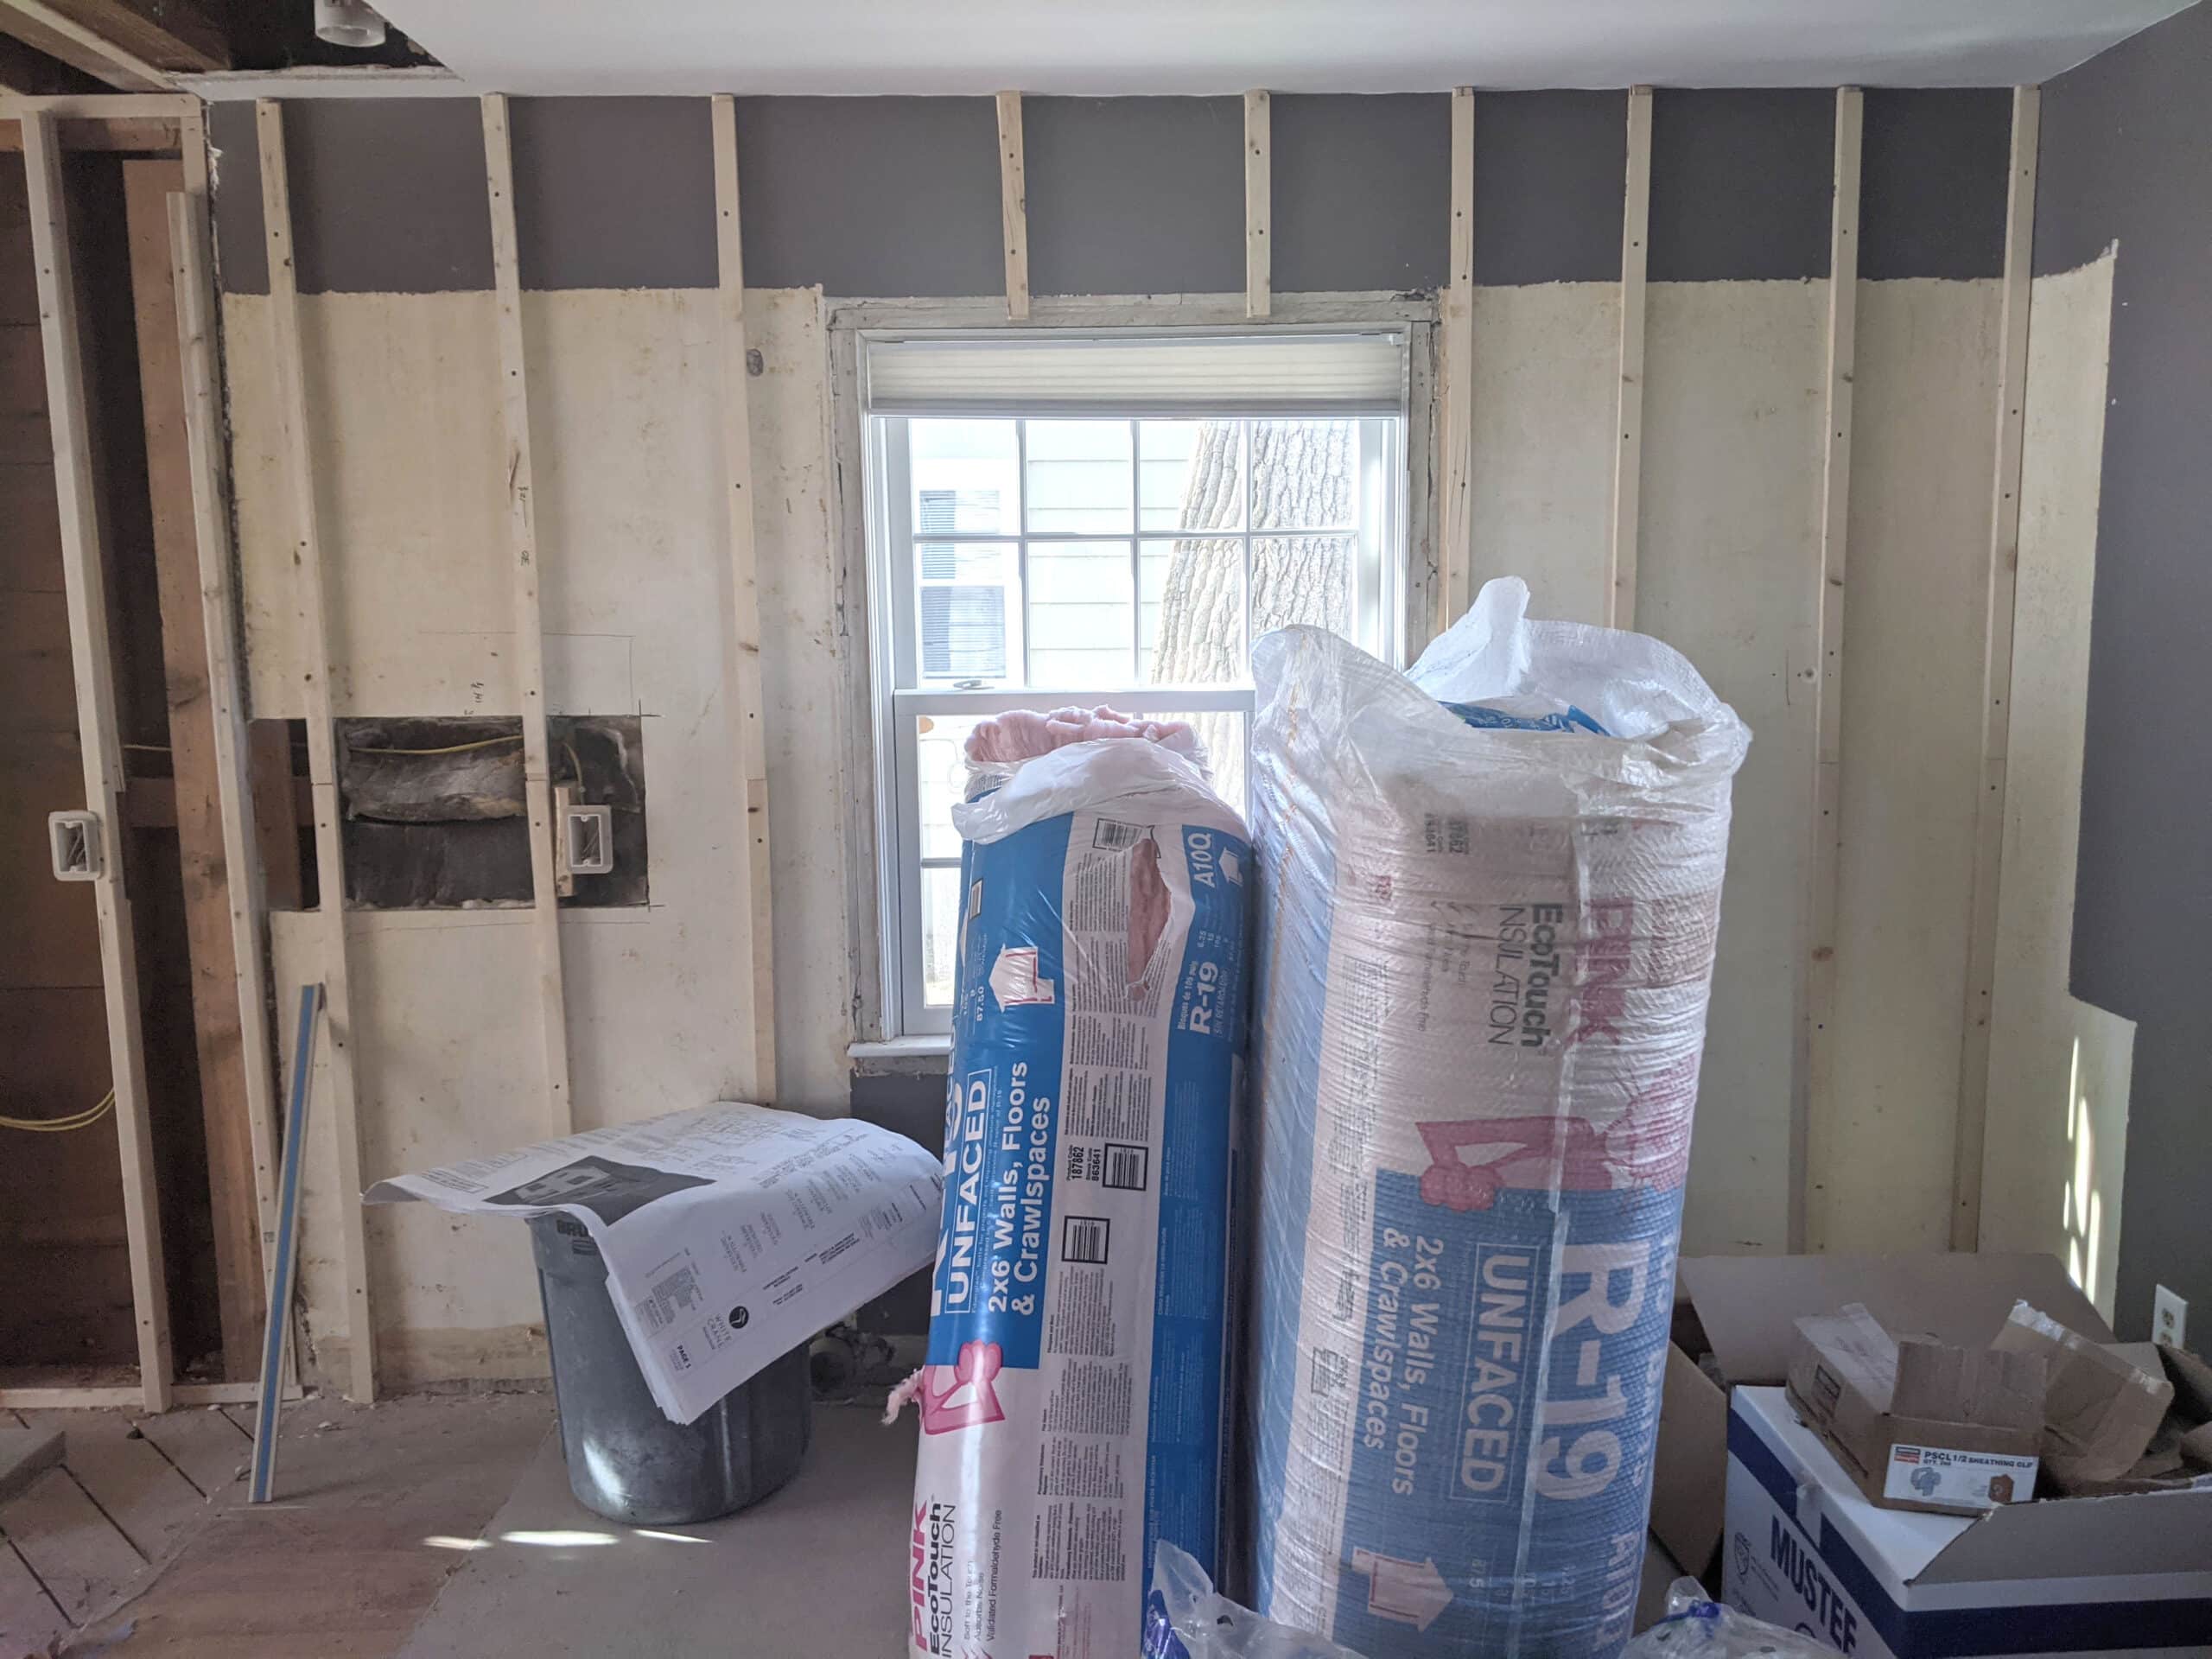
Our team is ready to start insulating with the framing and rough-ins completed. The cavities of the home's walls will need the insulation shown here to protect it from the chilly Minnesota winters.
After rough-ins are completed, we can then move on to getting new insulation in place, which protects the home from temperature swings due to weather conditions at every season, especially these cold, Minnesota winters.

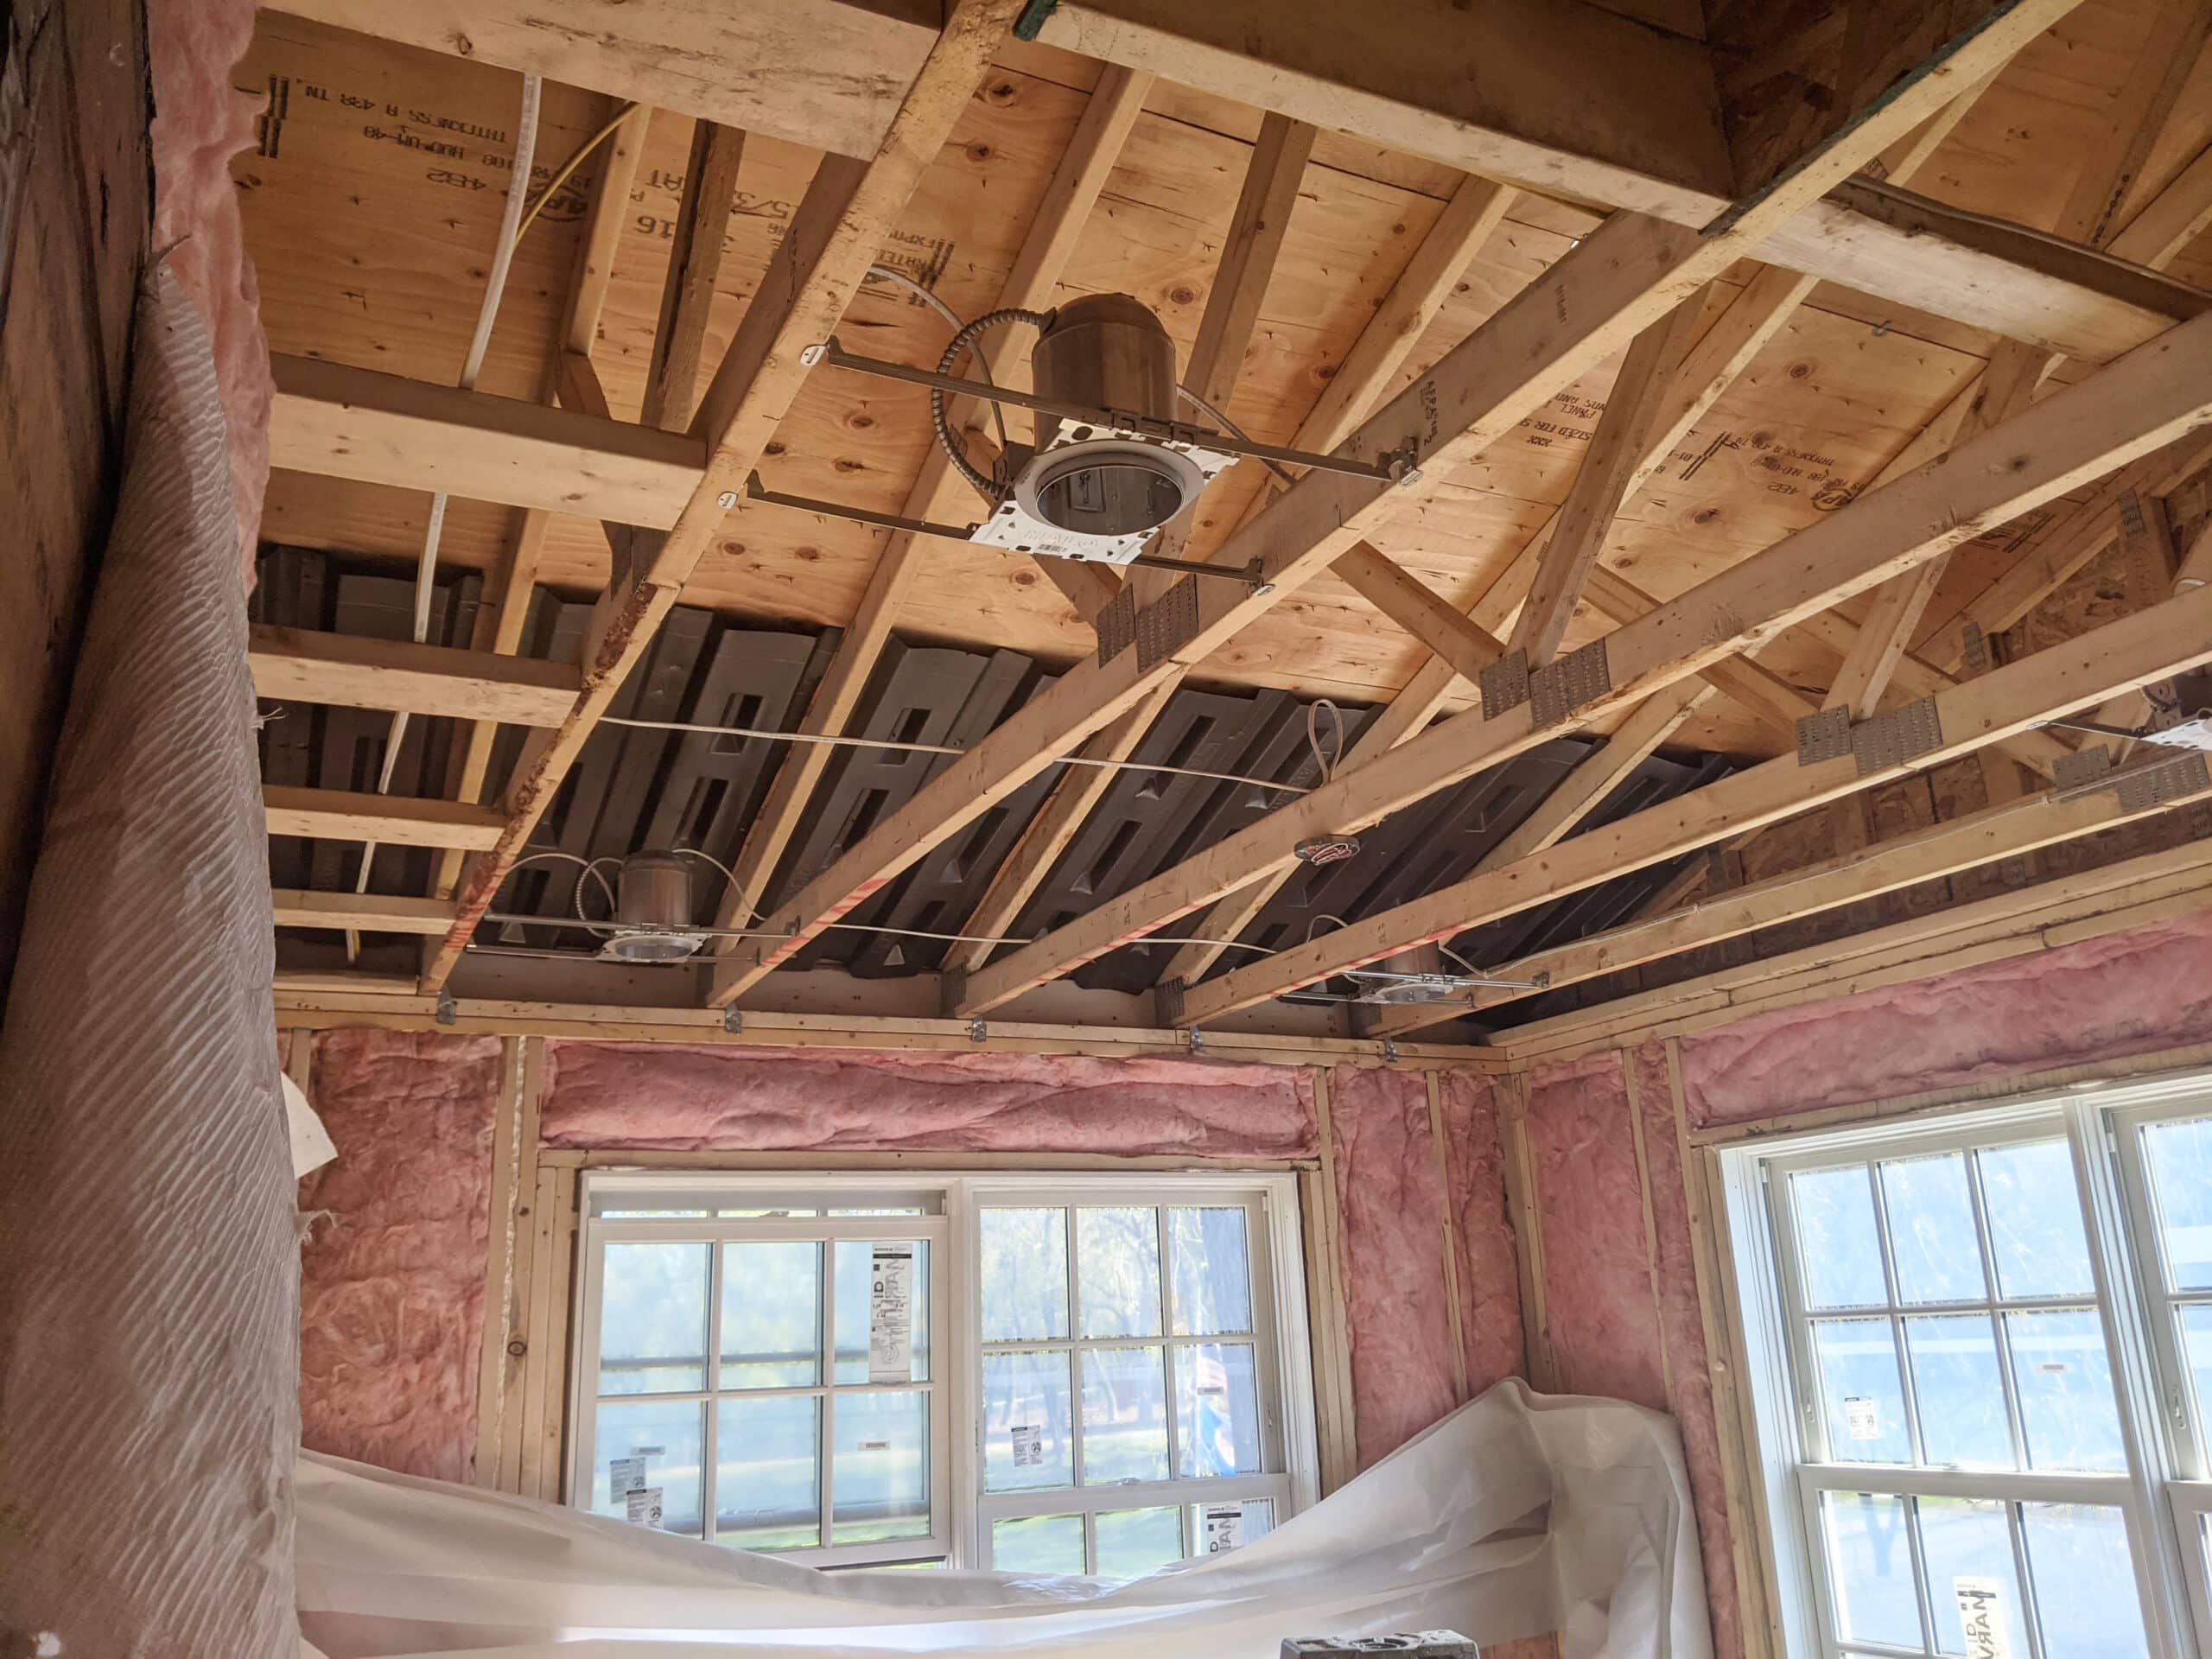
A peek inside the addition's trusses showcases the housing for the new recessed cans roughed-in and ready for the upcoming finishes. Notice how the framing provides the right cavity space for the home's new insulation.
We’re here to help! Check out our planning resources below, or reach out to us here.