
How Much Does it Cost to Remodel a Kitchen in the Twin Cities?
Are you dreaming of a new kitchen and wondering how much you’ll need to invest? We breakdown the costs for two kitchen remodels and what factors drive those costs.
Follow along as we build a shed dormer addition along the upper level of this St. Paul Cape Cod.
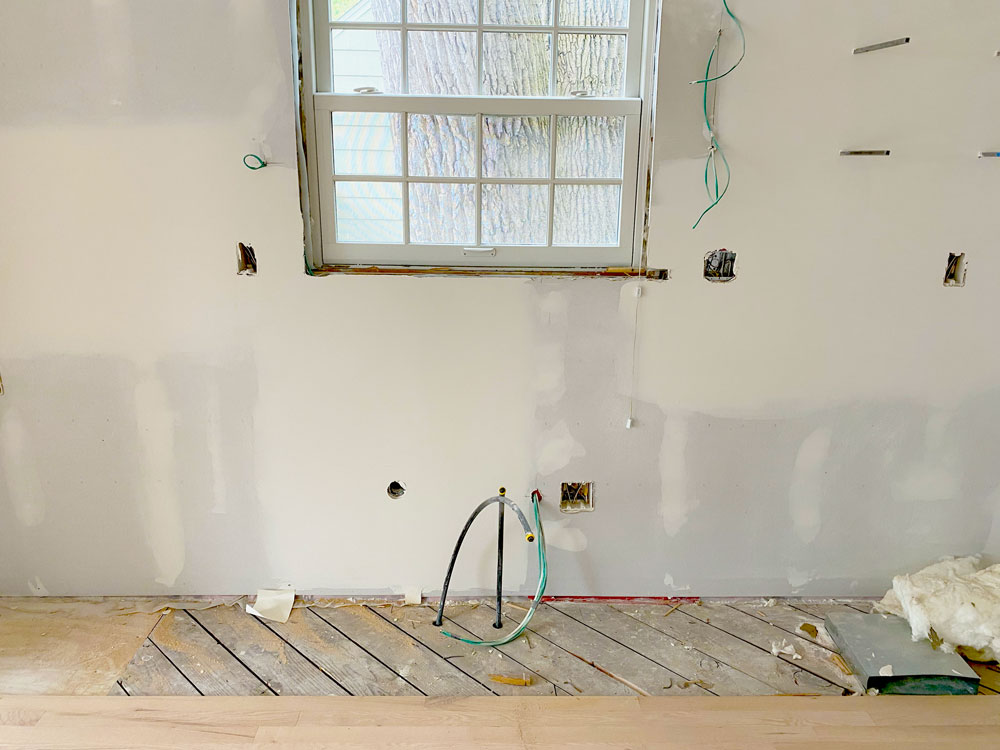
Drywall is that final material installed over newly insulated framing to form the interior barrier of the home, which will eventually be primed and painted. It typically comes in 4’-0” x 8’-0” sheets and is composed of a central core of gypsum plaster sandwiched between paper barriers. Inspections for the framing and insulation occur just before the drywall install when the mechanical, rough-ins, and insulation processes are completed. In this case, the inspector verifies that point loads (weight being vertically supported and transferred to the foundation) are correctly aligned and supported, that all codes are being followed, that sheathing is installed correctly, and that there are no voids in the insulation from floor to floor.
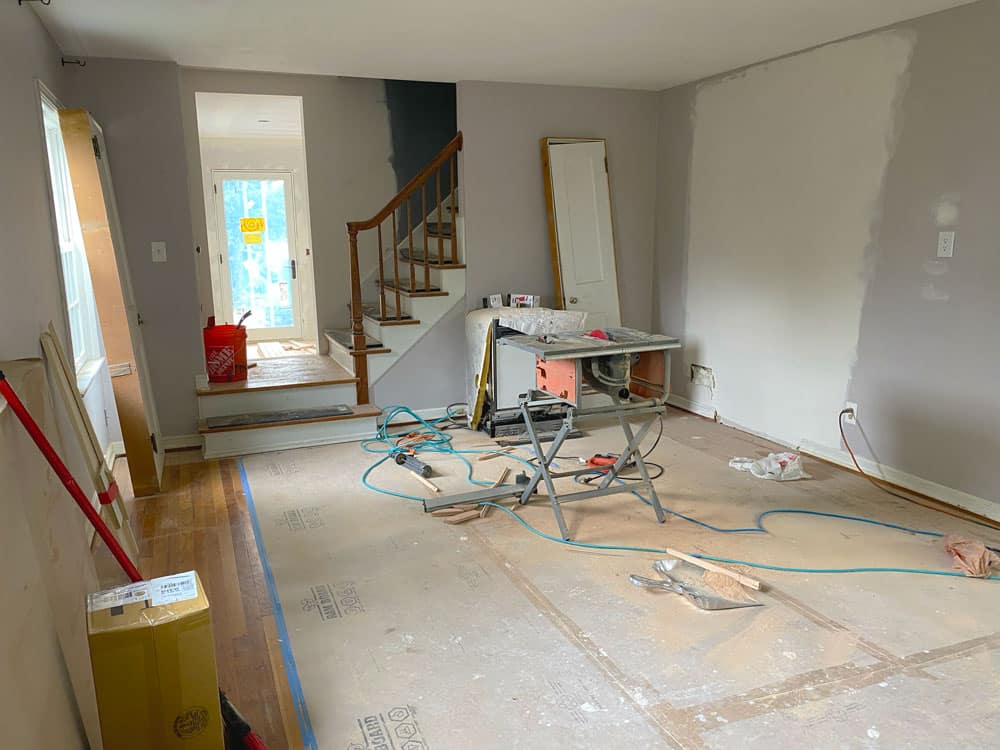
Within the existing living room, we’ve installed new drywall to patch an existing opening to the kitchen where the new range will be installed later.
With approvals from local inspectors given, our team worked to hang the drywall along all the newly framed areas, like the new exterior walls for the addition and any interior walls affected by the remodel, as was the case with the new primary suite, bath, and closet as well as within the main level kitchen, dining room, and main level powder. By propping up drywall sheets against the open framing and securing them into studs with screws, the new interior really began to take shape. Part of this process also includes taping fastener holes and seaming corners for crisp edges. As we moved across each space, we worked around openings for windows and doors and routed out space for outlets, the latter of which we prepped during the rough-in stage.

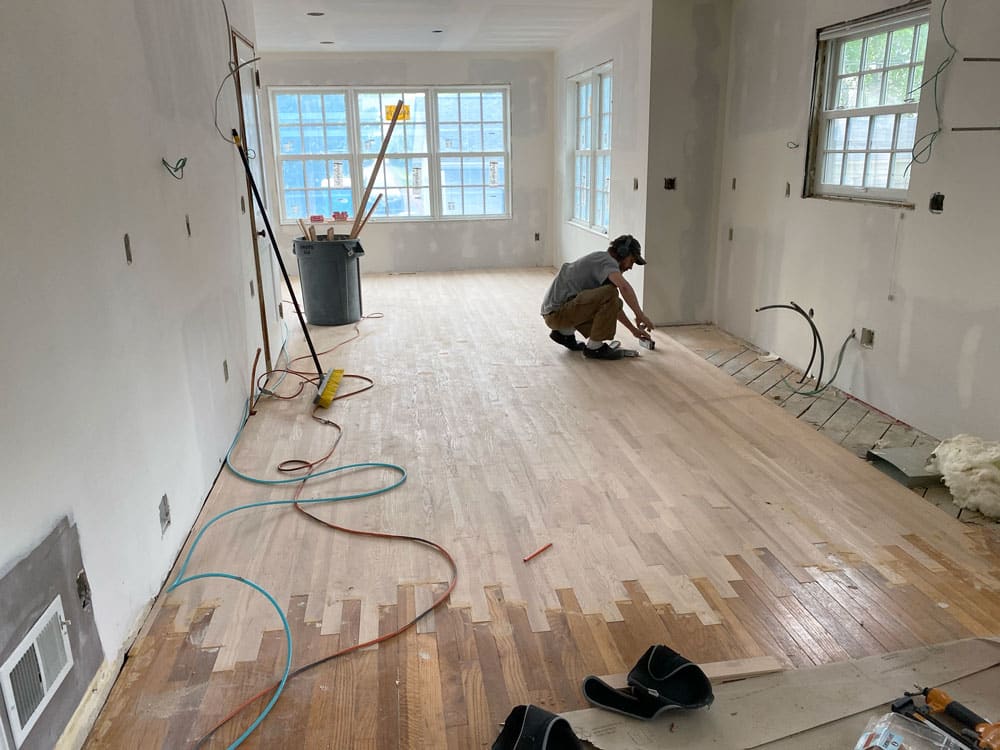
When wood flooring is delivered, it arrives in bundles like the one pictured here. After acclimating to the local humidity levels, we start laying the boards out in a process called, “racking” to promote faster installation when nailing multiple boards to the subfloor.
We purposefully timed the wood delivery for a week before the installation to allow the wood time to expand and contract to the environment. If installed too soon, expansion and contraction of the boards due to moisture in the air could cause the new floor to buckle. Once the wood was properly adjusted, we started a process called “racking,” where we took the bundles of wood planks and laid them out on the subfloor before nailing them down. Without having to constantly reach for new boards when nailing, we maximized efficiency for a much faster install.
One way to think about cost savings is to allow the lower cabinets to sit directly on top of the subfloor instead of carrying the new wood flooring across the entire floor.
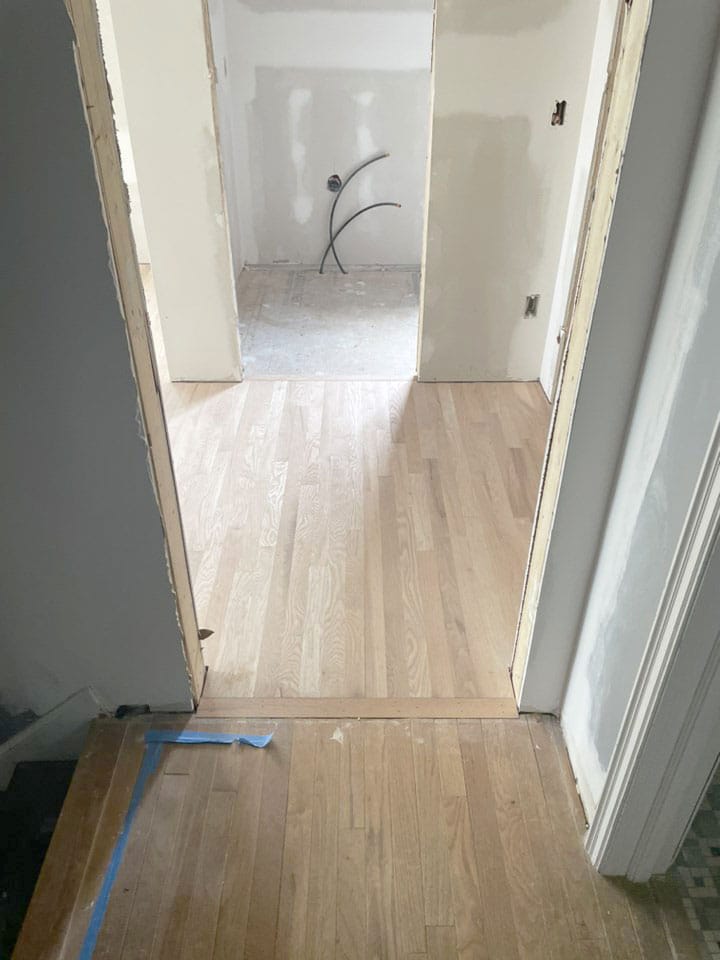
Our experts cut back the existing flooring at varying lengths to prevent obvious seams from surfacing between new and existing wood.
To maintain the character of the existing floor, we needed to match the existing 2 ¼” red oak with a complimentary stain and provide smooth transitions between new and old flooring. We were thoughtful about tying the two zones together seamlessly, particularly in the existing kitchen, where we removed old floor tile. We purposefully cutback or staggered the existing boards at varying locations to lace in the additional material for a seamless transition between new and old flooring. Once all the boards were laid out and then nailed into the subfloor, we sanded the entire floor for the application of a two-coat, field applied stain color.
An additional header at the transition point between the new and existing flooring marks the location where the existing stairway landing meets the addition.
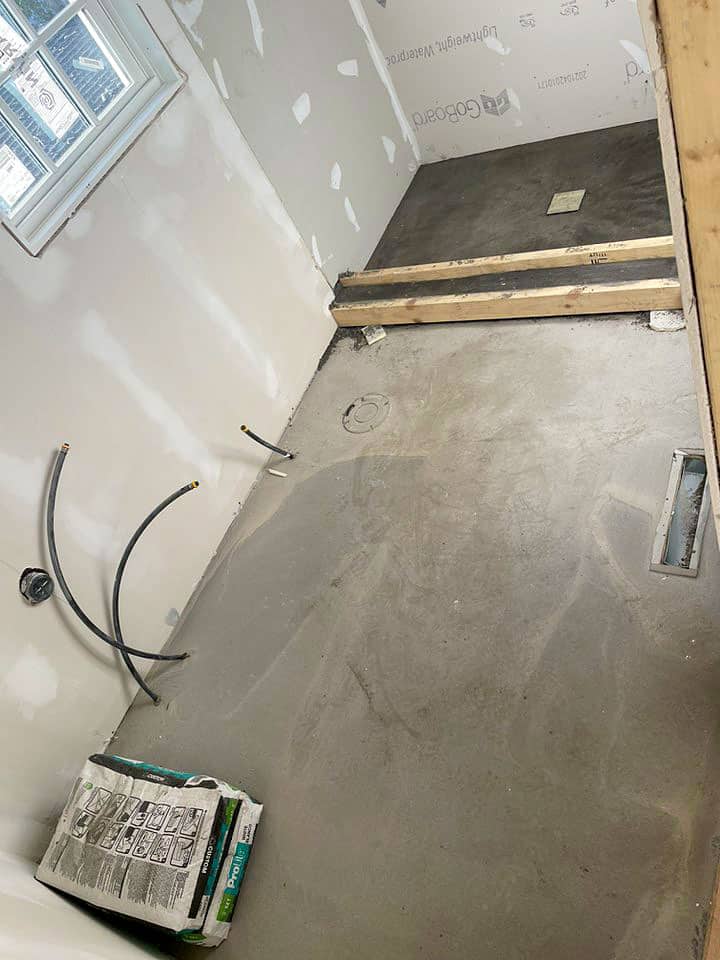
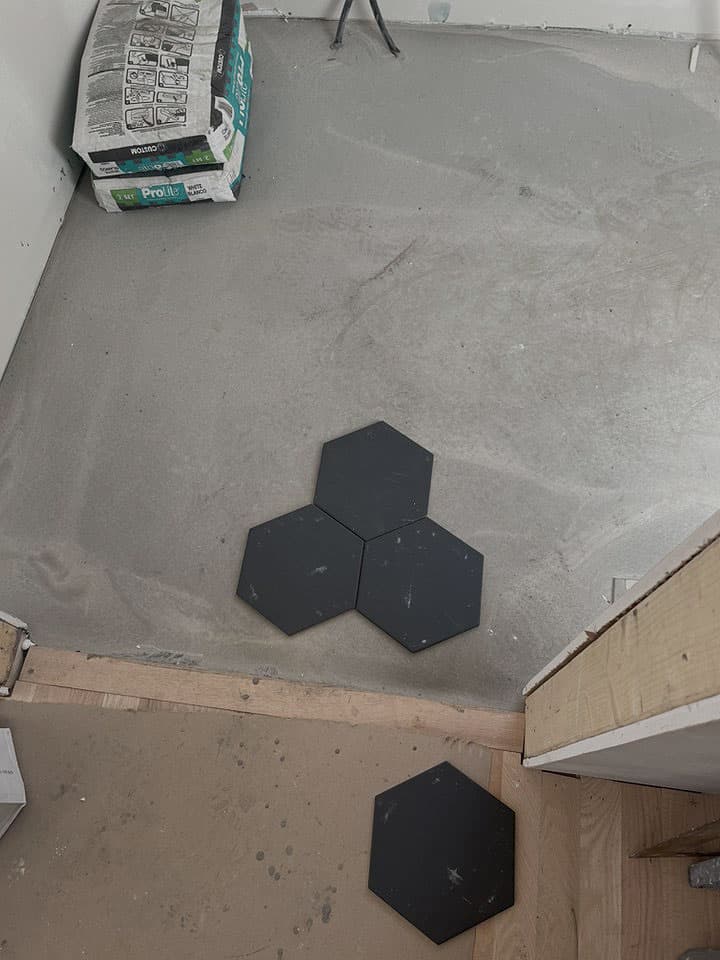
Right after finishing the wood floor installation, we immediately started to work on laying floor tile in areas like the primary bathroom upstairs. To do this, we first installed a substrate to the subfloor and then applied a self-leveler and thinset to ready the floor for the application of tile. These are necessary steps, as the self-leveling compound prepped the floor surface for even tile application while the thinset acted as a bonding agent to secure the tile to the floor. We were then ready to install the actual tiles and apply the selected grout per the design and construction specifications. In this case, we used a Hexagonal Matte Black tile with grout, TEC #941, called “raven.”
We’re here to help! Check out our planning resources below, or reach out to us here.
Are you dreaming of a new kitchen and wondering how much you’ll need to invest? We breakdown the costs for two kitchen remodels and what factors drive those costs.

The Twin Cities are filled with story-and-a-half homes that are perfect for a certain kind of addition, called a shed dormer. Learn more about this popular remodeling project.

We break down bathroom remodeling costs with moderate to upscale finishes by a professional remodeler in Twin Cities, Minneapolis and St. Paul.