
How Much Does it Cost to Remodel a Kitchen in the Twin Cities?
Are you dreaming of a new kitchen and wondering how much you’ll need to invest? We breakdown the costs for two kitchen remodels and what factors drive those costs.
See inside as we build a mudroom addition and remodel the kitchen of this 1920s Lake Nokomis home.
Sometimes, redesigning a home is more about removing existing walls than adding new ones, which was certainly the case for this Lake Nokomis property. To keep the home interior as open as possible, we only focused on framing a few key areas.
For the enlarged opening between the dining room and kitchen, we started by framing 16″ o.c. just below the header to mark the bottom of where the opening would end. This set the height of the opening. Then we cut a piece of plywood to the exact shape of the curved top to cover the newly placed framing.
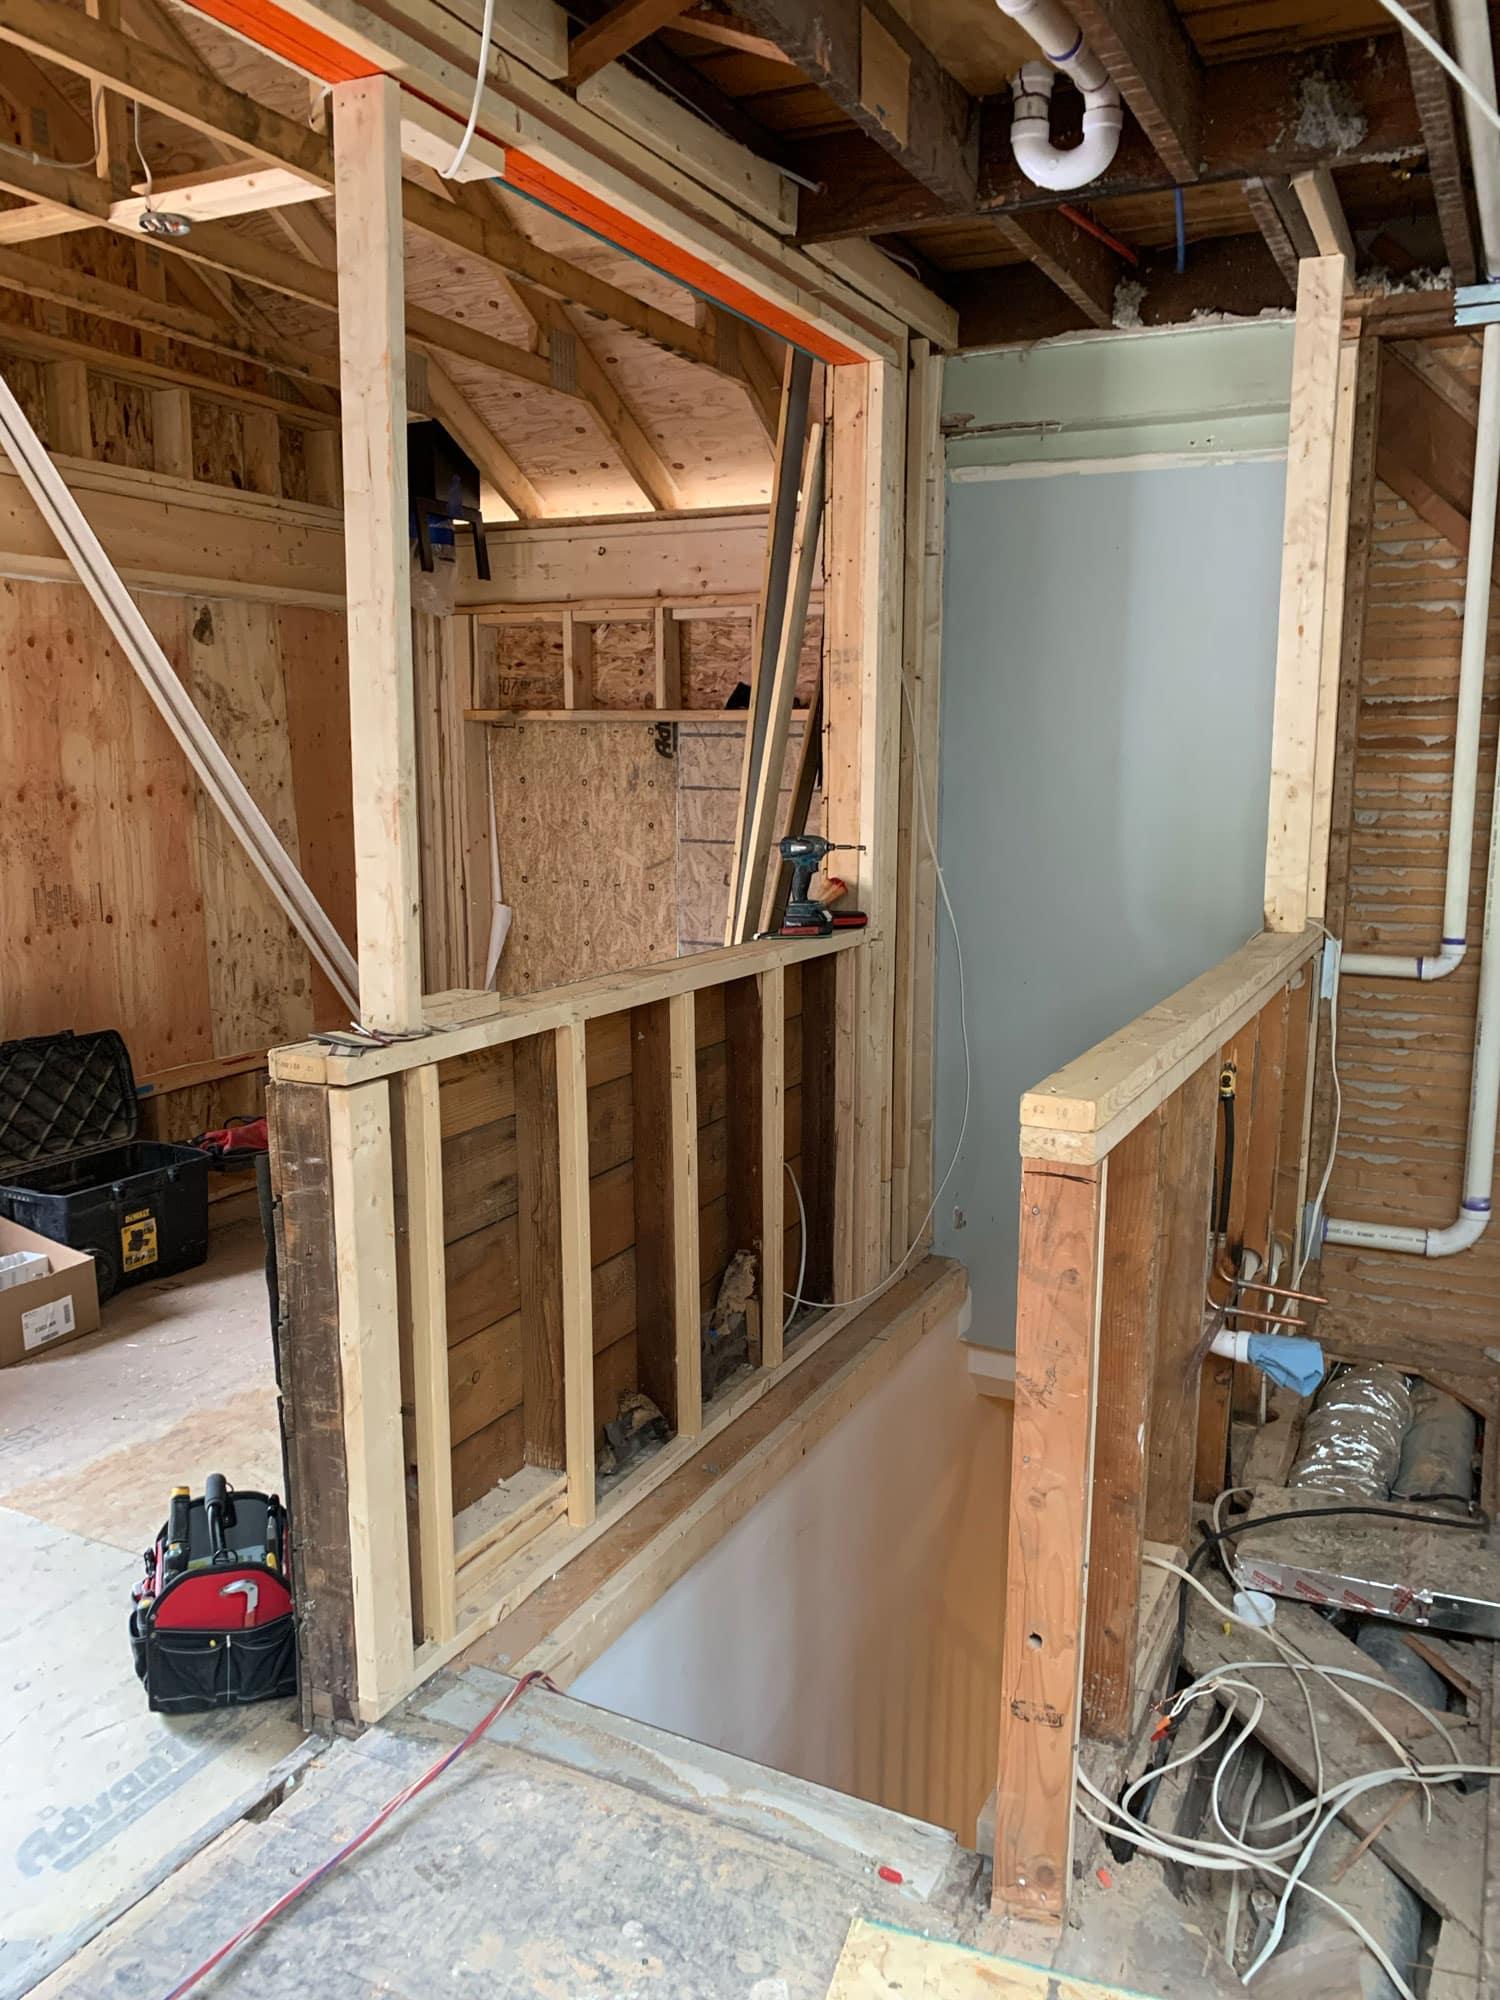
We demoed as much wall as possible between the kitchen and dining room, framing only enough for a new, large opening that will allow for greater maneuverability and better lighting in the home.
We framed partial height walls (sometimes called knee walls, half walls, or pony walls) on either side of the basement stair. These half walls keep the room from feeling compressed and allow light to flow seamlessly from the mudroom/sunroom addition to the kitchen and dining room beyond. When the cabinets are installed later, the cabinet maker will add vertical walnut boards above the mudroom half wall for added architectural intrigue. Though the partial wall construction helps to add light and architectural character to the room, they also provide a safe surface for cabinetry and plumbing installation and protect against falling down the stairs.
These partial height walls flanking the stair help to maintain the open concept floor plan while providing tons of functionality, like hiding plumbing and providing the surface area for cabinet installation later.
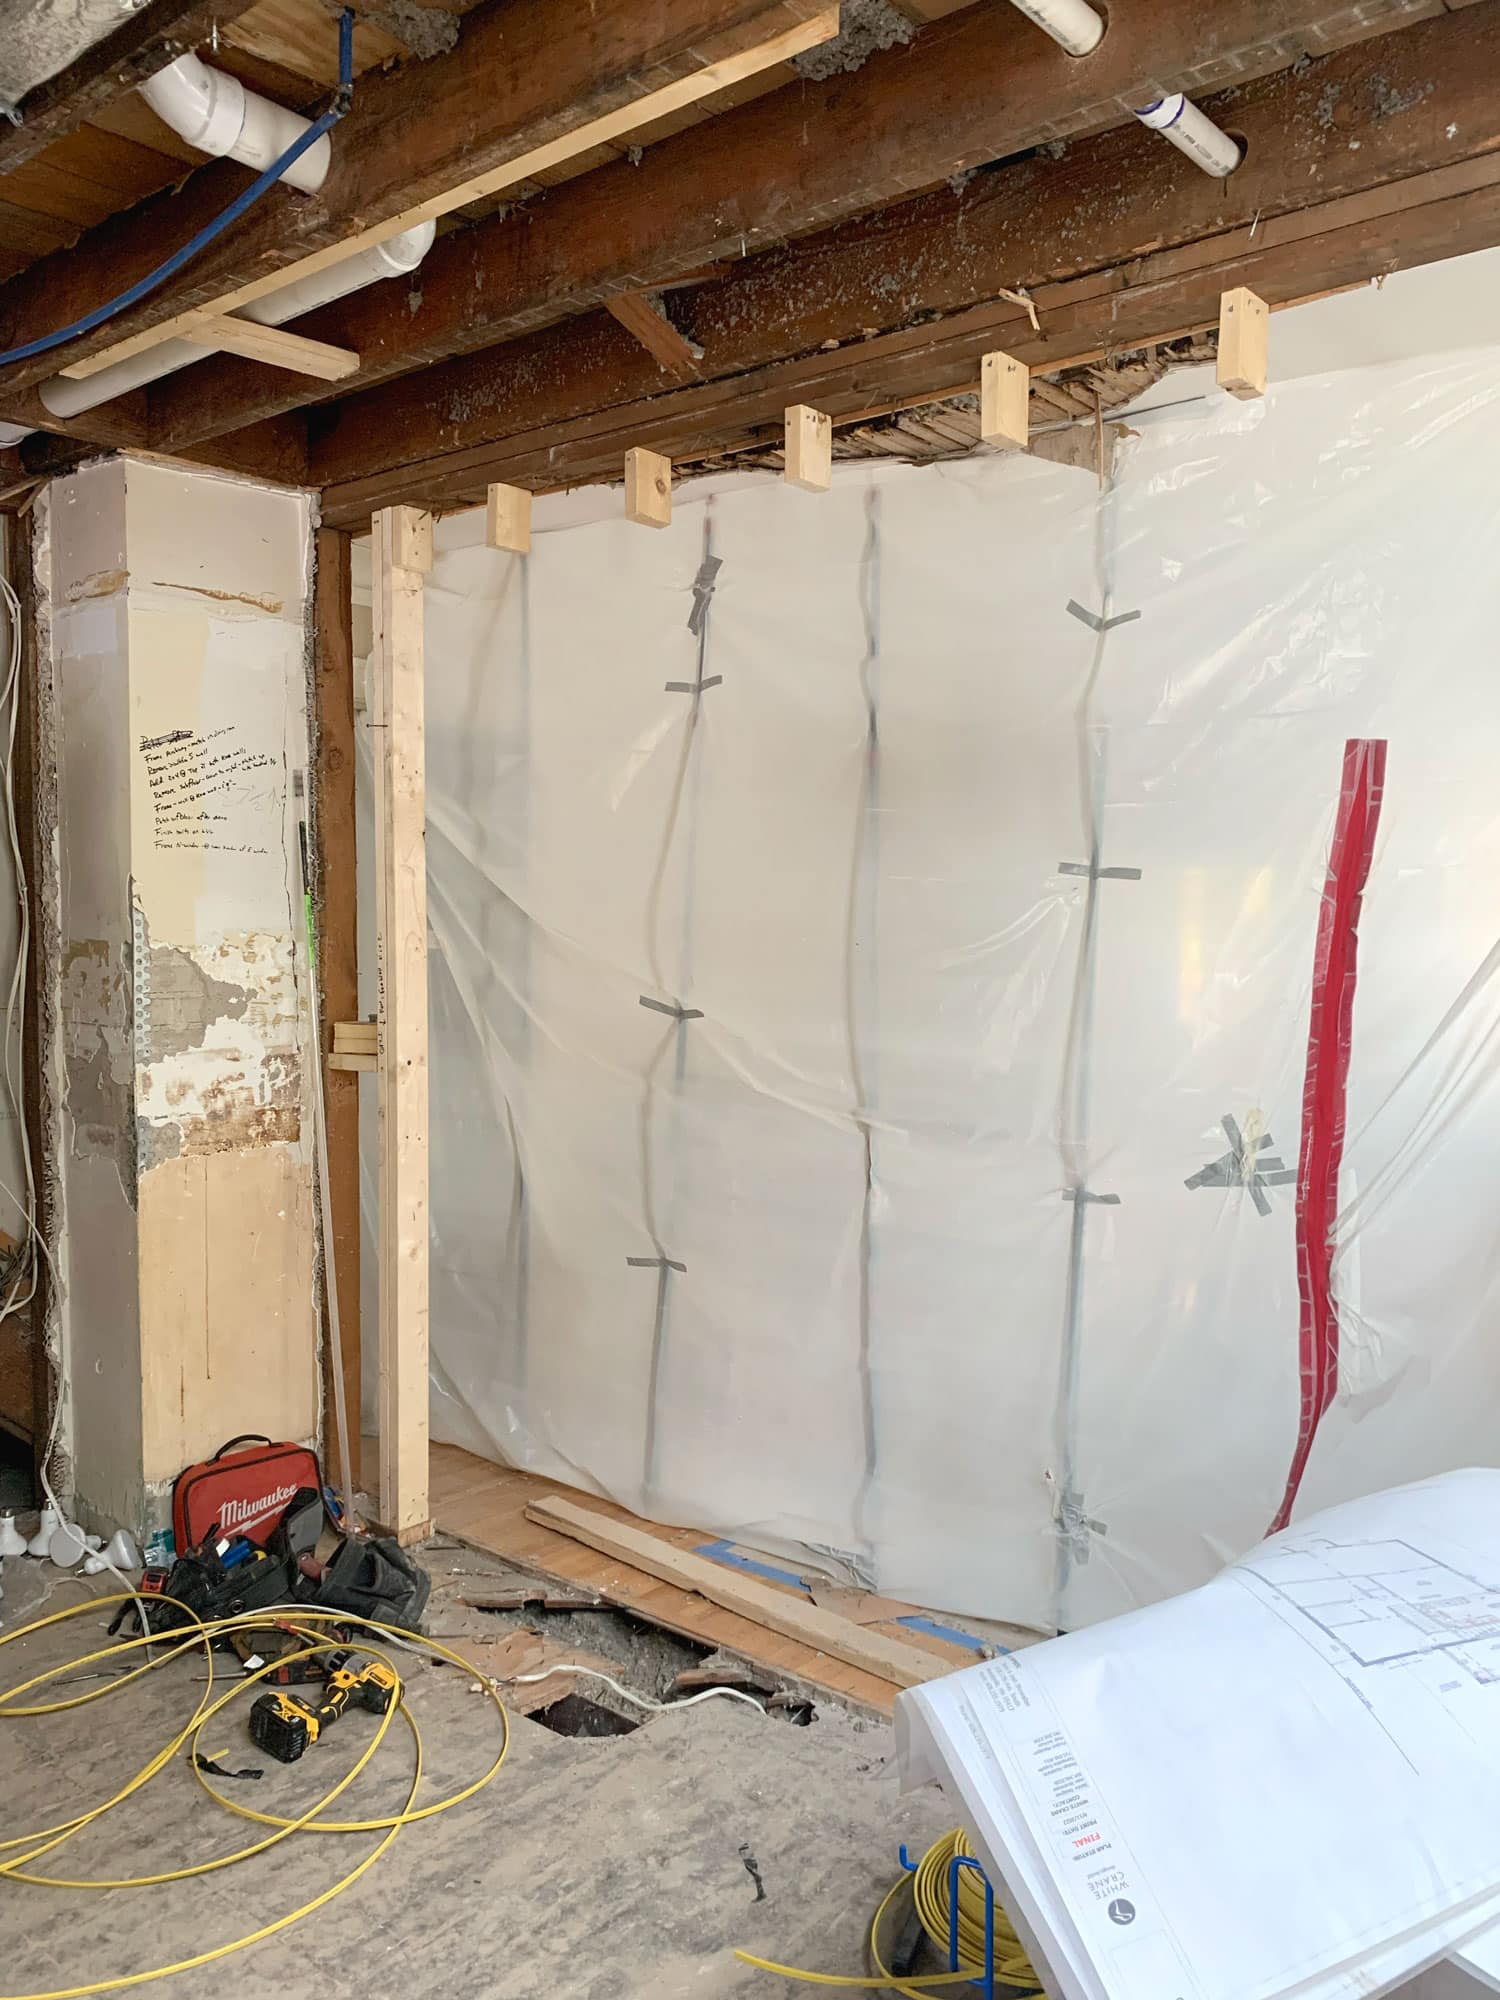
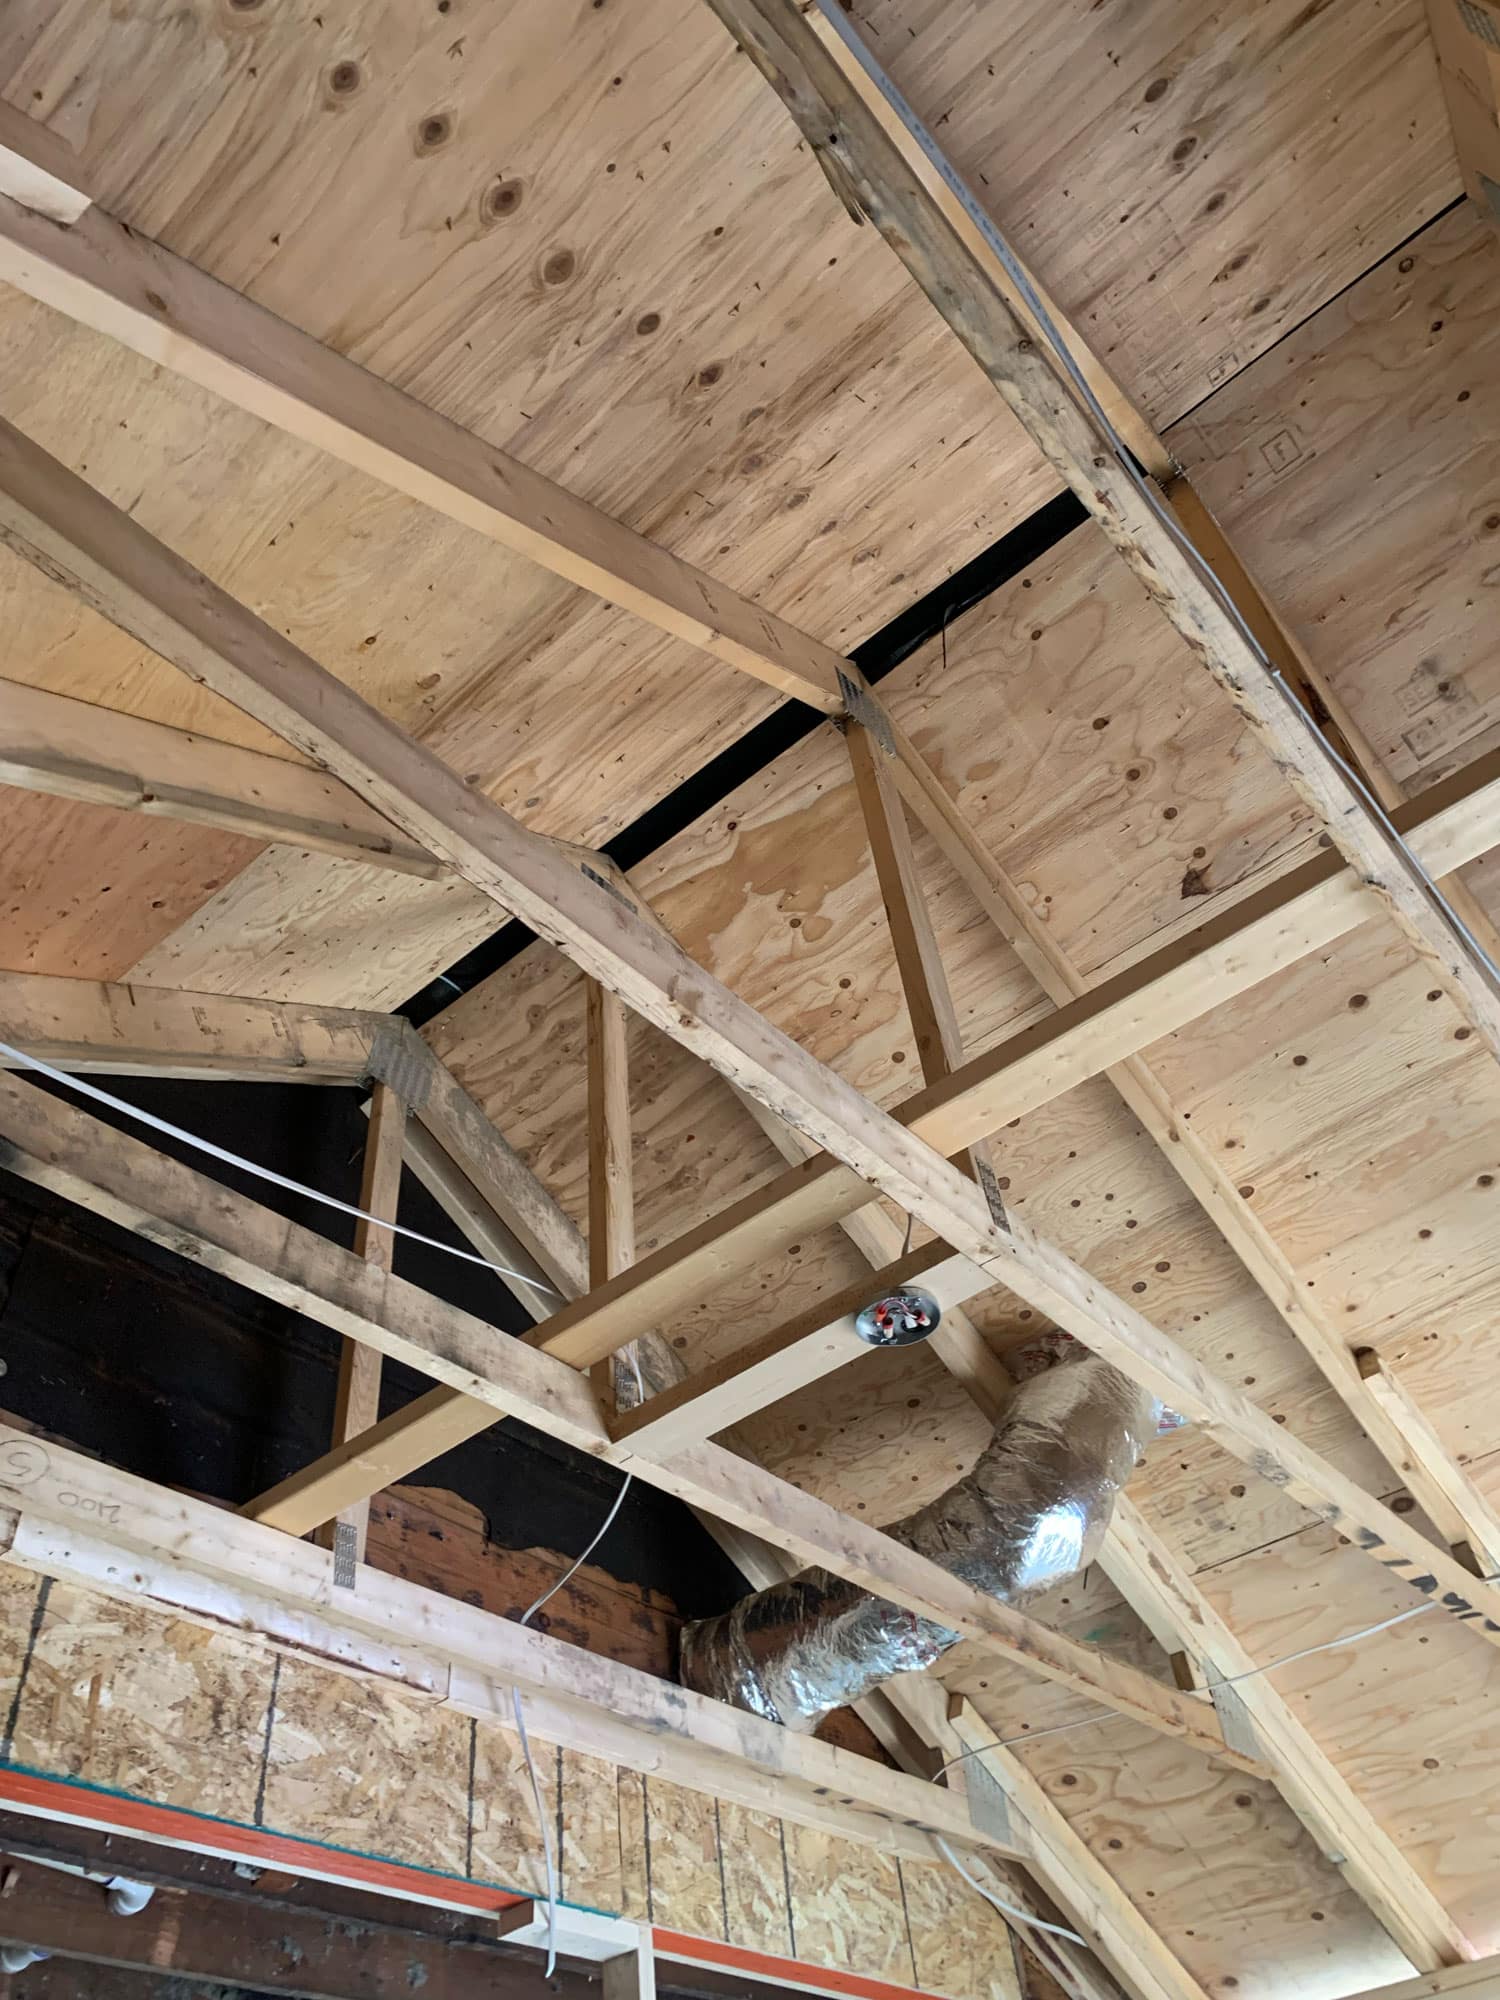
Creating a new kitchen layout involves many different types of trades and rough-ins from plumbing to mechanical and lighting. Notice new wiring for future lighting and rearranged plumbing lines that now clear the ceiling above.
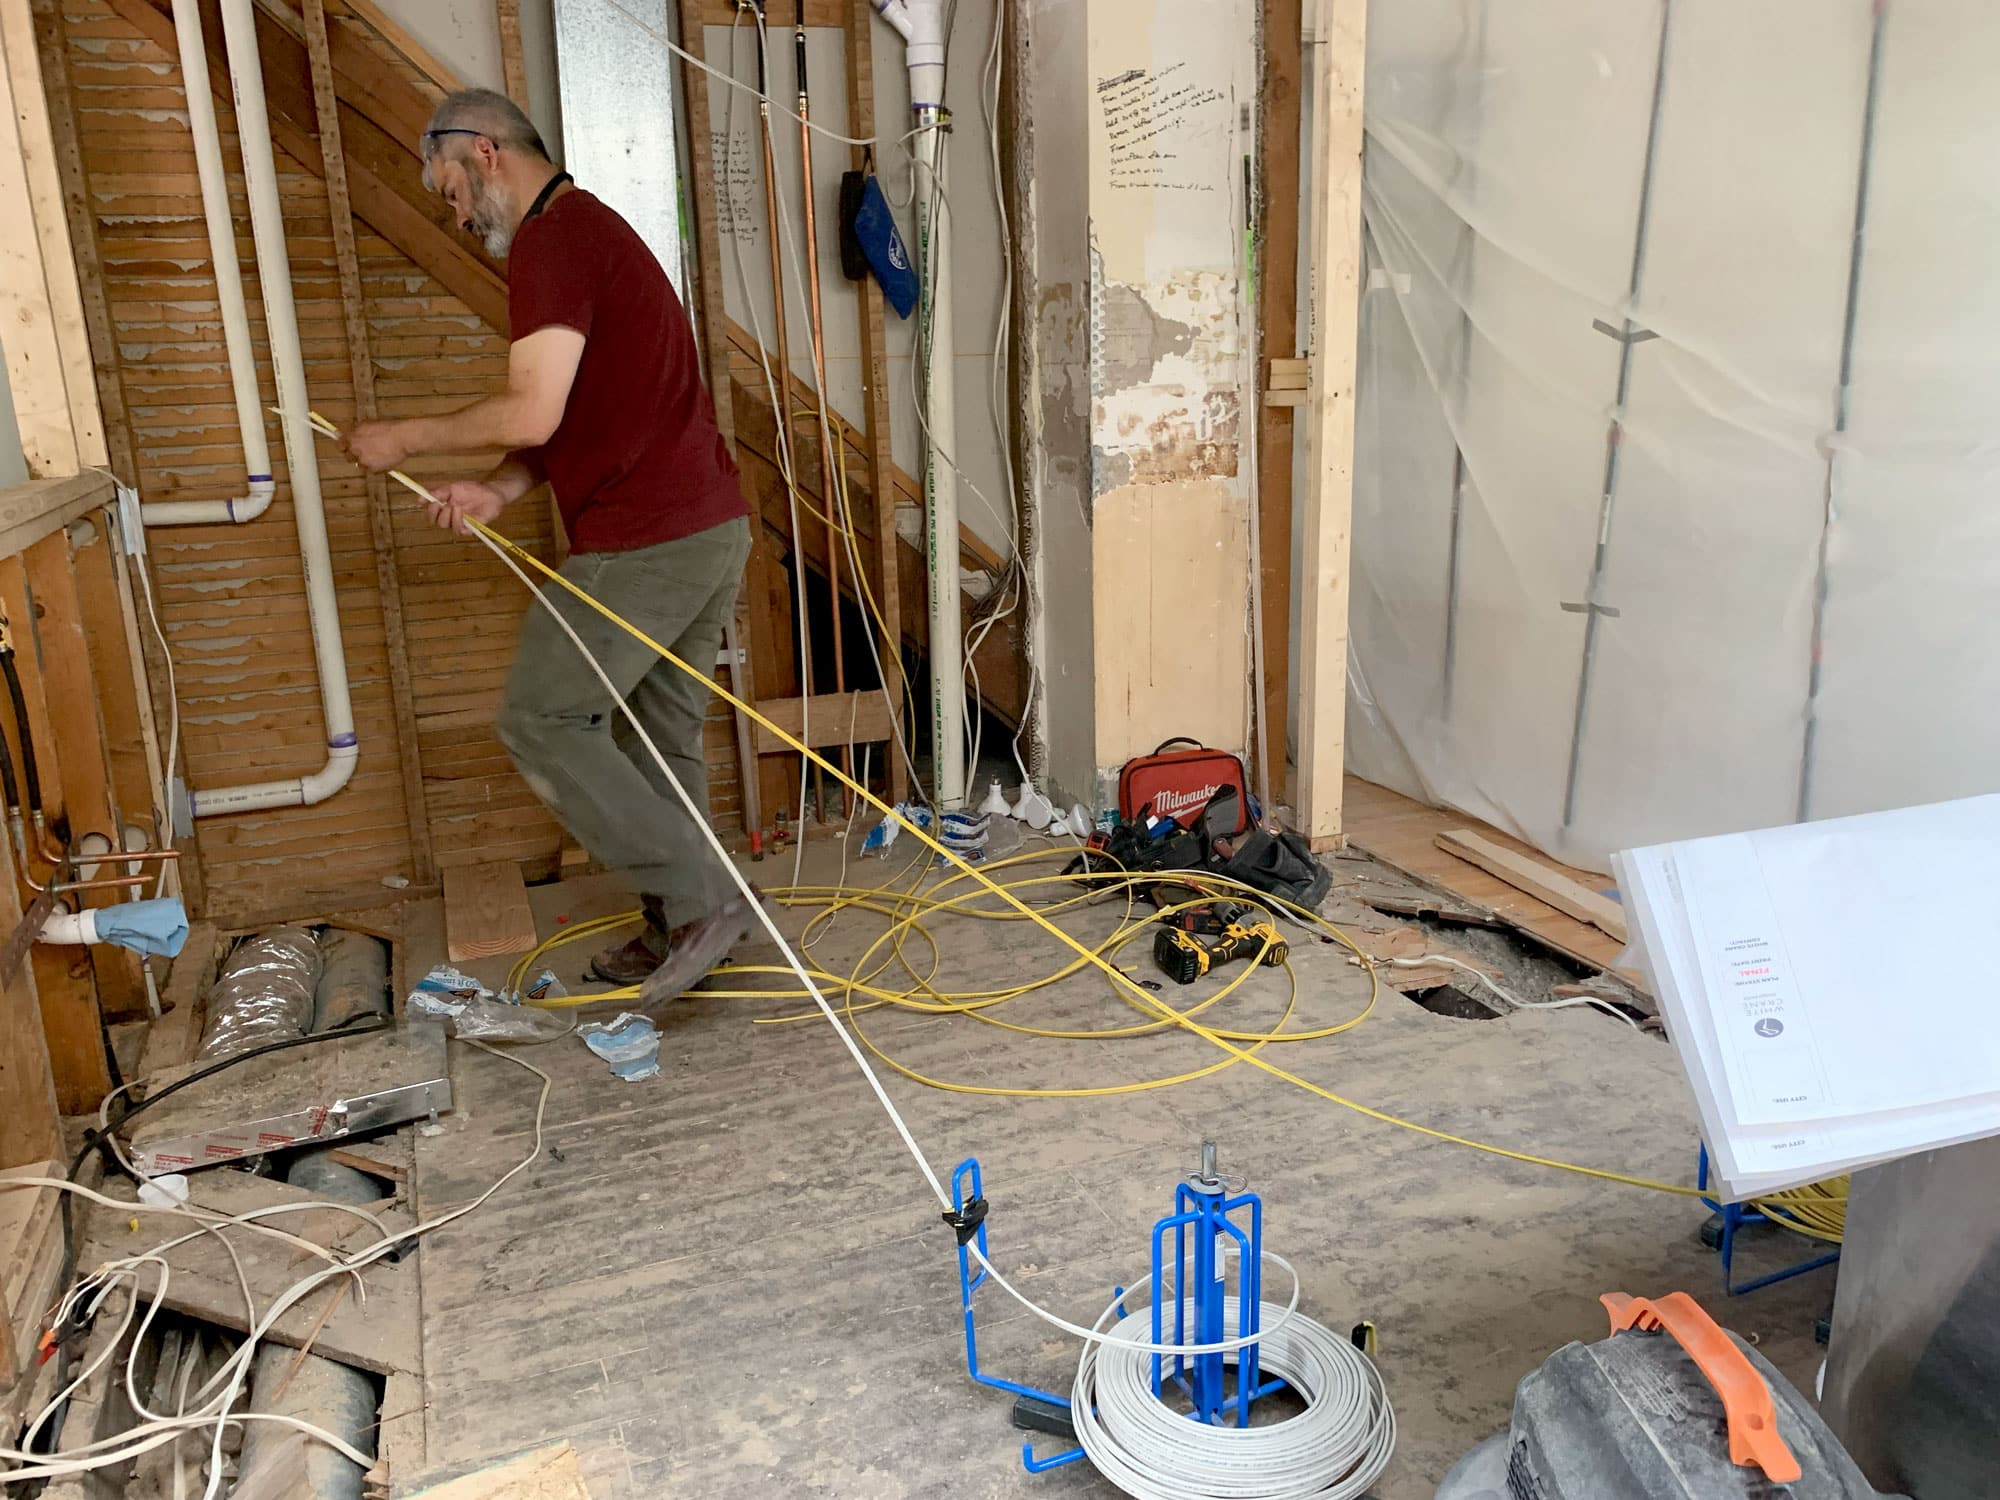
With framing well and complete, we started rough-ins. The rough-in stage is the time in which our crew places new plumbing, mechanical and electrical lines that final elements like sinks, dishwashers, and light fixtures will eventually tie into. These are the real “guts” of the home and provide the major functional elements that homeowners and other residents rely on, like lighting control and cooling systems.
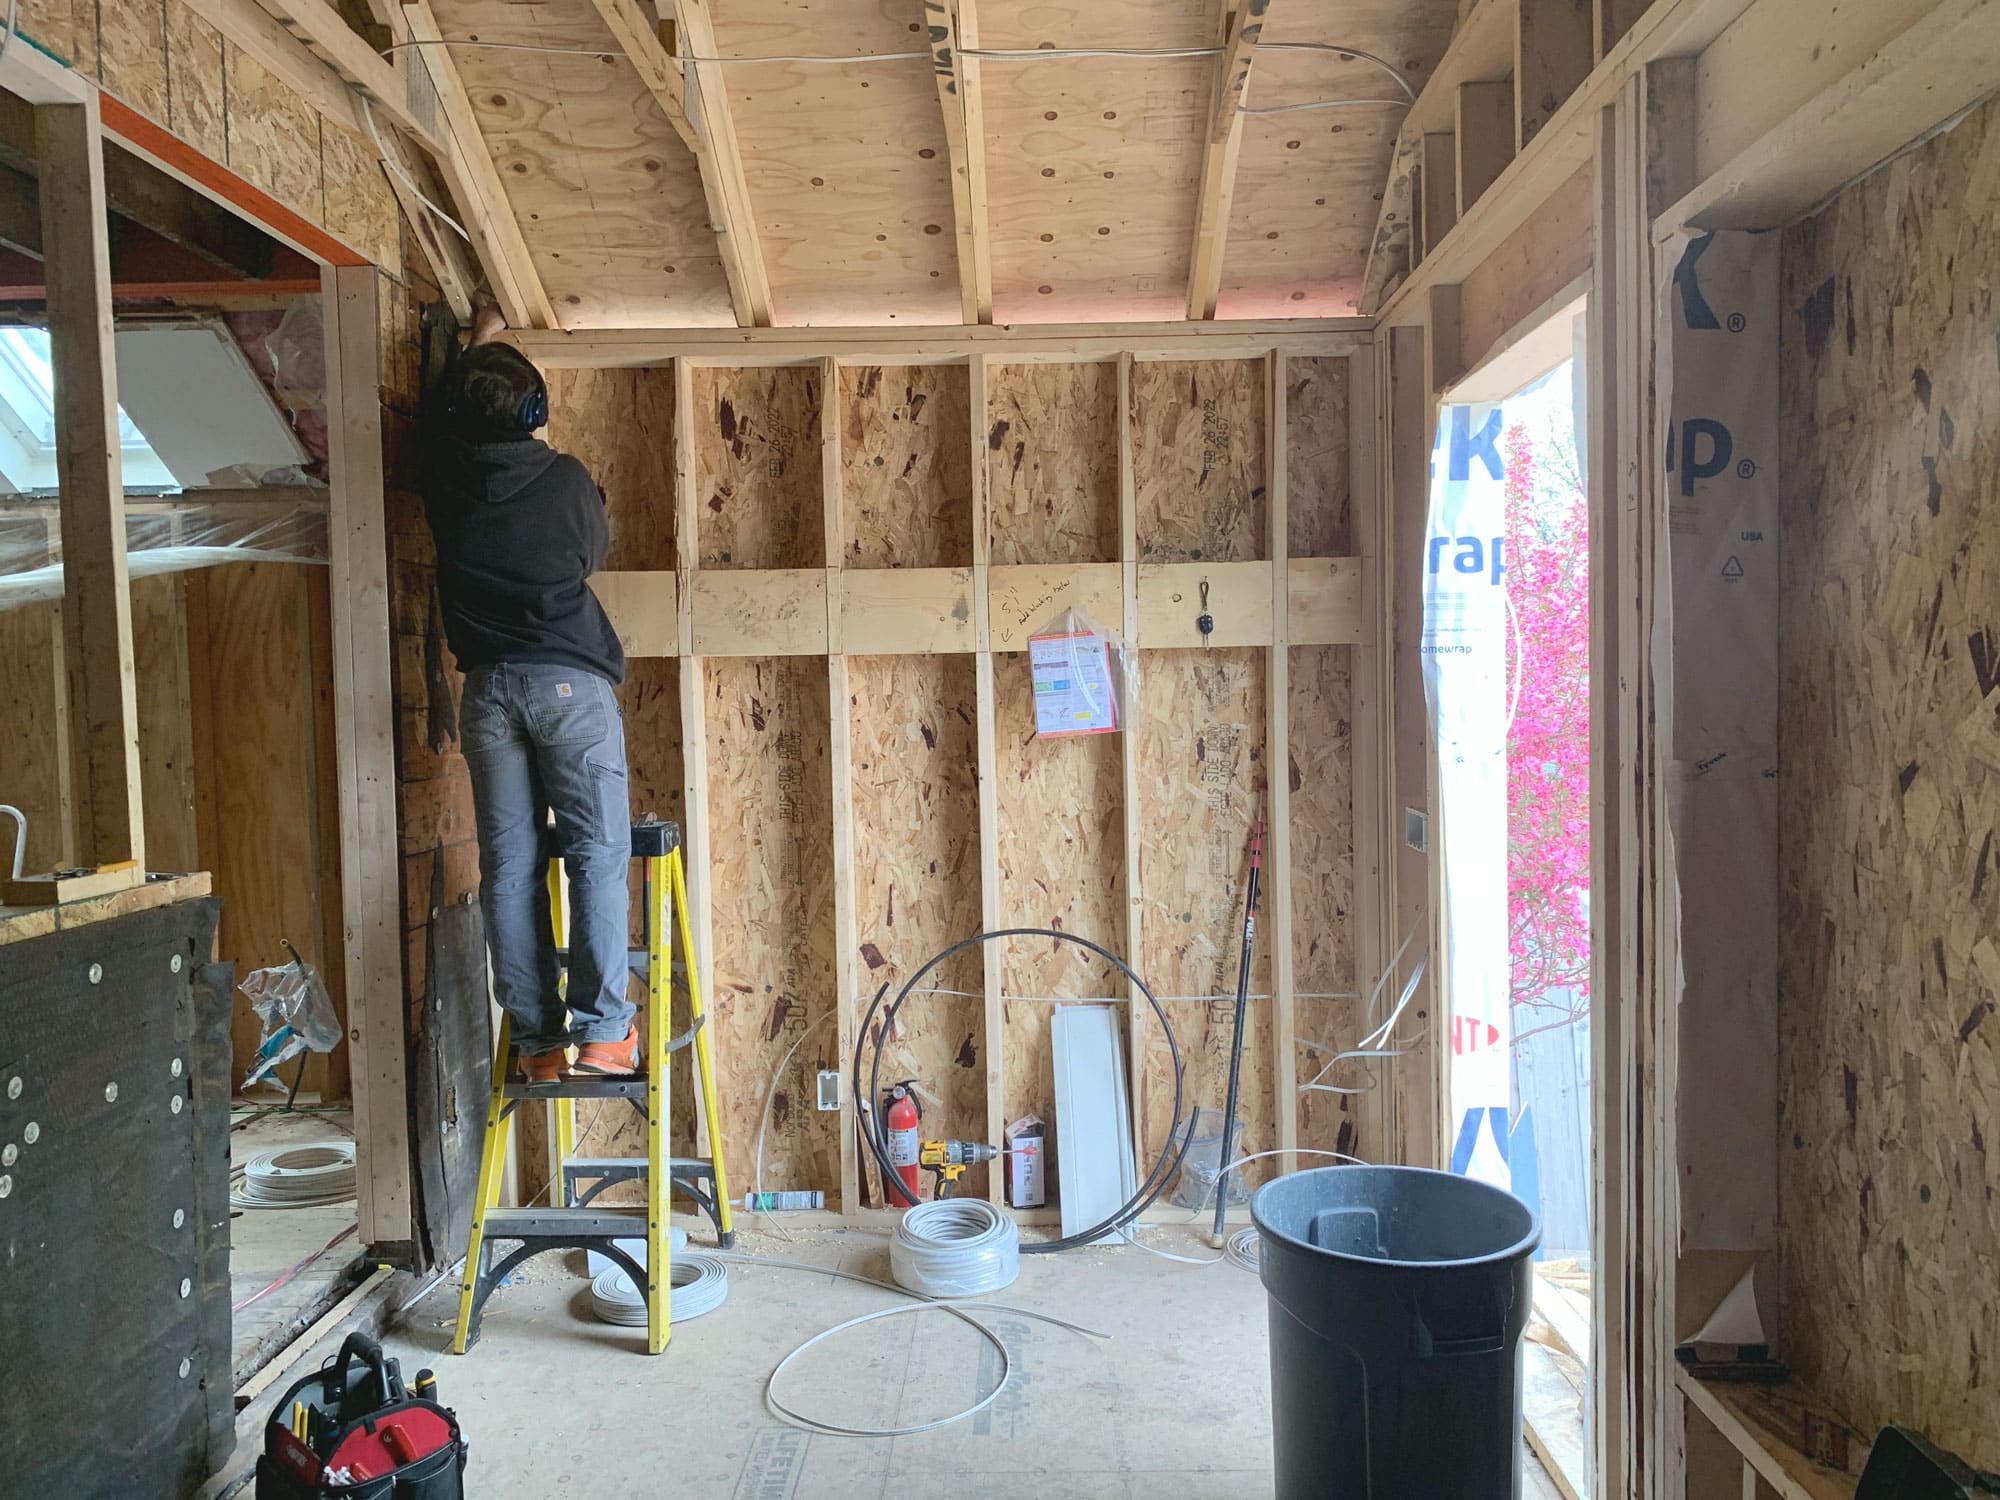
In the Mudroom and sunroom addition, providing electrical outlets and lighting for future cans and other fixtures was necessary. Having enough outlets and plenty of light maximizes the functionality of any room.
Plumbing Needs:
Venting from the kitchen is pulled through the attic and out of the roof of the new addition. Codes help direct the team on how to provide proper ventilation for kitchen appliances like the new range beyond.
Mechanical:
Electrical Rough-Ins:
We’re here to help! Check out our planning resources below, or reach out to us here.
Are you dreaming of a new kitchen and wondering how much you’ll need to invest? We breakdown the costs for two kitchen remodels and what factors drive those costs.

The Twin Cities are filled with story-and-a-half homes that are perfect for a certain kind of addition, called a shed dormer. Learn more about this popular remodeling project.

Here's the step-by-step process that ensures you’ll have a remodel you love.