
How Much Does it Cost to Remodel a Kitchen in the Twin Cities?
Are you dreaming of a new kitchen and wondering how much you’ll need to invest? We breakdown the costs for two kitchen remodels and what factors drive those costs.
See inside as we build a mudroom addition and remodel the kitchen of this 1920s Lake Nokomis home.
Considerations for designing and building a sound foundation are numerous, from moisture protection and planning for utilities to structural concerns and code compliances, but there are some more human-centered elements that make any addition worthwhile, starting with the foundation. When considering the addition, we decided to drop the entire mudroom structure one step from the rest of the home. In fact, our designers stepped the foundation and entire building assembly down 7″ from the main level, which meant that fewer exterior stairs would be needed to enter the home and take up space in the yard. While the need for more entry space along the back of the home made building an addition an important part of the remodel, our clients and their children used the yard frequently and wanted to retain most of it.
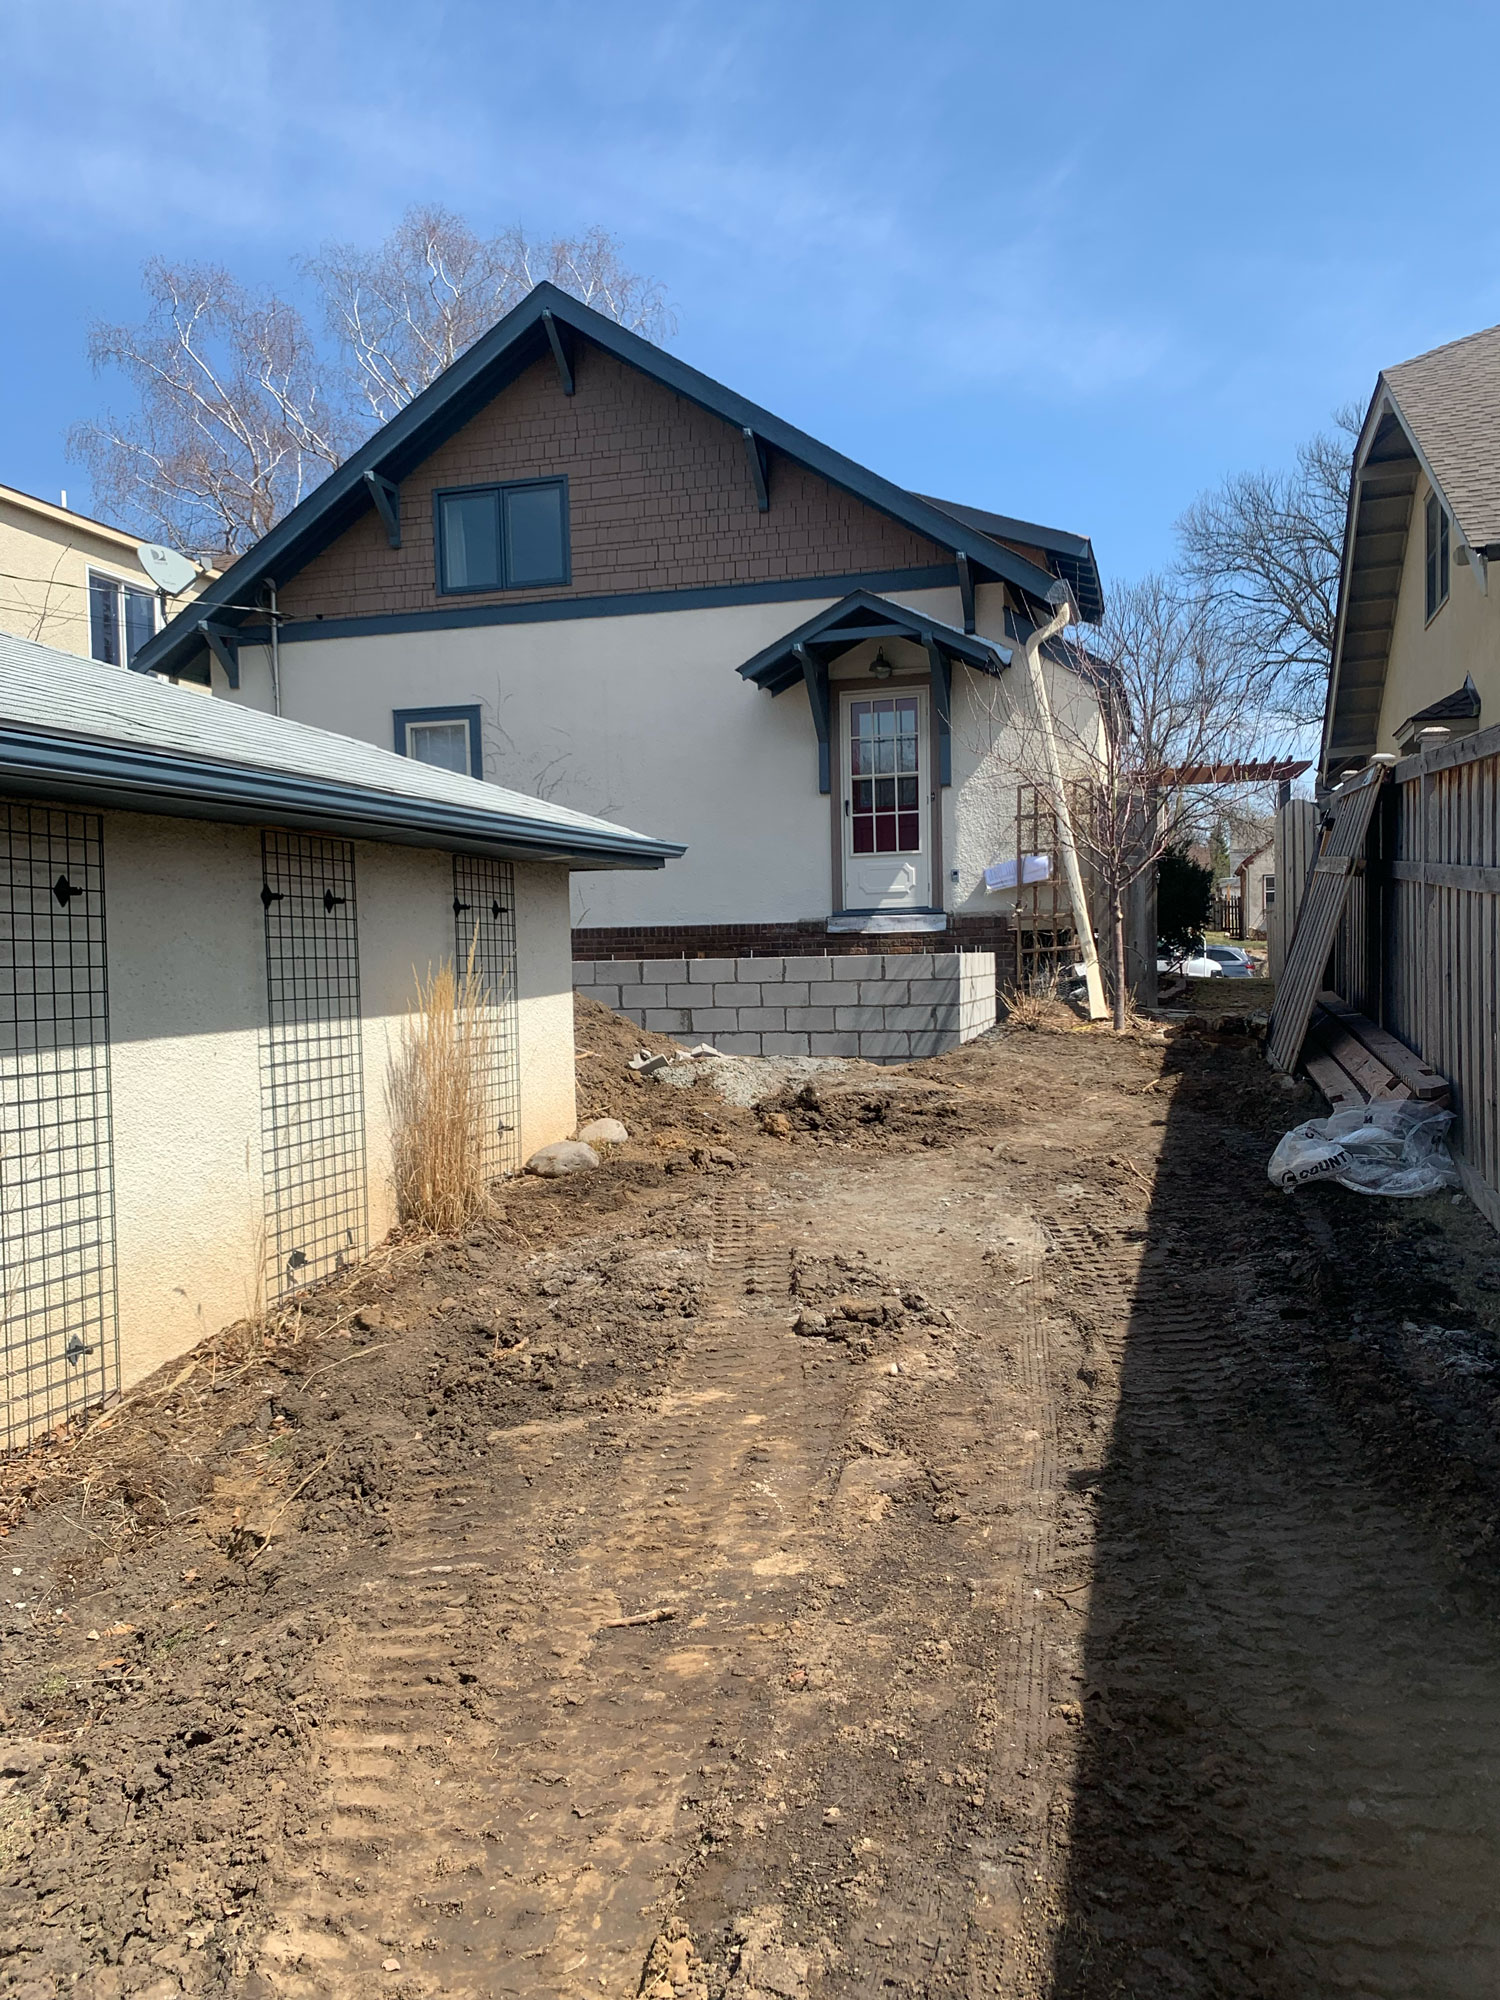
With only 13' between the garage and mudroom addition, consideration for how many exterior steps would be needed to enter the home was carefully reviewed. Dropping the addition 7" below the finish floor of the rest of the main level meant one less step would occupy the yard space.
Leaning into what’s important to the homeowner – this is the philosophy we bring to every project. Proposing an addition isn’t just about making a home bigger, it’s about gaining efficiency, proposing just the right amount of space to make a home better suited to the people who occupy it. Instead of having an overly deep mudroom with an equally deep foundation, we made the addition wider, resulting in even more yard-savings.
Excavating the earth around the back of the home is an essential, initial step to getting the foundation ready. Local codes indicate how deep the foundation’s footings must be to get below the frost line to prevent buckling or other foundation failures. With a 42″ requirement for this area, the excavation team had quite some serious digging to do.

For the foundation to meet code, the footings needed to be 42" below finished grade to prevent buckling.
Foundation Detailing: Our design team is the first to propose the foundation detailing, or what parts go into the foundation and how they connect with the rest of the home. With the decades worth of building experience on the team, the details are then reviewed by the entire office in an extensive red-lining process, where we discuss the strengths of the details and adjust as needed. We also review the drawings with the city and our own foundation crew, getting multiple trades and opinions on the best building solutions for our clients.
Foundations may differ from project to project, but the role of any foundation is to distribute the weight of the assembly above with all its’ load bearing components to the earth below while protecting the home from excessive moisture. The specifications, or specs, are detailed instructions given to the construction team that outline the complexity and quality we require from the project. Here are some example details about this foundation:

Wall section drawings like this show a slice through a home and indicate to our construction team how we intend for the home to be put together. They are essential in defining and detailing the construction techniques.
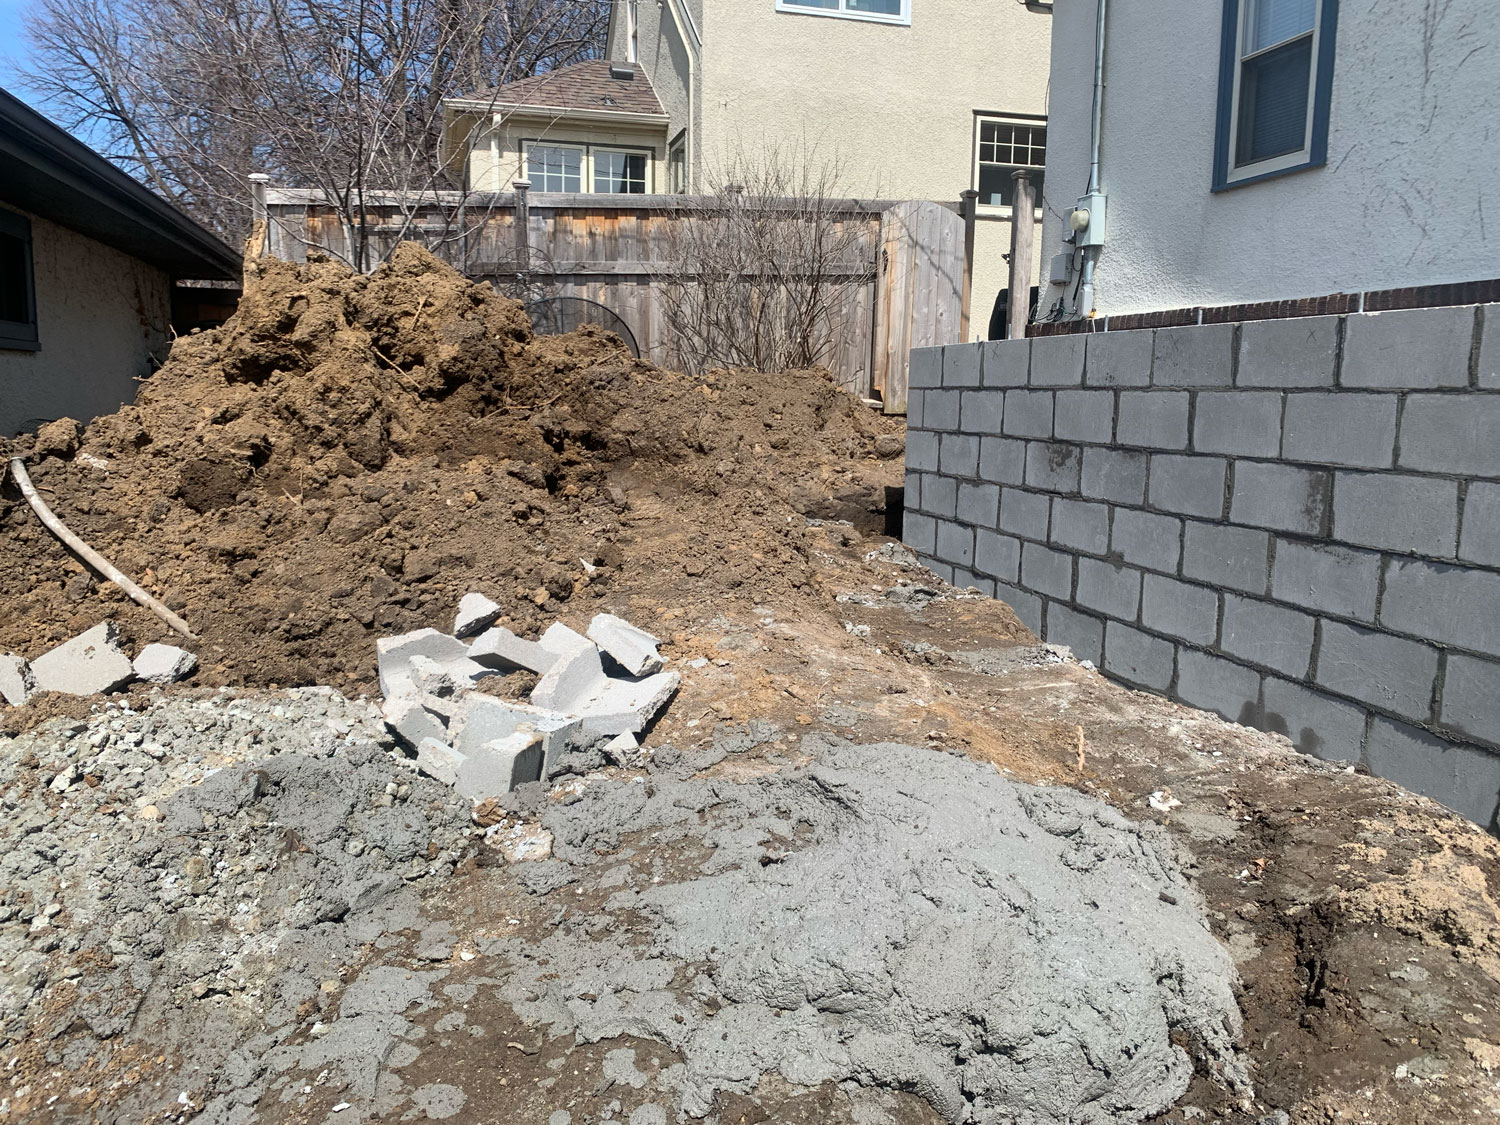
Earth that is dug up for the foundation is often redirected elsewhere on the site. In this case, our clients are hiring landscape designers to reconfigure the yard after the remodel.
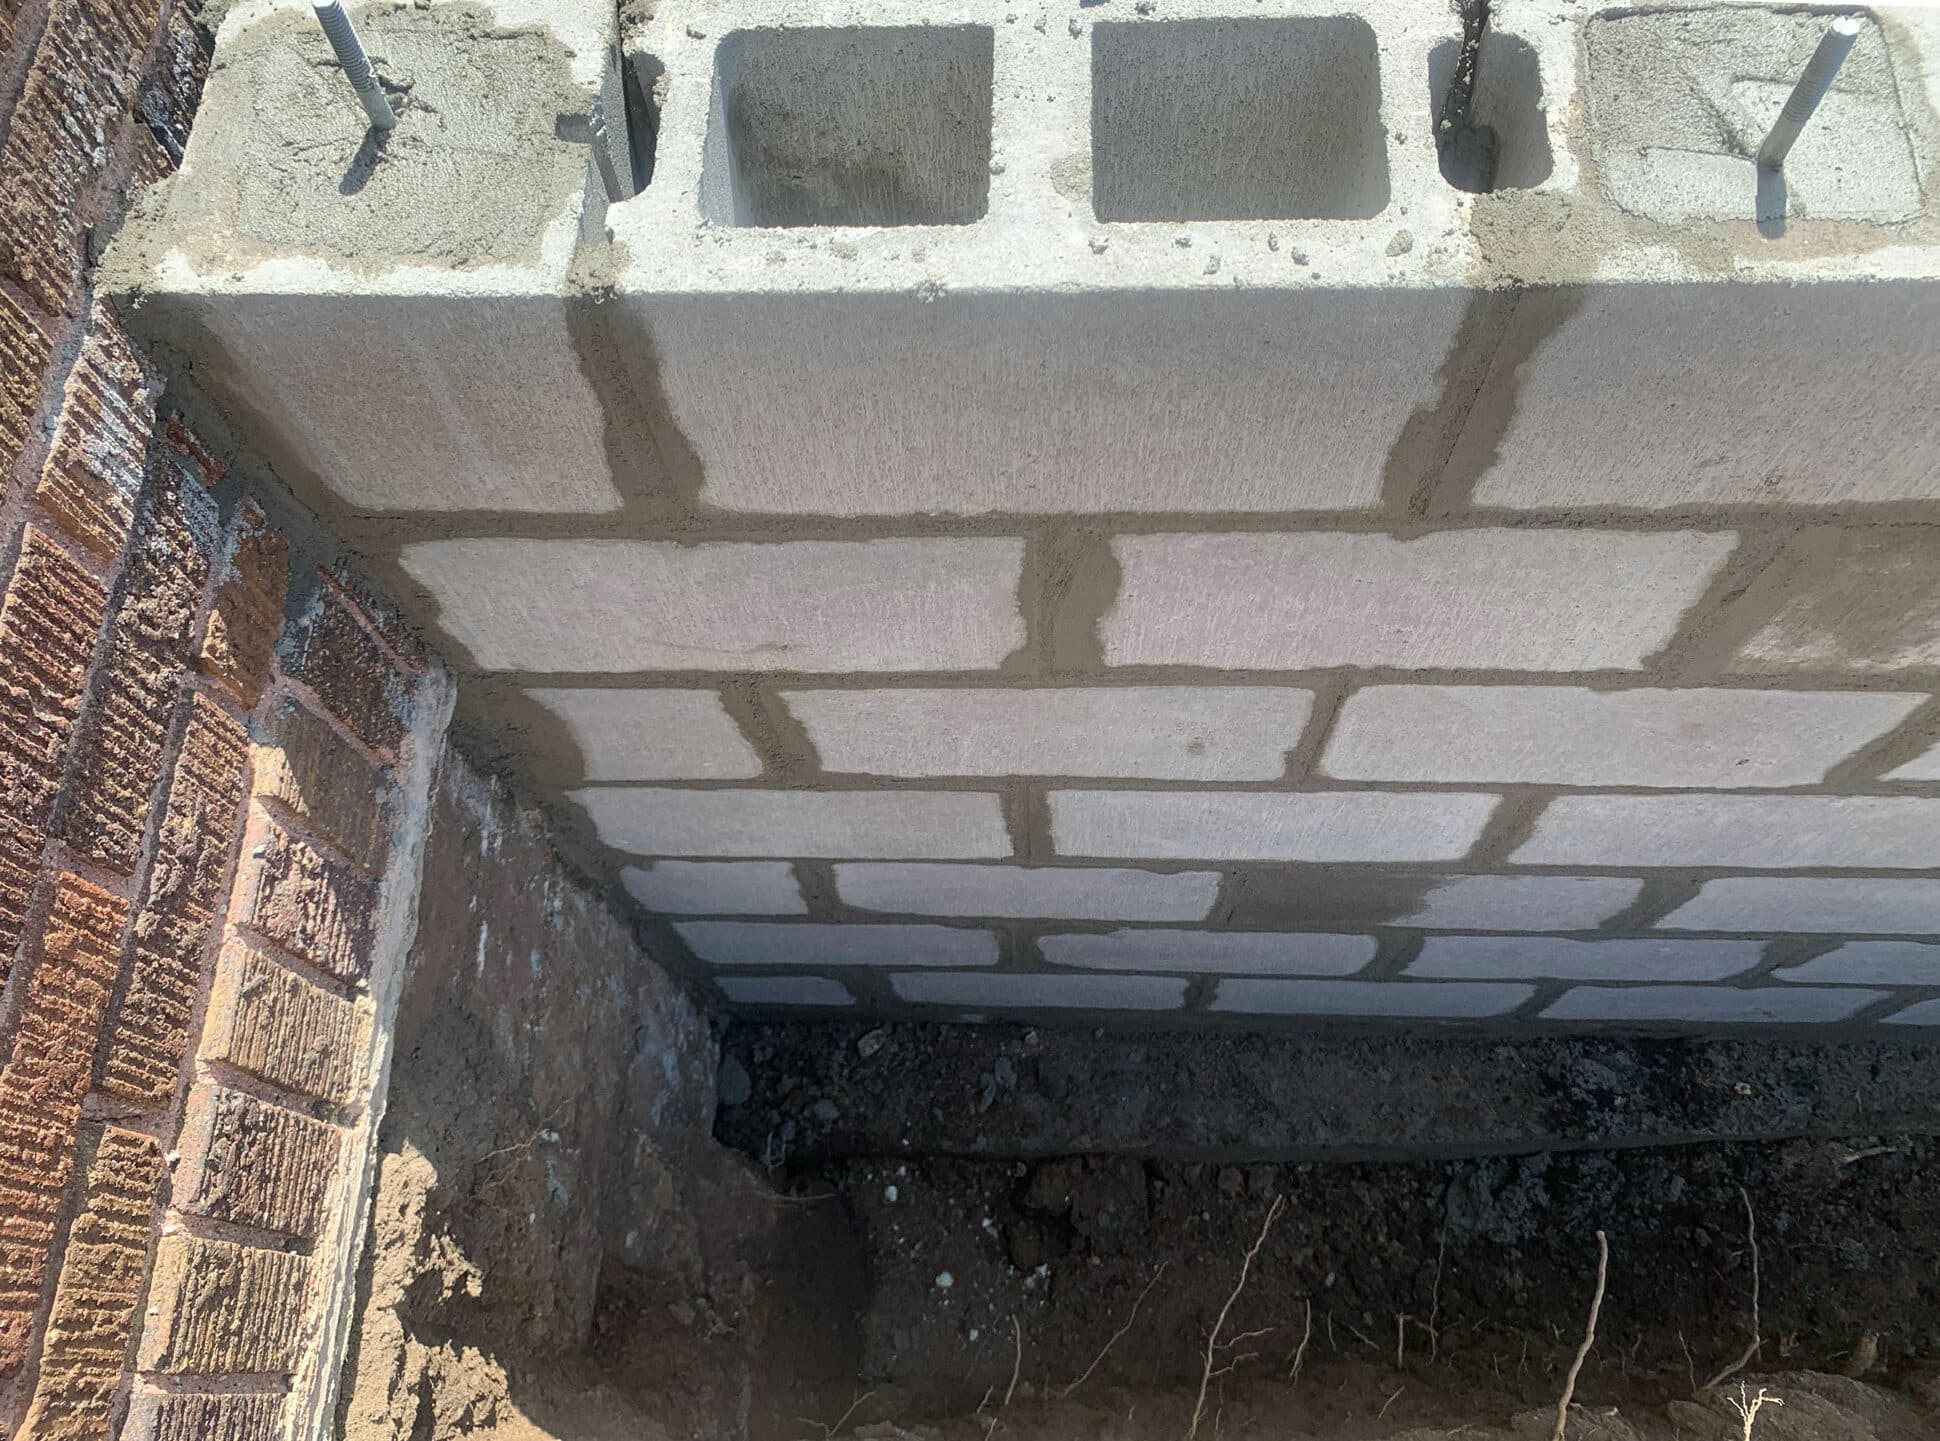
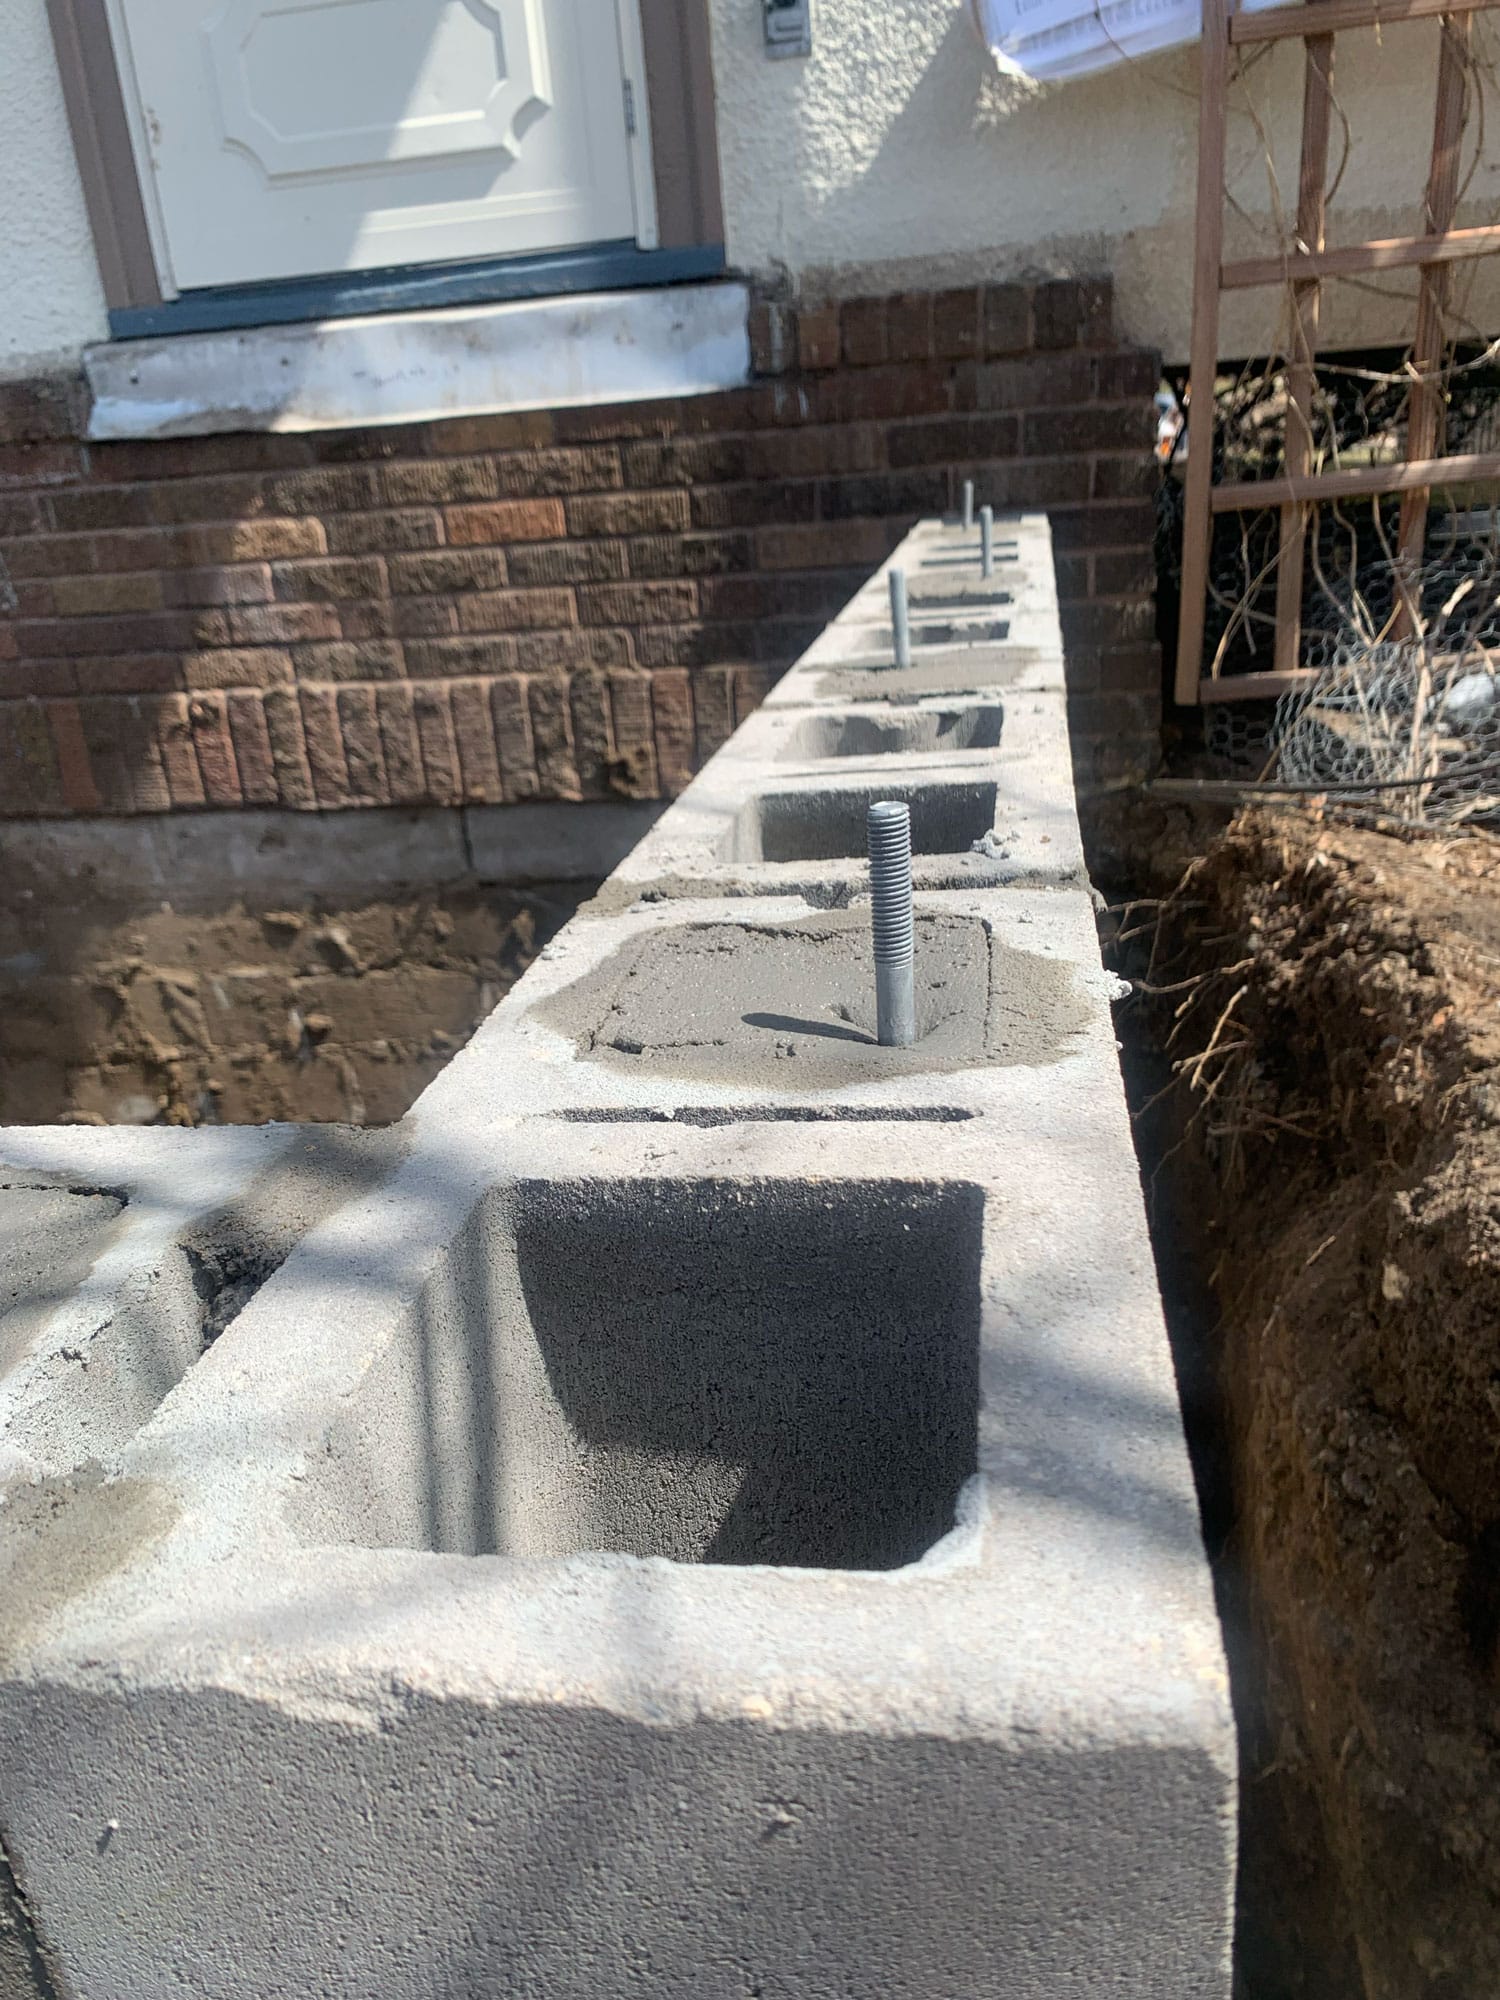
With the site excavated, we poured the footings and assembled the rebar within the specifications above and then began laying the concrete block to form the exterior of the foundation wall. Considering the required 42″ footing depth, our trades could more easily work within the new crawlspace to configure the home’s updated utilities. Beyond the foundation specs, part of finishing this stage of the process is using vapor retarders/moisture prevention products to protect the home from moisture and temperature fluctuations. On this project, a 2″ rigid insulation sits just outside the foundation wall, giving the home additional protection against the cold, Minnesota winters.
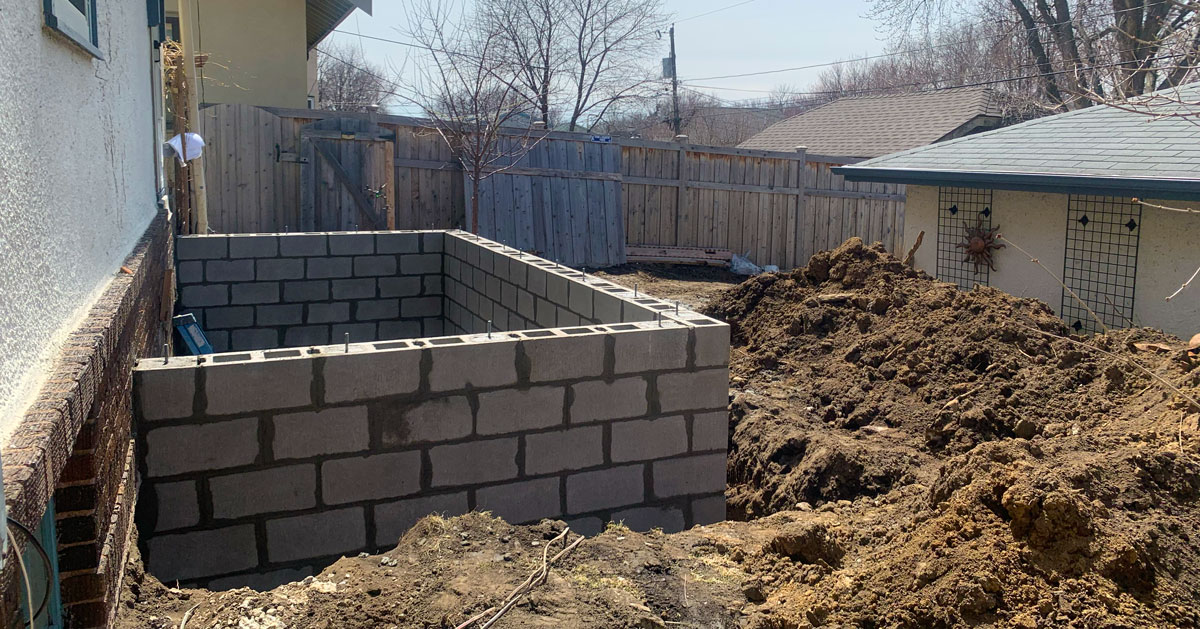
With the foundation wall in place, insulation around the exterior of the CMUs can be placed and inspections scheduled.
The final step in the foundation build process is scheduling the inspection. The city inspector examined the foundation as well as the architectural drawings to make sure that the construction is correct, safe, and built to the specifications outlined in the plans. The inspector looked for things like proper insulation and moisture protection, foundation depth, and rebar placement, to name a few. With the inspection passed, the homeowner has even more confidence in the quality of the build and evidence of the longevity of their investment.
We’re here to help! Check out our planning resources below, or reach out to us here.
Are you dreaming of a new kitchen and wondering how much you’ll need to invest? We breakdown the costs for two kitchen remodels and what factors drive those costs.

The Twin Cities are filled with story-and-a-half homes that are perfect for a certain kind of addition, called a shed dormer. Learn more about this popular remodeling project.

So you’d love to upgrade your kitchen or add a shed dormer with a primary suite, but you’re not sure how to pay for it? Learn about three ways to finance your remodel.