
How Much Does it Cost to Remodel a Kitchen in the Twin Cities?
Are you dreaming of a new kitchen and wondering how much you’ll need to invest? We breakdown the costs for two kitchen remodels and what factors drive those costs.
See inside as we build a mudroom addition and remodel the kitchen of this 1920s Lake Nokomis home.
Trusses are typically engineered and built off-site and then delivered a few weeks later to the project area. Trusses are engineered to support roof loads, which in Minnesota, also means supporting lots of snow! For a remodel, however, their design must also work with existing conditions, which is why trusses for this job have a 7:12 pitch to match the slope of the gables on the rest of the house. Maintaining consistency between new work and existing structures is a consideration for every step of a remodel, even when considering truss fabrication.
Fun fact: Apart from matching the existing roof pitch, top chords of the trusses were engineered so that rafter tails for the addition would have the same overhand as those of the existing house. A rafter tail is simply the part of a truss that extends past the edge of the exterior wall.
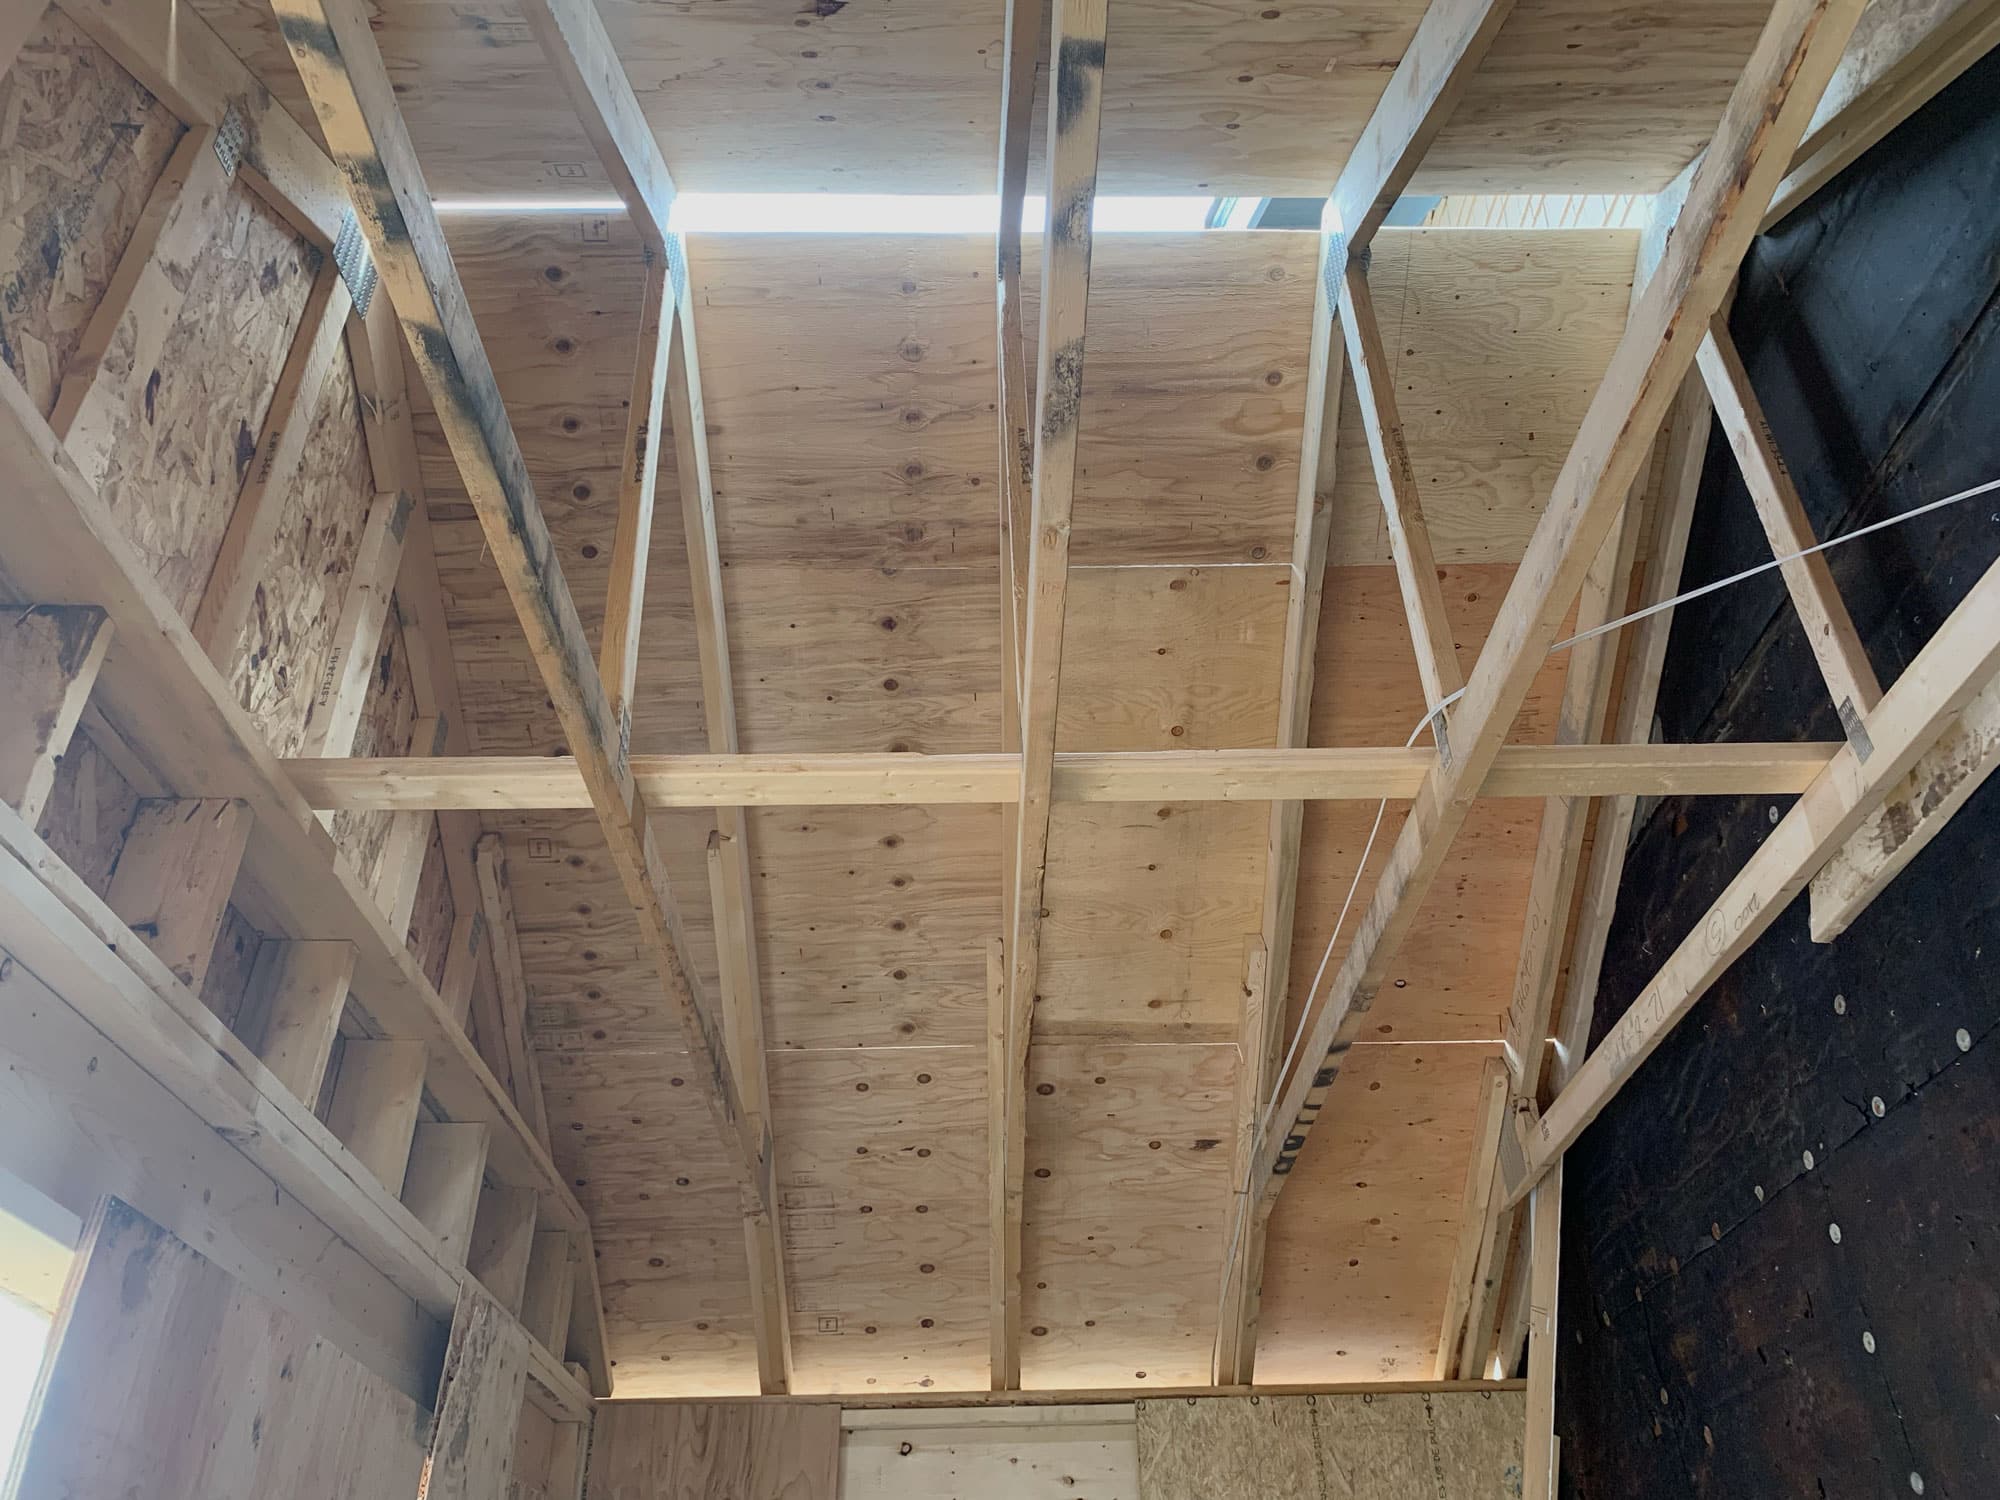
Once the exterior walls are up, the next step is to nail roof trusses along the top plate of those walls. Here we see the trusses above the mudroom space created by the addition.
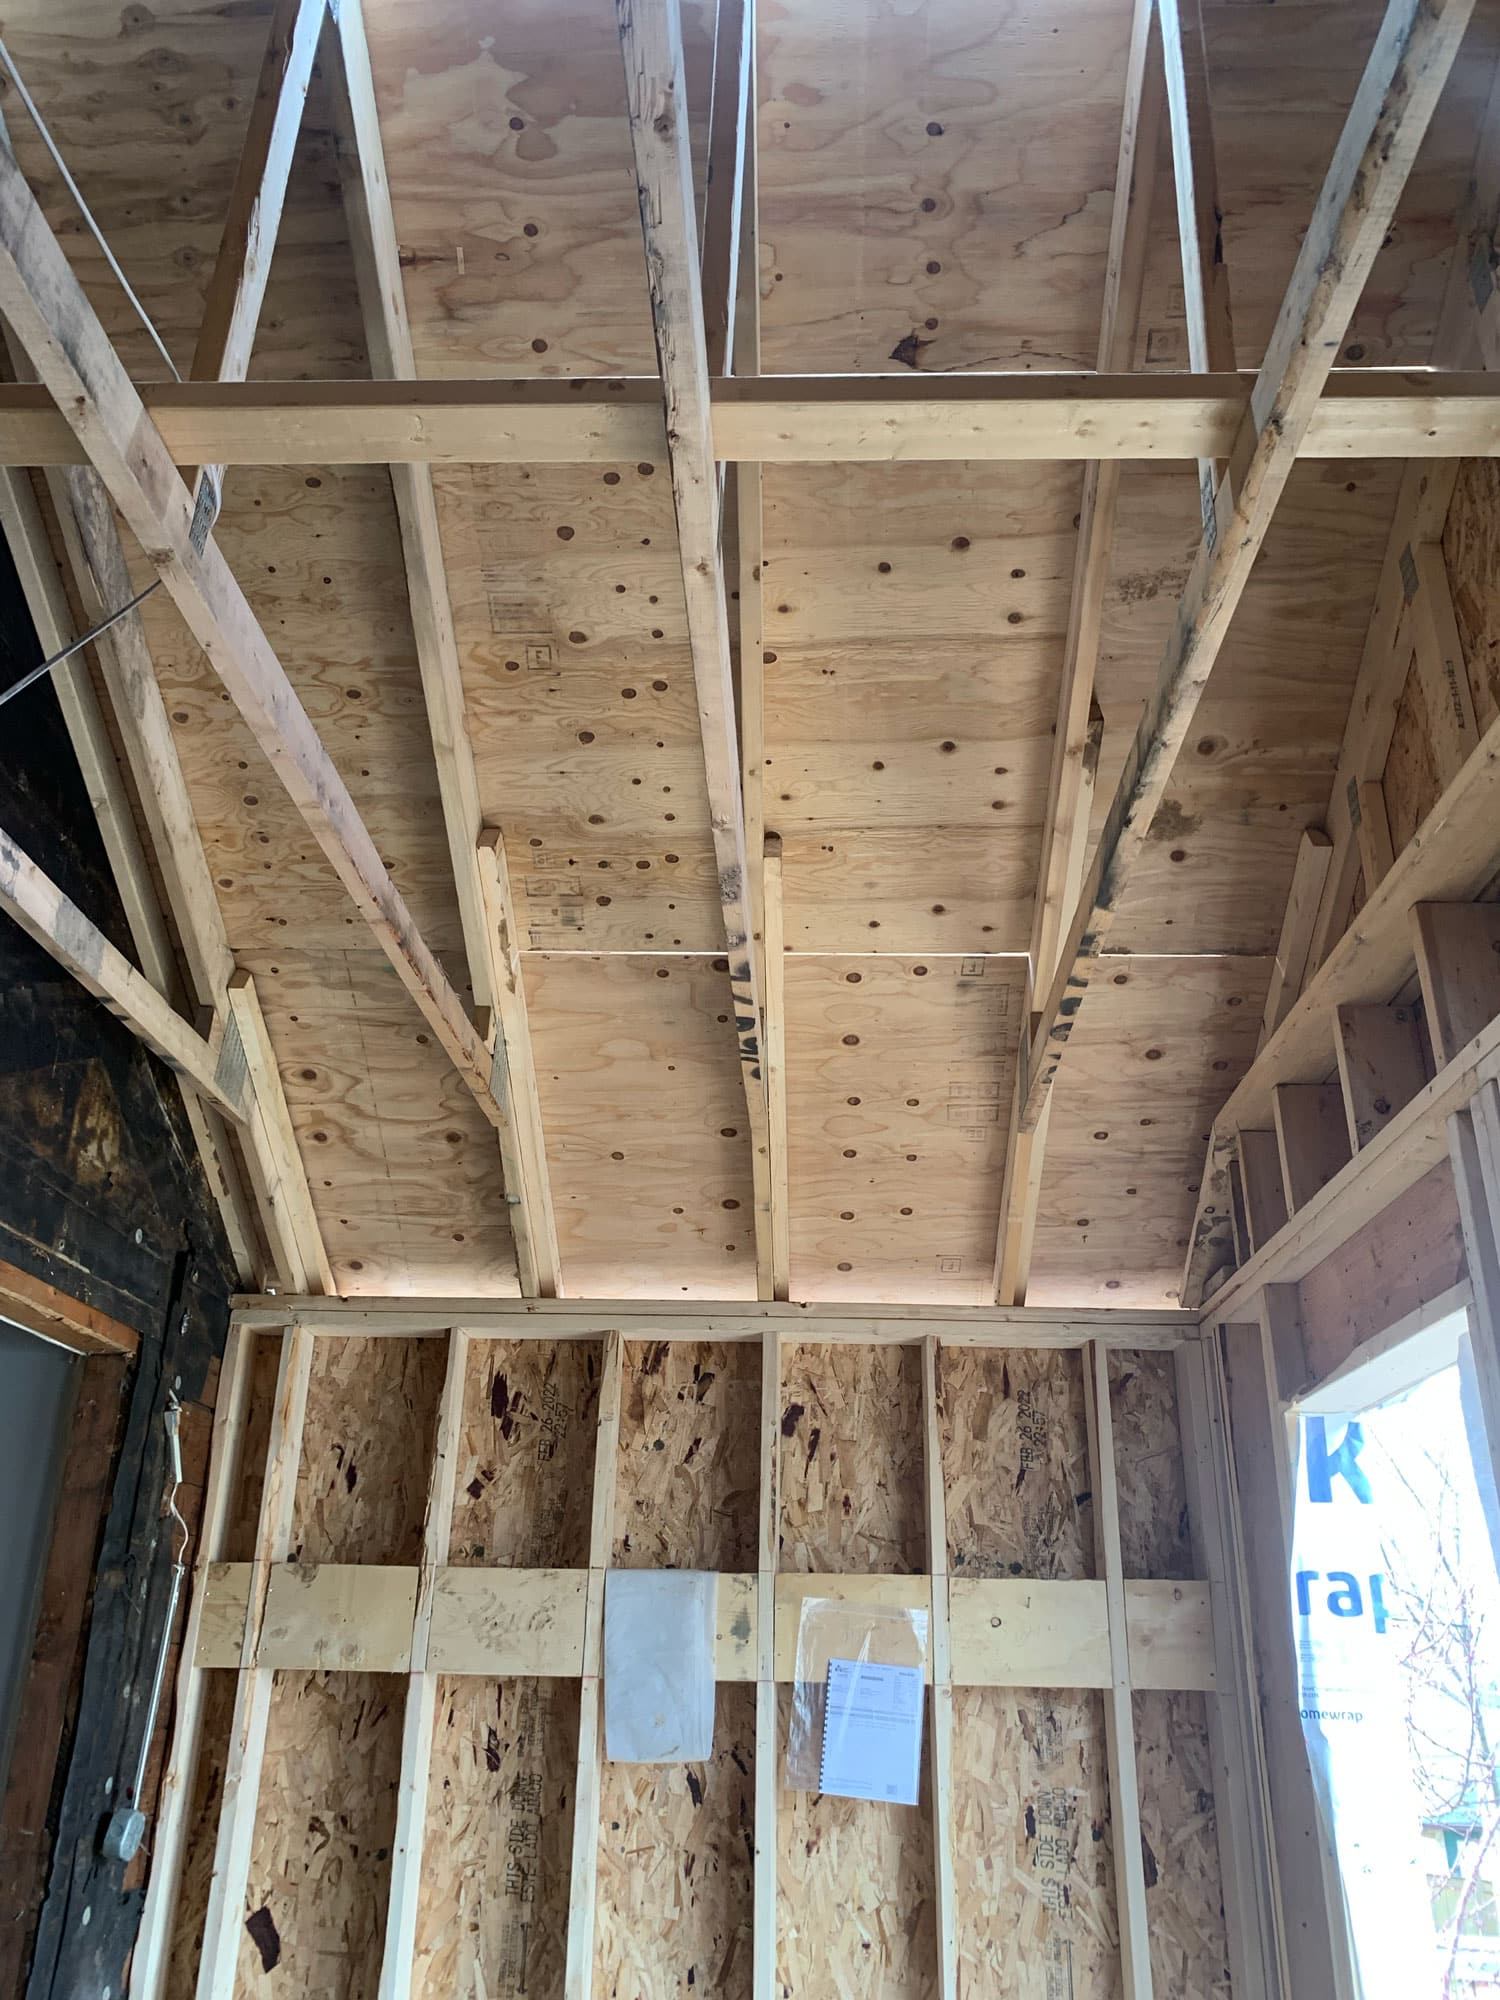
Sheathing is a protective covering applied to framing that a secondary, final covering will be affixed to. Sheathing along the roof covers the trusses and will provide a place for shingles to get installed.
With only a 2-3 week lead time on trusses, our construction team could quickly move from first floor framing to truss installation. For this addition, a crew of 3-4 worked together to lift the trusses to the top of the addition and then secure them to the top plate of the exterior wall framing using a nail gun. The nails are angled about 30 degrees through the truss chords and into the top plate in a common process called toenailing. The trusses are spaced along the roof for the greatest structural support, most typically between 16″ – 24″ on center
The trusses are up! To keep the new structure in place, we installed bracing between trusses and then immediately began the sheathing process. We hauled sheets of 5/8″ plywood to the top of the trusses and began nailing those in place, forming a solid roof surface for the roofing process to begin. The sooner the roof gets finished, the sooner we can be sure that water won’t find its way into the existing home
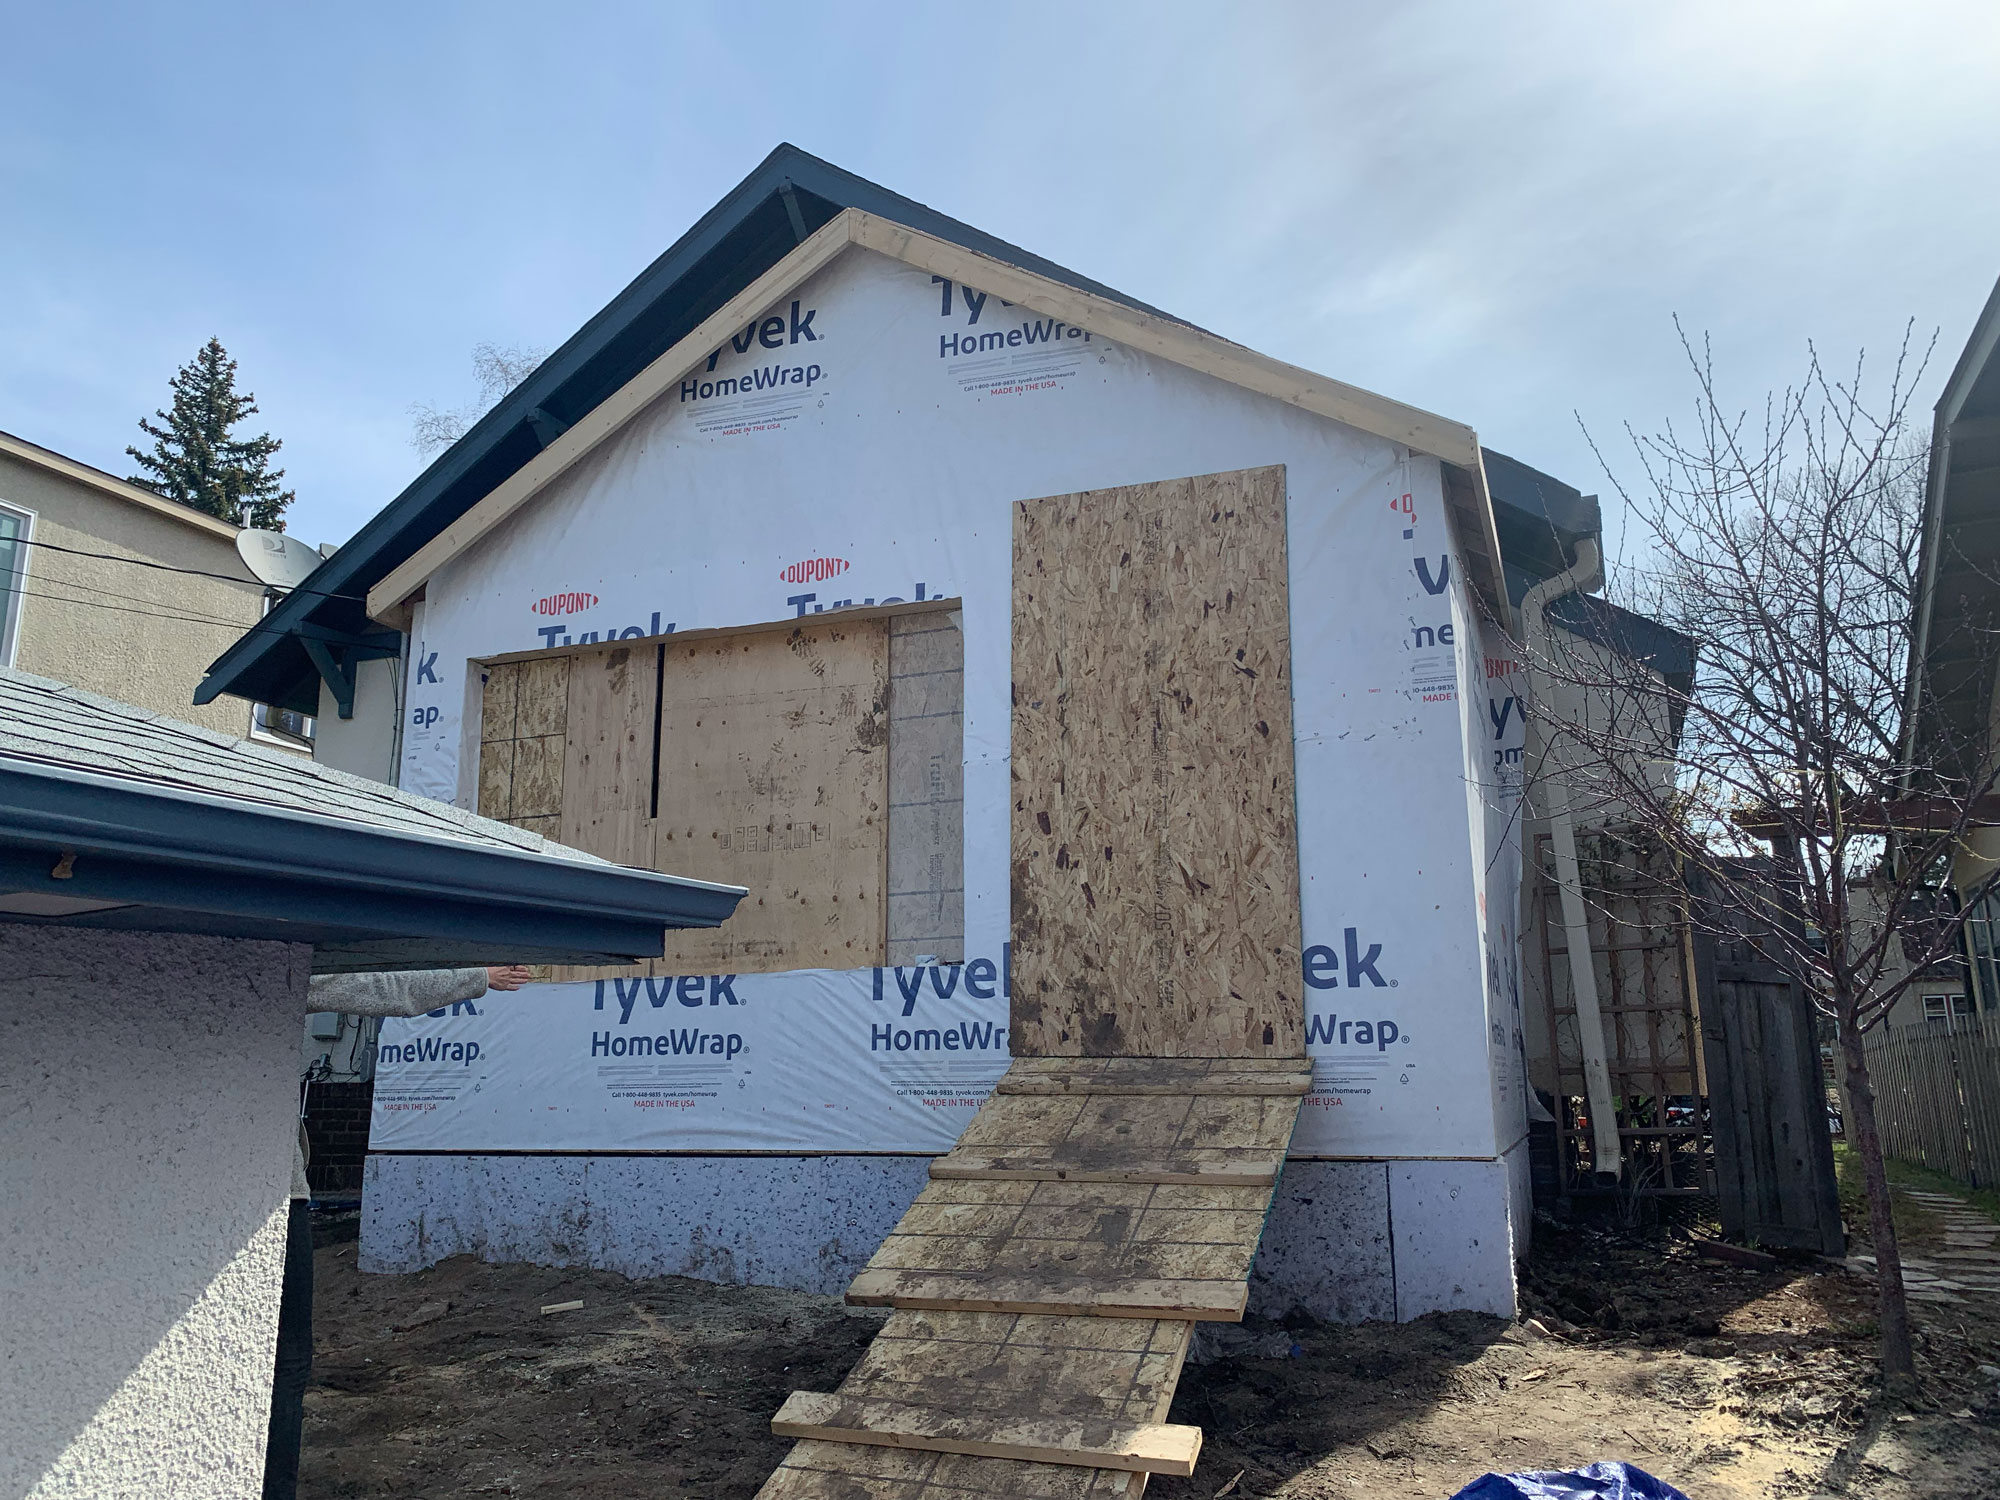
An important part of our remodeling process is understanding when to integrate new design elements into a home and when to match existing features. In this case, we chose to match the asphalt shingle with that of the rest of the home, so that the addition felt like a natural extension of the home.
For jobs with a lot of surface area to cover, we’d use a boom truck to get boxes of shingles from the delivery point to the top of the roof sheathing. For this job – we did the heavy lifting ourselves. It’s a hard job but a critical part of protecting the home from possible water damage. Ice and water membranes on the sheathing is another important protective layer, which protects against damage caused by water and ice dams that sometimes form in the winter. To finish off the roof installation, our crew used nail guns to fix overlapping rows of shingles along the entirety of the roof surface.
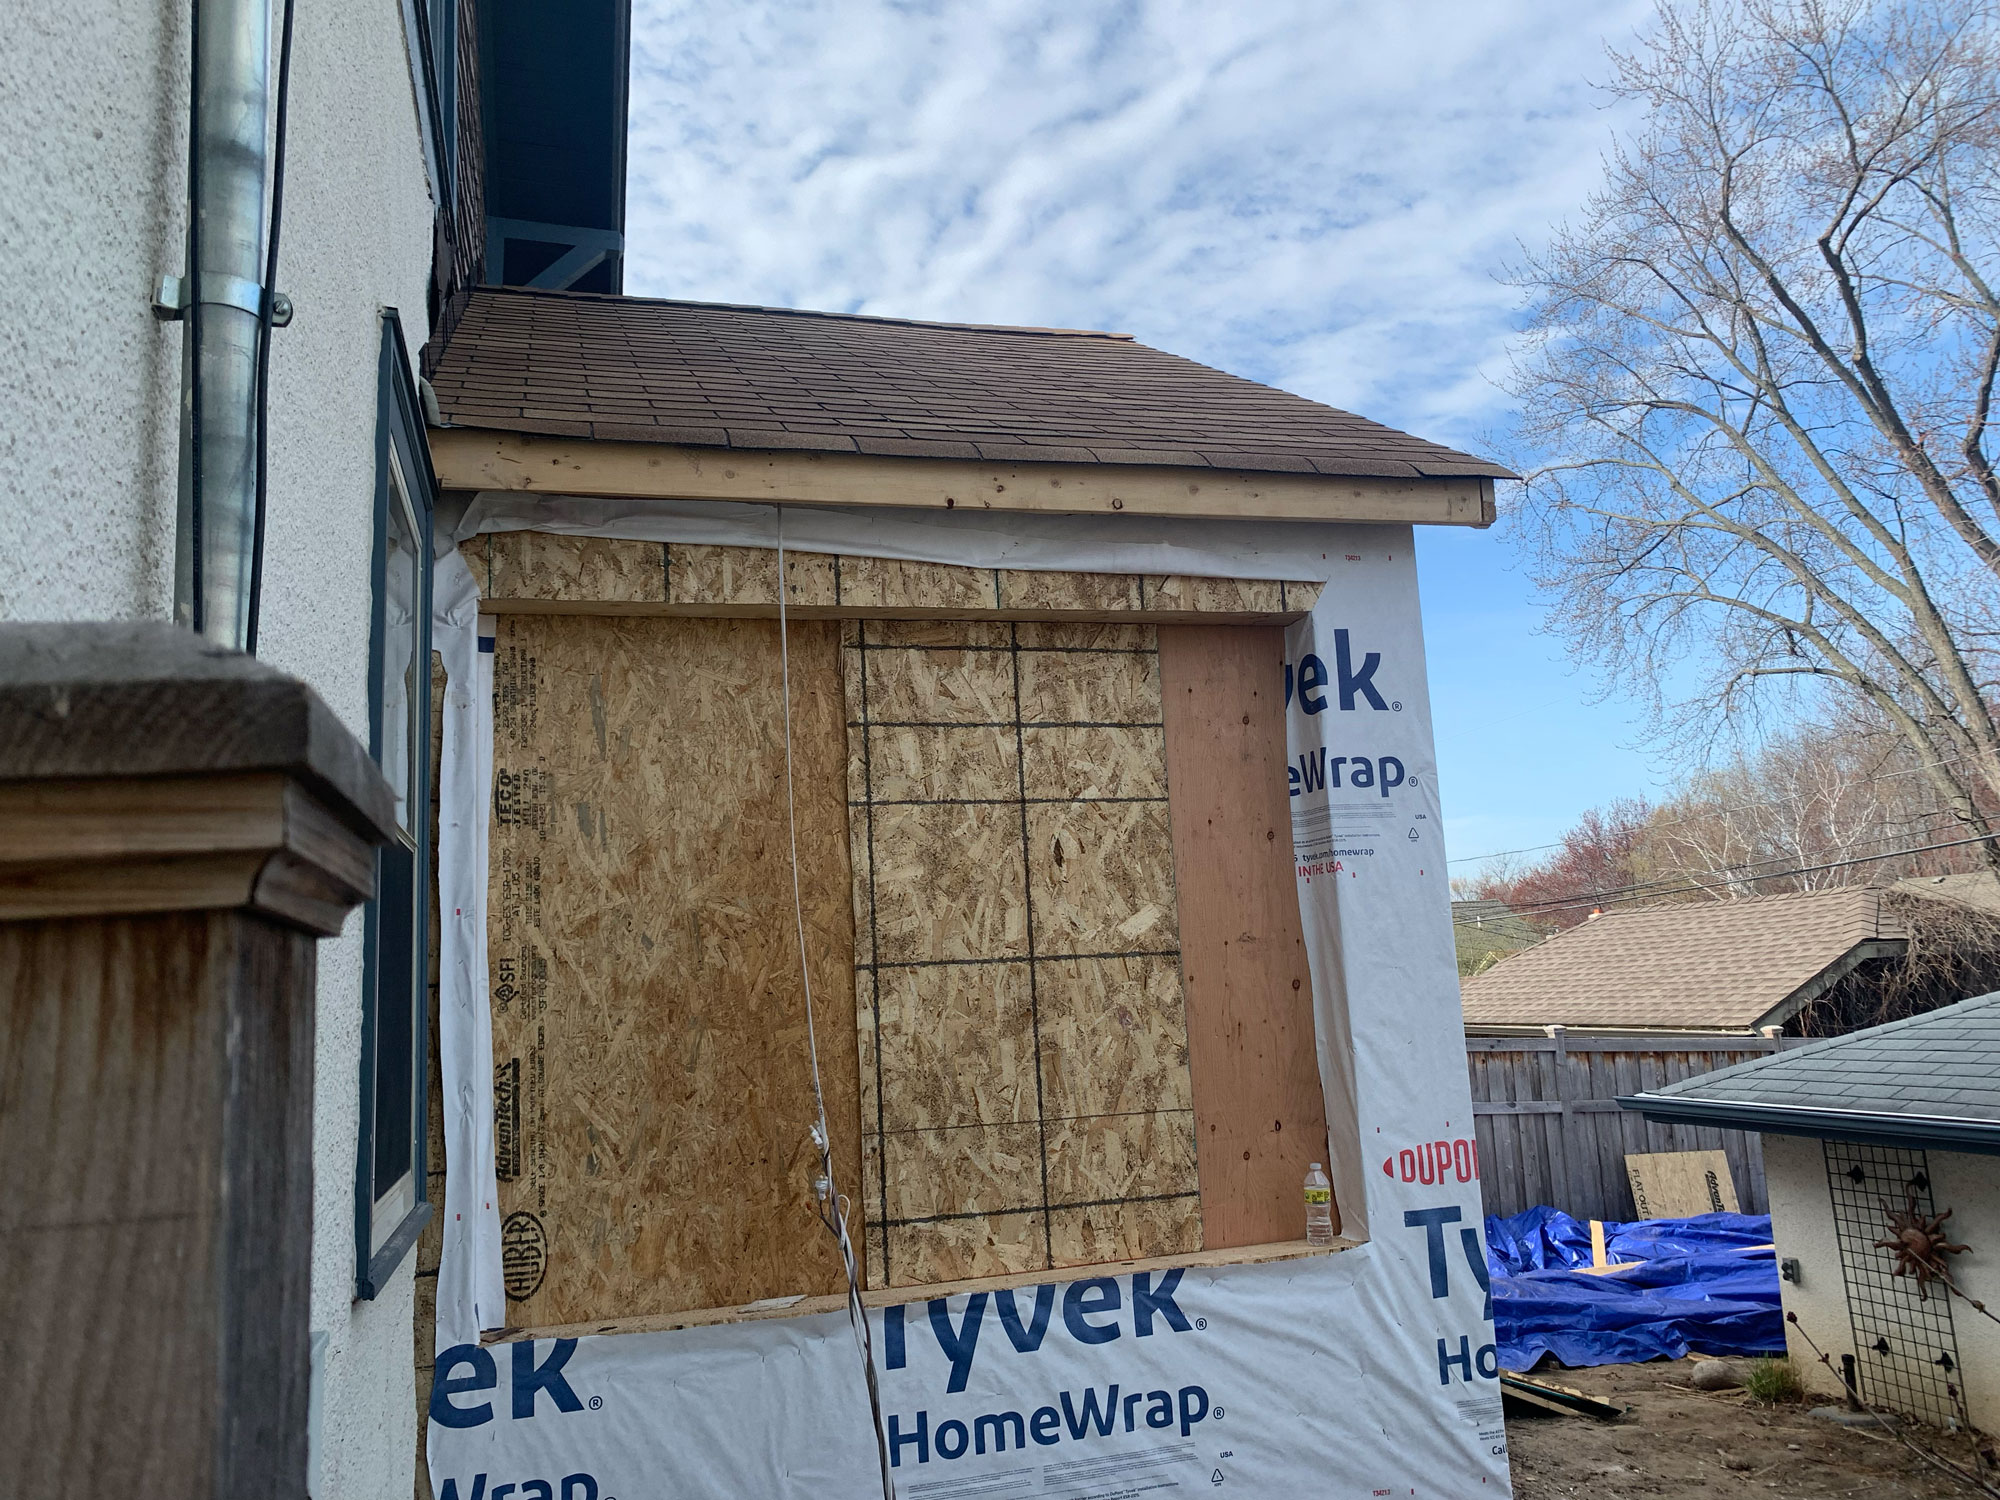
The roof may be done, but to properly waterproof the new structure, the addition also needs sheathing and waterproofing. Just like we did with the roof, we lift plywood sheets up and onto the outside surface of the wall framing, then nail it in place, repeating this process until the entire length of the addition is covered. We immediately wrapped Tyvek along the surface of the home, which helps keep air and water from entering the home. The breathable material is ideal, as it provides waterproofing to the outside of the home while still allowing water vapor to escape the wall assembly.
Sheathing and waterproofing on the exterior provide the necessary water barrier for interior processes like demo and rough-ins to begin.
Inspectors won’t come to the home until the roofing and sheathing are completed, as water could enter the existing home and even damage new areas under construction. With the progress made on the exterior, our crew switches their attention to interior work, like demolition and rough-ins.
We’re here to help! Check out our planning resources below, or reach out to us here.
Are you dreaming of a new kitchen and wondering how much you’ll need to invest? We breakdown the costs for two kitchen remodels and what factors drive those costs.

The Twin Cities are filled with story-and-a-half homes that are perfect for a certain kind of addition, called a shed dormer. Learn more about this popular remodeling project.

So you’d love to upgrade your kitchen or add a shed dormer with a primary suite, but you’re not sure how to pay for it? Learn about three ways to finance your remodel.