
How Much Does it Cost to Remodel a Kitchen in the Twin Cities?
Are you dreaming of a new kitchen and wondering how much you’ll need to invest? We breakdown the costs for two kitchen remodels and what factors drive those costs.
See inside as we build a mudroom addition and remodel the kitchen of this 1920s Lake Nokomis home.
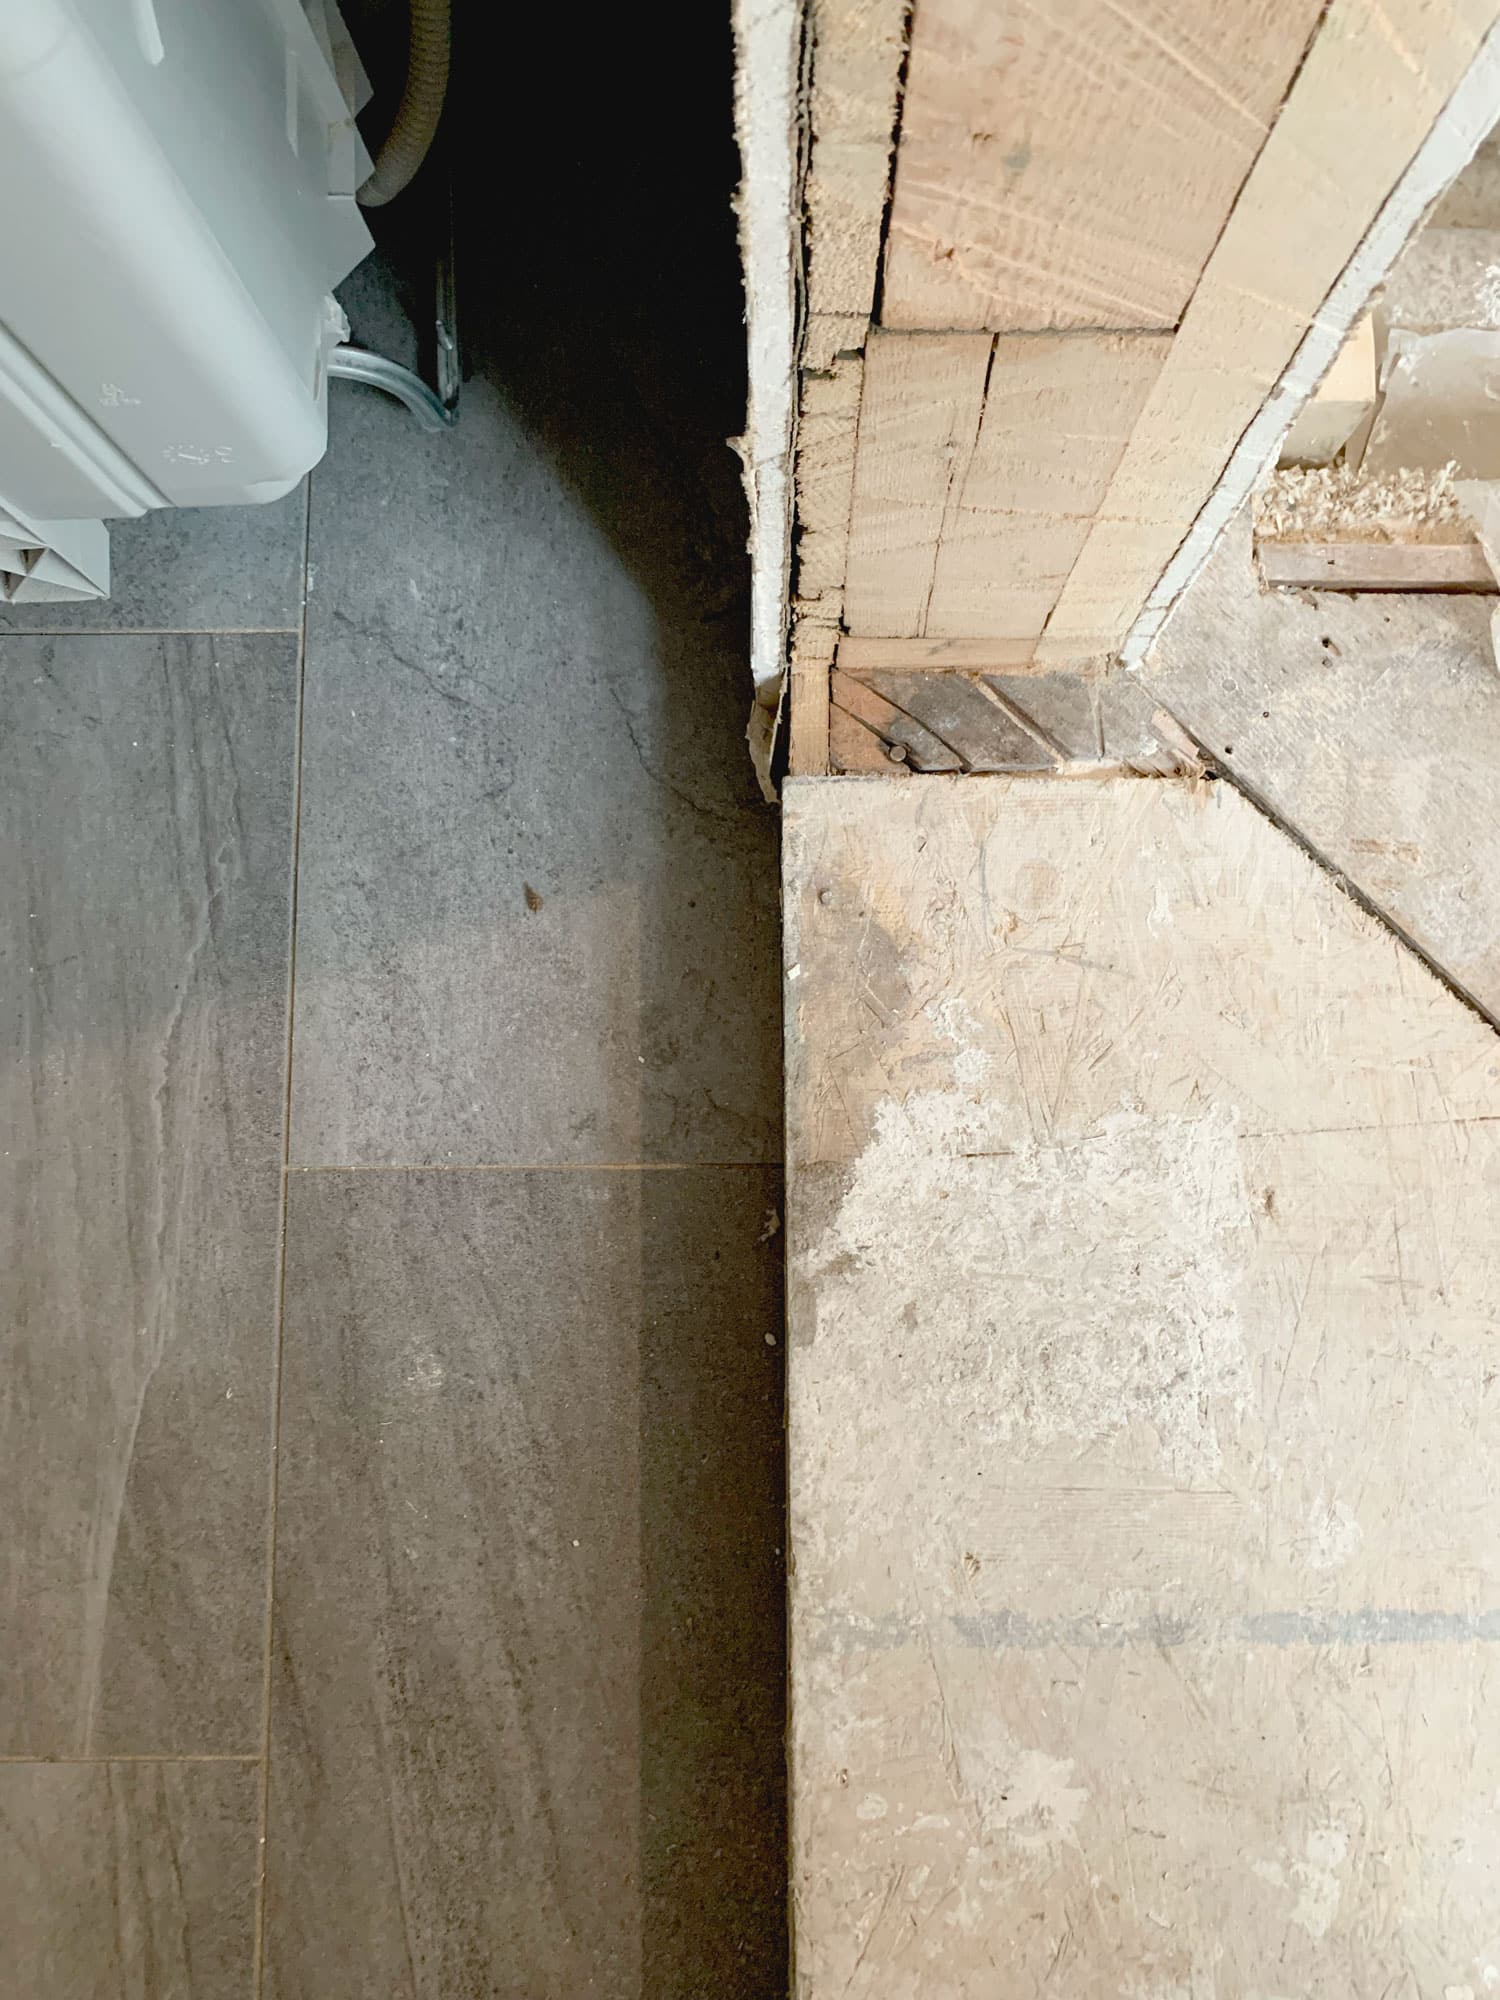
For homes like this one that have existing hardwood, tying in new or replacement boards from small sections to entirely new rooms worth of product requires some thoughtfulness. Here, our goal was to ensure the newly placed red oak in the kitchen flowed seamlessly with the existing wood in the dining room beyond, which would require 2 important techniques, taking about 5 days from start to finish.
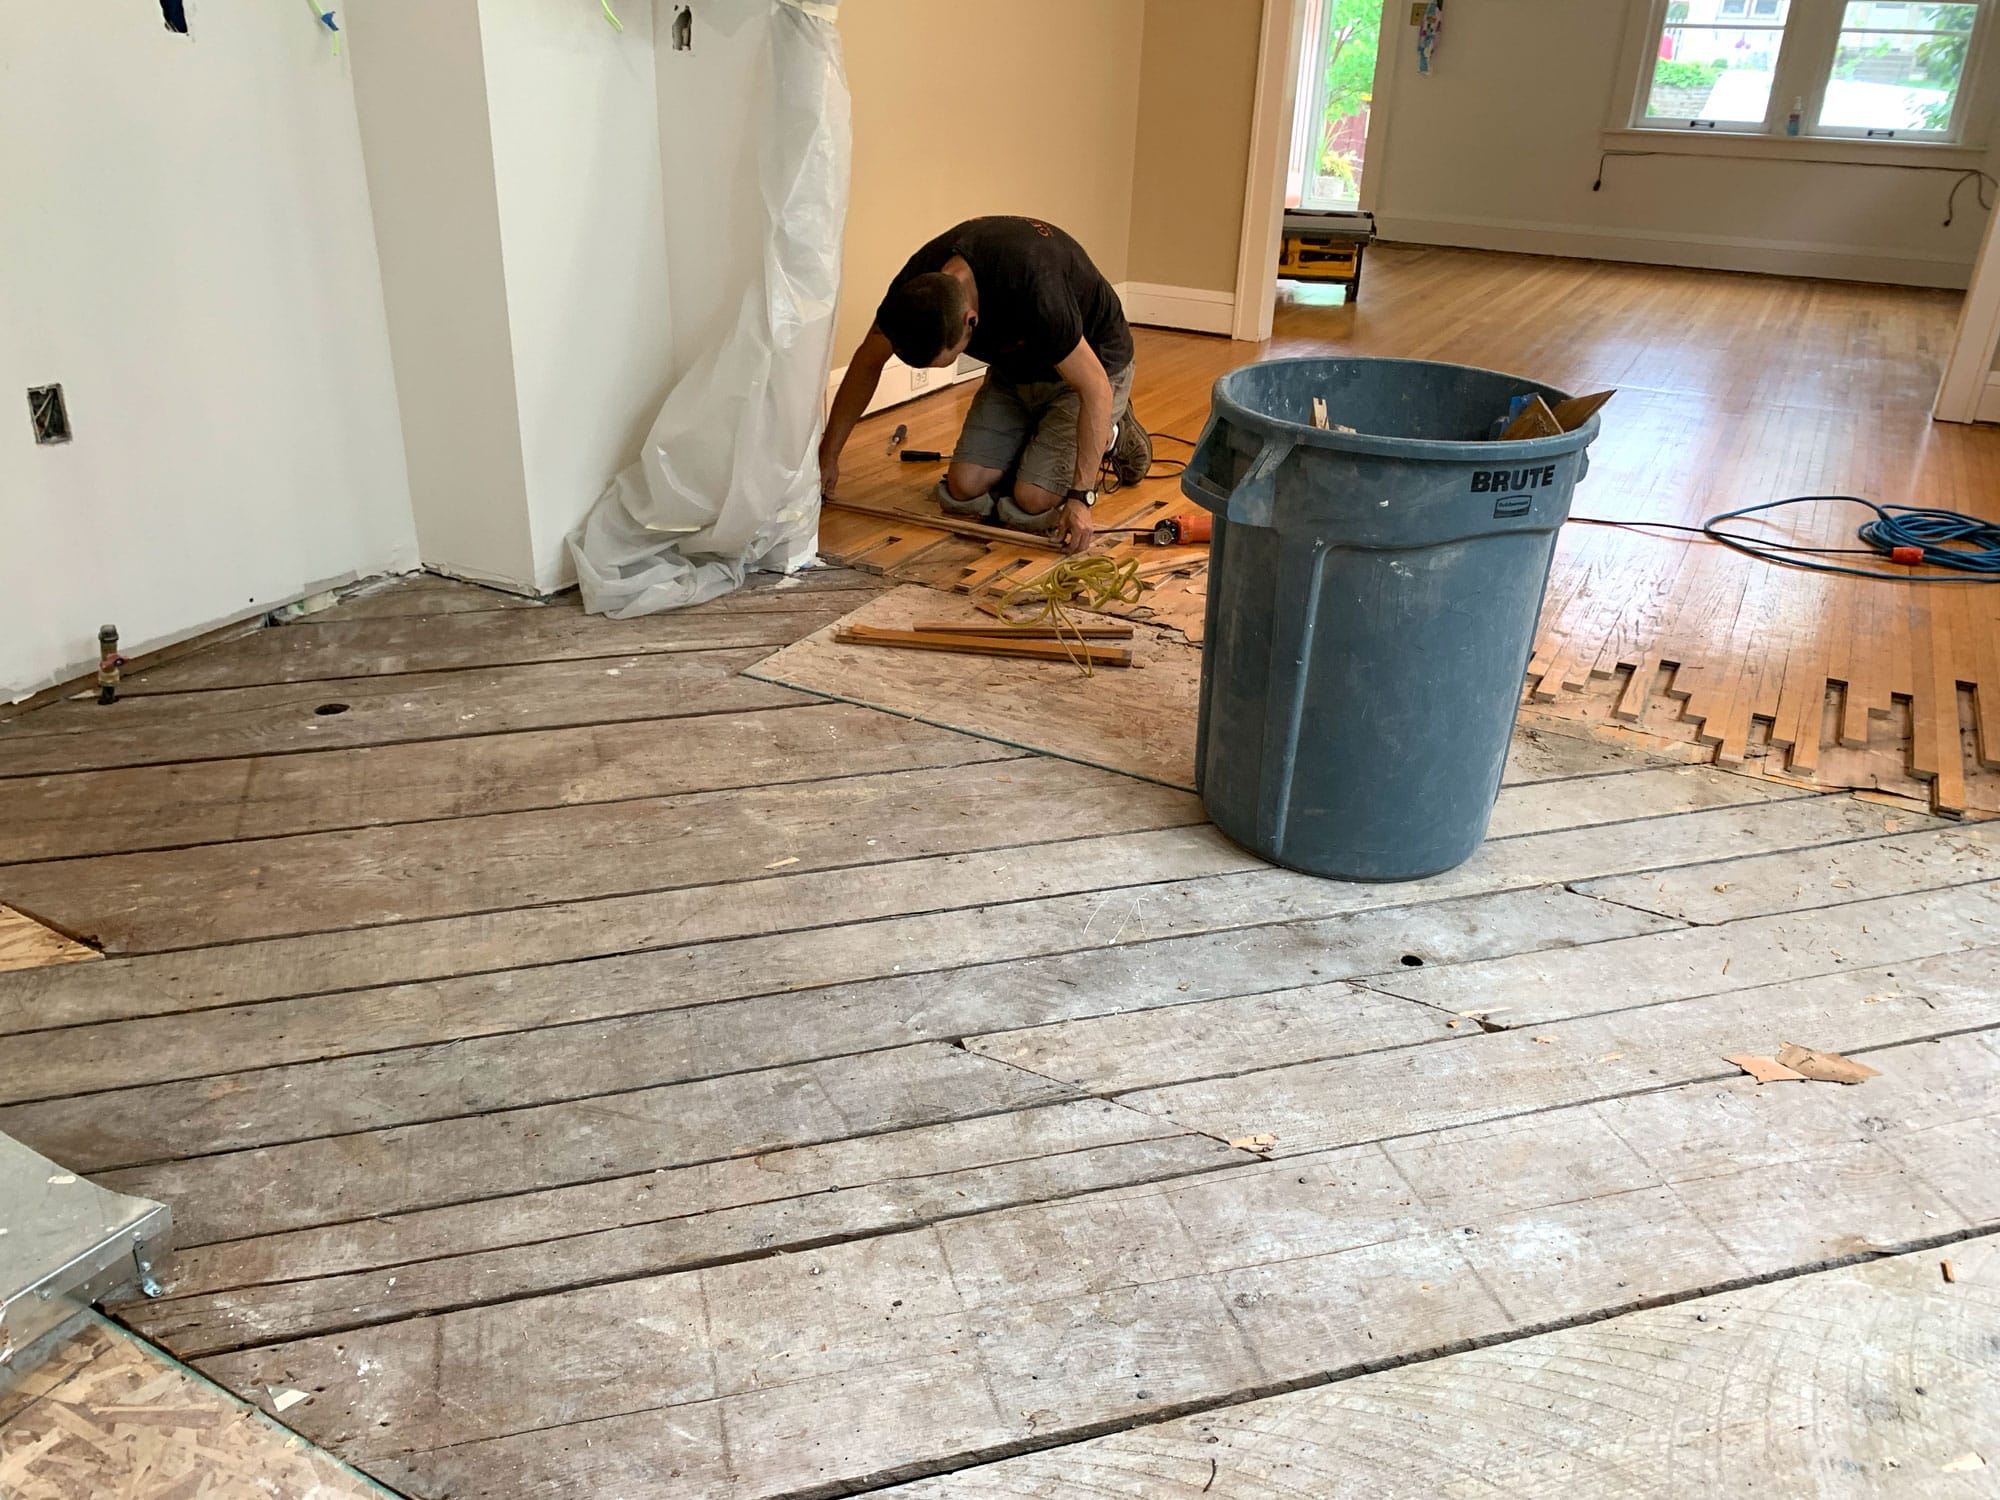
Before laying out the new wood boards, our installer cuts out some portions of the existing boards at varying lengths, disguising the seam between the existing dining room and new kitchen boards. Starting at the existing floor is critical to joining the two spaces visually.
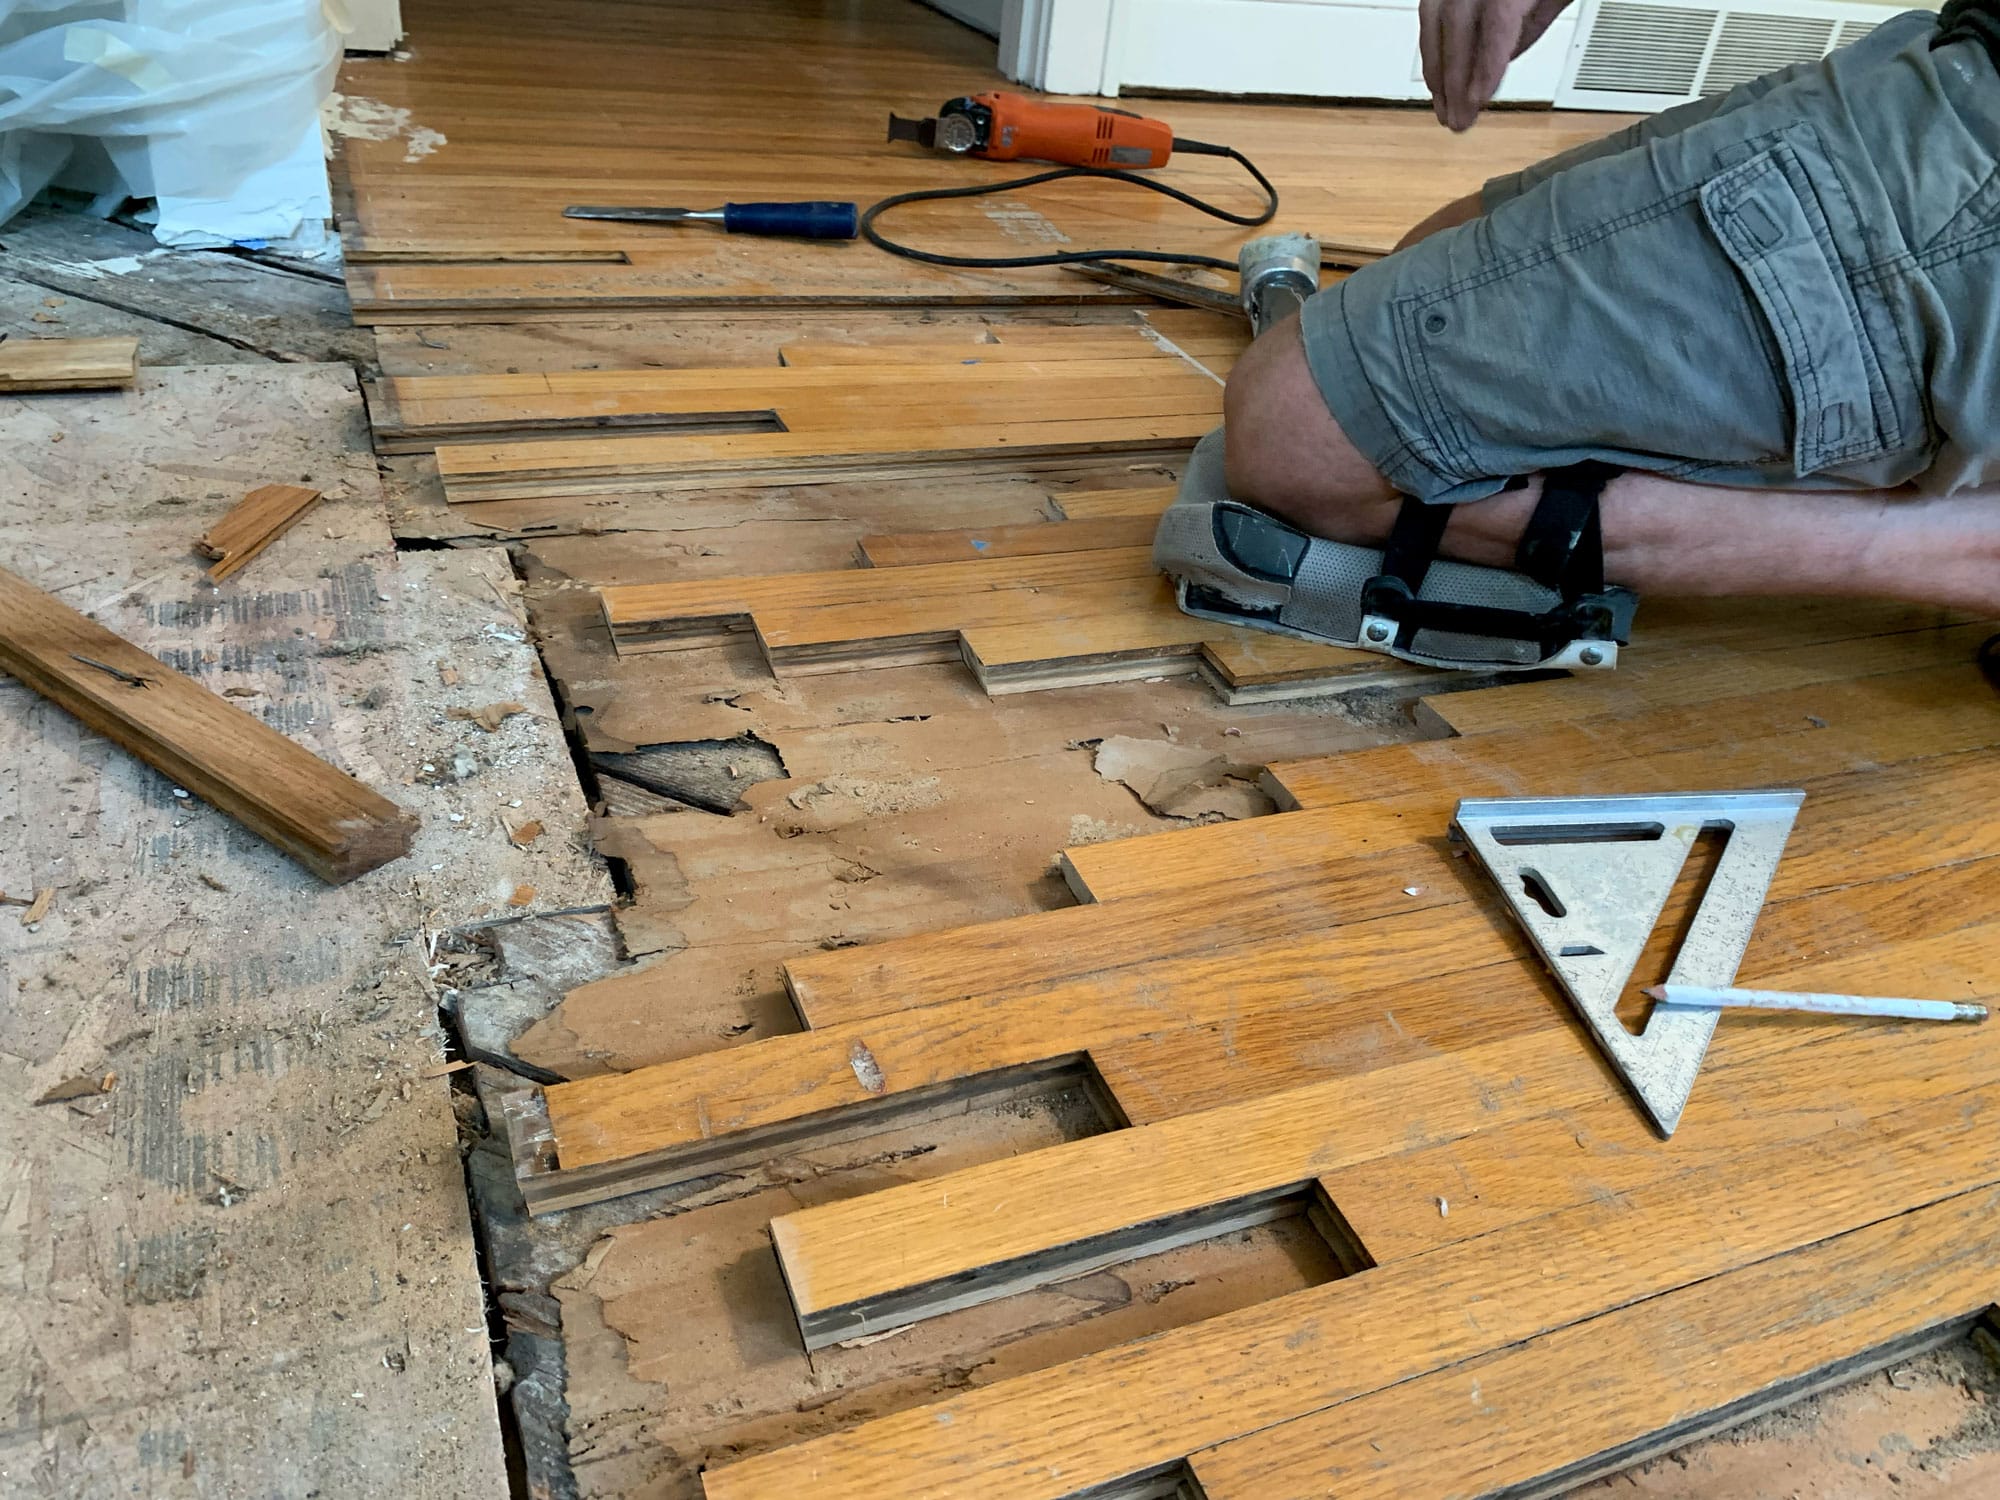
Using a handheld oscillating saw, a triangle, and pencil, the installer carefully marks the boards and then removes sections for new boards to lace into. Once refinished, telling the difference between new and old boards and finding where the two floors meet will be next to impossible.
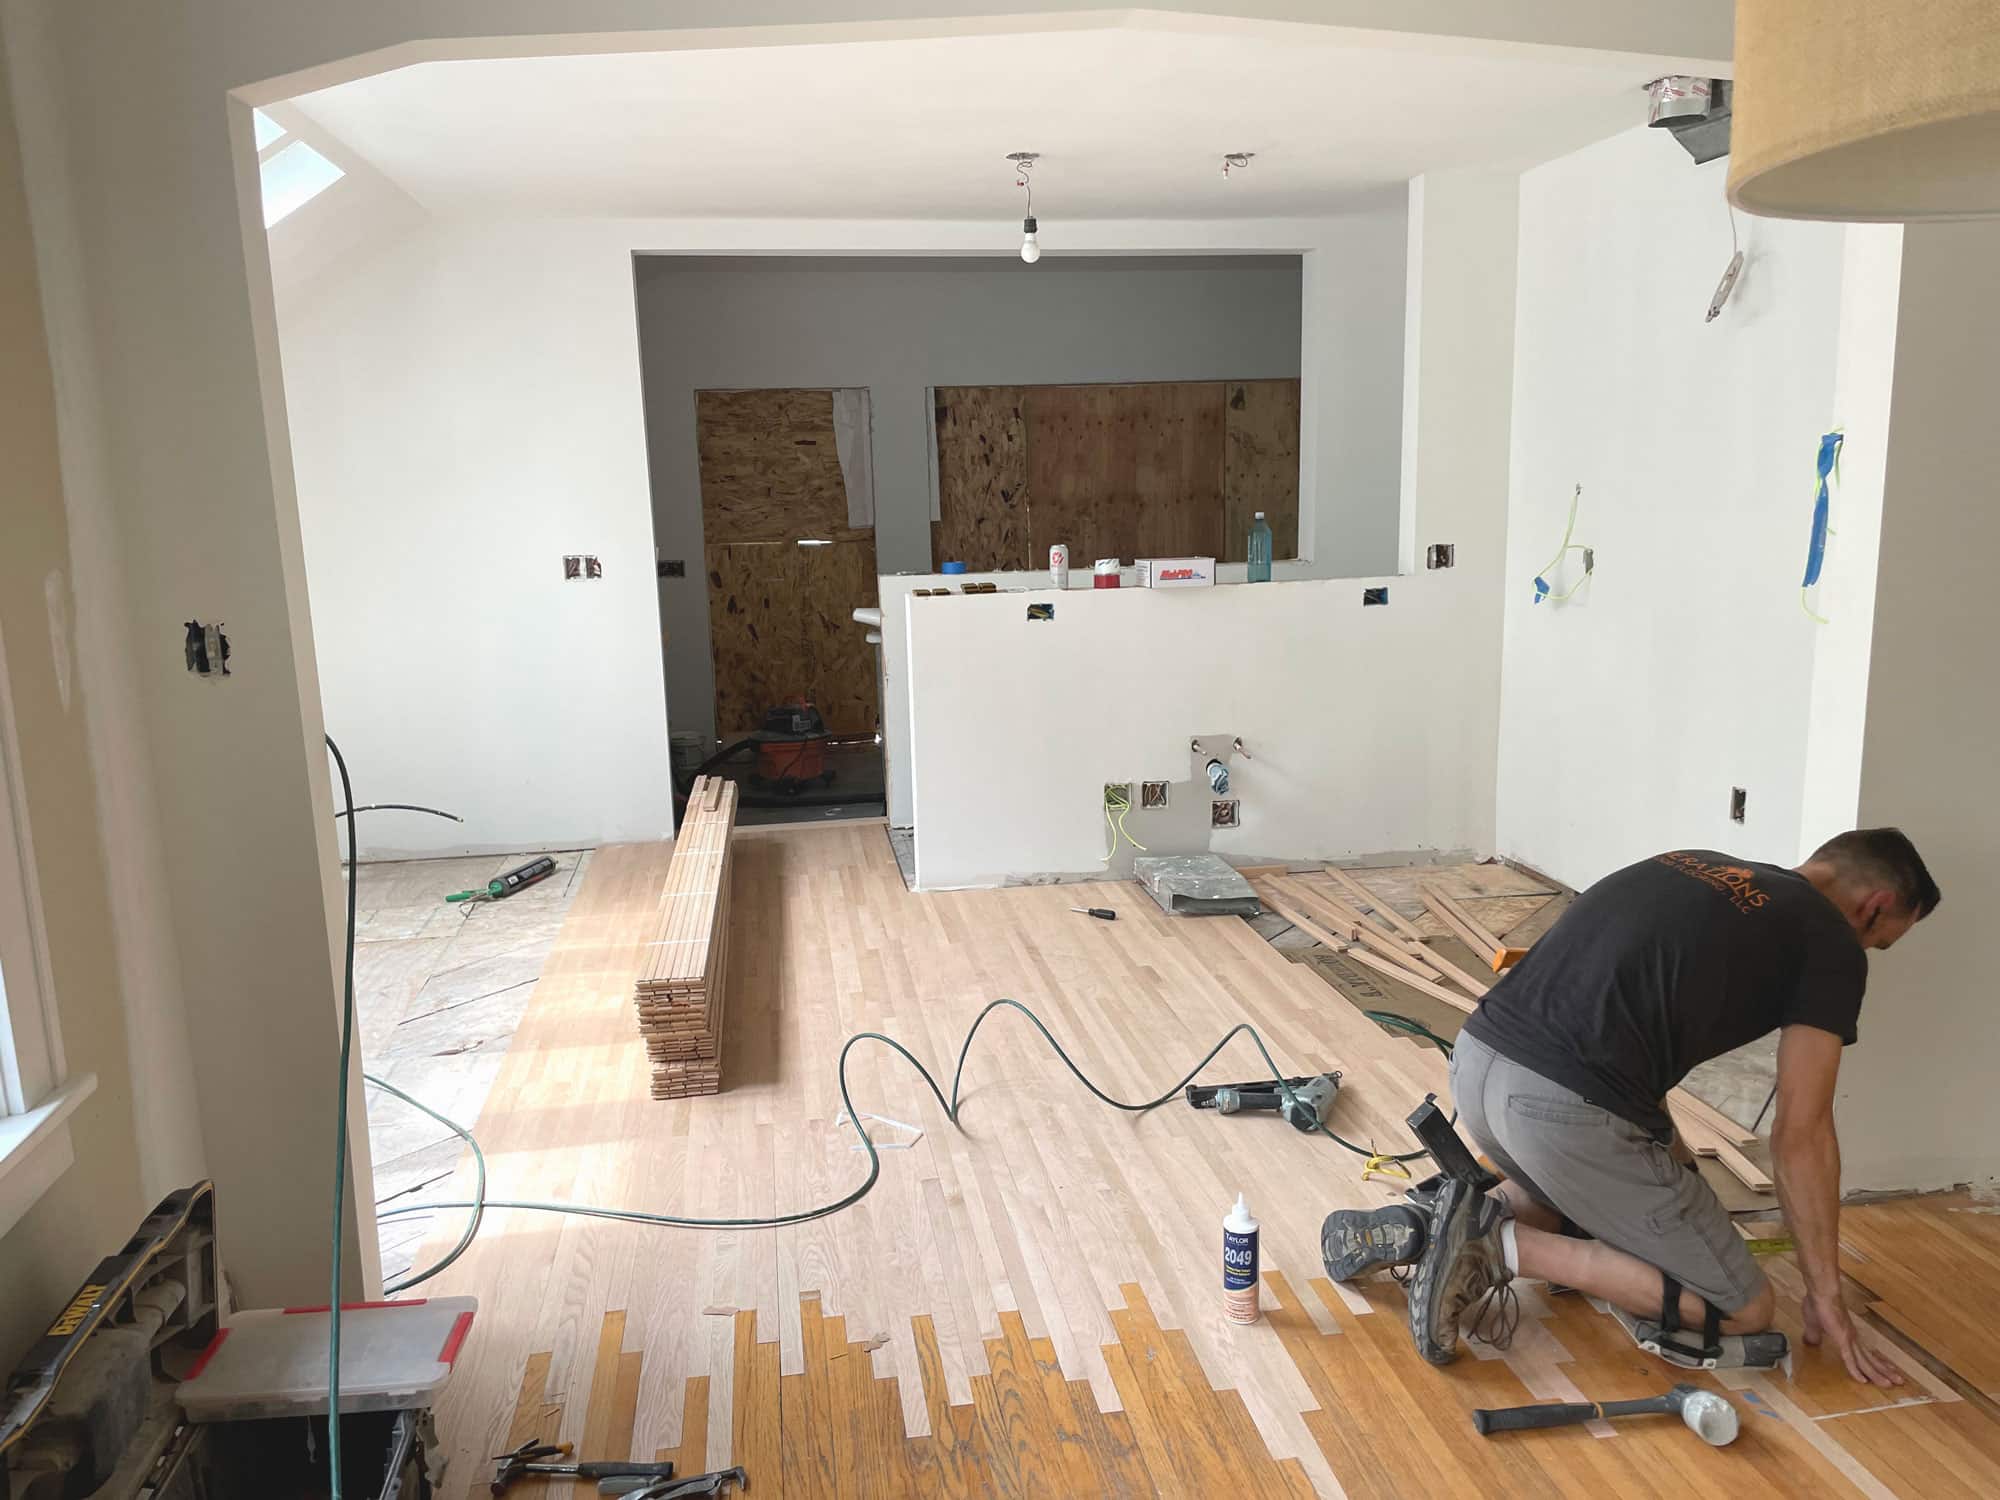
As the installer moves across the kitchen floor, he lays out the boards throughout the room and then begins to nail them into the subfloor.
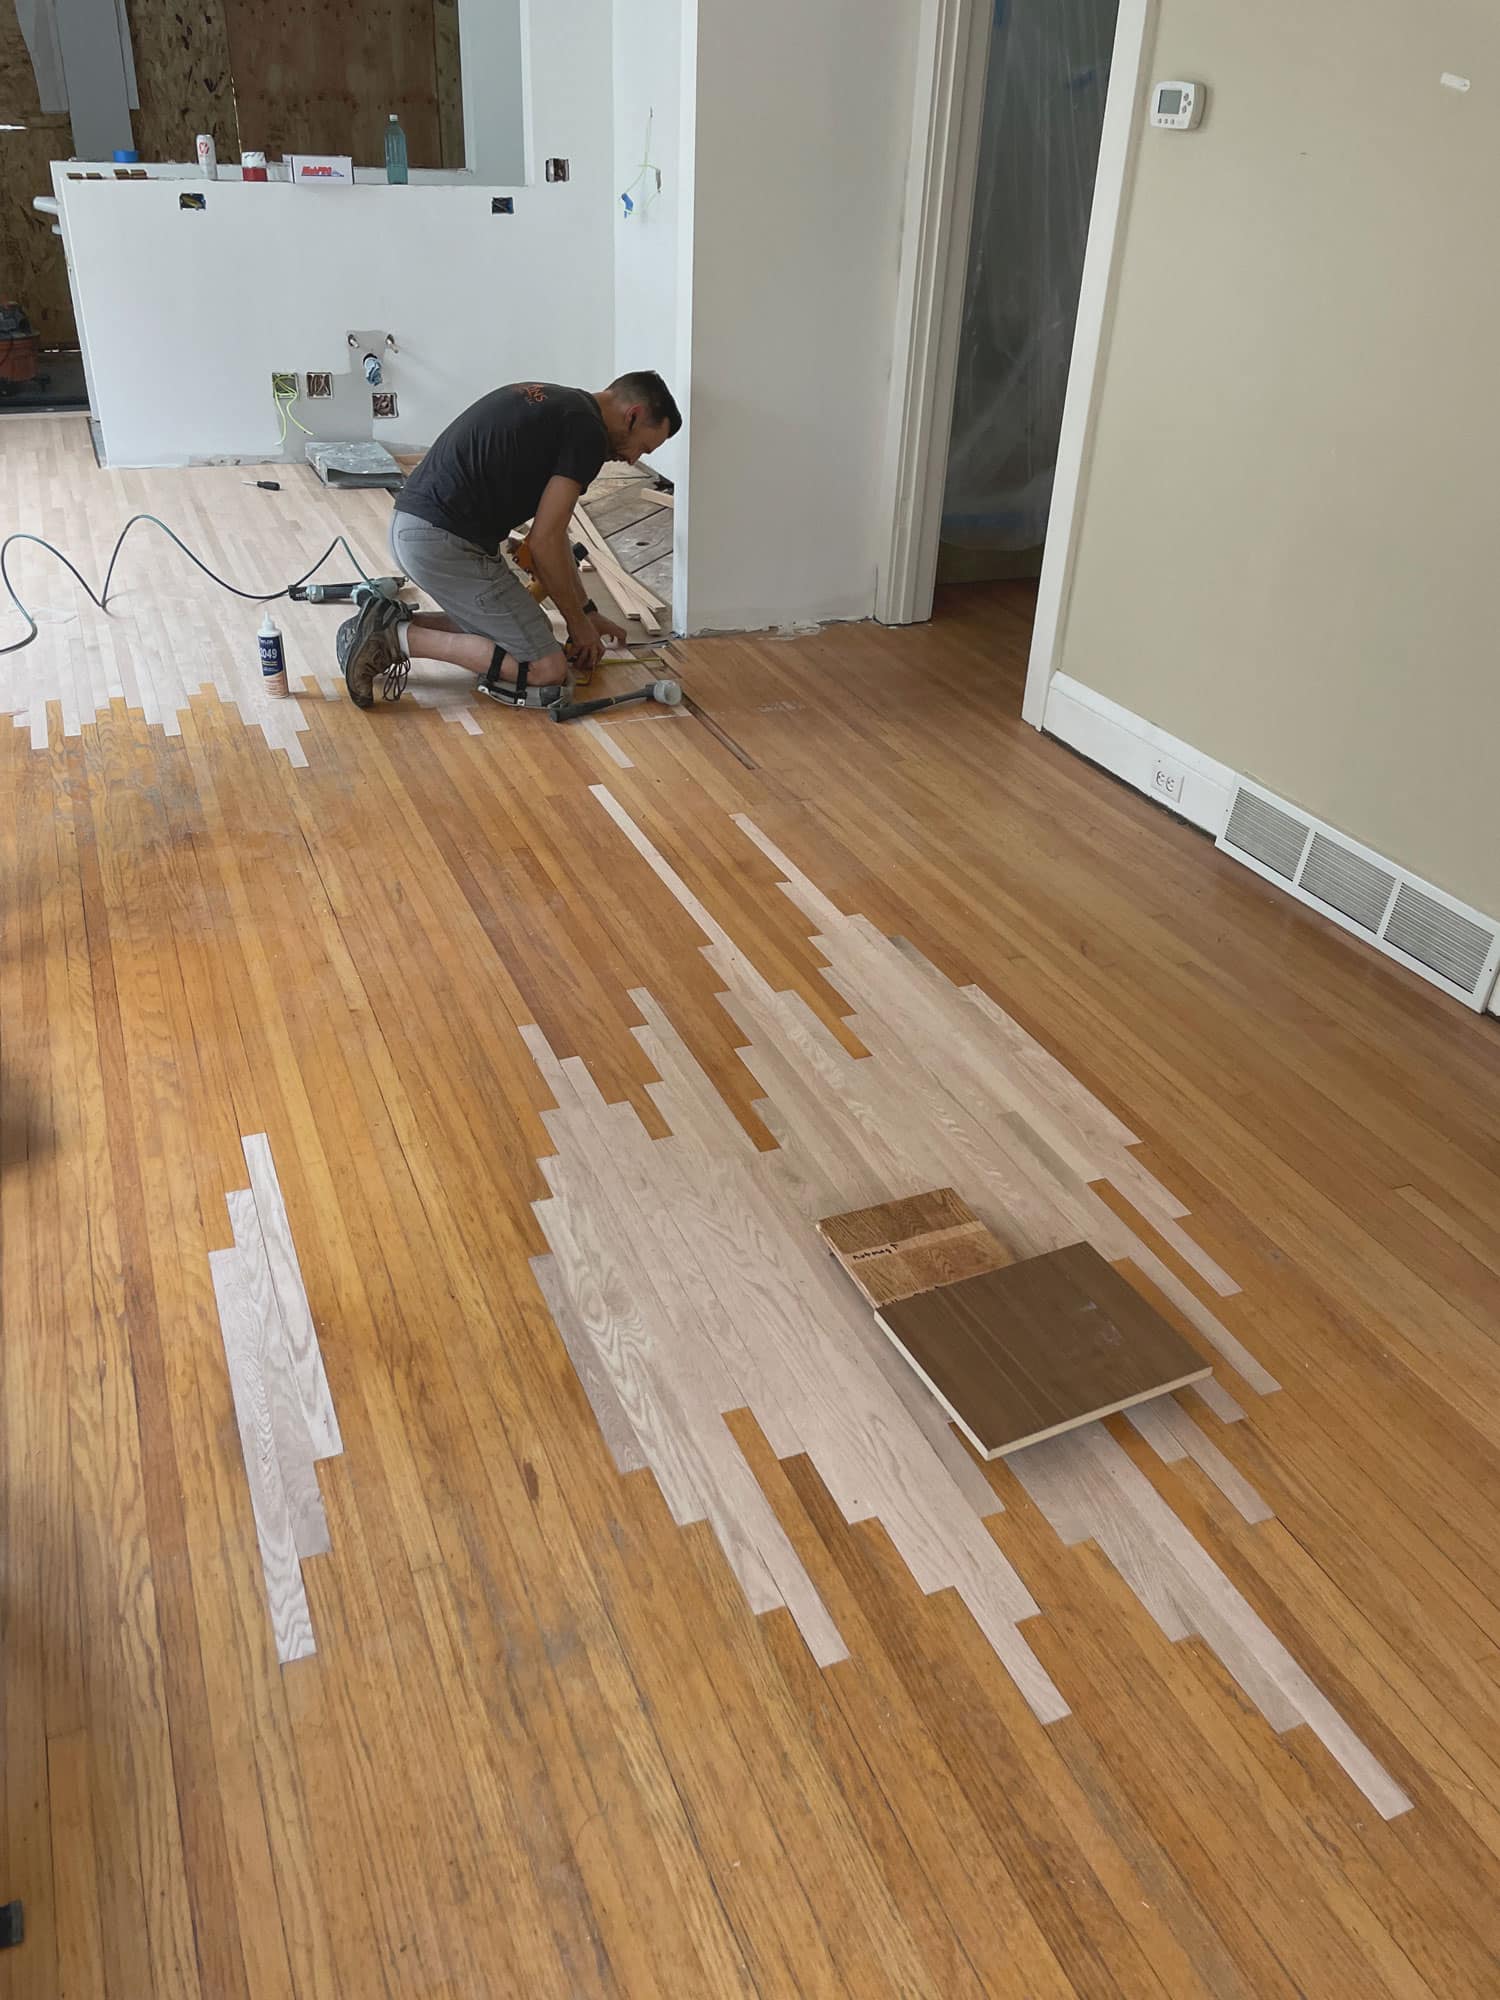
The dining room floor had some staining on a few existing boards. Knowing they needed to be replaced, our flooring installer removed the affected boards, staggering the extraction points to make the seam much less obvious once refinished.
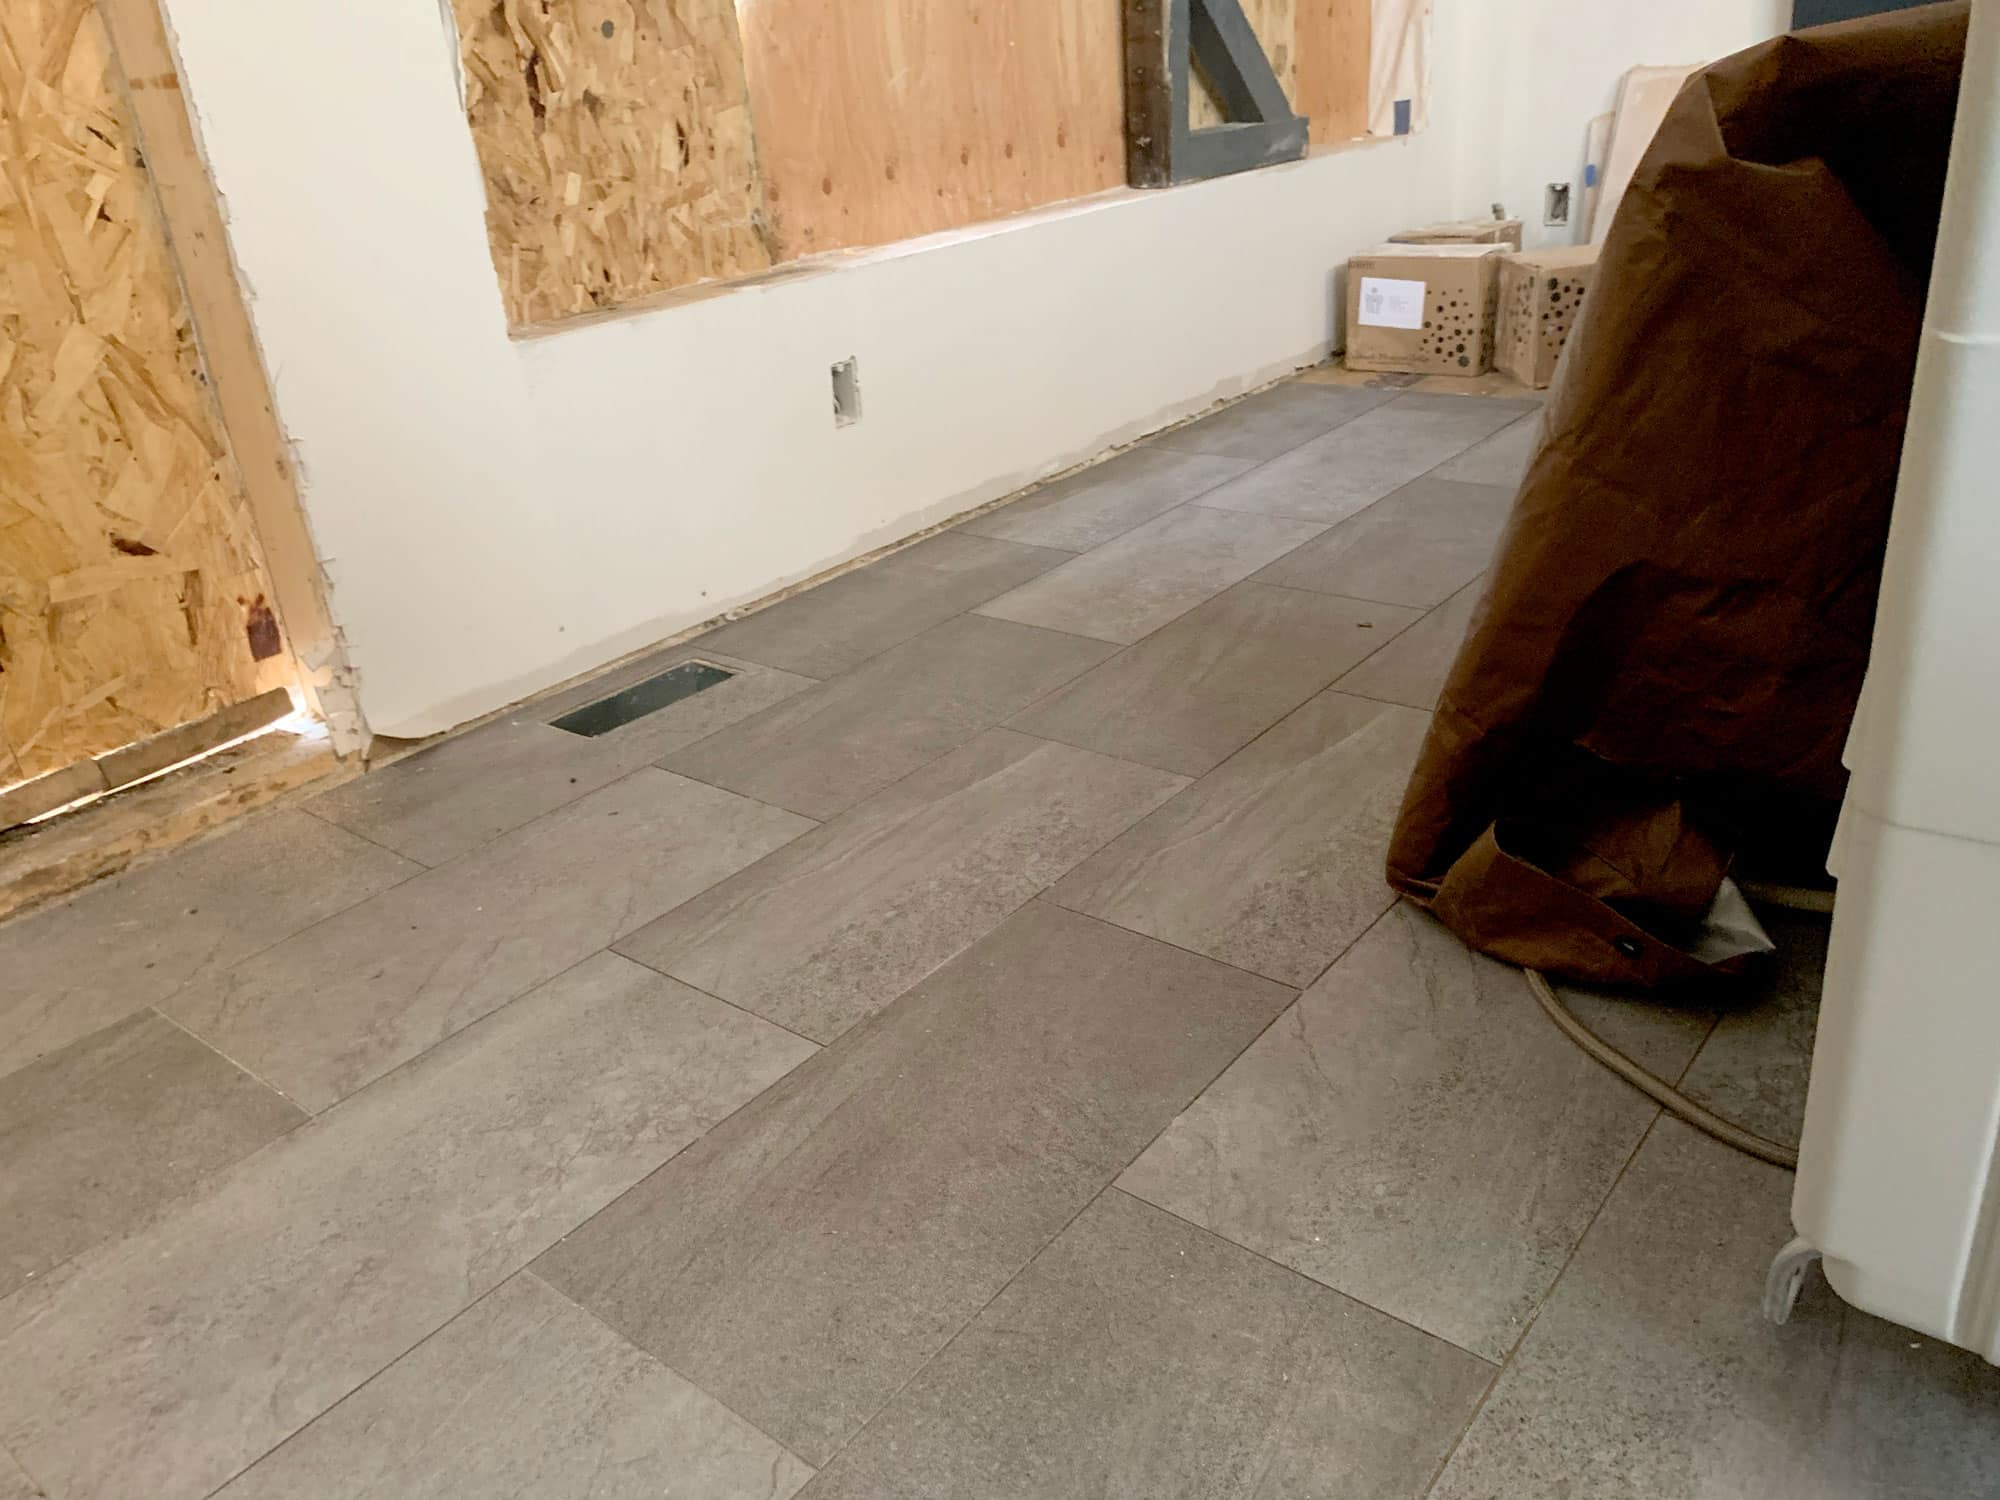
For flooring in the mudroom and sunroom addition, our clients and design team settled on a bluestone luxury vinyl tile or LVT. LVT is an excellent choice in this application because it works well in wet conditions. With wet boots tracking in water over the course of several winters, cleaning and maintaining the quality of this LVT will be much easier for our clients than other natural materials. Besides its durability, LVT is also cost-effective and easier to repair or replace than stone or hardwood. To install, our flooring expert laid out and glued the bluestone luxury vinyl tile directly to the subfloor.
We’re here to help! Check out our planning resources below, or reach out to us here.
Are you dreaming of a new kitchen and wondering how much you’ll need to invest? We breakdown the costs for two kitchen remodels and what factors drive those costs.

The Twin Cities are filled with story-and-a-half homes that are perfect for a certain kind of addition, called a shed dormer. Learn more about this popular remodeling project.

So you’d love to upgrade your kitchen or add a shed dormer with a primary suite, but you’re not sure how to pay for it? Learn about three ways to finance your remodel.