
How Much Does it Cost to Remodel a Kitchen in the Twin Cities?
Are you dreaming of a new kitchen and wondering how much you’ll need to invest? We breakdown the costs for two kitchen remodels and what factors drive those costs.
See inside as we build a mudroom addition and remodel the kitchen of this 1920s Lake Nokomis home.
When demo starts, the demolition crew looks at the plans to understand what areas of the home will be left untouched and what areas will be removed.

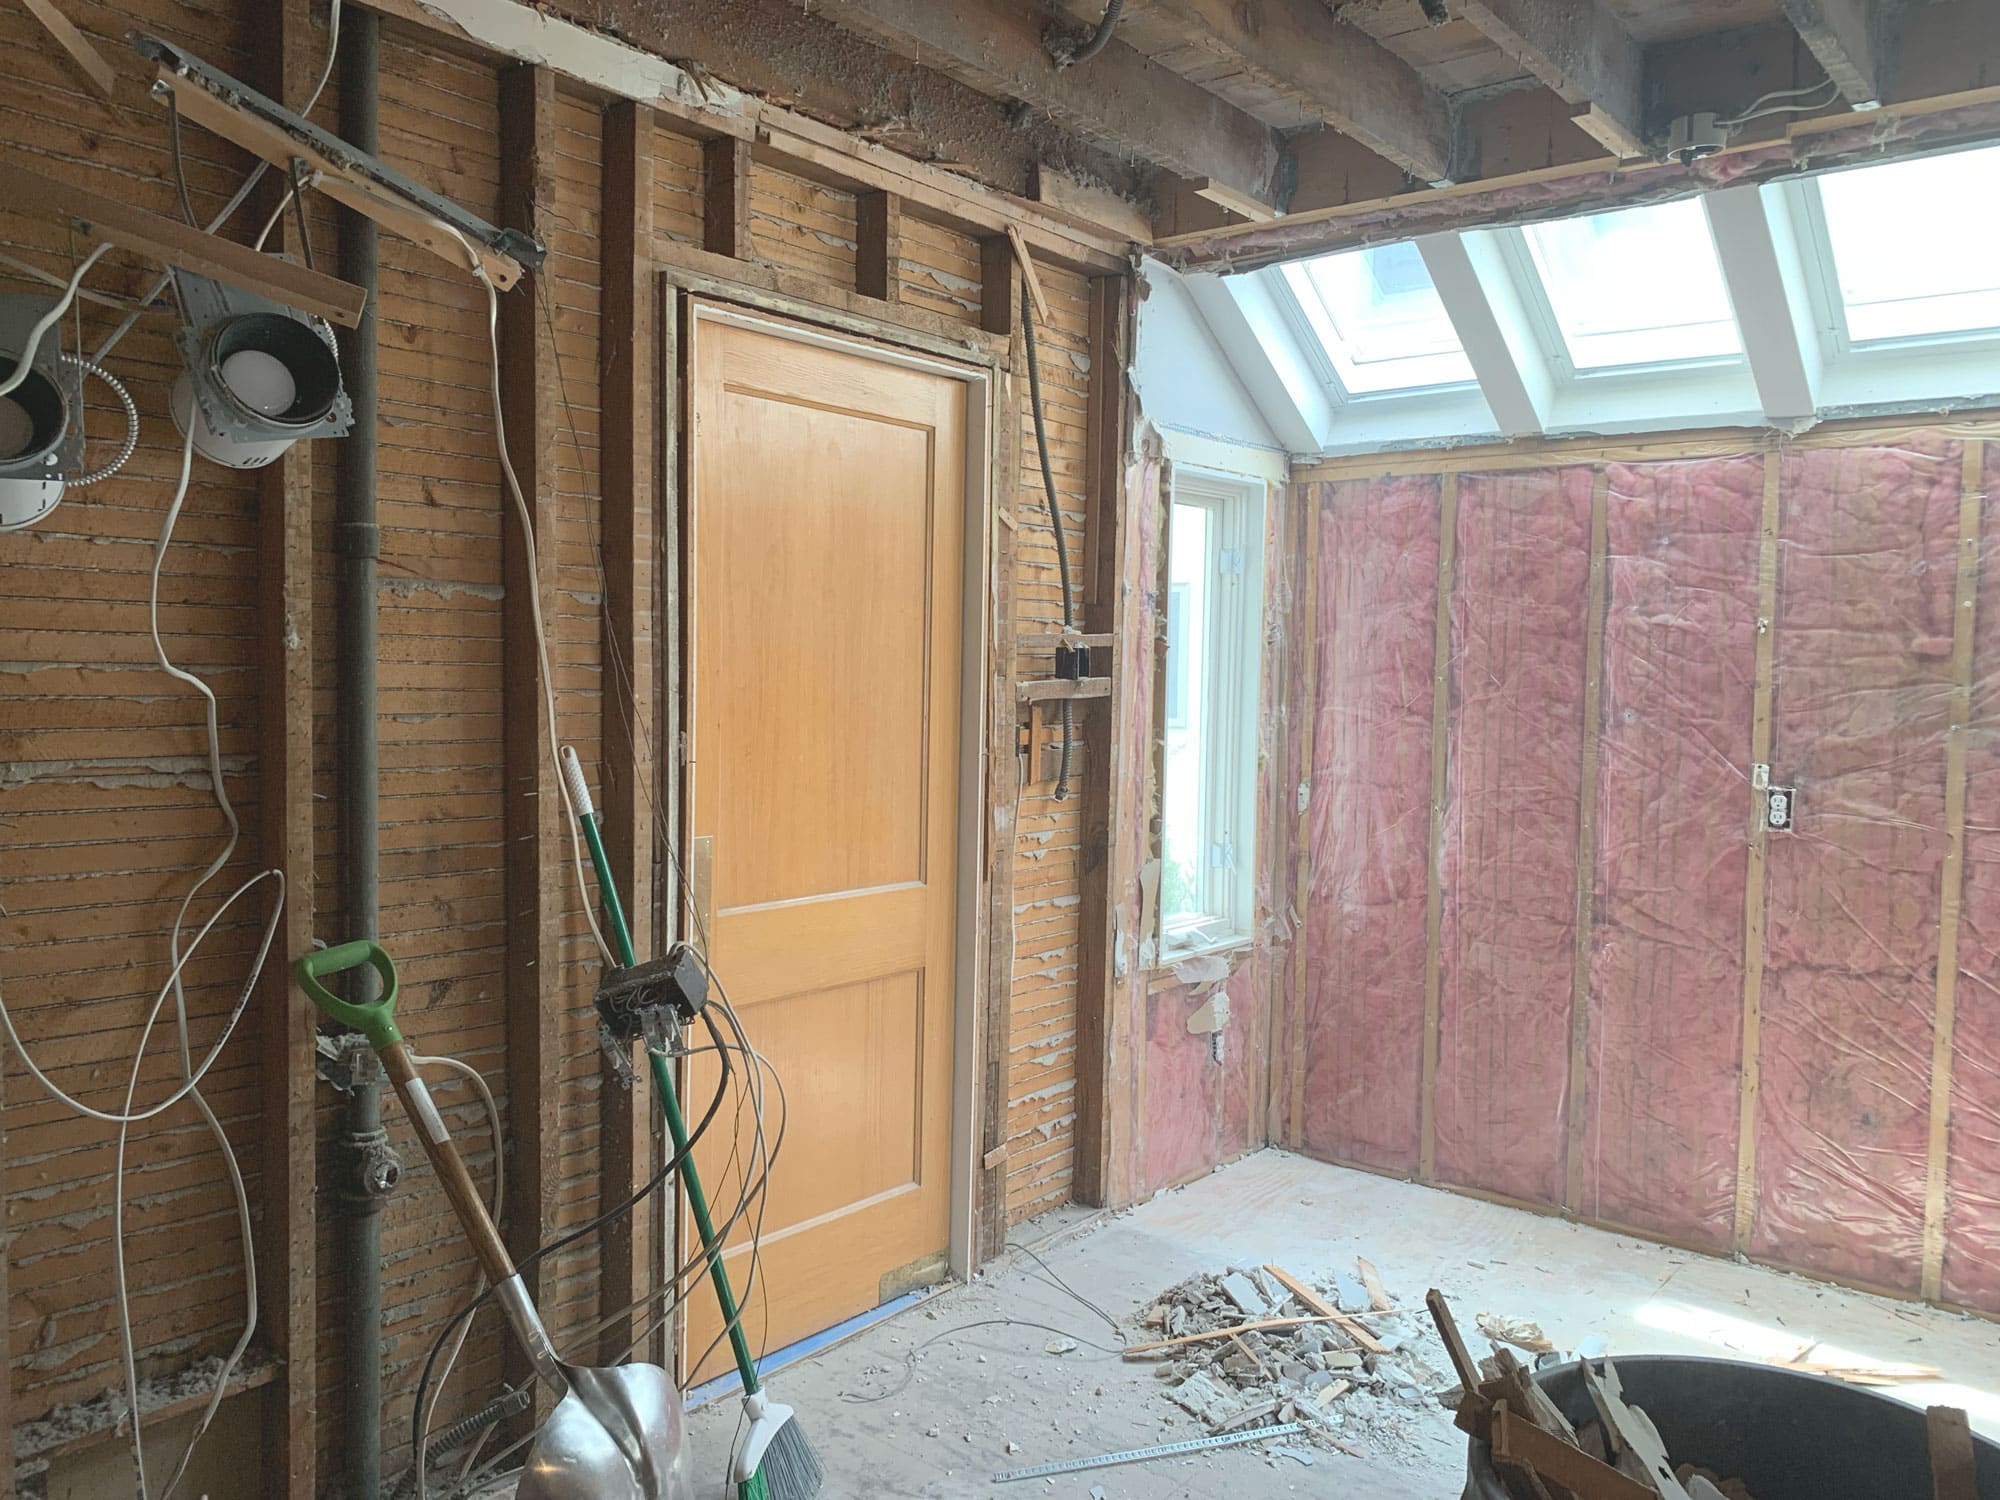
Removing this wall between the kitchen and living room will help resolve one primary goal of the remodel, which is to make the home feel more open!
Here is a rough outline of some of the larger items being removed:
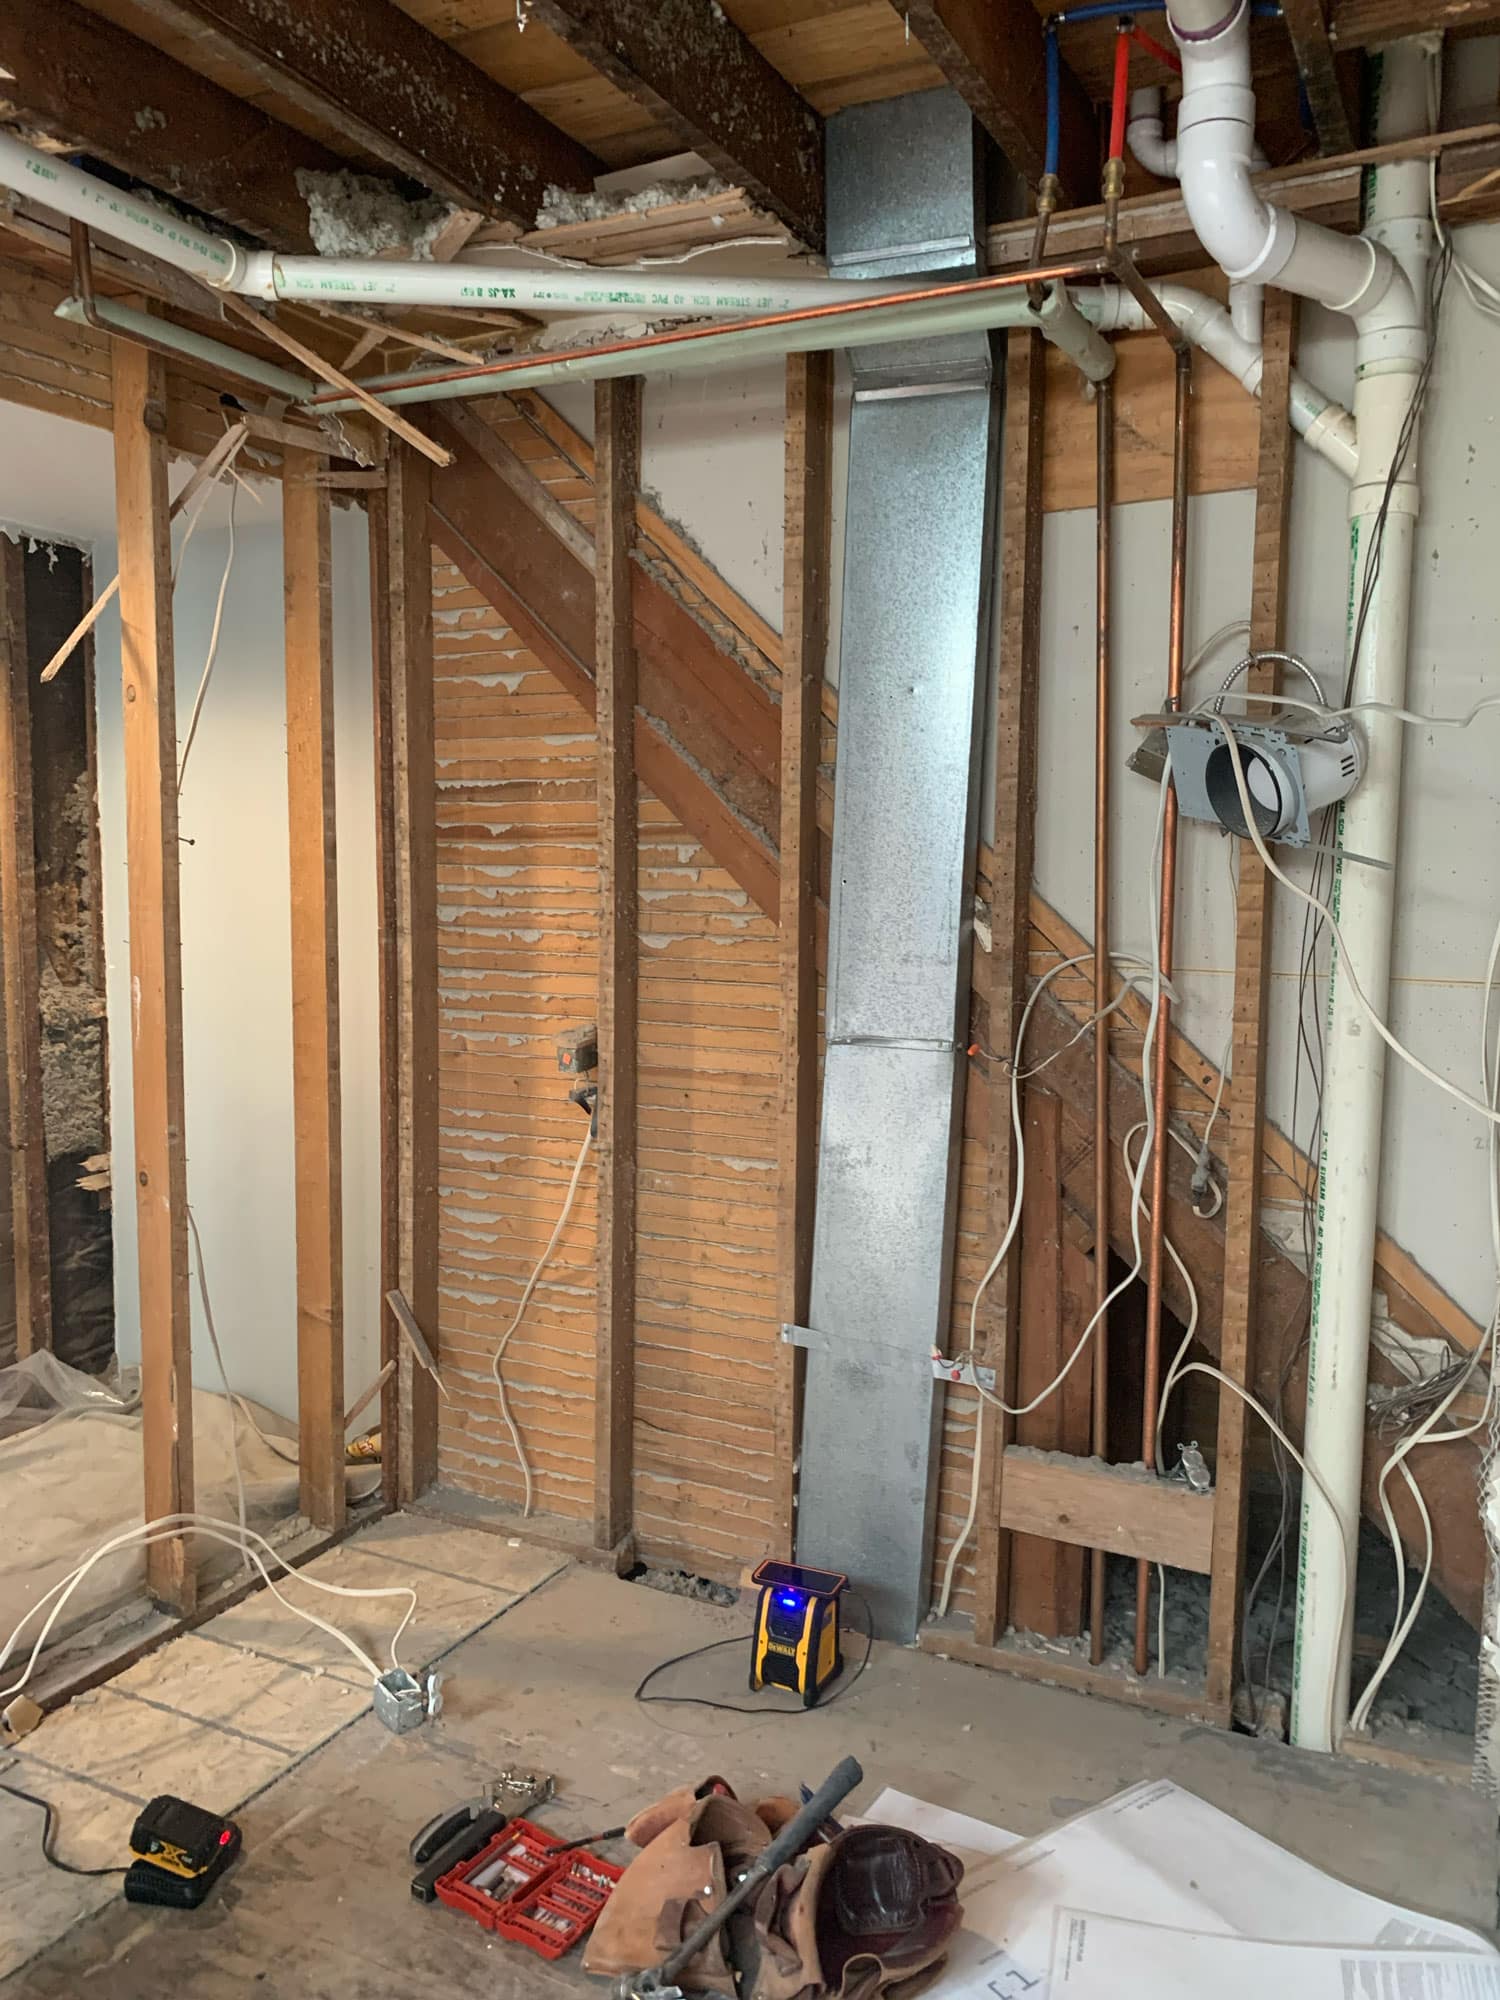
Cabinetry along the former range wall is ripped out, showing old plumbing, recessed cans, and an HVAC duct.
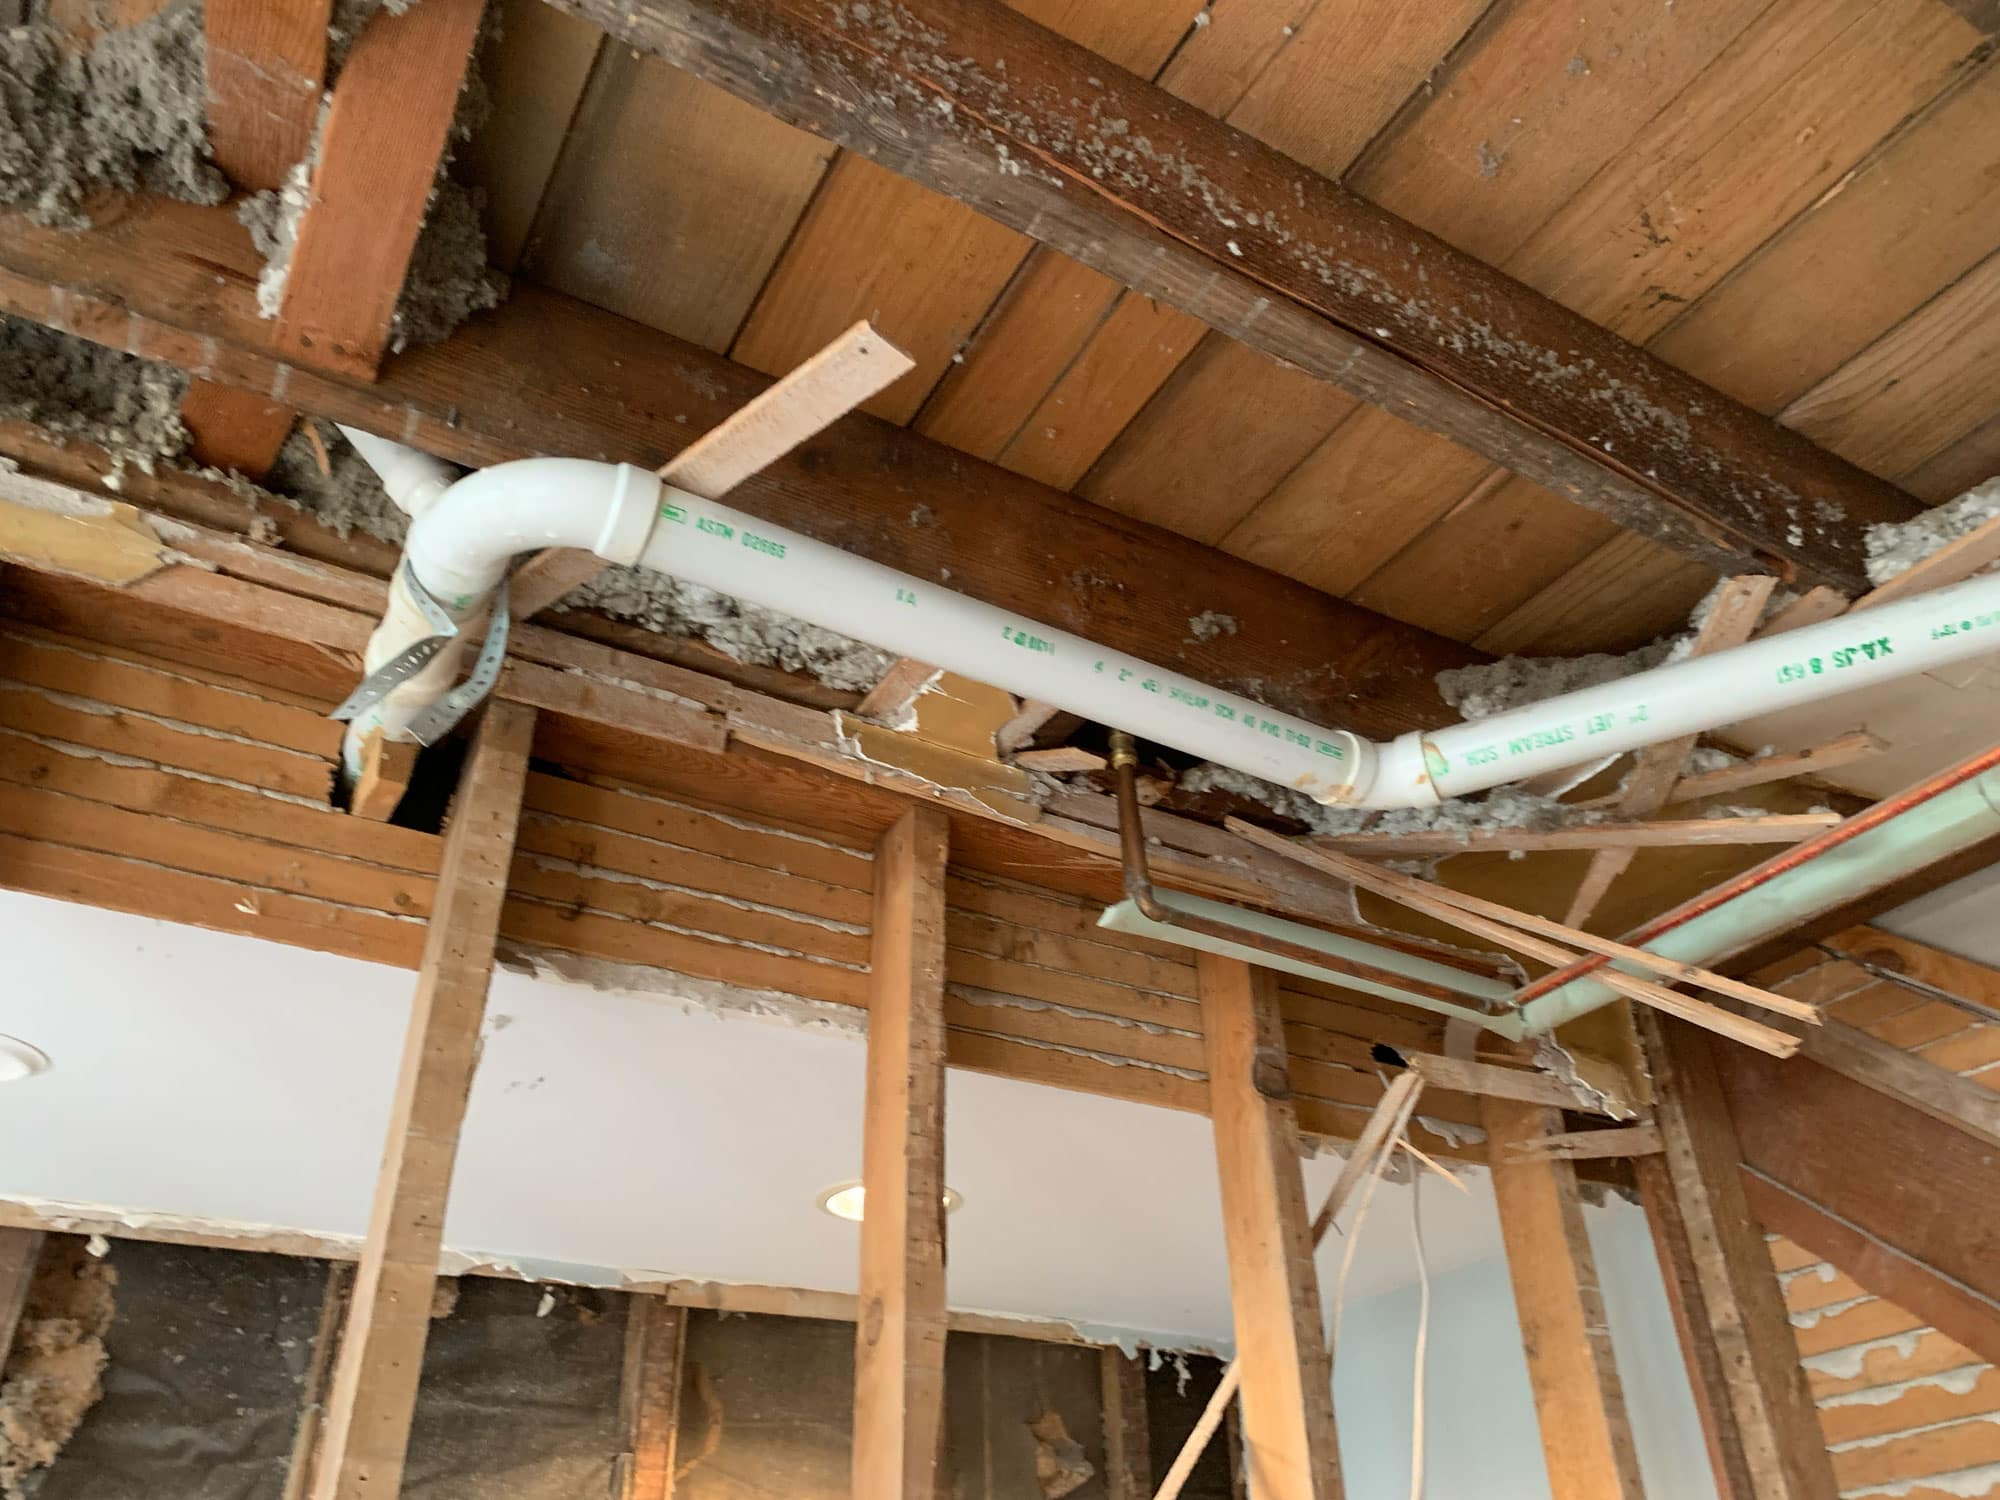
Dropped plumbing lines that created a need for low soffits will be removed and tucked into the joists above.
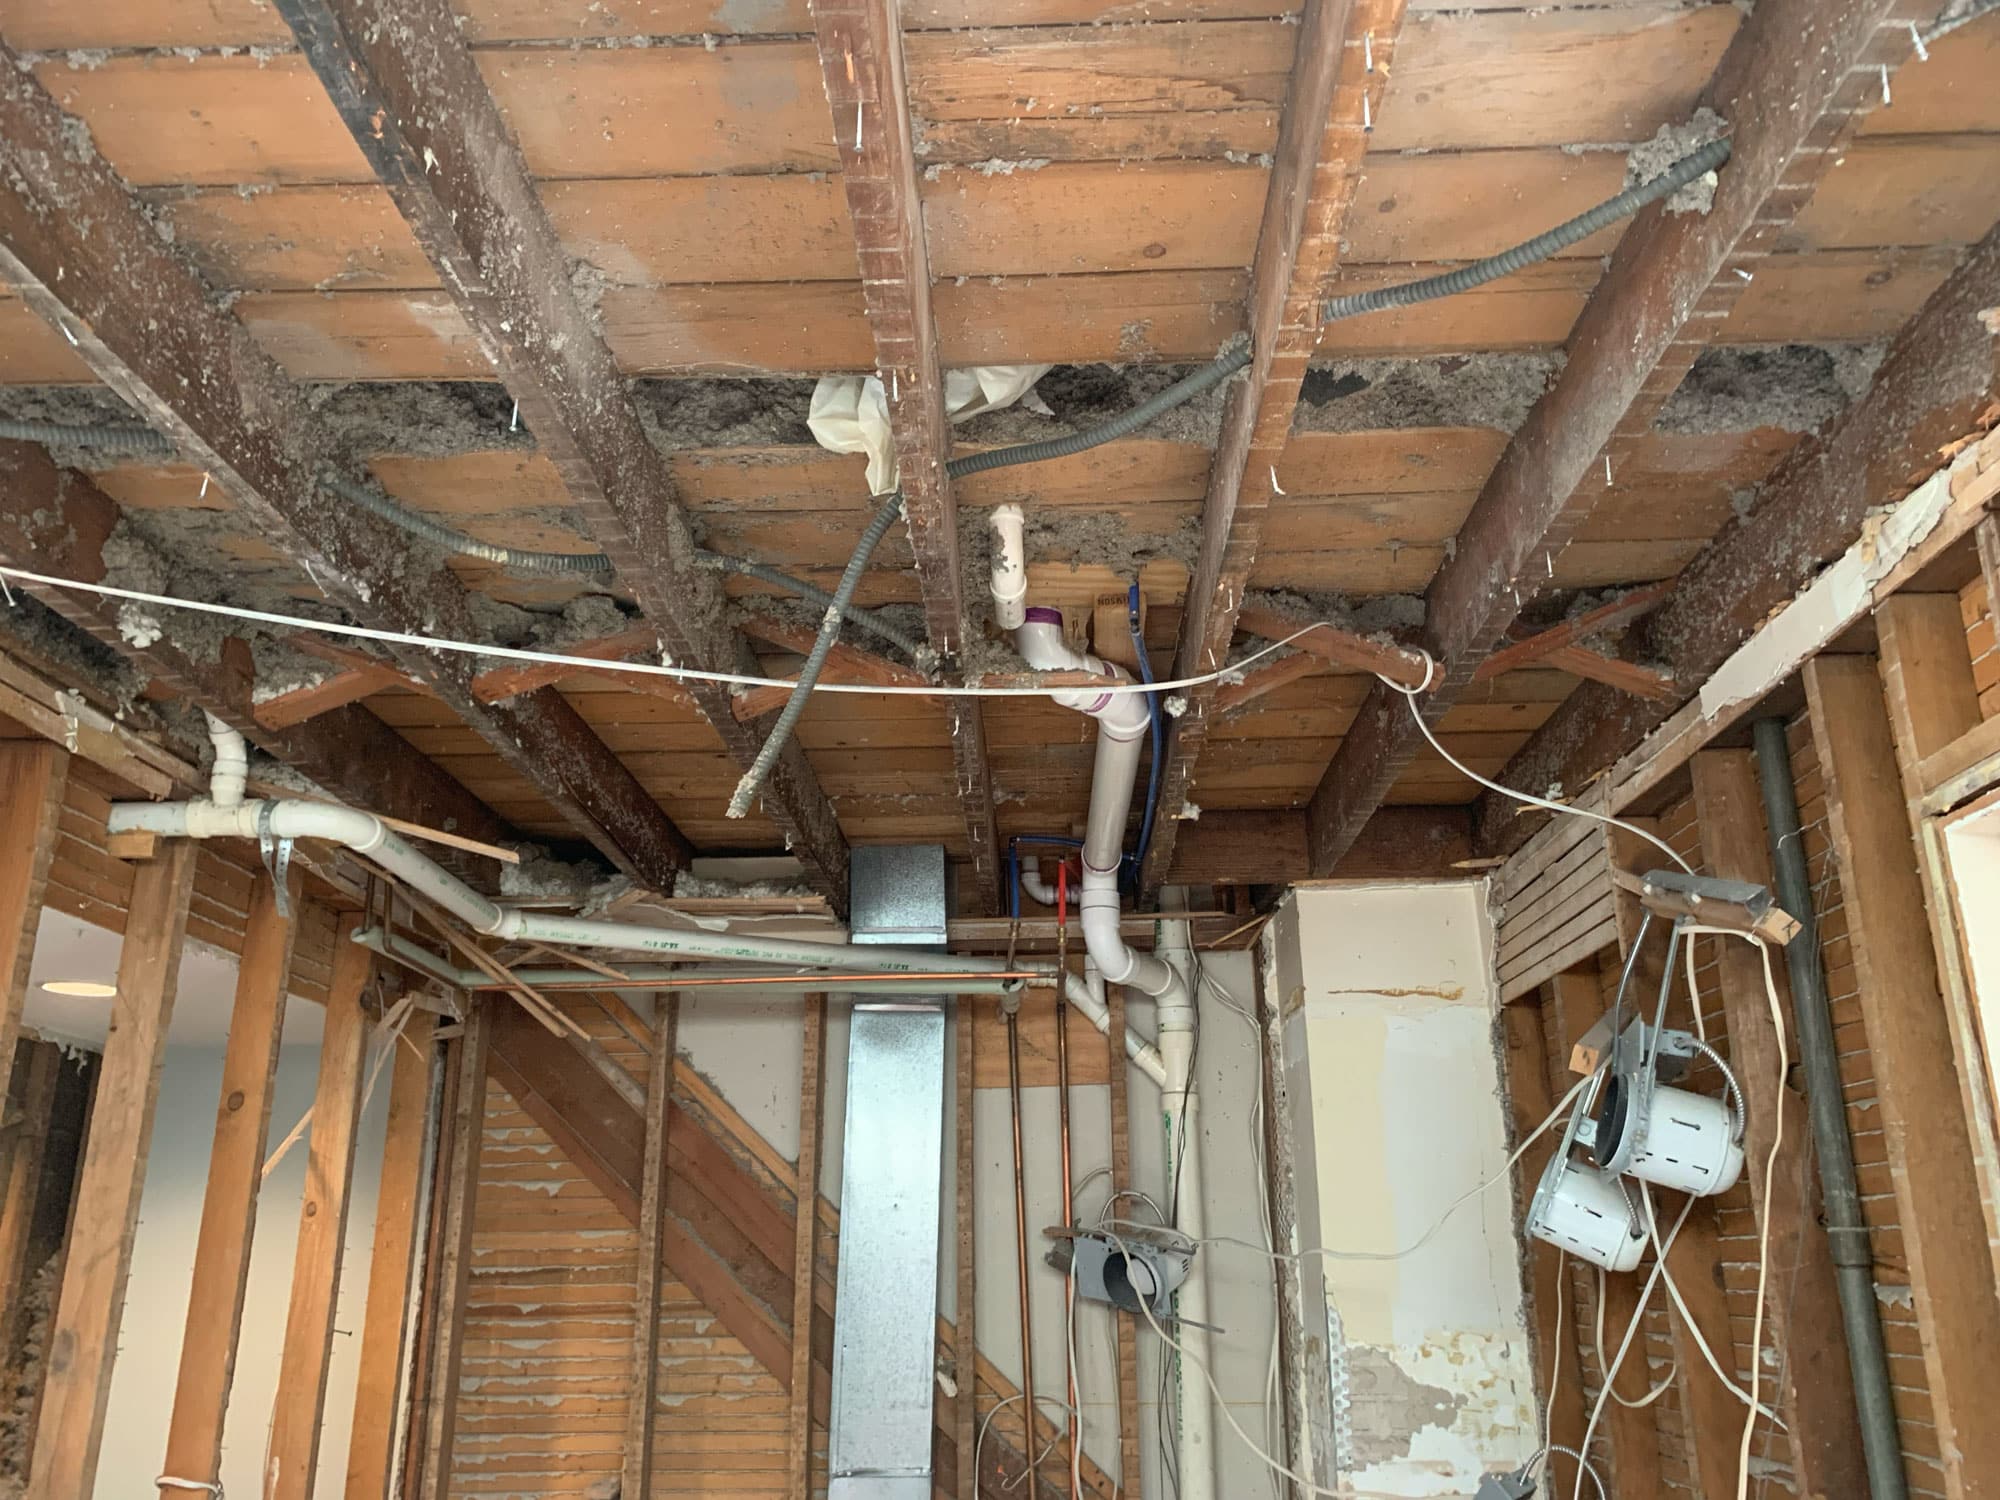
With the existing sheetrock on the ceiling removed, we can see the joists above and bracing between each. Later on, we'll revisit the lighting placement and install new cans between joists.
With the Walls down and the floor joists above exposed, sometimes you find a few surprises, like an unsupported beam. In fact, we’ll be adding 3 more LVLs at the location of the former kitchen closet, as the existing beam was short of the necessary bearing point, which could cause a structural failure. Our construction and design team specified all new LVLs to extended an additional 1.5′ passed the closet into the new mudroom. Though not the most fun reveal, these surprises are actually pretty beneficial. The greatest gift of a remodel, “Yikes – look what we found!” situation, is that our team can preemptively and effectively relieve an unseen issue before it causes big problems for the homeowners later on. We meet unexpected roadblocks with problem-solving and work with the homeowner to understand the problem and all possible solutions.
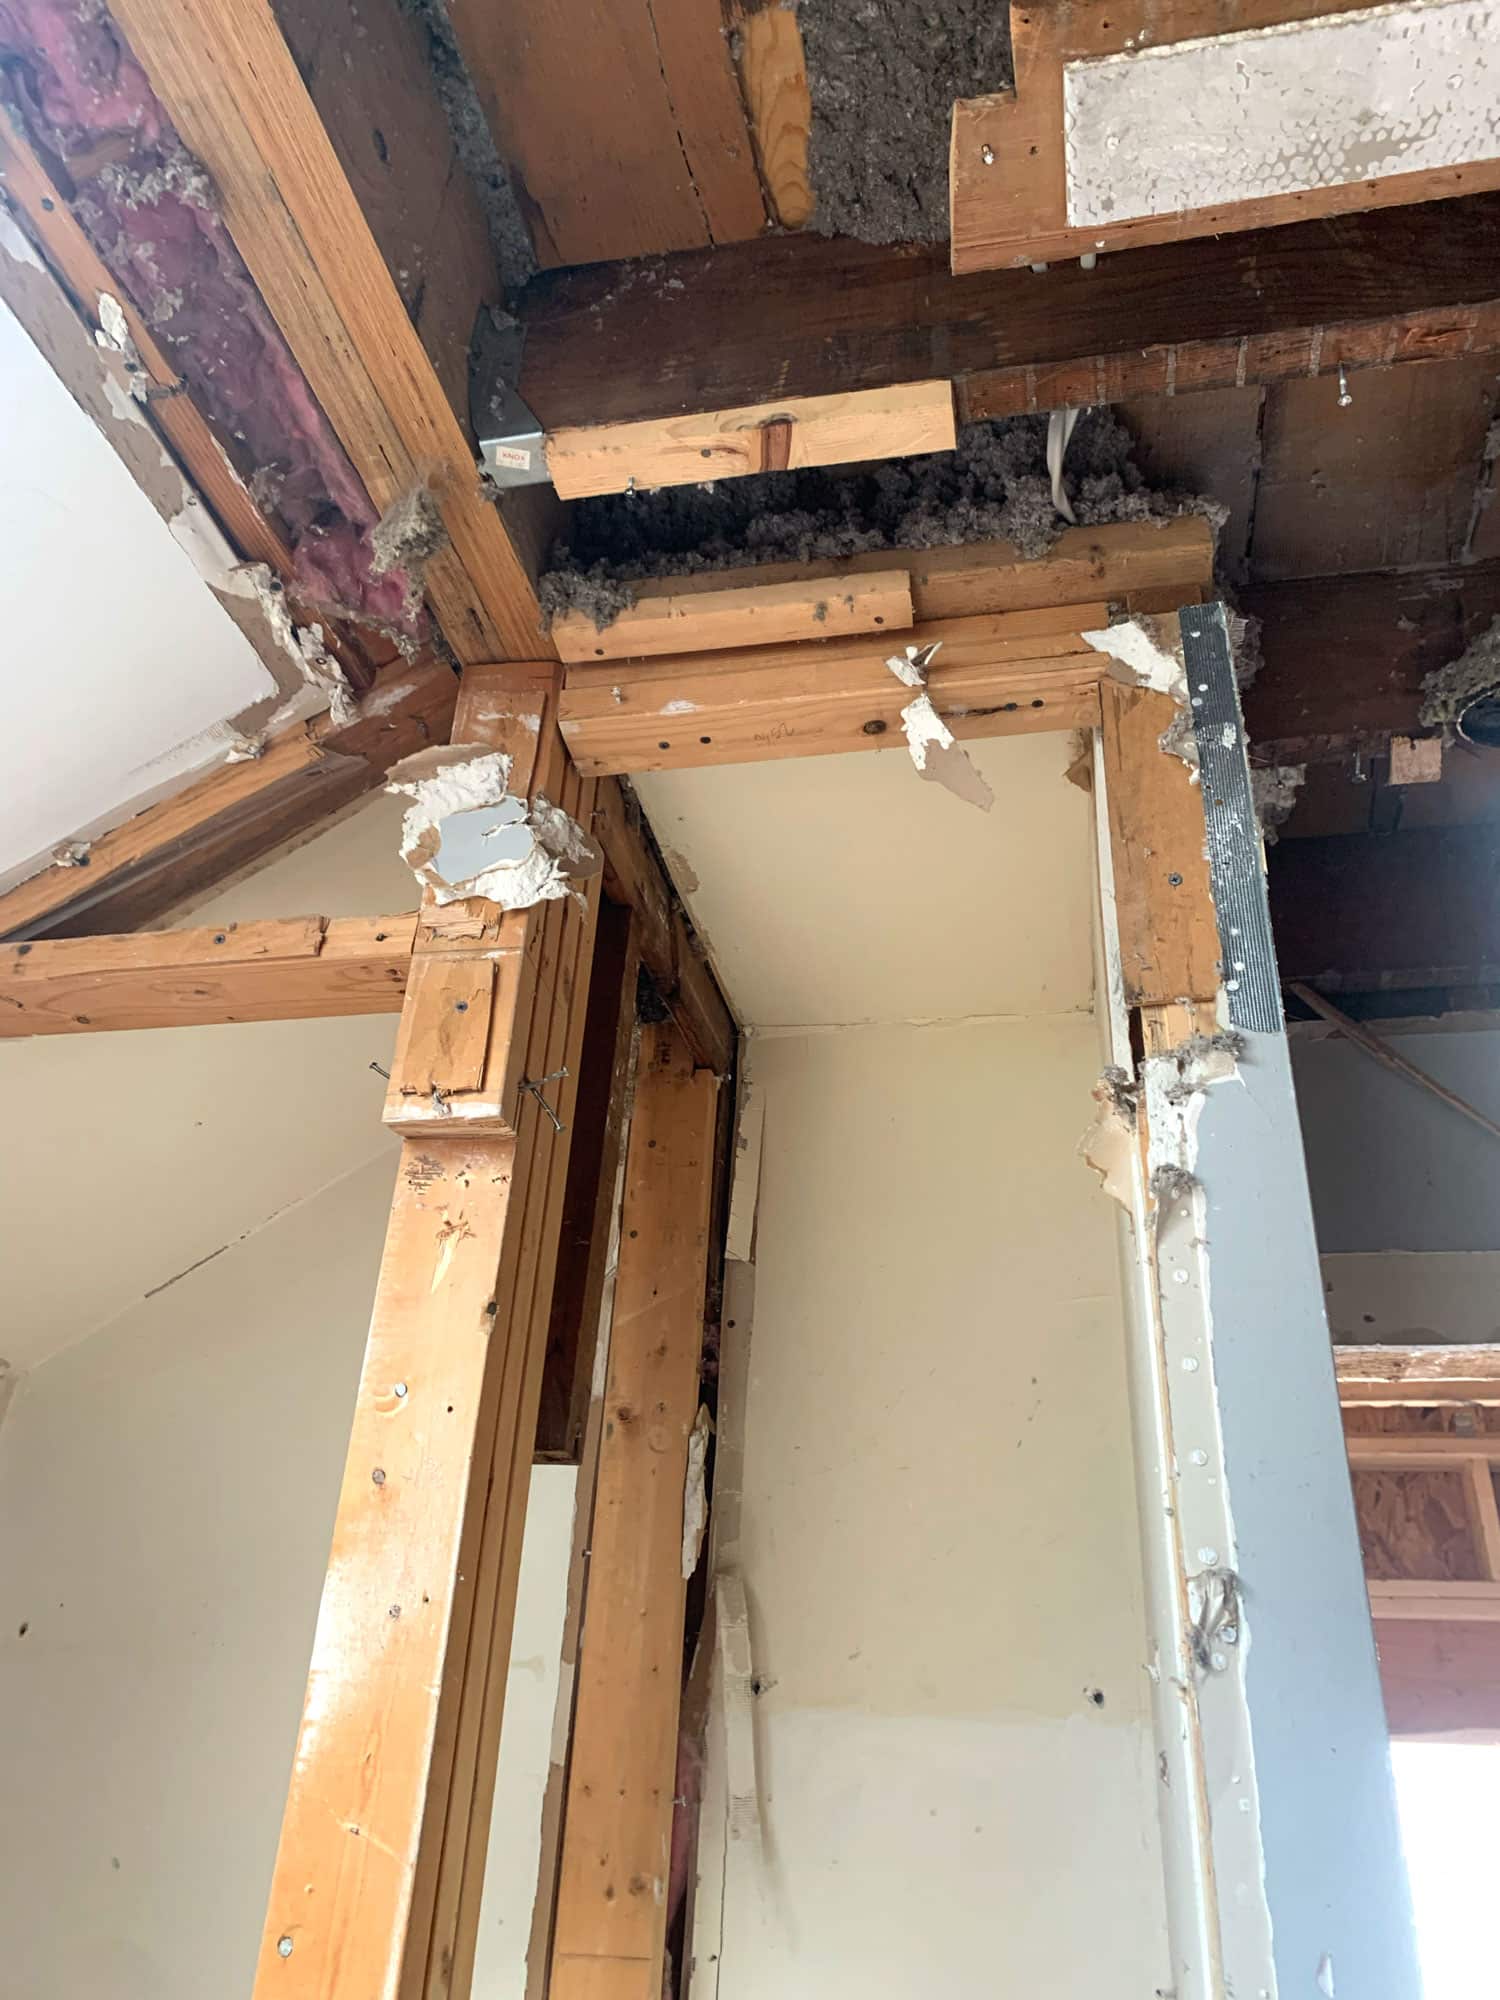
This existing structural beam wasn't going to properly tie into the new mudroom. Our team will be adding new LVLs at an additional 1.5' in length.
An LVL, laminated veneer lumber, is an engineered wood product made by layering wood and adhesives upon one another to form a rigid board. They are ideal structural products because of their relatively low cost and production variation and their impressive strength, especially with respect to their weight
Homeowners can save a little on remodeling costs if they do some of their own demo work. Consider the extent and magnitude of the labor first. Realistically, proper demolition work takes time, lots of tools, and tons of hard, sweaty work. It’s not glamorous, and if you’ve ever taken on your own demo, you know what we mean. The effort taken to take something apart thoughtfully and carefully can be immense. Also, consider not only how much time you can reasonably give to the task but also how much you’ll be handling. Specialty areas like plumbing and electrical are involved on top of the heavy hauling. The physical demands of the process are certainly no small part of the process. Even so, if changing the budget a little is a motivator, considering a little sweat equity might be right for you.
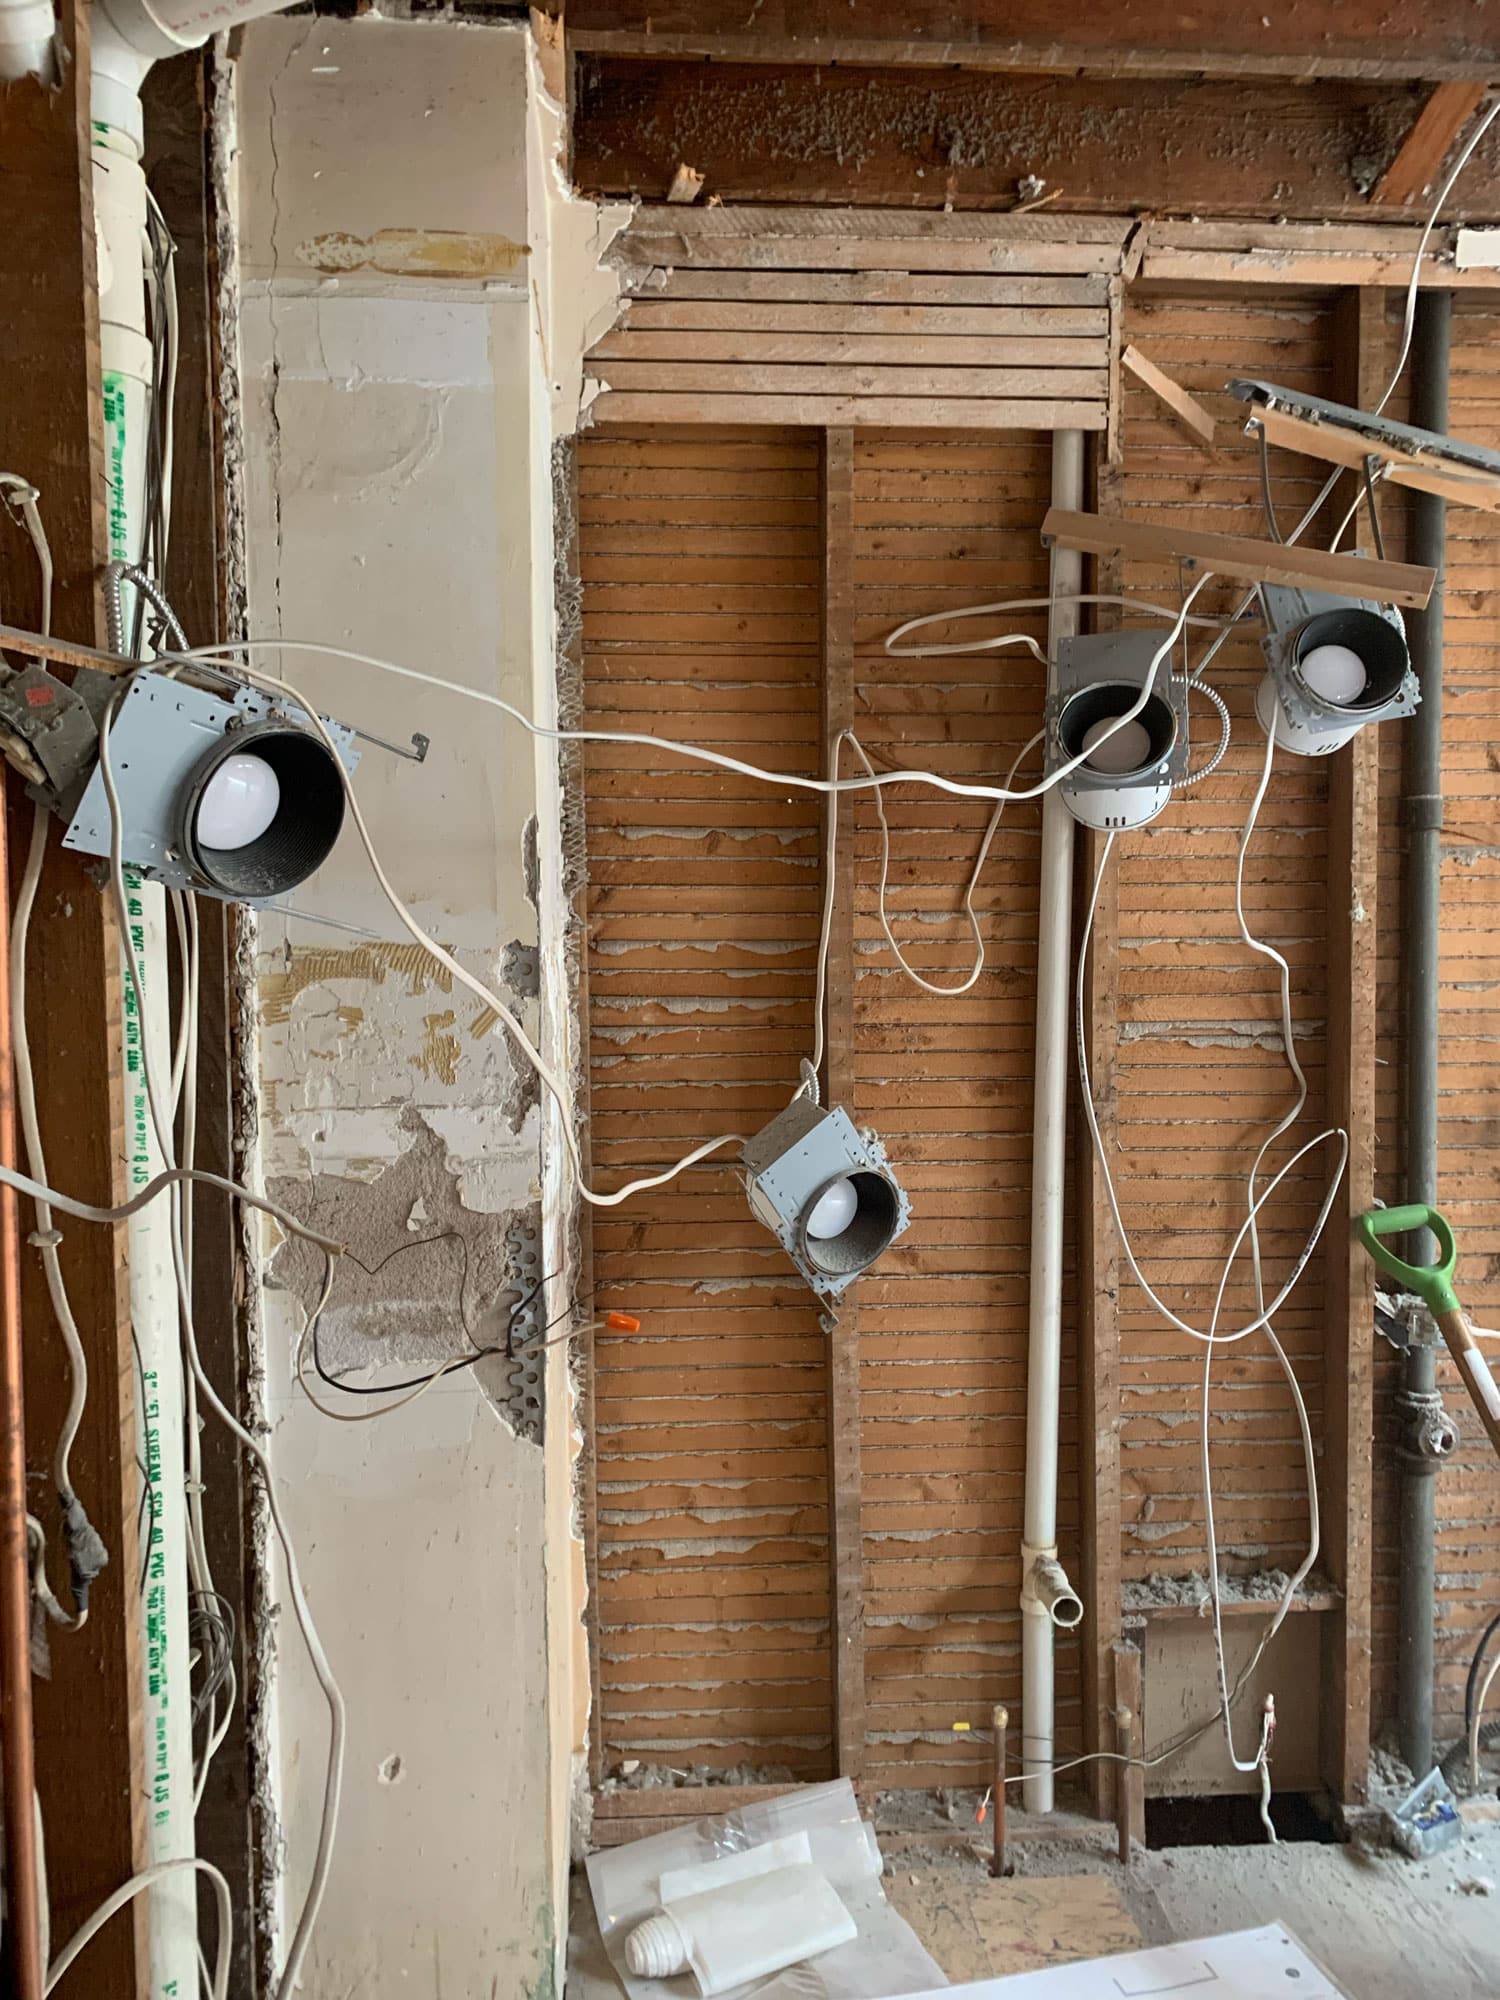
Recessed lighting cans are dropped form their position in the ceiling temporarily until new cans are tacked in during the electrical rough-ins soon.
We’re here to help! Check out our planning resources below, or reach out to us here.
Are you dreaming of a new kitchen and wondering how much you’ll need to invest? We breakdown the costs for two kitchen remodels and what factors drive those costs.

The Twin Cities are filled with story-and-a-half homes that are perfect for a certain kind of addition, called a shed dormer. Learn more about this popular remodeling project.

So you’d love to upgrade your kitchen or add a shed dormer with a primary suite, but you’re not sure how to pay for it? Learn about three ways to finance your remodel.