South Minneapolis Addition & Basement Remodel
A remodel is underway. Take a look inside.
Follow along as we begin a main level addition and basement remodel for a South Minneapolis bungalow.
Current Step
Flooring
Flooring
We’re working on installing the finishes and other selections in this 1919 bungalow remodel. First up, flooring!
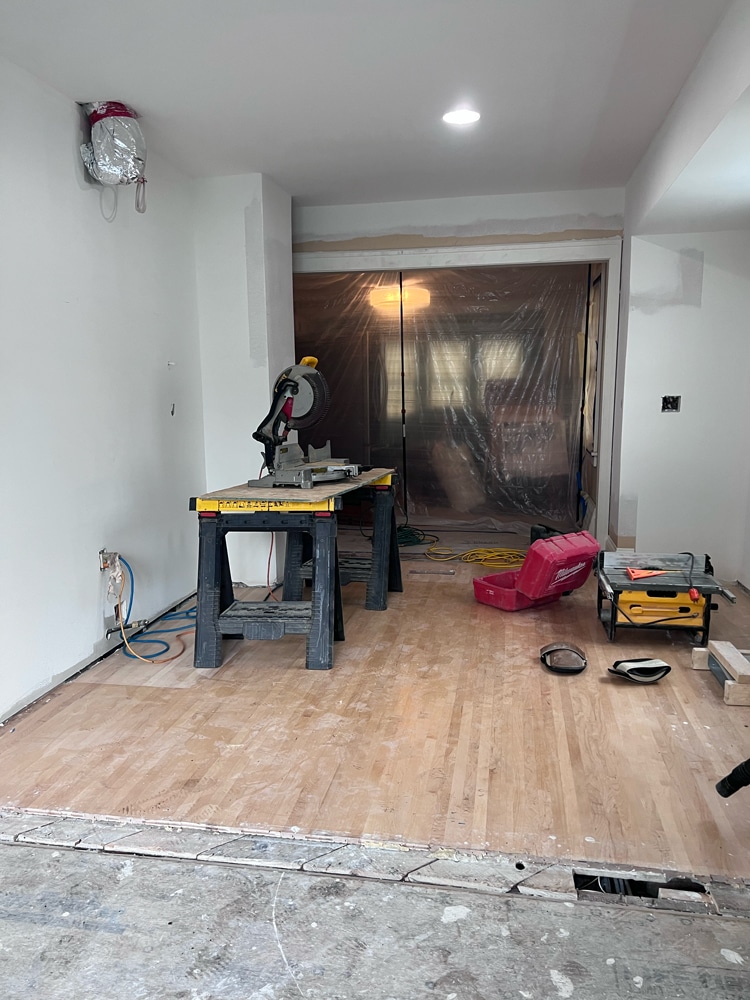
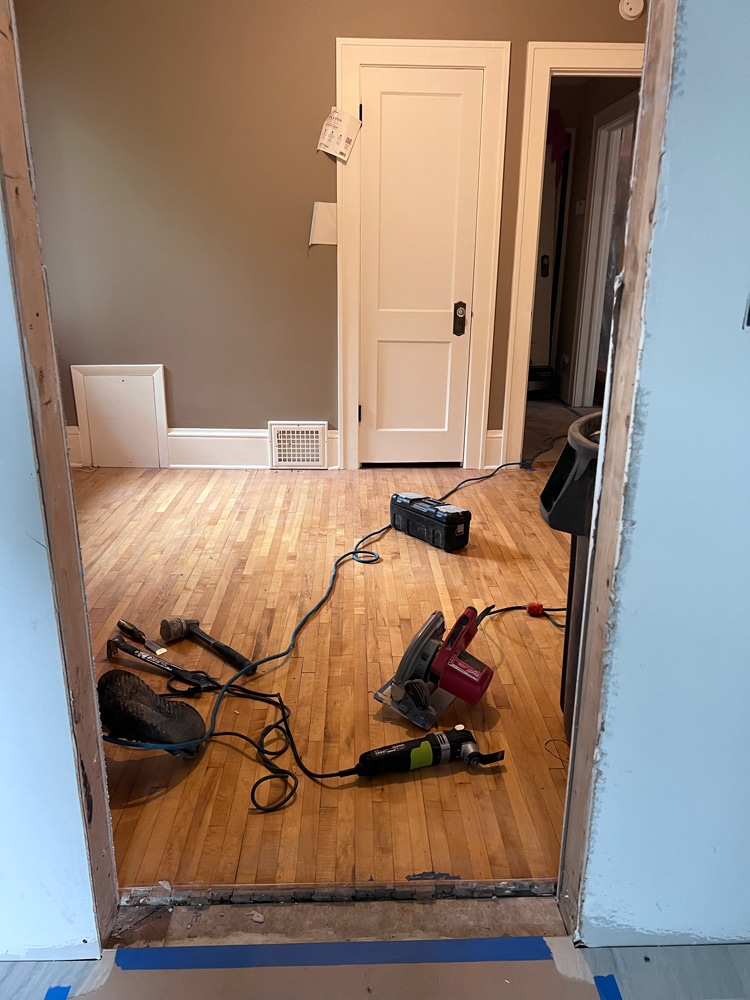
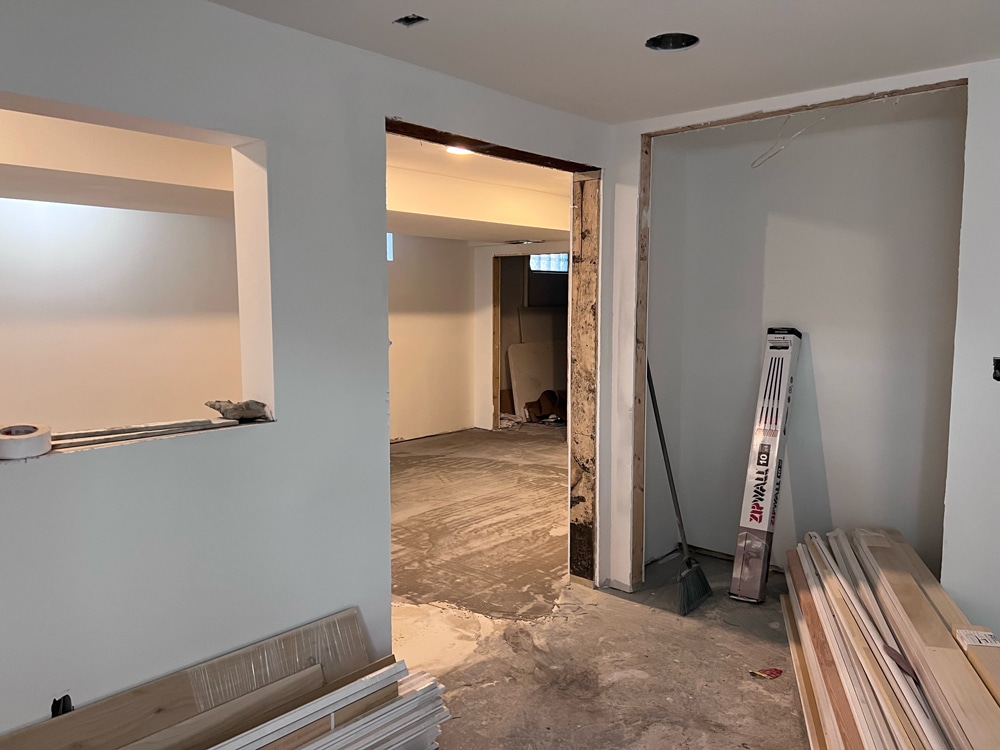
Now that drywall is hung, we’re entering one of the most eye-catching phases in the construction process. The team is focused on applying the final finishes, fixtures, cabinets, and appliances to complete the main-level addition and basement remodel at this South Minneapolis bungalow. To start, check out the versatile flooring selections installed throughout the remodel’s main level and basement, from hardwood and tile to luxury vinyl plank.
Hardwood Flooring
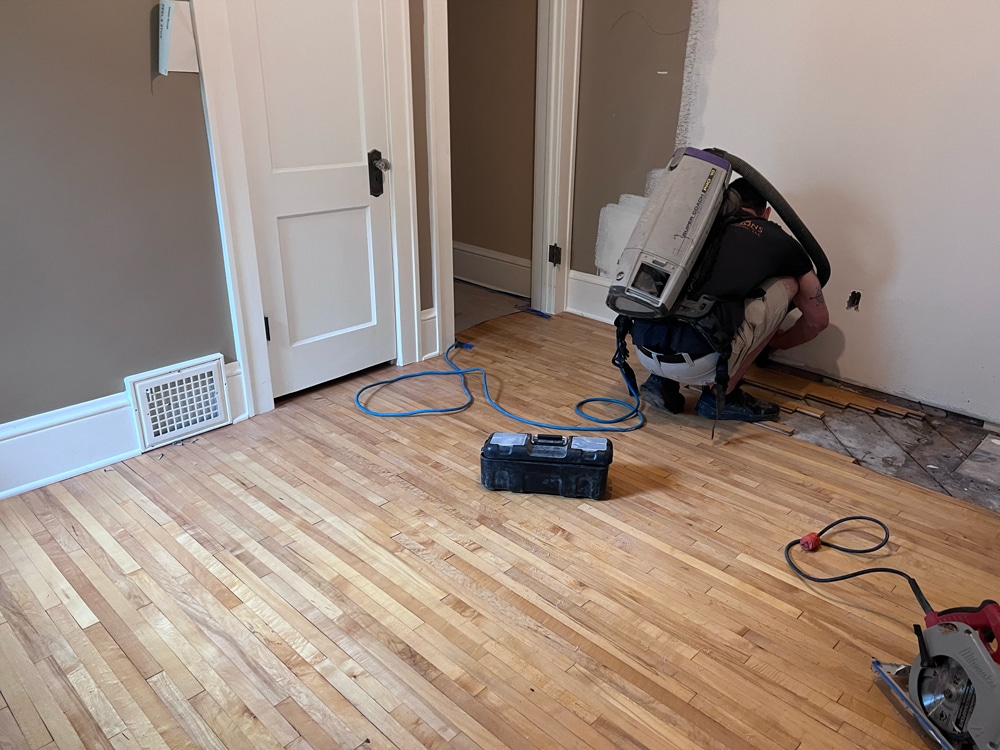
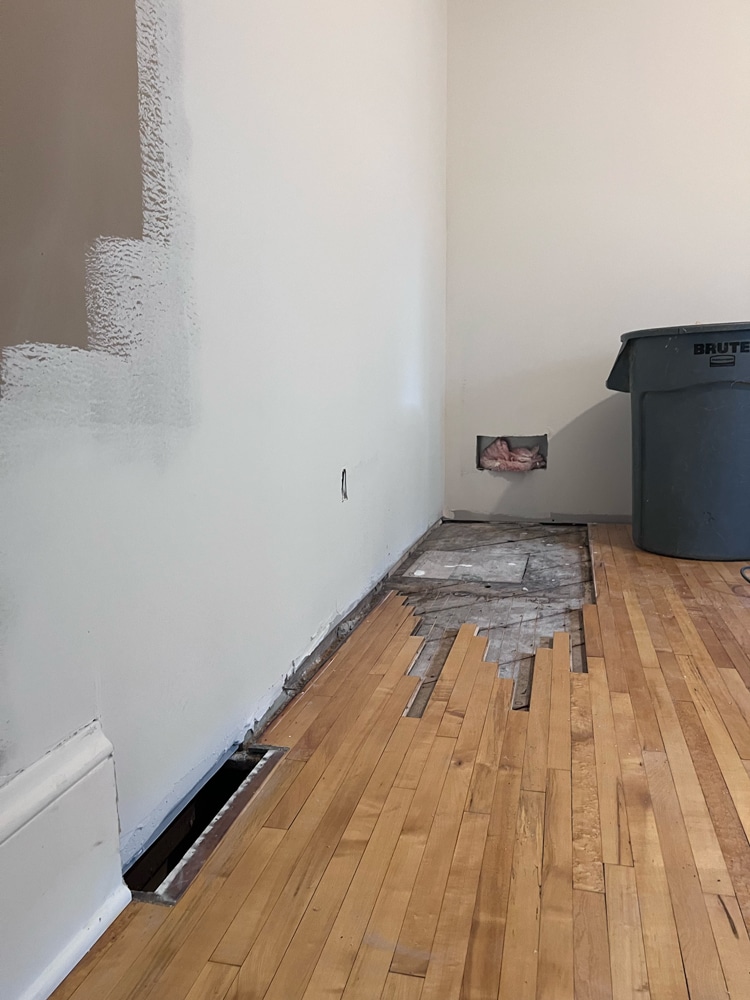
Creating a seamless transition between new and old hardwood requires thoughtful installation.
It took about a week to complete the wood flooring on the main level, with two days set for installing hardwood planks, another day to sand, and then 1.5 days to refinish the floors. Given we’re looking for continuity between the remodeled areas and the original 1919 architecture, our installers aimed to blend new and old hardwood floors using two important techniques. First, we cut back the older wood boards at varying lengths, staggering new boards between older ones to prevent an obvious horizontal seam at the boundary of the original home and the addition, namely in the kitchen and main level bedroom. While perfectly matching an existing wood floor to a new one is nearly impossible, sanding the entire floor and refinishing it provided another measure of continuity between the freshly installed boards and the existing ones.
Tile Flooring
When your remodel is going to become someone’s forever home, tile selections matter.
Our designers worked with the homeowners to find ideal tile flooring selections, one for the mudroom and the other for the new main floor bathroom. When selecting finishes, the visual character of the product is just one part of tile selection conversations. We also consider budget, client preferences, longevity, maintenance, and lead time, among other factors. Given our clients wanted this remodel to make the home easier to navigate later in their lives, being mindful of how the tile would age and how it would perform against the demands of the space really mattered.
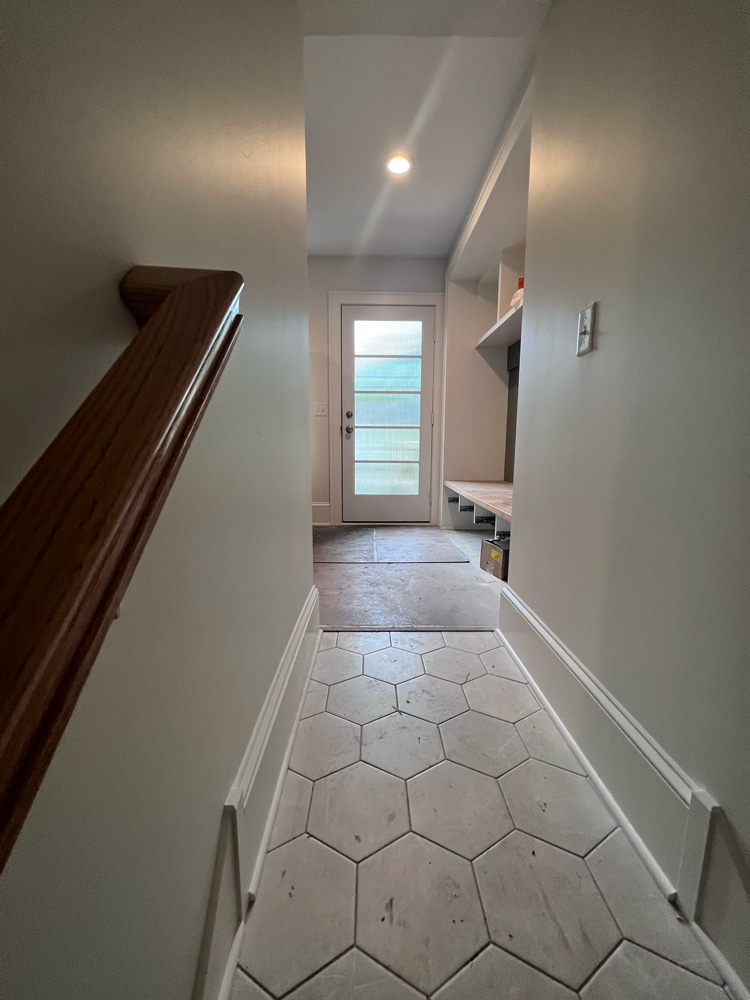
Selecting & Installing a Mudroom Tile for a High Traffic Area
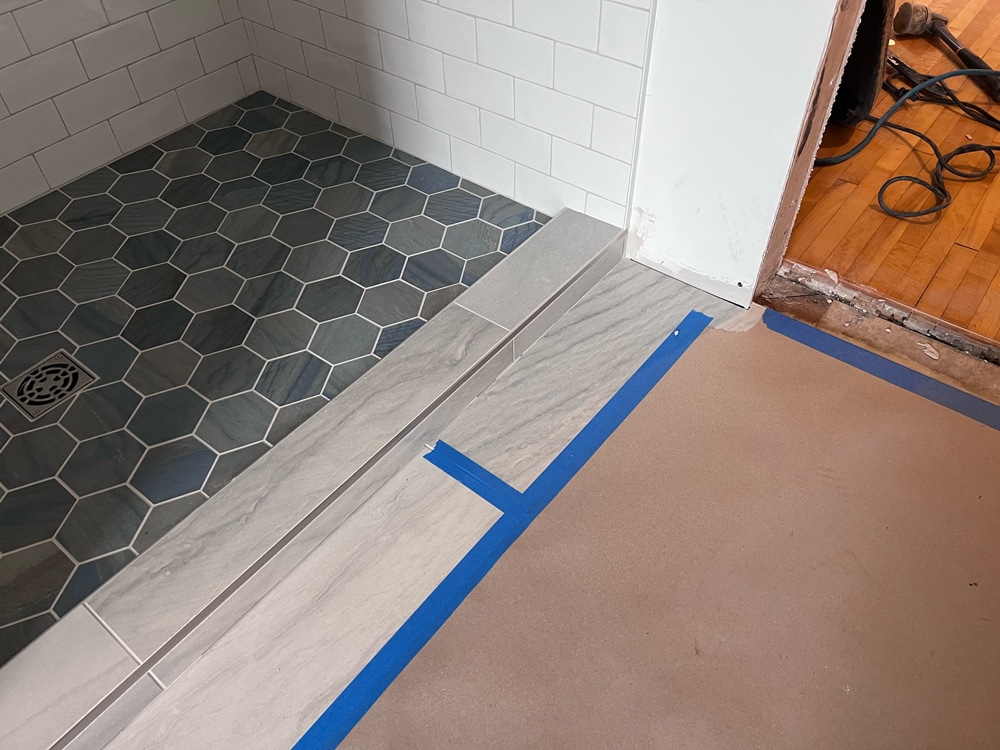
Laying tile at the mudroom entry took 1.5 days, which started by positioning a backer board underlayment to provide an even, sturdy surface for tile application. Our tile setter mixed a thin-set mortar, then used a trowel to scoop the mixture onto the backer board at an angle for better tile adherence. Next, he laid each Emser 8×10 hexagonal tile into the mortar, leaving just enough space between them for grout. Grout was spread broadly over the tile work with a grout float, pressing it firmly into the joints. A metal edging between the tile and adjacent wood flooring in the kitchen marks the transition between the two floors. While the visual impact of having the kitchen hardwood flooring continue into the back mudroom was compelling, this hearty tile will stand up better to the realities of the space, with snow, rain, and constant movement into and out of the back entry to consider.
“I think our designer brought good selections to the table for us to choose from, which made the process a lot better. We had done some research on what we wanted, so she had direction to work off of. She had good ideas and gave us selections that were stylish but not overwhelming.” – Howe Bungalow Homeowners
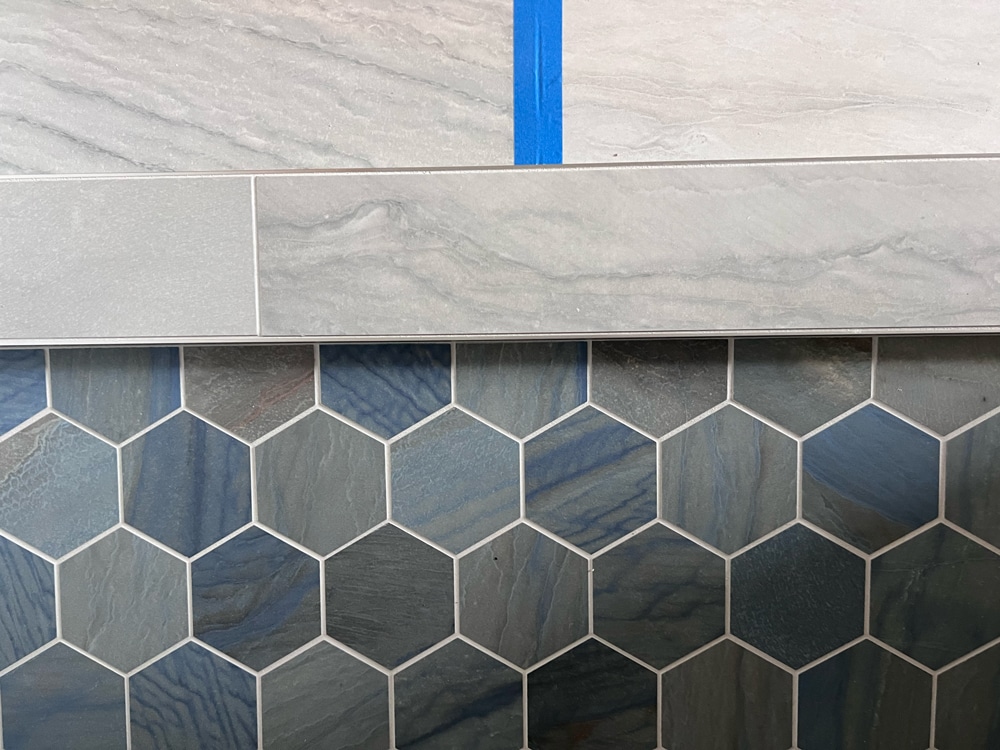
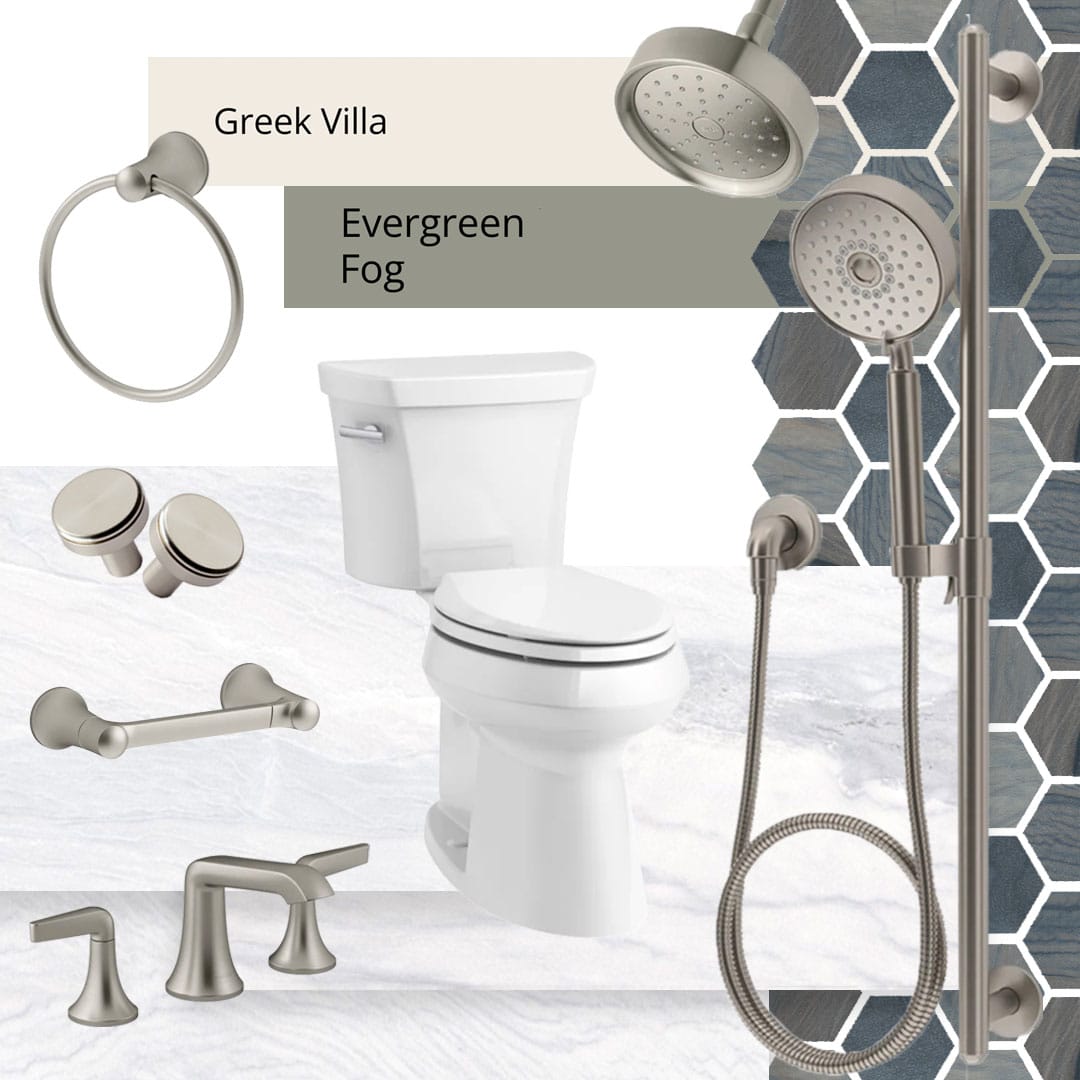
Selecting & Installing a Bathroom Tile for a Moist Environment that Won’t Easily Become Outdated
Just like the mudroom, the tile used for this bathroom flooring was a great selection for easier cleaning and protection against moisture. Our clients leaned into materials that would feel appropriate to the home and fresh without being overly trendy, decisions that will keep the home from feeling dated quickly.
Installation here is similar to the techniques used in the mudroom but was done after both the shower pan and shower curb were completed. Thinking about the longevity of this particular product, our tile partner made one simple but critical deviation in the application. Specifically, these 12″x24″ Happy Floor tiles are installed at a 1/3rd stagger so that the seam between tiles is off-center from tile to tile, which not only feels better on feet but also helps prevent bowing that can occur on larger format tiles over time.
"Typically we build and put in the shower pan and curb first, then the floor tile is installed. We always lay out the floor tile strategically so that smaller cuts of tile are minimized or placed in less visible areas."
White Crane Project Manager
Luxury Vinyl Plank
From the durability to the cost-effectiveness and luxe feel, what’s not to like?
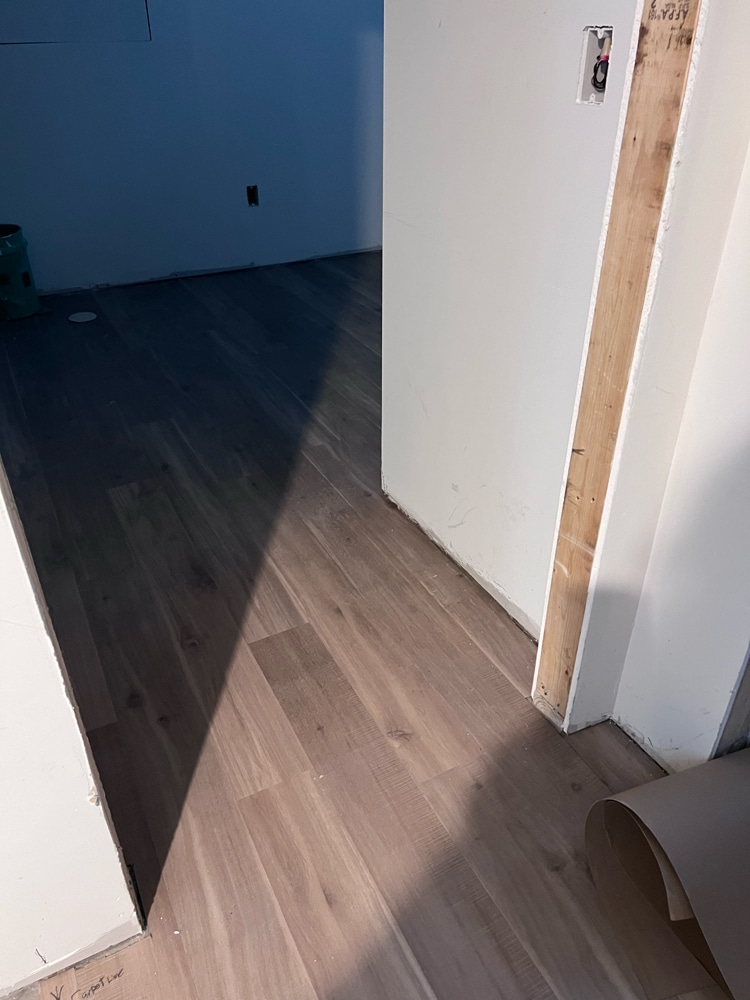
We’ve installed luxury vinyl planks across the lower level, except in the bedroom, where soft Dreamweaver carpeting will be installed. Luxury vinyl planks, or LVPs, like the Adura Kona Beach 6×48 planks selected for this lower level, provide great value for homeowners. Apart from being incredibly water resistant, more affordable than traditional hardwood floors, and easy to install, it’s also a great choice for people who still want an elevated look without sacrificing durability or requiring much maintenance.
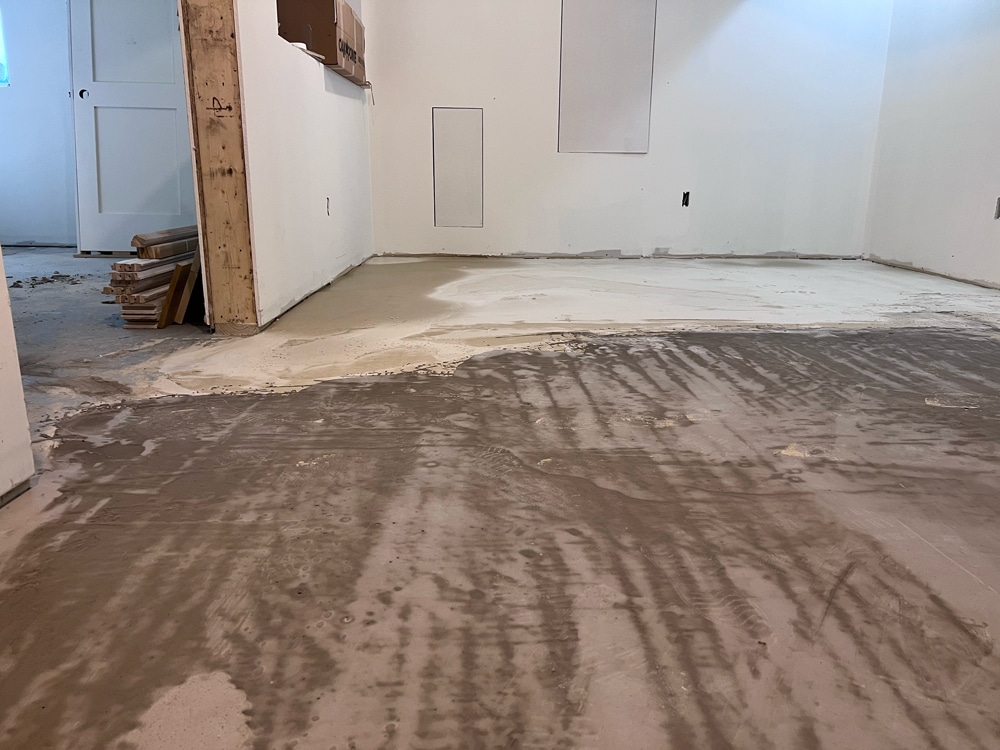
When it comes to installation, we prepped the basement floor by removing debris and repairing any cracks or holes with a combination of grinding down high spots and using self-leveler to minimize undulations in the existing concrete. We arranged the planks to create a more natural-looking pattern. Each piece was then placed gently into the adhesive and aligned correctly before being pressed down firmly to ensure excellent adhesion. The bleached, wood-grain-like planks span from the family room through the bathroom and utility space, a design decision that gives the basement plan an even more open feel.
Want to learn more about
this type of project?
We’re here to help! Check out our planning resources below, or reach out to us here.