
How Much Does it Cost to Remodel a Basement in the Twin Cities?
Are you thinking about a basement remodel and wondering how much you’ll need to invest? See the cost breakdown for remodeling a basement in the Twin Cities.
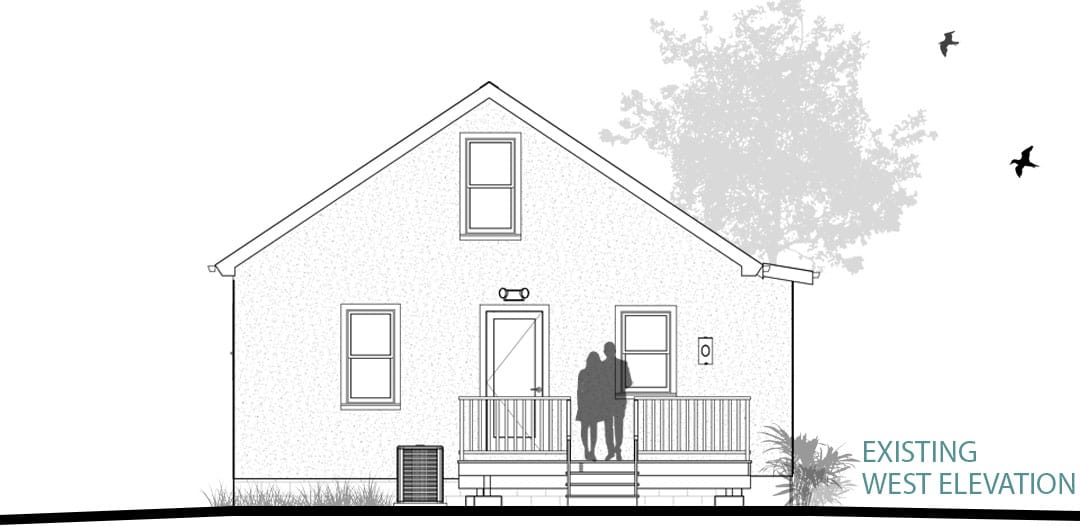
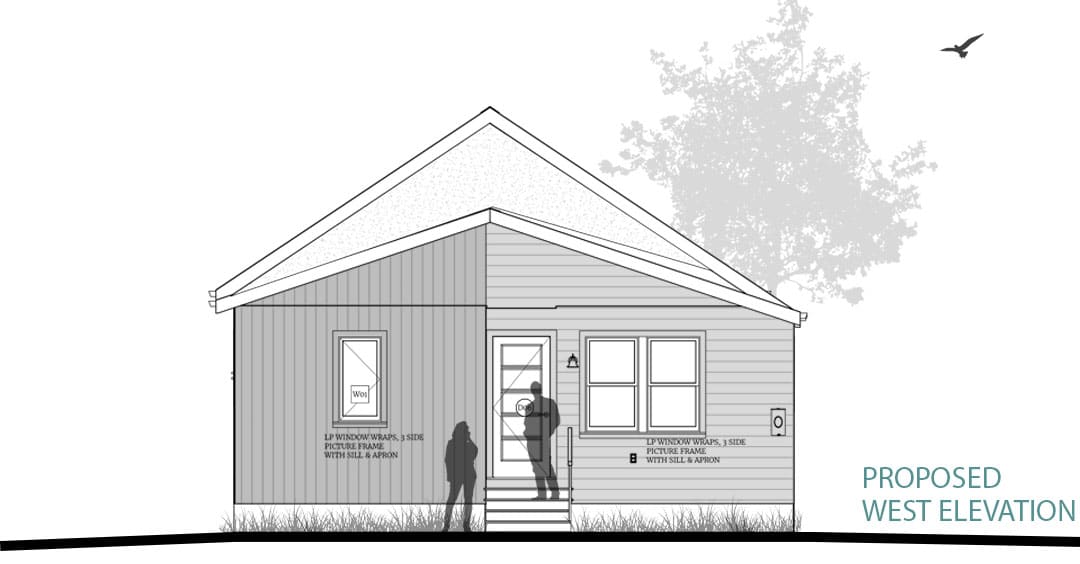
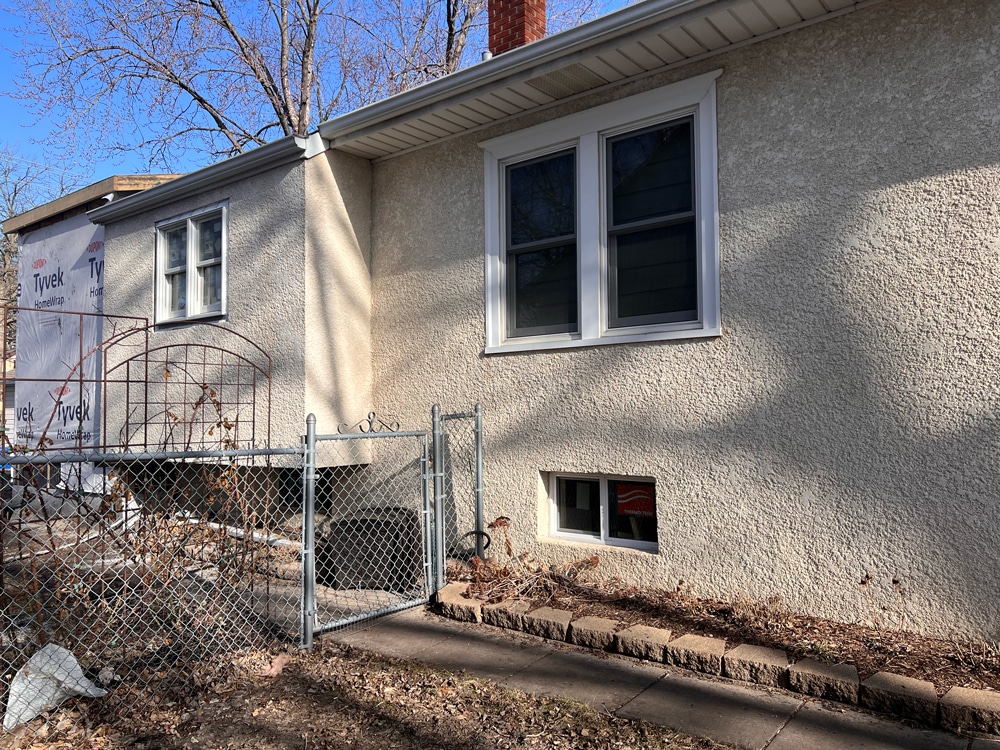
Follow along as we begin a main level addition and basement remodel for a South Minneapolis bungalow.
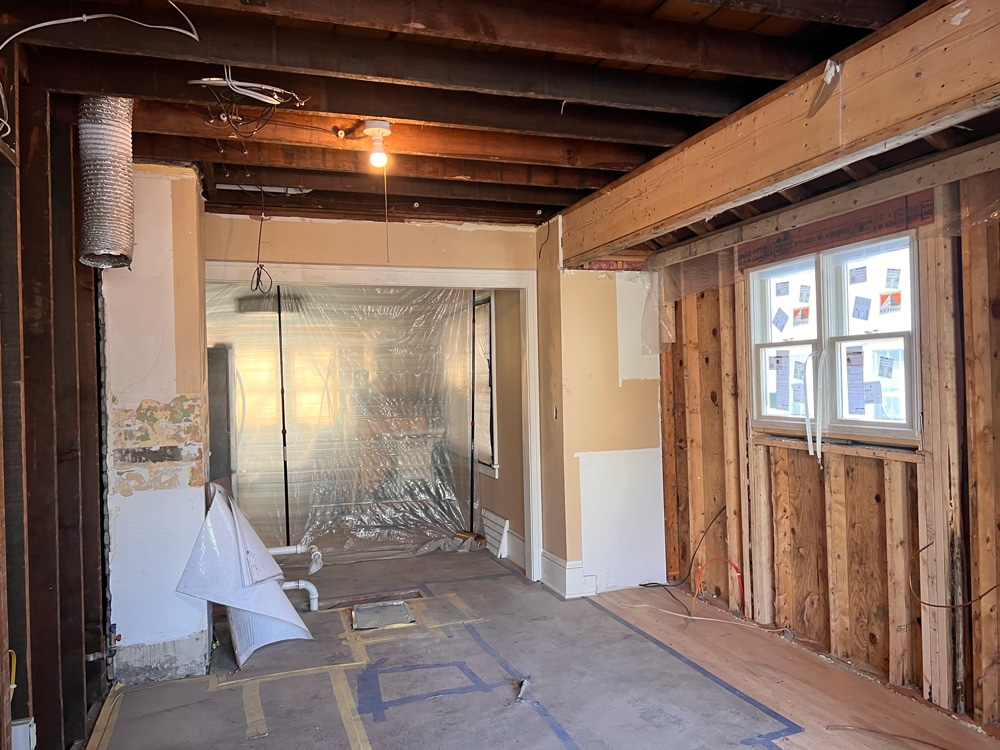
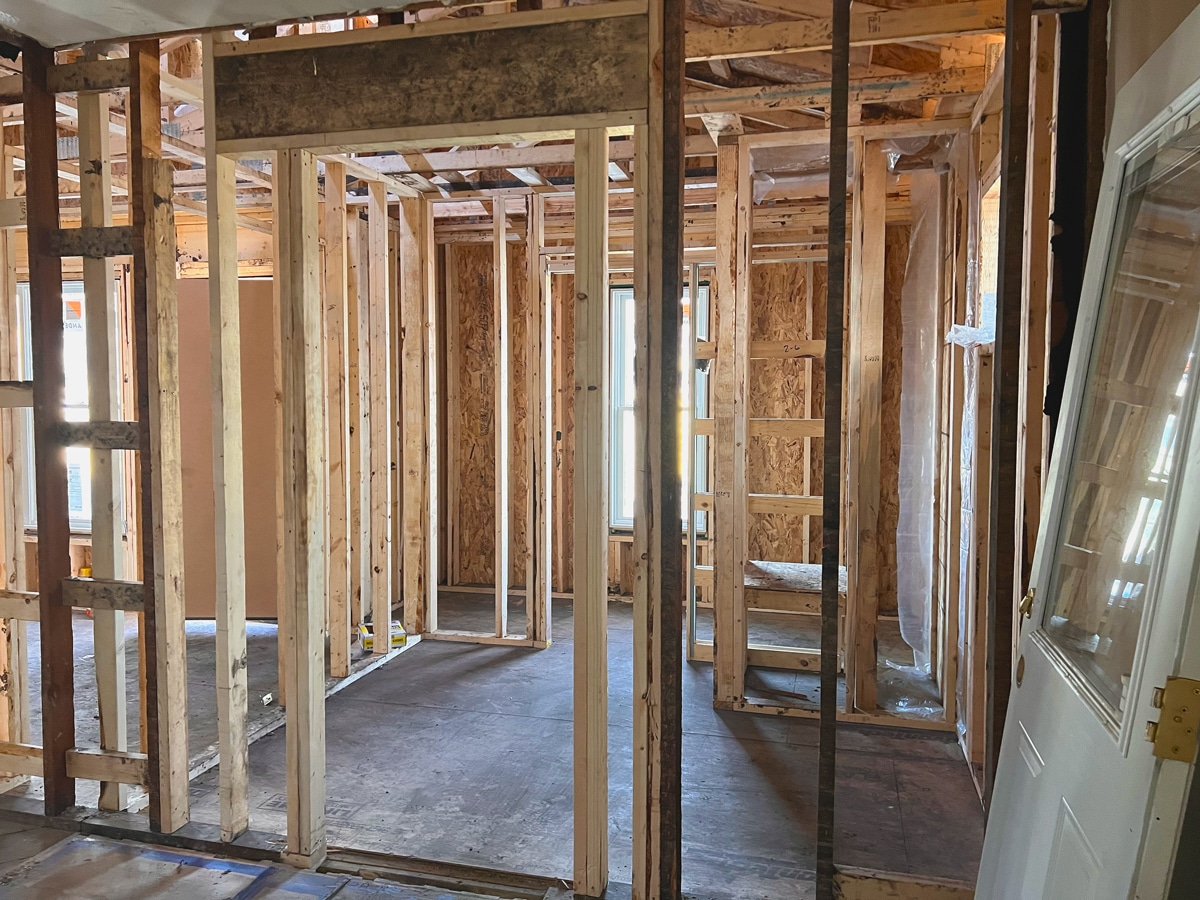
When we talk about framing, we’re talking about an early construction phase where we assemble the exterior and interior forms of a building, including its structural systems. This stage creates the “bones” of a building, where other building components will eventually be housed or applied, from plumbing lines to drywall. In this project, we’ll show you the framing for the kitchen, mudroom, and bathroom addition, with more framing changes across select areas of the main level and basement.
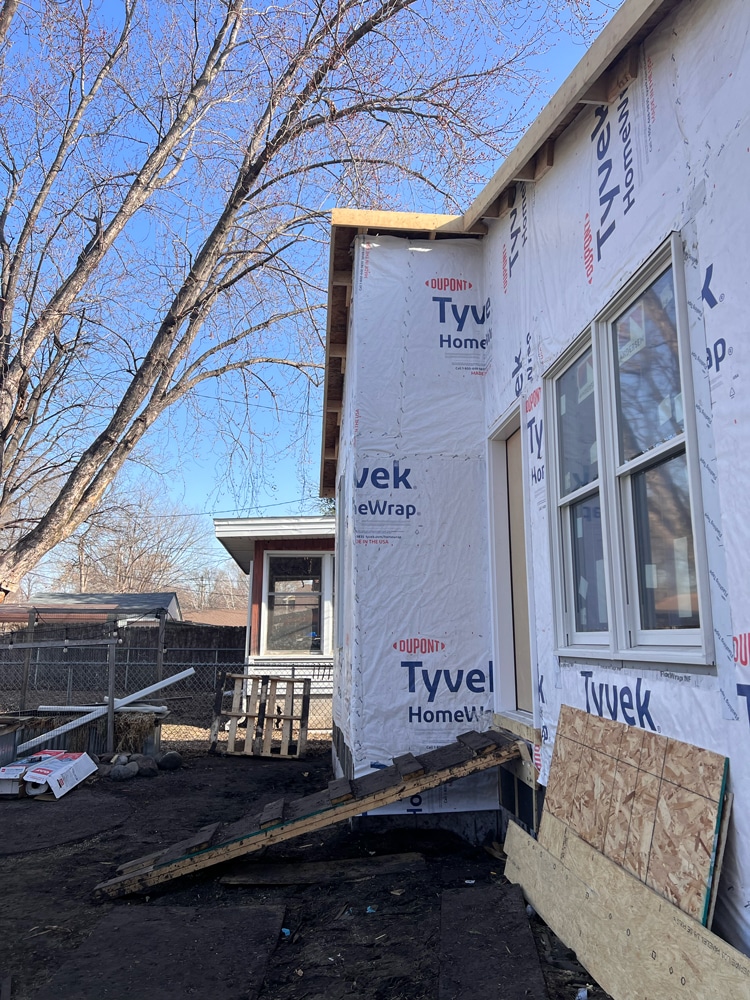
The framing process took our crew about a week, including roofing and window installation. We started by building the new exterior walls for the kitchen and bathroom addition. These walls consist of 2×6 lumber placed 16″ from the centerline of one board to the next, each affixed to a bottom sill plate, anchoring the new walls to the floor system and foundation below. 2×10 joists and a plywood subfloor create a stable flooring assembly that we will eventually cover with new flooring materials.
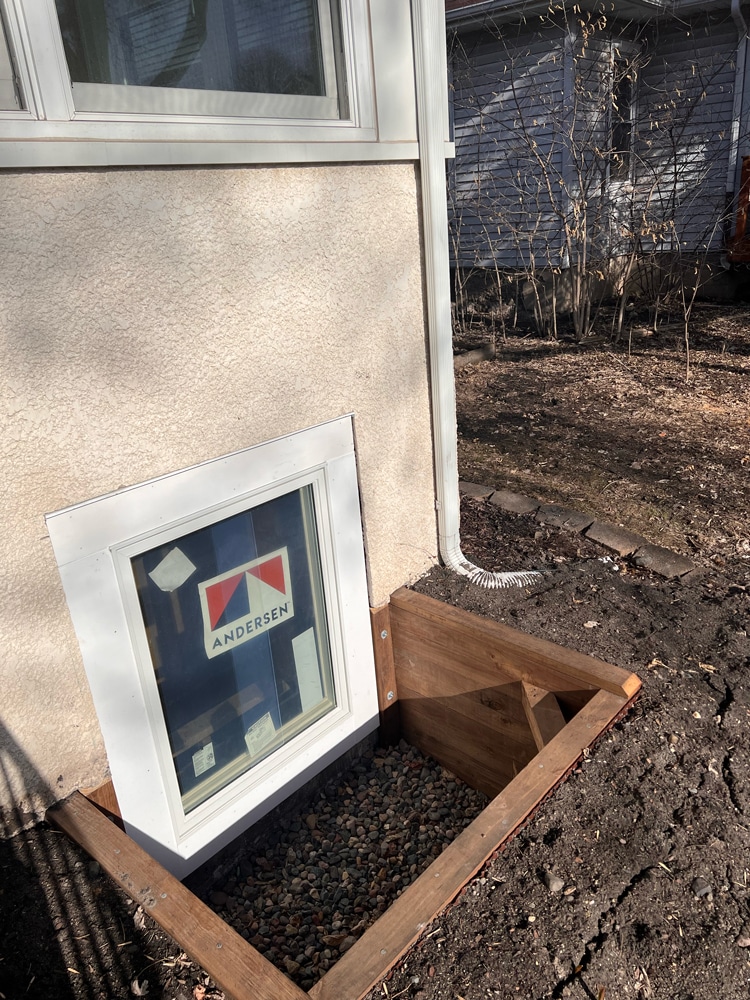
To integrate the new windows, the framing team installed headers above and columns flanking each opening, which transfers the addition’s structural loads away from the front door and Andersen window units, down to the foundation. The openings are pan-flashed with a flexible membrane to counter any possible water entering the home. Additional flashing and caulking were applied at various areas of the windows, completing necessary weatherproofing. The window nail fin on each unit helped us securely fasten the window into framing.
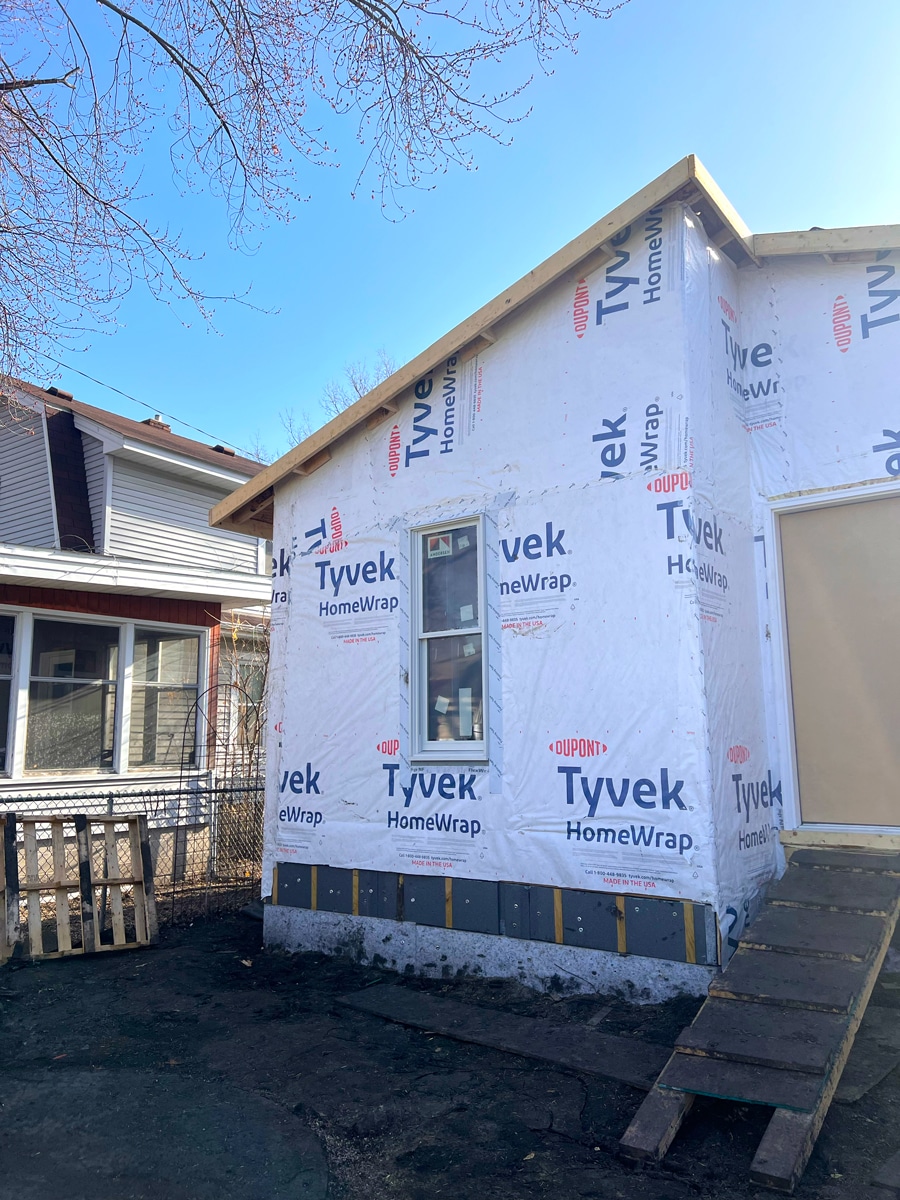
With the addition framed, we sheathed the exterior framing in OSB (oriented strand board) and applied a building wrap to act as a barrier against unwanted air and moisture without trapping water vapor.
“When we do a project like this, we’ll order windows 10 weeks before we start to get ahead of lead times.” – White Crane Project Manager
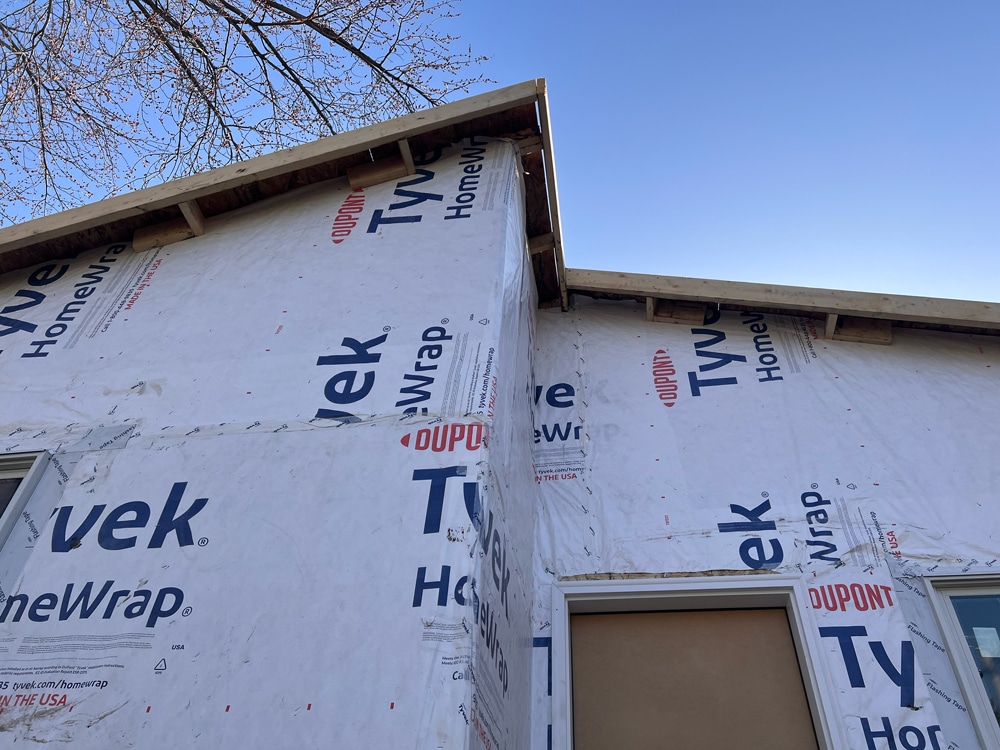
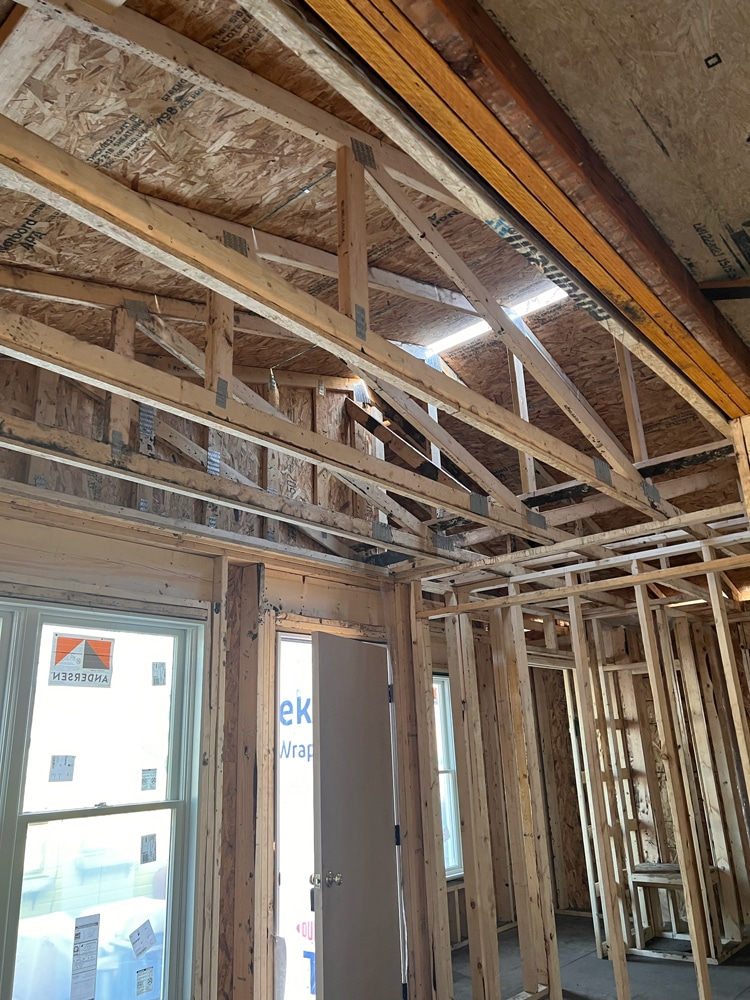
Merging the geometry between the existing roof and the addition was complex, especially where we needed to match existing soffits to new ones. We worked with an engineer to verify the specifications needed to create properly structured pre-engineered trusses. With the addition’s exterior walls completed, our framers then lifted each roof truss into position atop the walls. For a fully waterproofed enclosure, we applied the roofing materials, which included things like a felt underlayment, asphalt shingles, and ice and water guards at roof edges and valleys.
“When we started, the backyard was pretty wet, so we wanted to get the exterior work done efficiently while mitigating all the mess from the rain.” – White Crane Project Manager
White Crane Project Manager

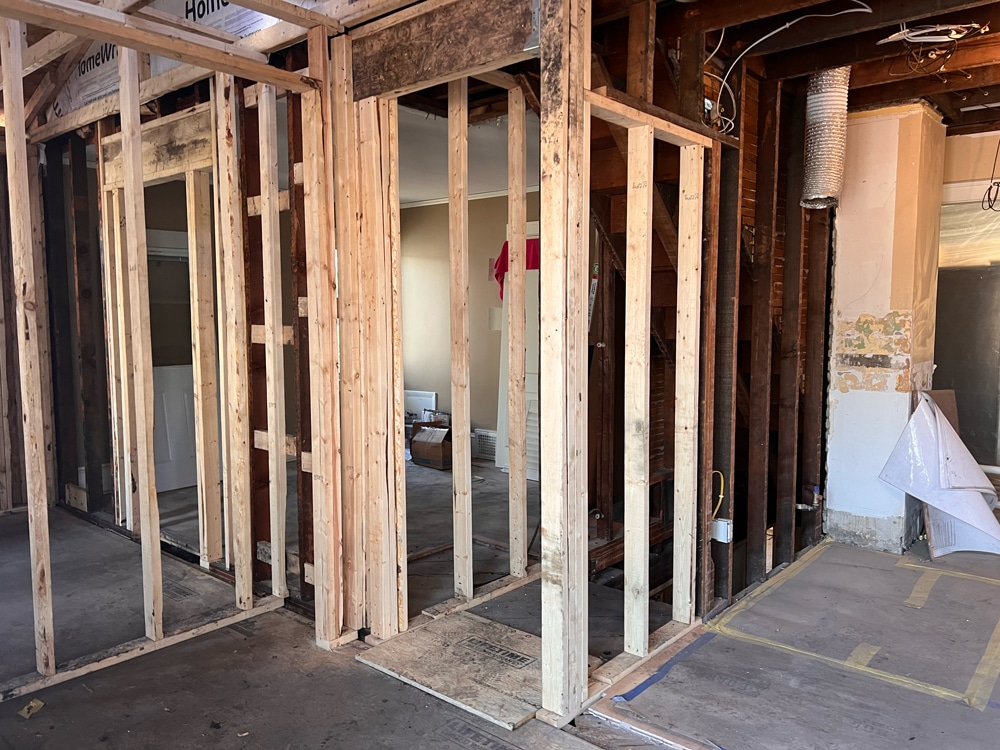
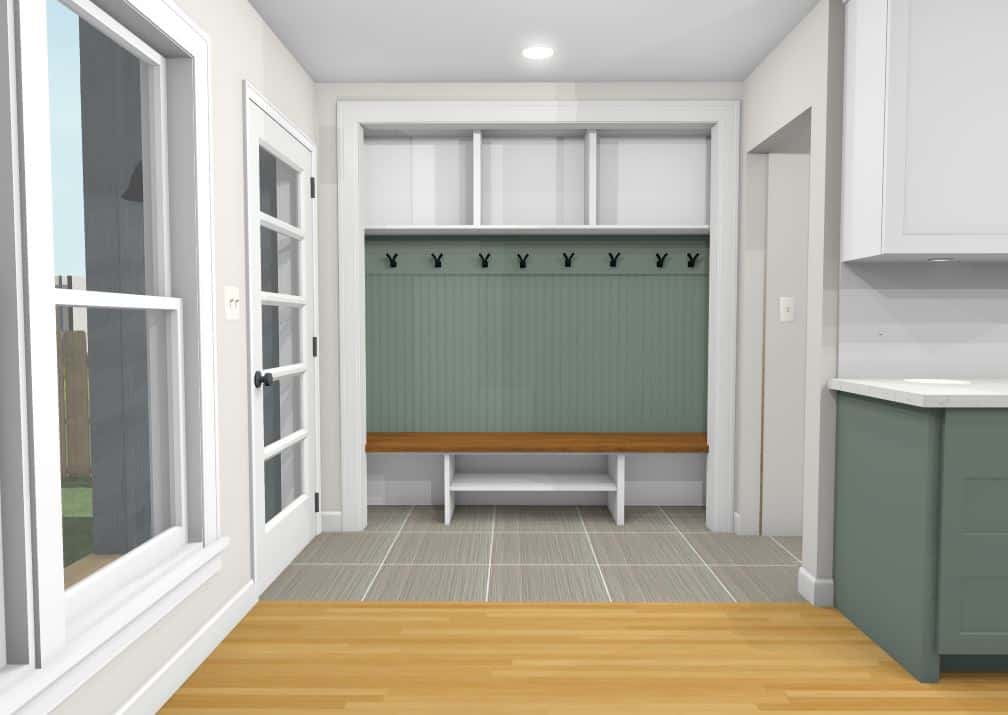
The addition enlarged the kitchen and provided a mudroom area just off the back entrance of this South Minneapolis Bungalow. The open-concept back entry, mudroom, and kitchen area called for minimal interior framing, with framing changes focused on new window openings, soffits, and built-in cabinetry.
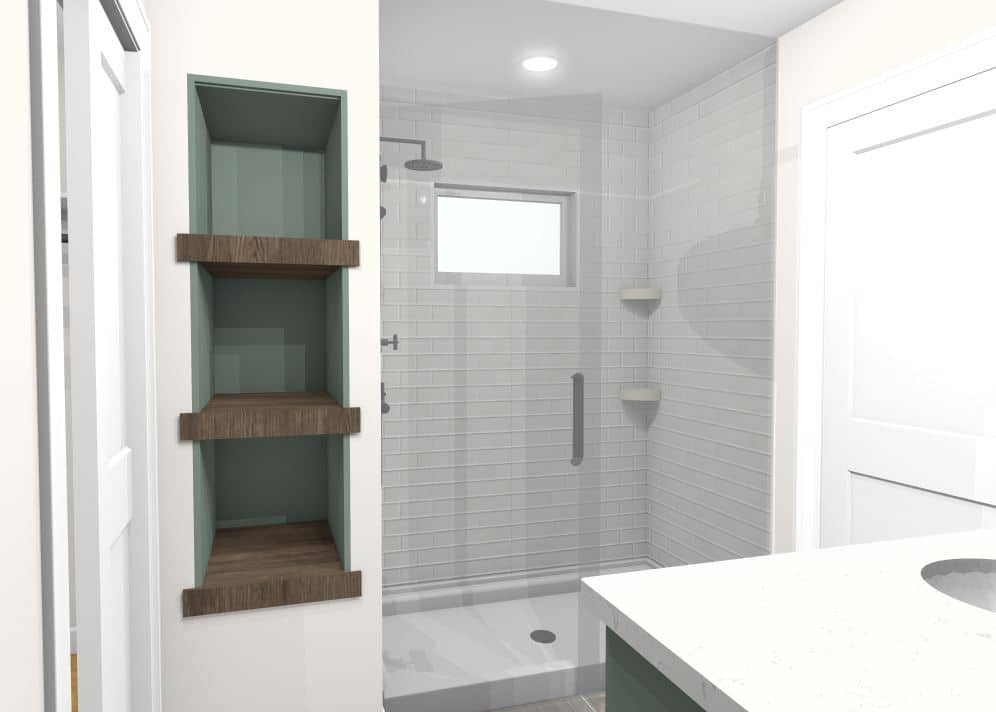
The addition adds a full bathroom and closet along an existing main floor bedroom. Our framers raised 2×4 walls for the majority of the build, switching to larger 2×6 walls wherever plumbing connections will be made during the upcoming rough-in stage, such as the shower and vanity area.
With the couple thinking of what their needs might be in the future, having an additional bathroom on the main floor will be an even greater asset later on.
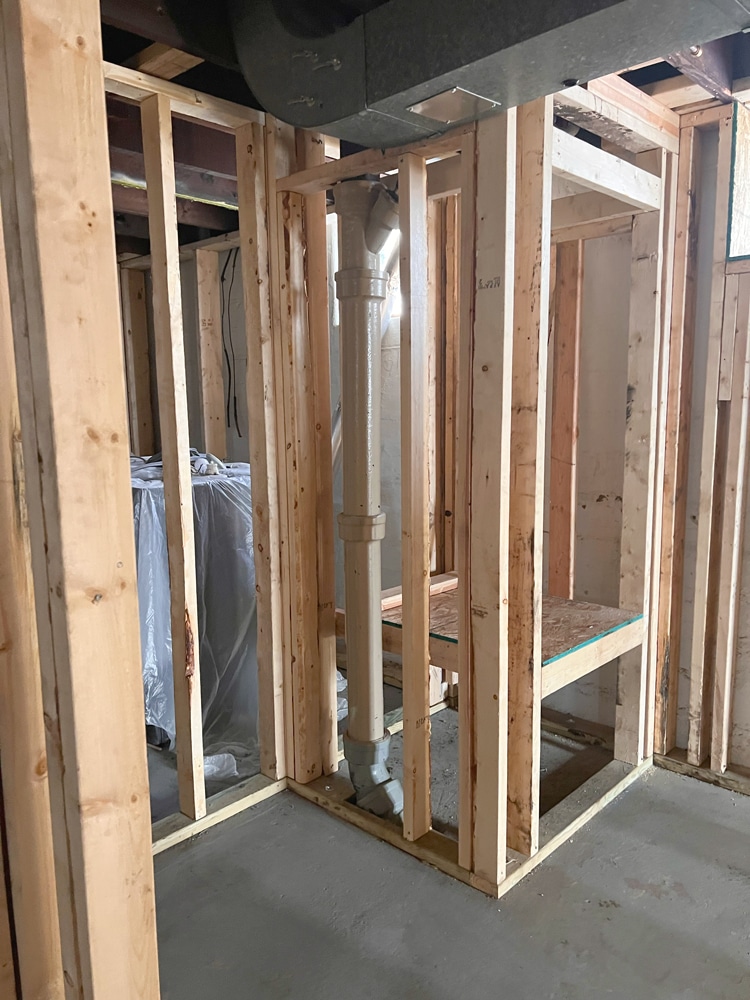
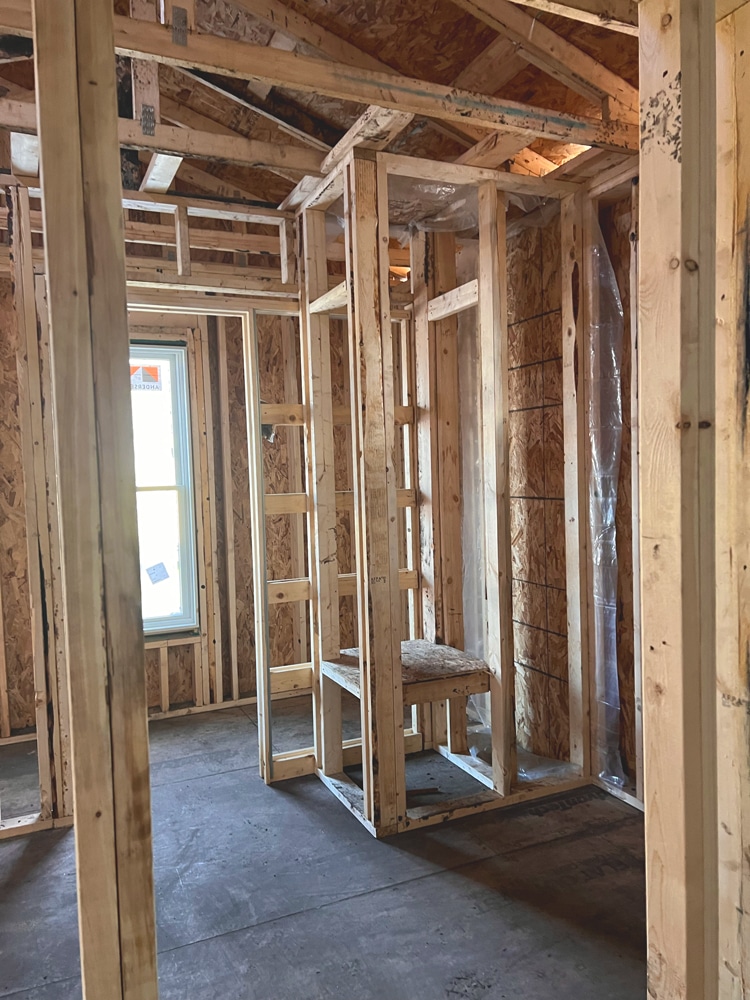
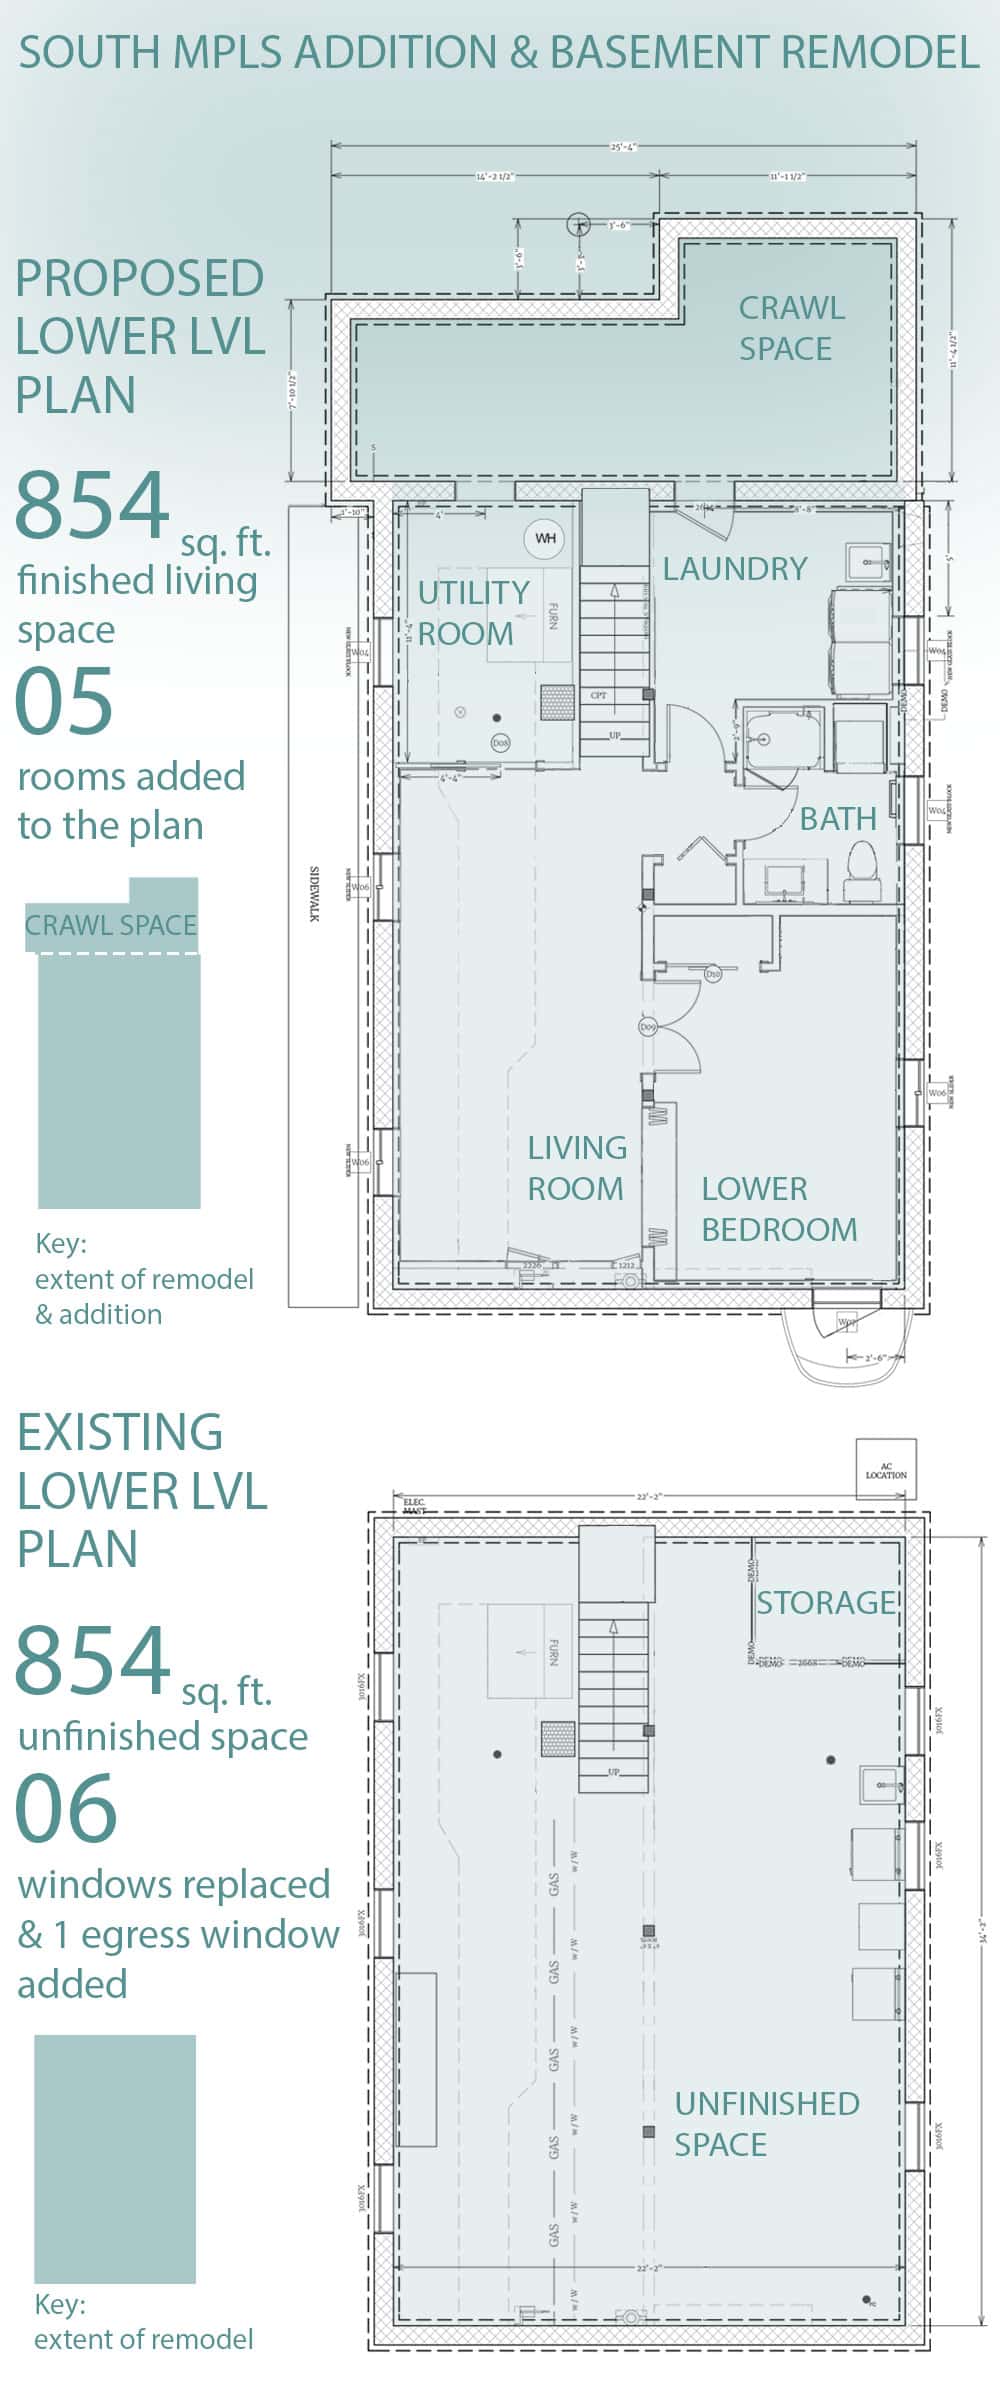
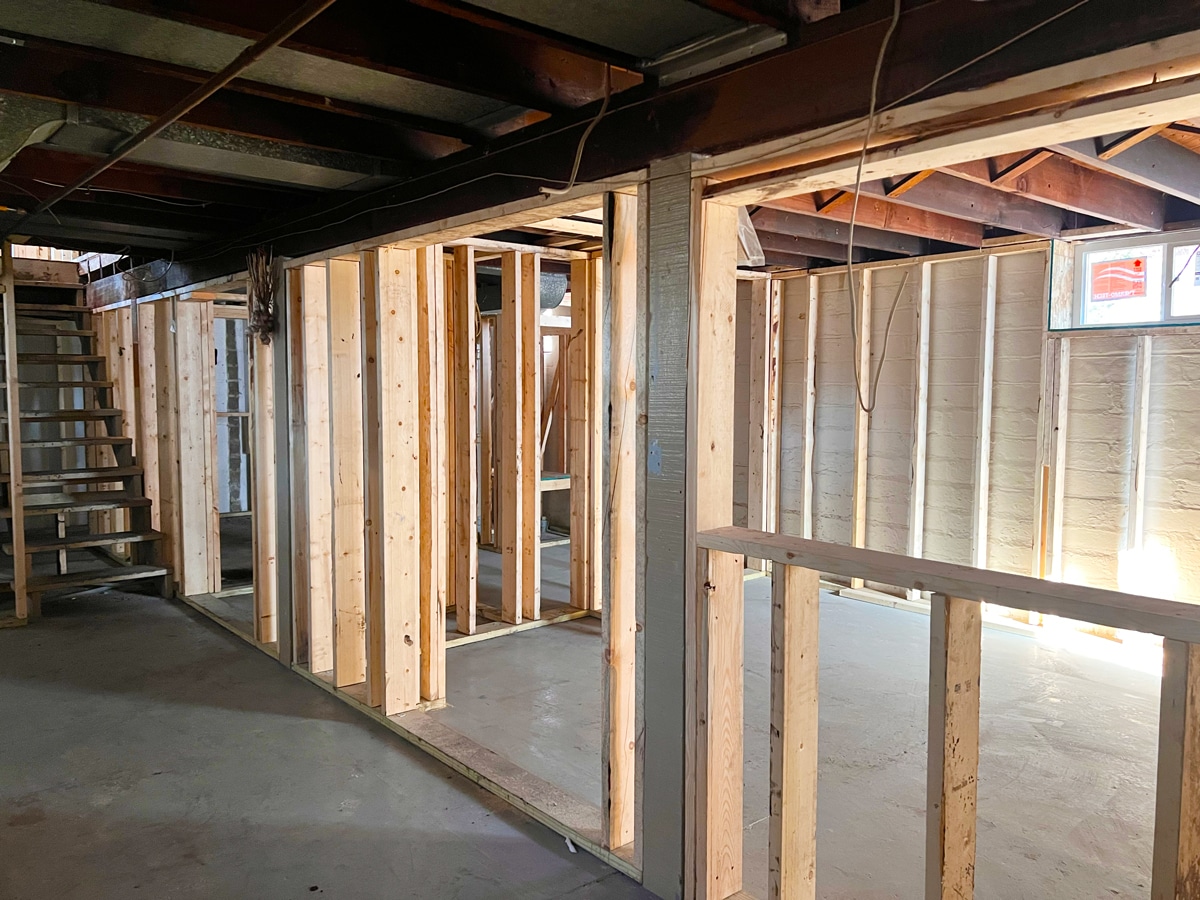
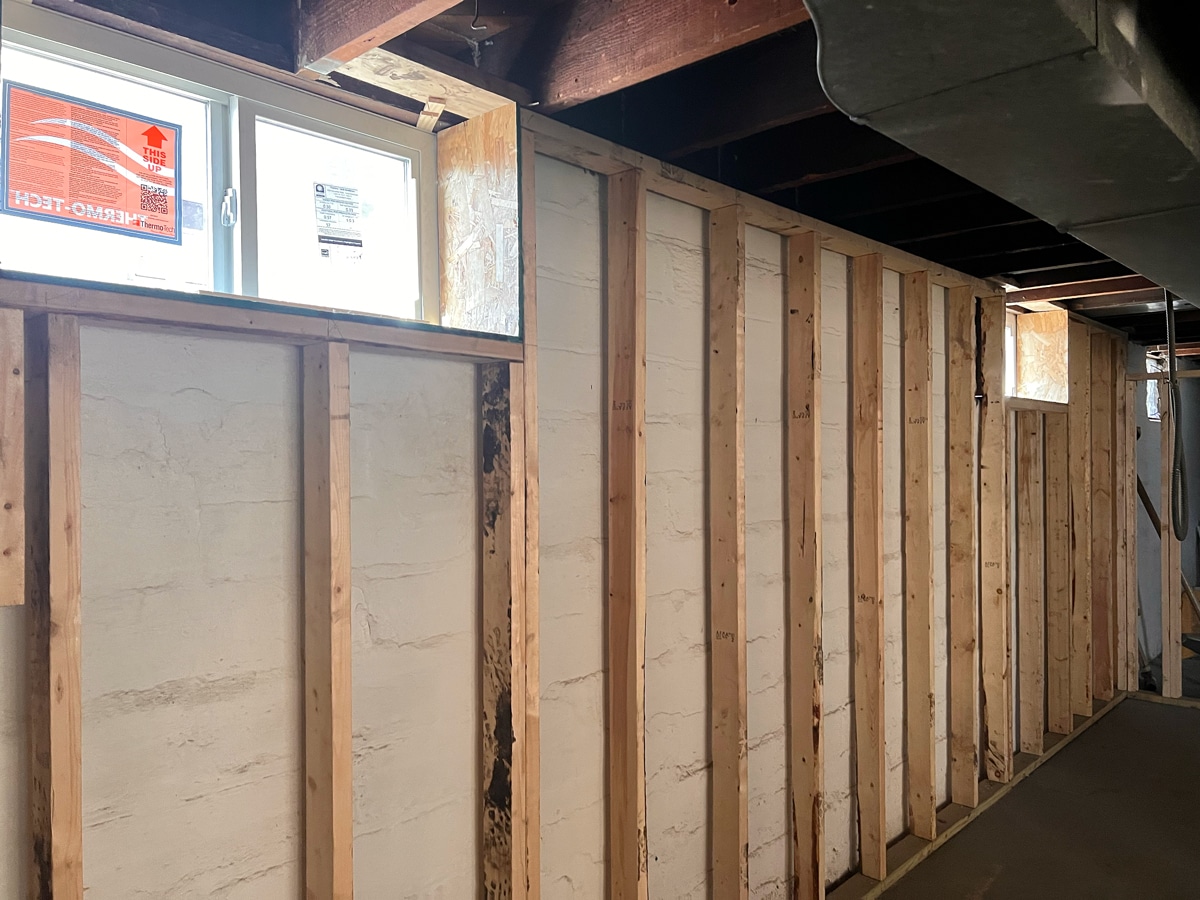
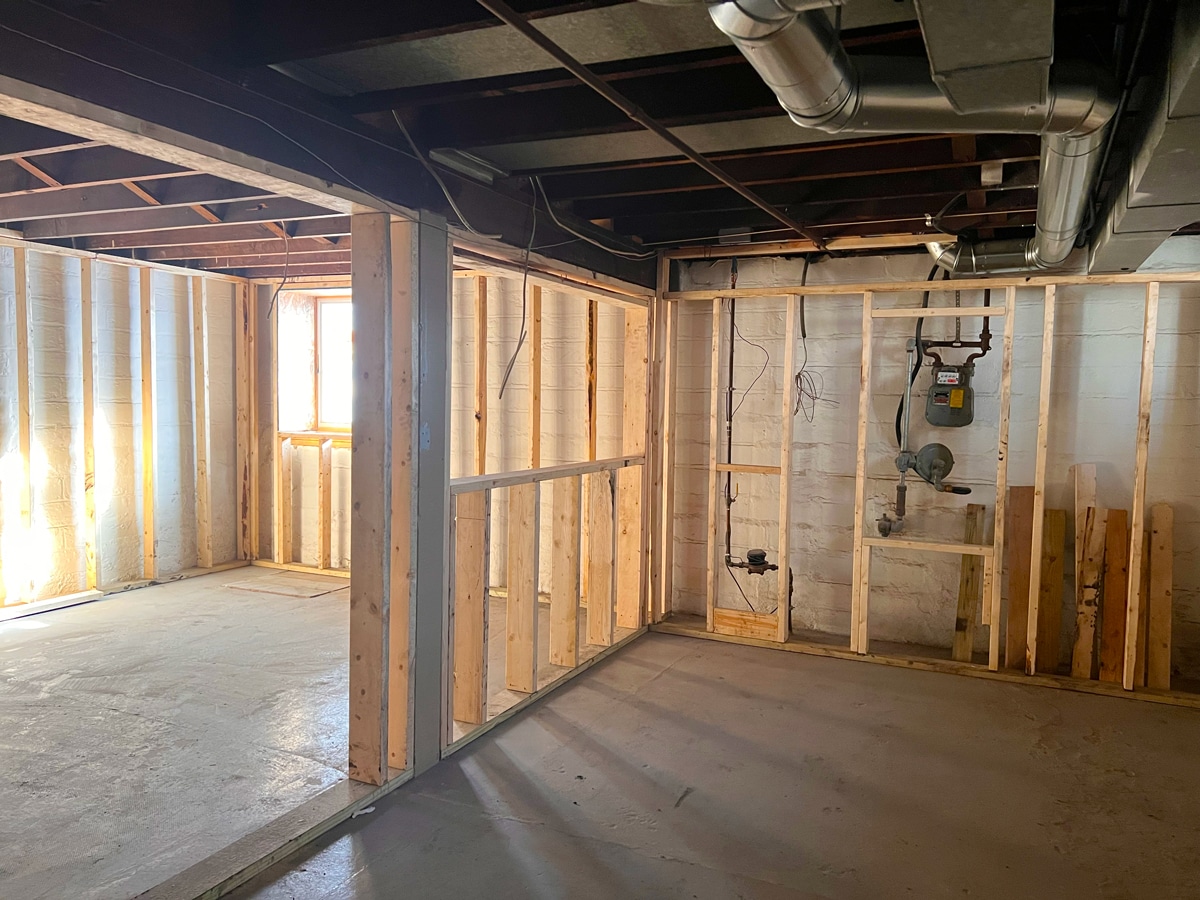
The lower level was primarily used as a partially finished storage area before the remodel. The updated plans will add nearly 900 square feet of finished space to the home! With so much more space to consider, designers arranged the lower level into private and public zones that our framers were responsible for building out. Just as we did upstairs, the team framed the majority of the lower level with 2x4s, creating enclosed areas for mechanical and laundry, as well as a living room, bedroom, and full bathroom.
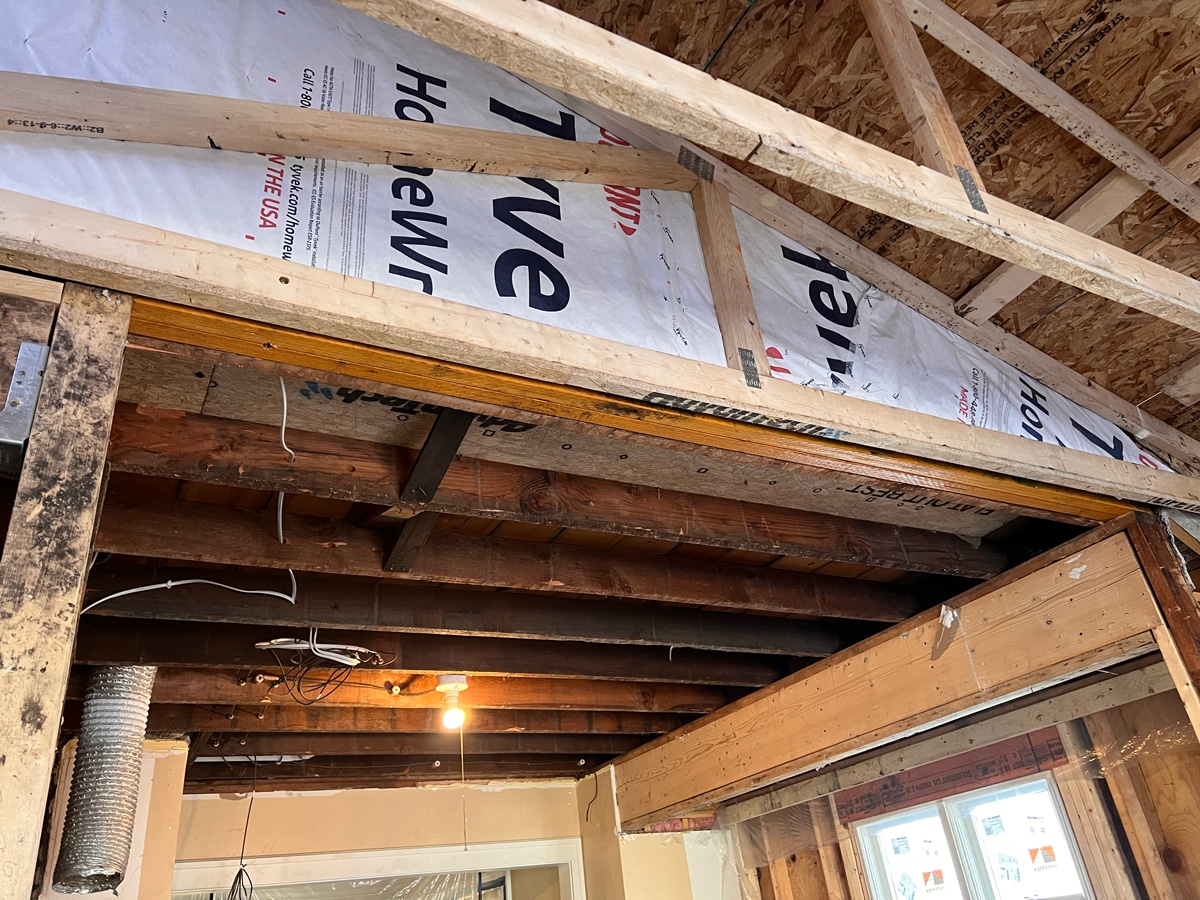
Reconfiguring the lower level soffits created by dropped mechanical ducts became an important part of framing the basement. Without diminishing the home’s mechanical requirements, we lifted and reframed the ducts to give our clients a more comfortable living room.

We’re here to help! Check out our planning resources below, or reach out to us here.
Are you thinking about a basement remodel and wondering how much you’ll need to invest? See the cost breakdown for remodeling a basement in the Twin Cities.

Here's the step-by-step process that ensures you’ll have a remodel you love.

So you’d love to upgrade your kitchen or add a shed dormer with a primary suite, but you’re not sure how to pay for it? Learn about three ways to finance your remodel.