
Ten Steps to the Home You Love
Here's the step-by-step process that ensures you’ll have a remodel you love.
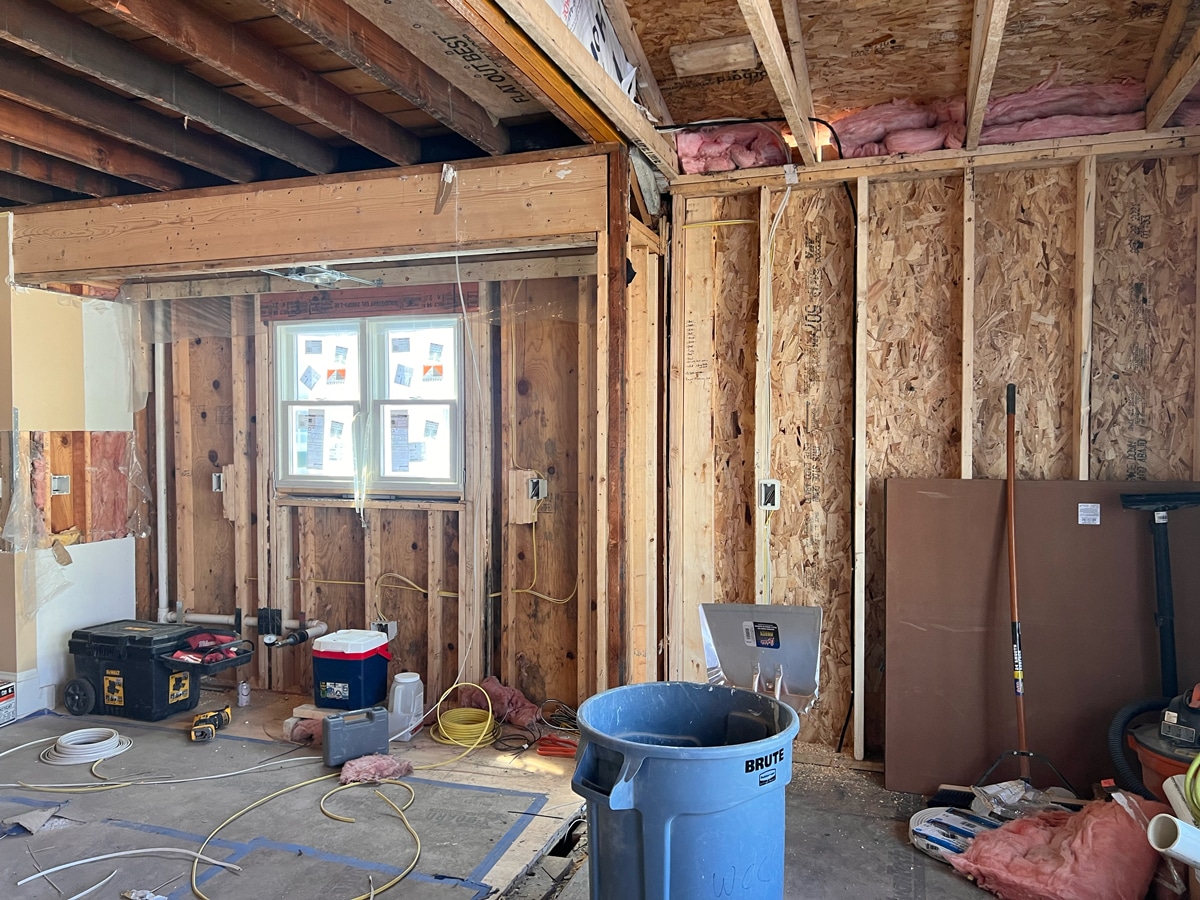
Follow along as we begin a main level addition and basement remodel for a South Minneapolis bungalow.
There’s just one more step left before we can enclose the walls of this South Minneapolis bungalow, which means it’s insulation time. With all our rough-ins located and placed, thanks to dedicated HVAC, plumbing, and electrical crews, we can fill the cavities of our exterior walls- plus a few more important spots- with insulation and then move forward with drywall. As you’ll see below, insulation will improve the overall efficiency of this 1919 home. While insulation is critical to the functionality of the home, the drywall stage will provide a much more vivid glimpse of how the updated layout for this main-level addition and basement remodel is shaping up.
Why do we need insulation in the first place?
Think of insulation as simply a barrier used to prevent the flow of energy, like heat, from one surface to the next. When it comes to remodeling, preventing heat loss or gain between the inside and outside of a home is critical to maintaining a comfortable living environment. As with all our remodels, we want to keep the inside of this South Minneapolis home at a consistent temperature with as little intervention by active heating and cooling systems as possible. We used insulation throughout our building assembly to do just that.
What does resisting heat loss have to do with efficiency? Why care?
We’ve already taken several steps to improve the efficiency of our client’s 1919 bungalow by using appropriate building techniques for our climate and by upgrading the home’s mechanical systems. By resisting unwanted heat loss or gain between surfaces, the insulation we’ve installed will help maintain the interior temperature of the home so that all these new systems won’t be overworked. Decreasing the amount of energy needed to keep the house comfortable will lower future utility bills and keep the new active HVAC systems running better for longer.
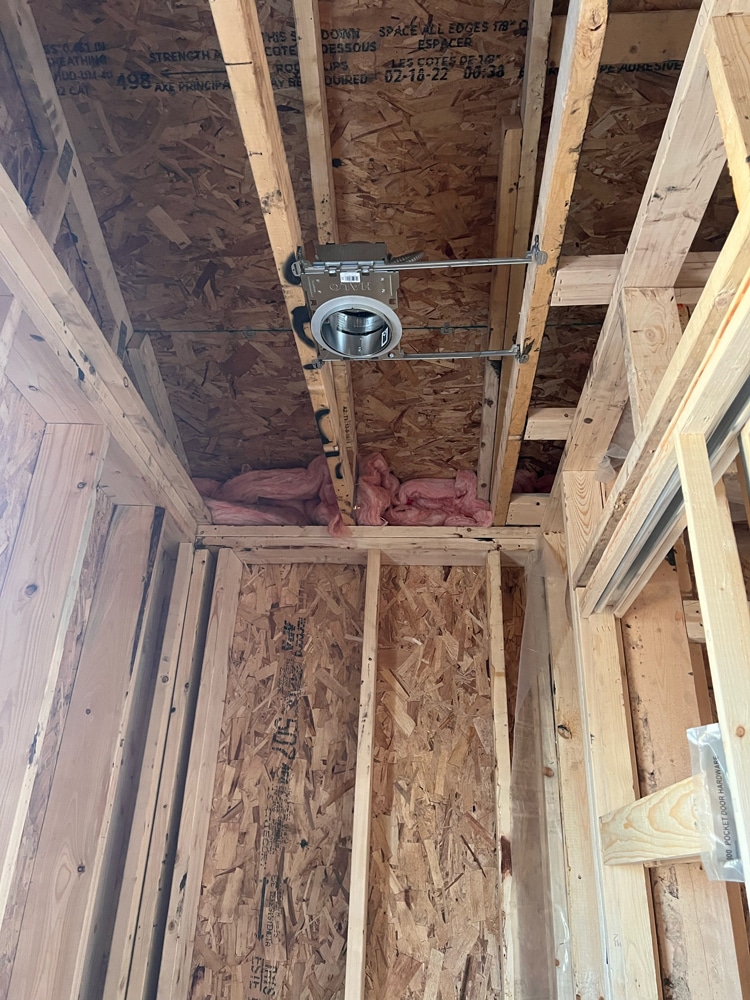
Insulation is used throughout the home, from the foundation walls and crawl space to the attic, soffits, ceilings, and even between floor joists and walls. At this stage in the process, we’re primarily using fiberglass and spray foam insulation between the newly created framing and the walls we’ve opened up as part of the remodel.
While there are many types of insulation and uses for it, our selections for this remodel were based on where the product was going to be installed, the needed R-value, and the budget.
Spray Foam:
More Expensive, Greater Resistance to Temperature Swings
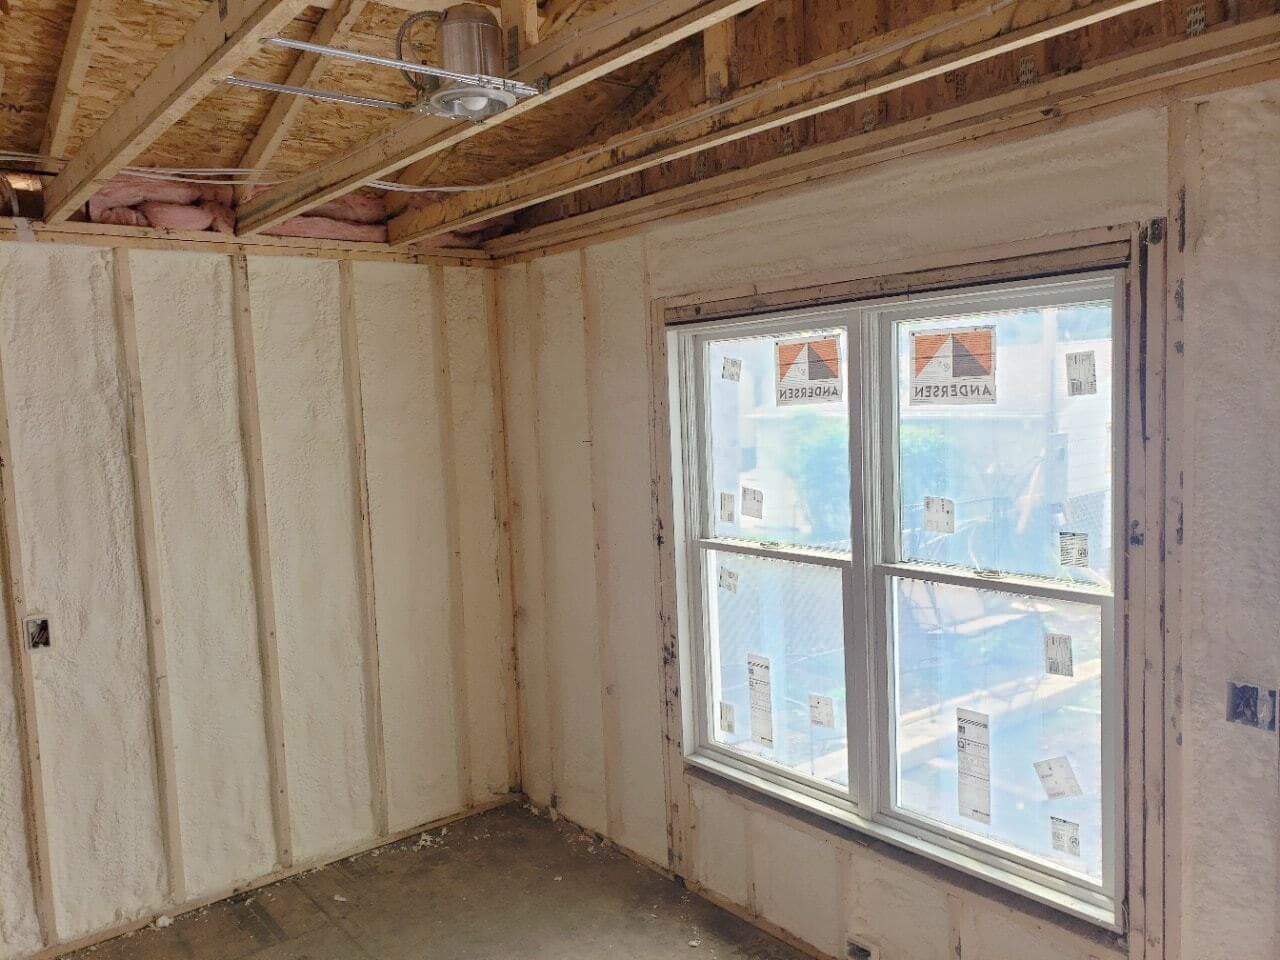
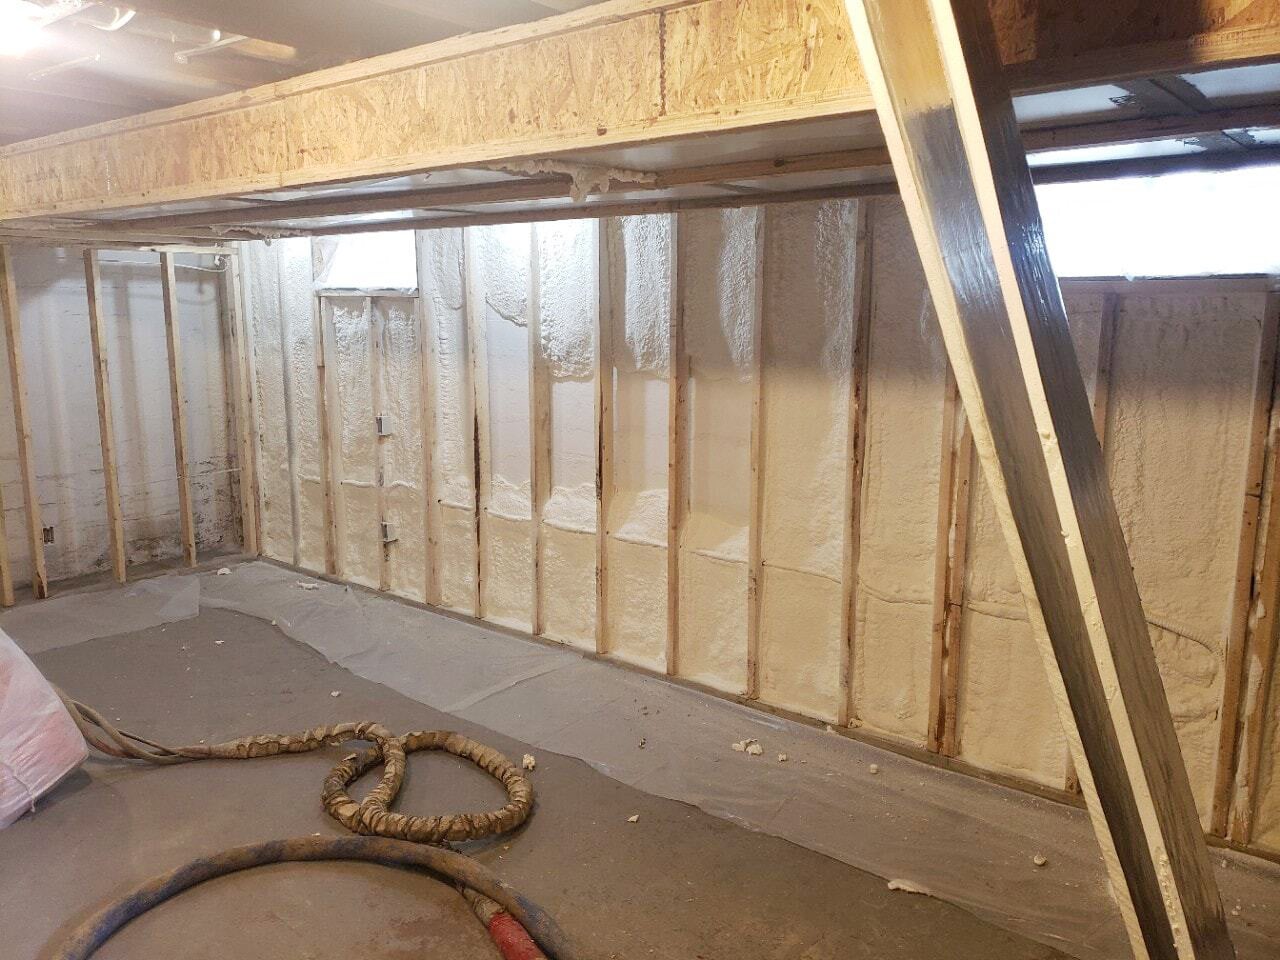
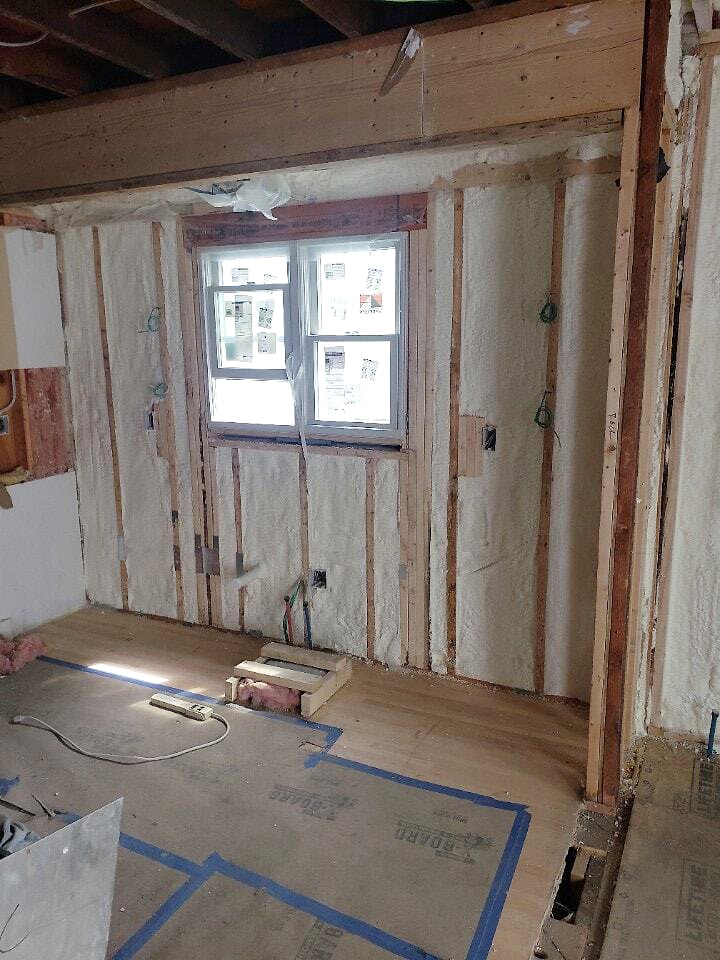
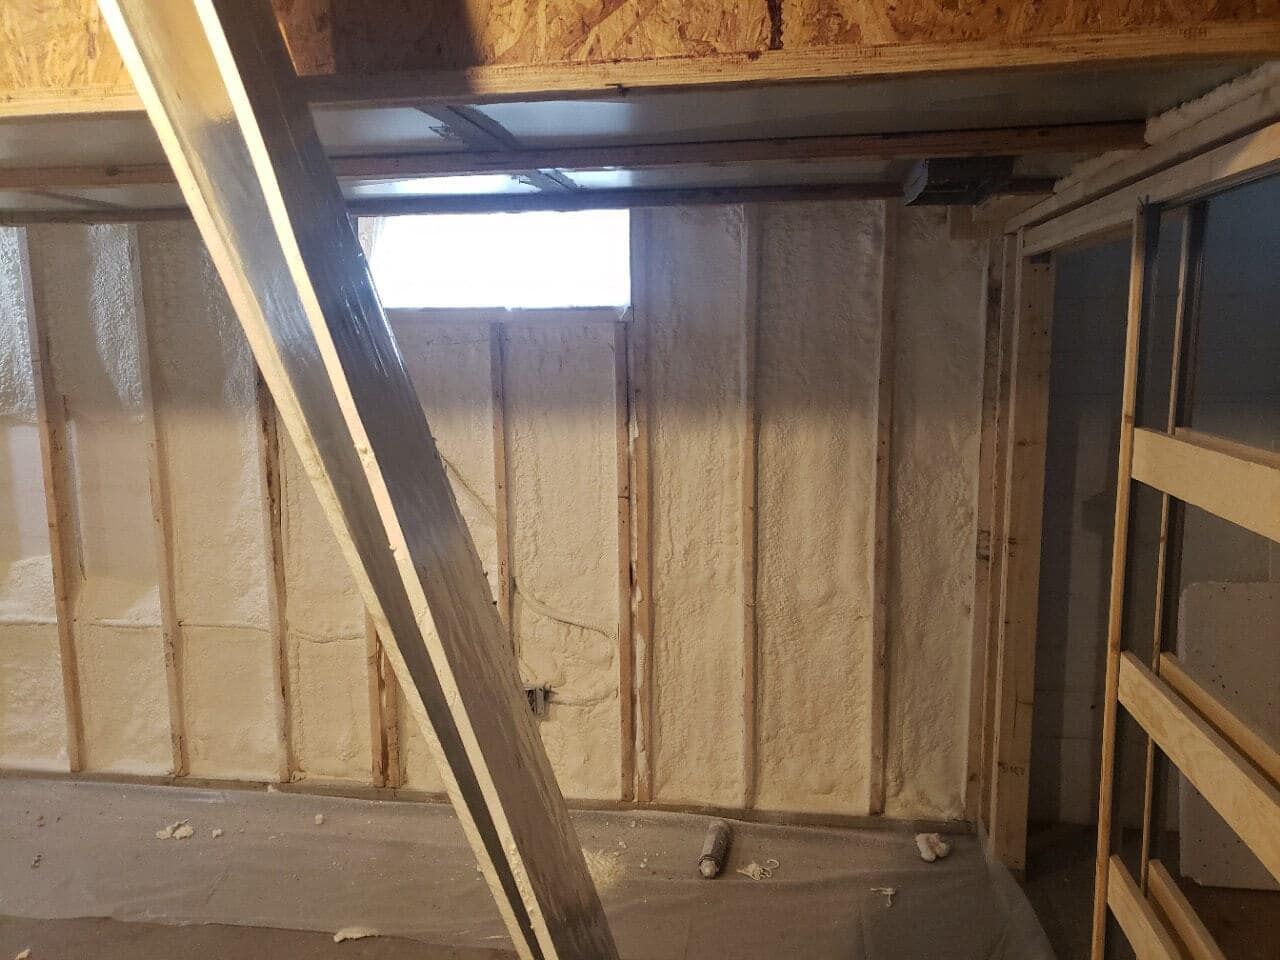
While spray foam came in at a higher price point than other options, it provided the newly built walls with a higher r-value, a metric defining a material’s resistance to heat flow. With our cold Minnesota winters and warm summers, we opted to use the higher r-value product to insulate extensively at exterior walls and the new basement perimeter walls.
To begin, areas that did not need to be insulated got taped off and covered. With protective equipment keeping the crew safe, our team then began spraying the foam slurry into the designated cavities, like between newly placed framing and rough-ins. The foam expanded to fill nearly any gap where unwanted air could escape or enter the home. Multiple layers were sprayed as needed. The product then had to cure before we came back to shave off any uneven or unwanted foam.
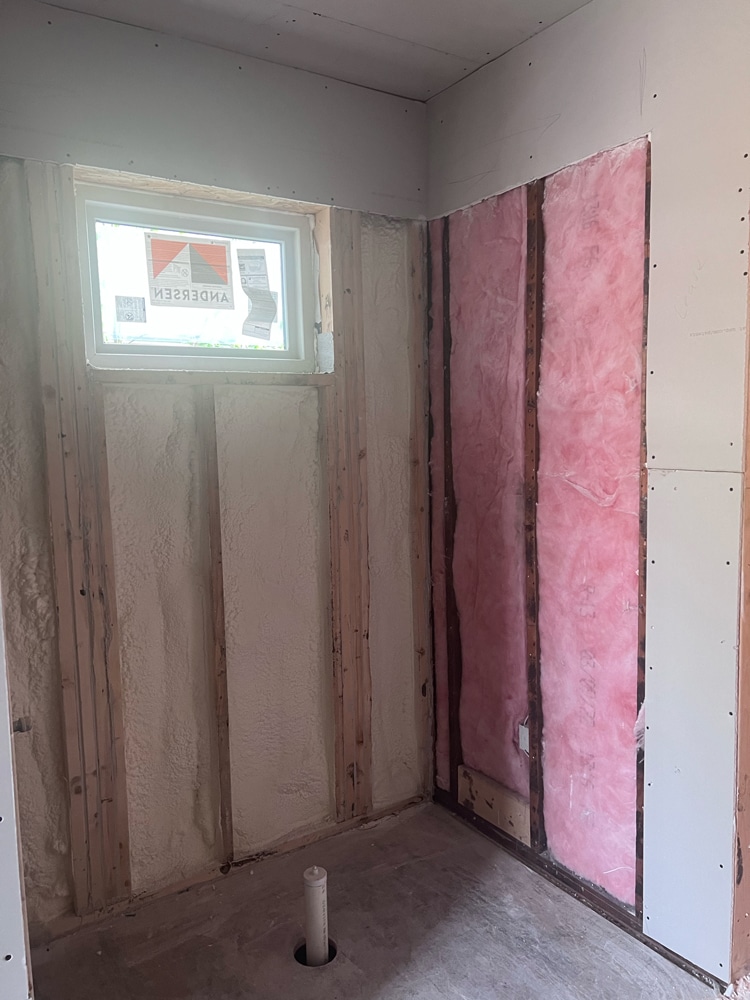
Fiberglass:
Less Expensive, Easy Install
In other areas, like within certain interior walls and soffits, we used fiberglass insulation. We especially prefer to use fiberglass in areas where we believe a future tradesperson may one day need to access a space easily and quickly, given it can be so easily removed and replaced. While the fiberglass insulation was rolled out, cut, and placed into position, the spray foam process was a little more specialized, resulting in an increase in cost. Since not all insulated surfaces require as high of an r-value, utilizing this less expensive product is an important step in protecting our client’s budget without diminishing their investment in a warm, well-built home.
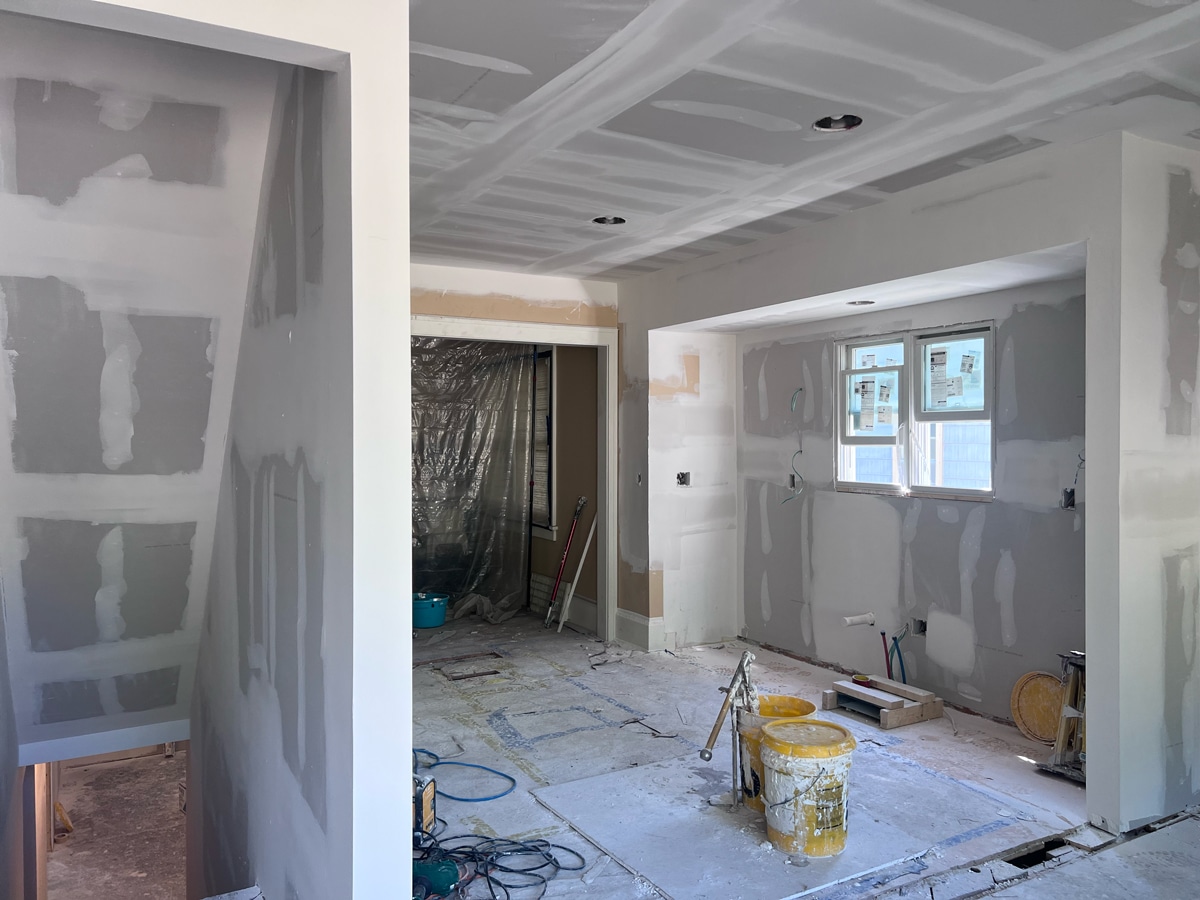
“When the framing went up, you can start to envision the remodel. But then I think the sheetrock is when it starts getting real.” – Howe Bungalow Homeowners
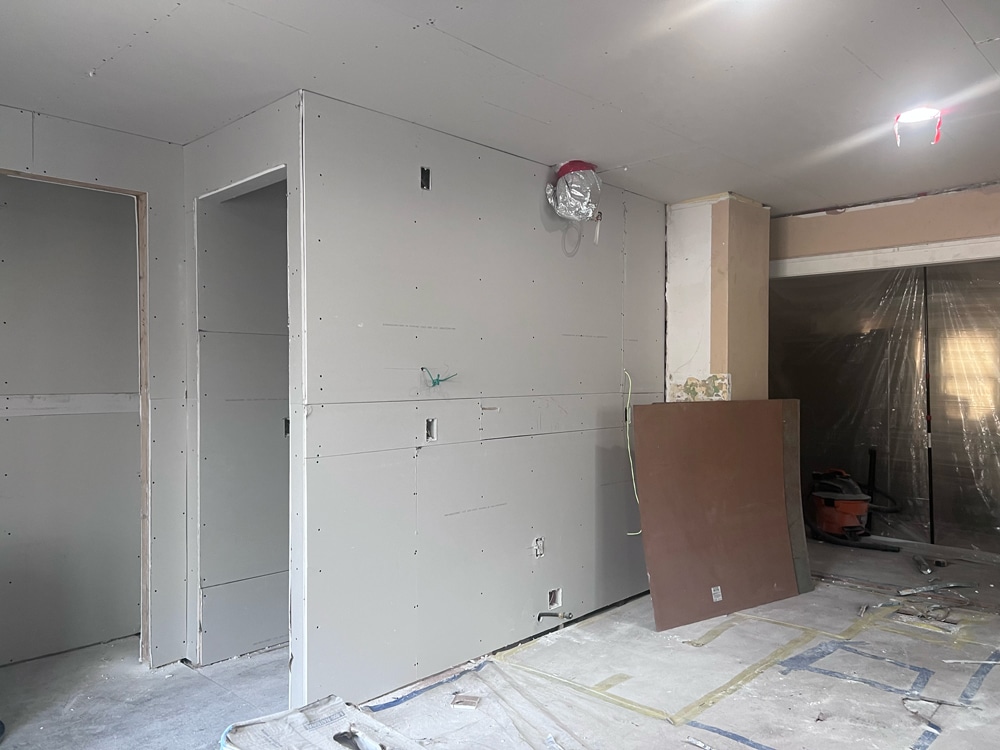
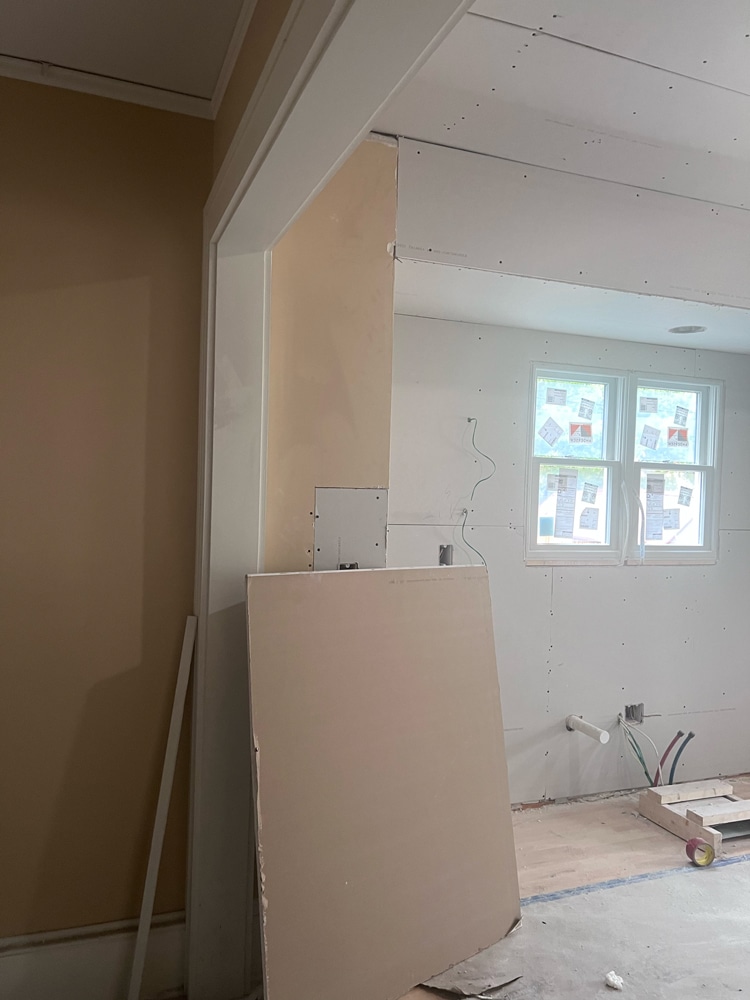
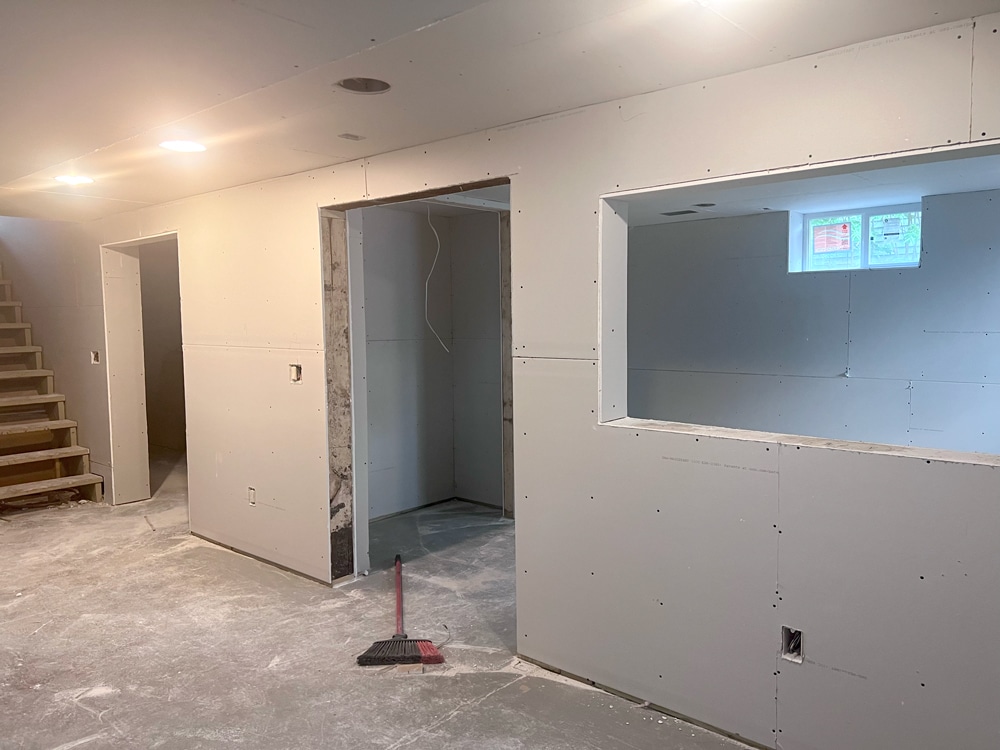
Drywall installation marks one of the most transformative stages of the remodeling process. It’s the first time a homeowner gets a glimpse of how their updated home will look and feel because the open framing, with freshly placed insulation, is now fully covered.
But what is drywall and why is it so commonly used?
Composed of a flat plaster panel sandwiched between paper sheets, drywall is a finished wall material used on the inside of many new homes and remodels. Drywall has become one of the most popular interior wall surfaces because of its cost-effectiveness compared to plaster. While plaster walls have many benefits, drywall is an attractive option because of how easy it is to repair, repaint, install, or apply decorative fixtures and art to.
Hang, Score, Mud
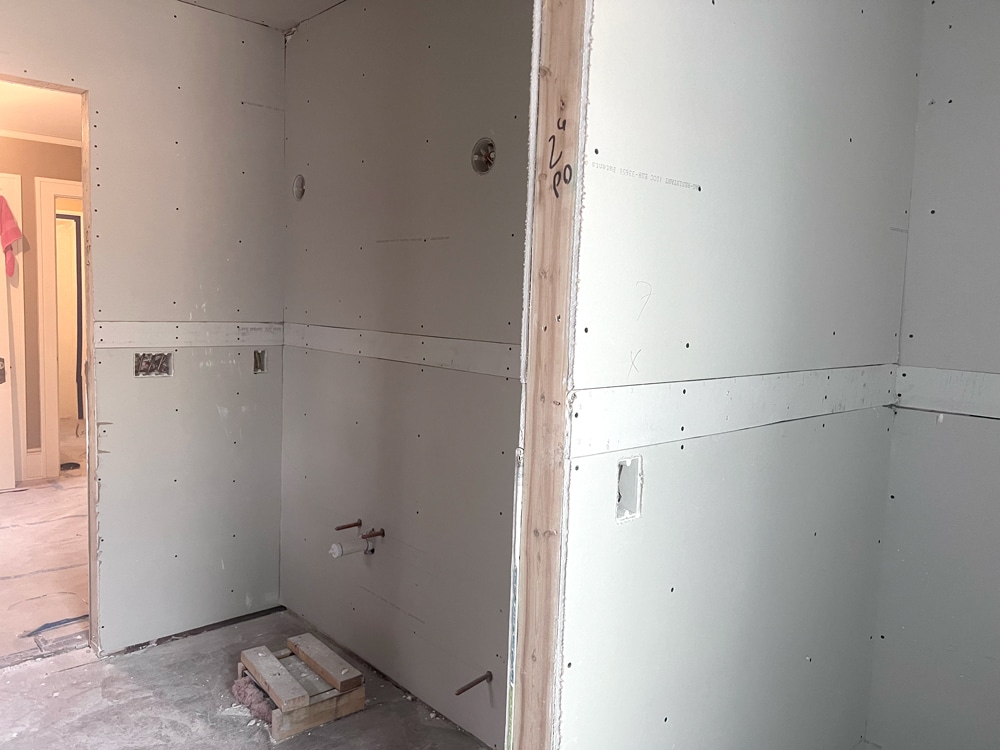
To install drywall inside our kitchen, mudroom, and bathroom addition as well as throughout the lower level remodel, our crew lifted individual sheets of 4’x8’x1/2″ drywall and screwed them directly into both the wall and ceiling framing. Our installers marked, scored, and cut openings for future light fixtures, outlets, and switches, as well as at windows and doors. When all the sheets were secured to framing, our next step was to mud and tape seams between sheets and at all screw holes.
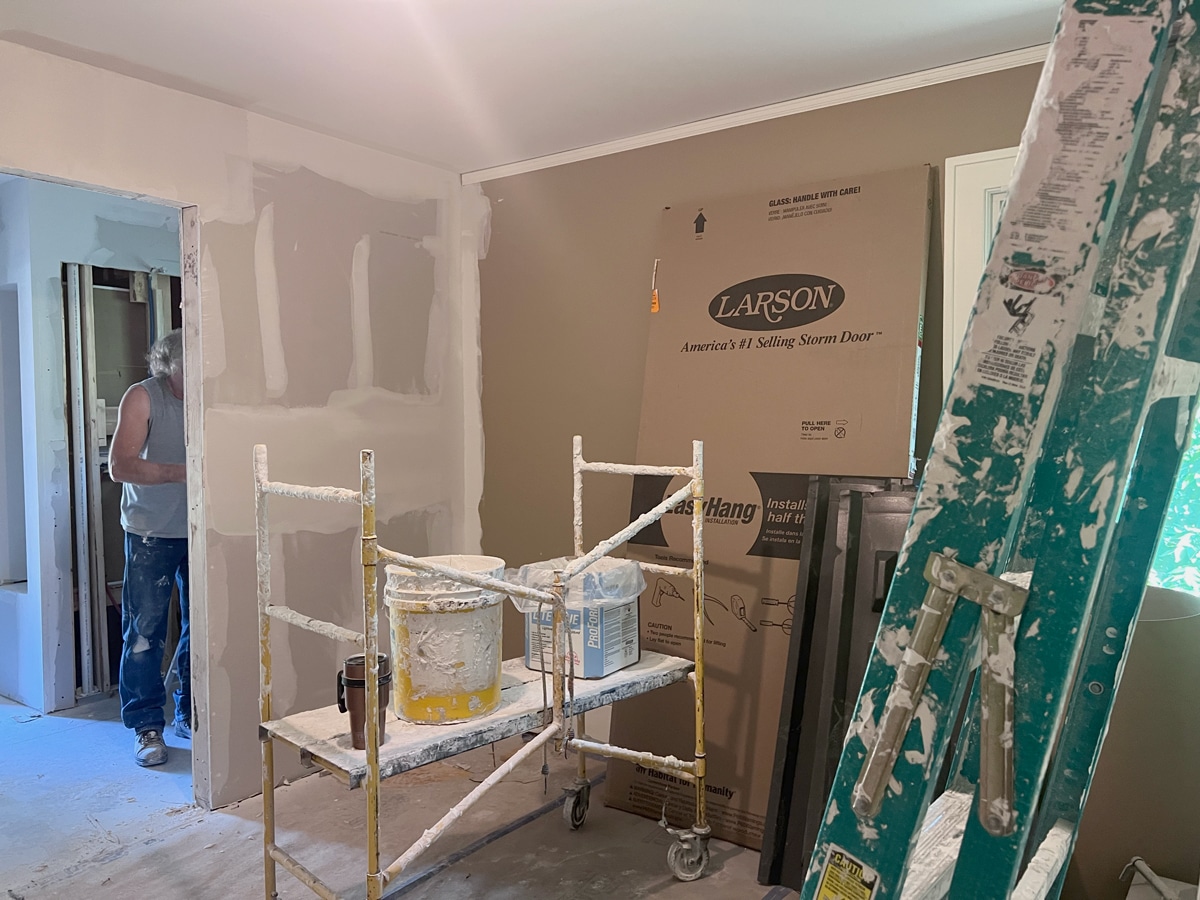
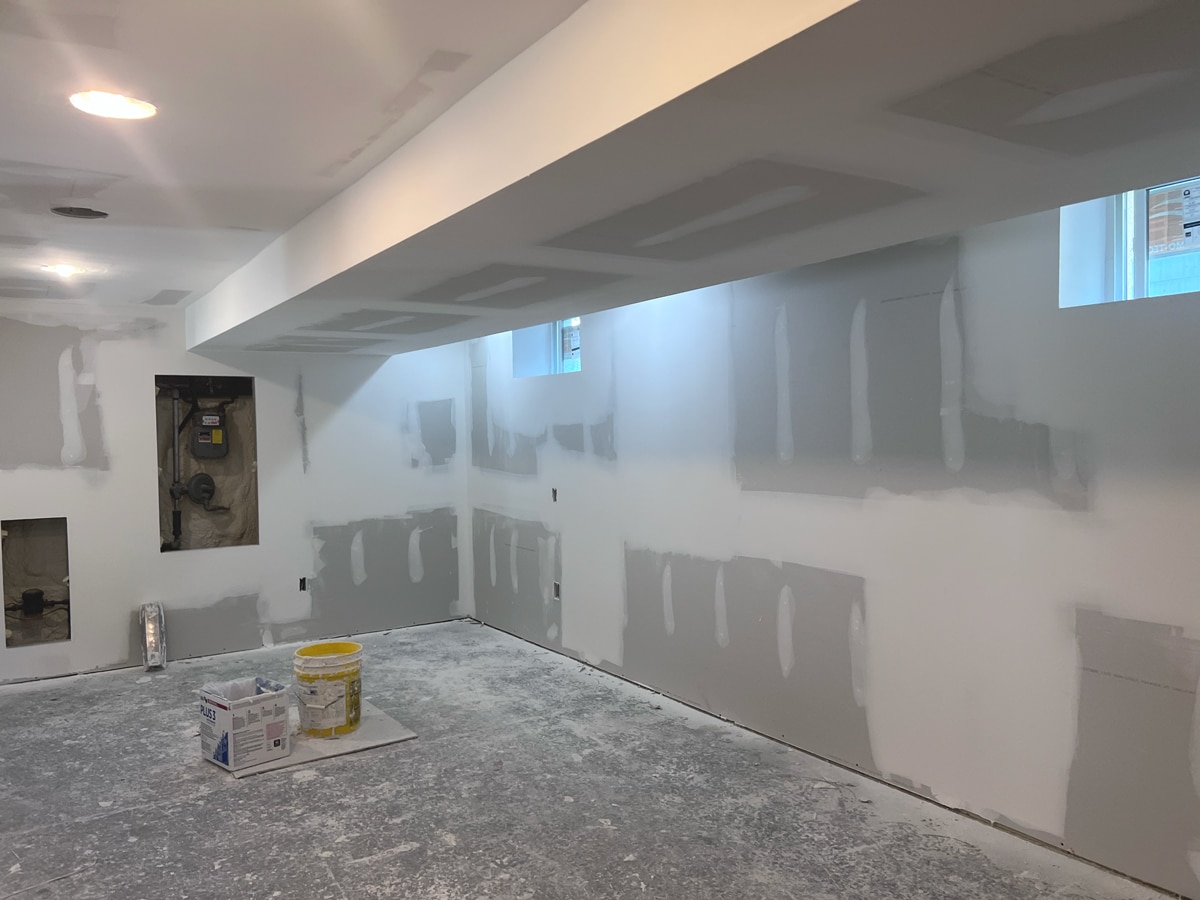
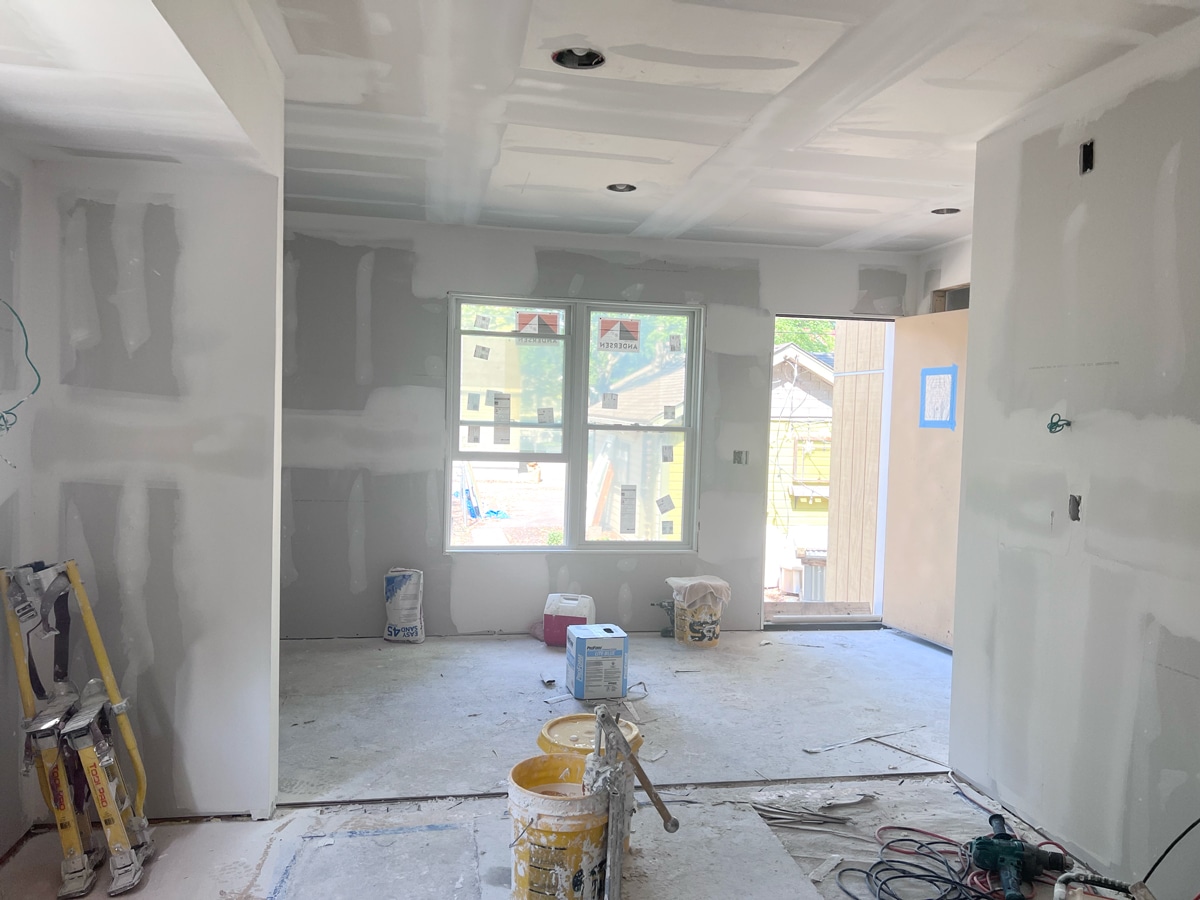
Dry, Sand, Repeat
The first coat was liberally applied, scraped with drywall knives when needed, then left to dry overnight before a second, and in some areas, a third coat was applied. The drying process between each mudding was important, as it allowed our crew to then go in and sand any imperfections, resulting in an even wall surface once completed.
Getting the drywall as evenly sanded and prepped is essential in how the home will look once primed and painted. Uneven drywall doesn’t leave a good impression, that’s why working in layers and being critical about the work is important, even if it means we have to come back and adjust as many times as needed.

We’re here to help! Check out our planning resources below, or reach out to us here.
Here's the step-by-step process that ensures you’ll have a remodel you love.

So you’d love to upgrade your kitchen or add a shed dormer with a primary suite, but you’re not sure how to pay for it? Learn about three ways to finance your remodel.

Are you dreaming of a new kitchen and wondering how much you’ll need to invest? We breakdown the costs for two kitchen remodels and what factors drive those costs.