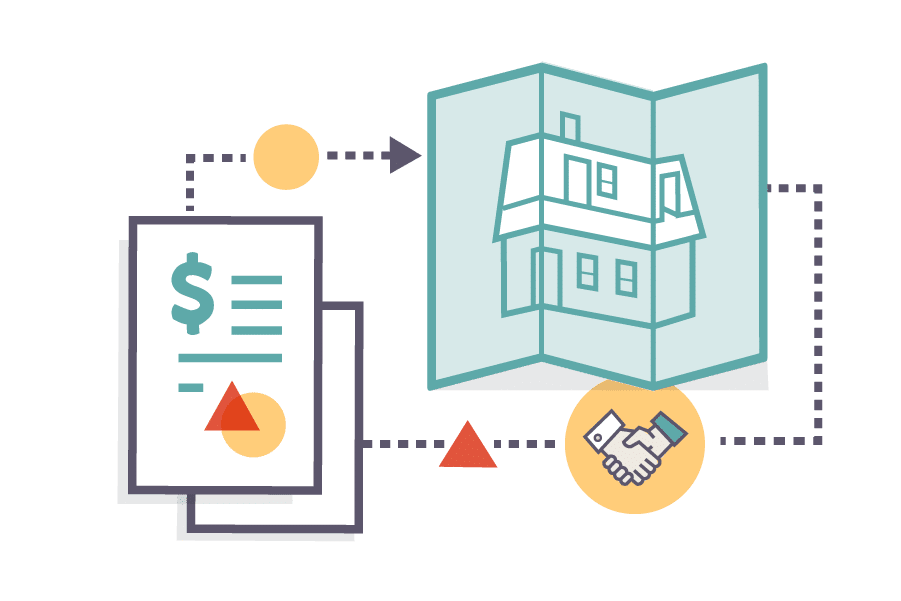
What Will It Cost To Remodel My Attic?
Learn what it costs to remodel an attic in the Twin Cities, and what factors drive those costs.
Follow along as we build a shed dormer addition along the upper level of this St. Paul Cape Cod.
When you’re working on an upper level, product deliveries aren’t always straightforward. Before the drywall sheets could be installed, our crew needed to resolve how to get an entire remodel’s worth of product upstairs as efficiently as possible since the tight turn on the staircase made carrying the drywall to the upper level impractical. Despite the limitations on drywall delivery, our crew lifted the 1/2″x4’x8’ sheets inside the home through new window openings in the primary suite, placing them throughout the rooms to be hung, taped, mudded, and then sanded.
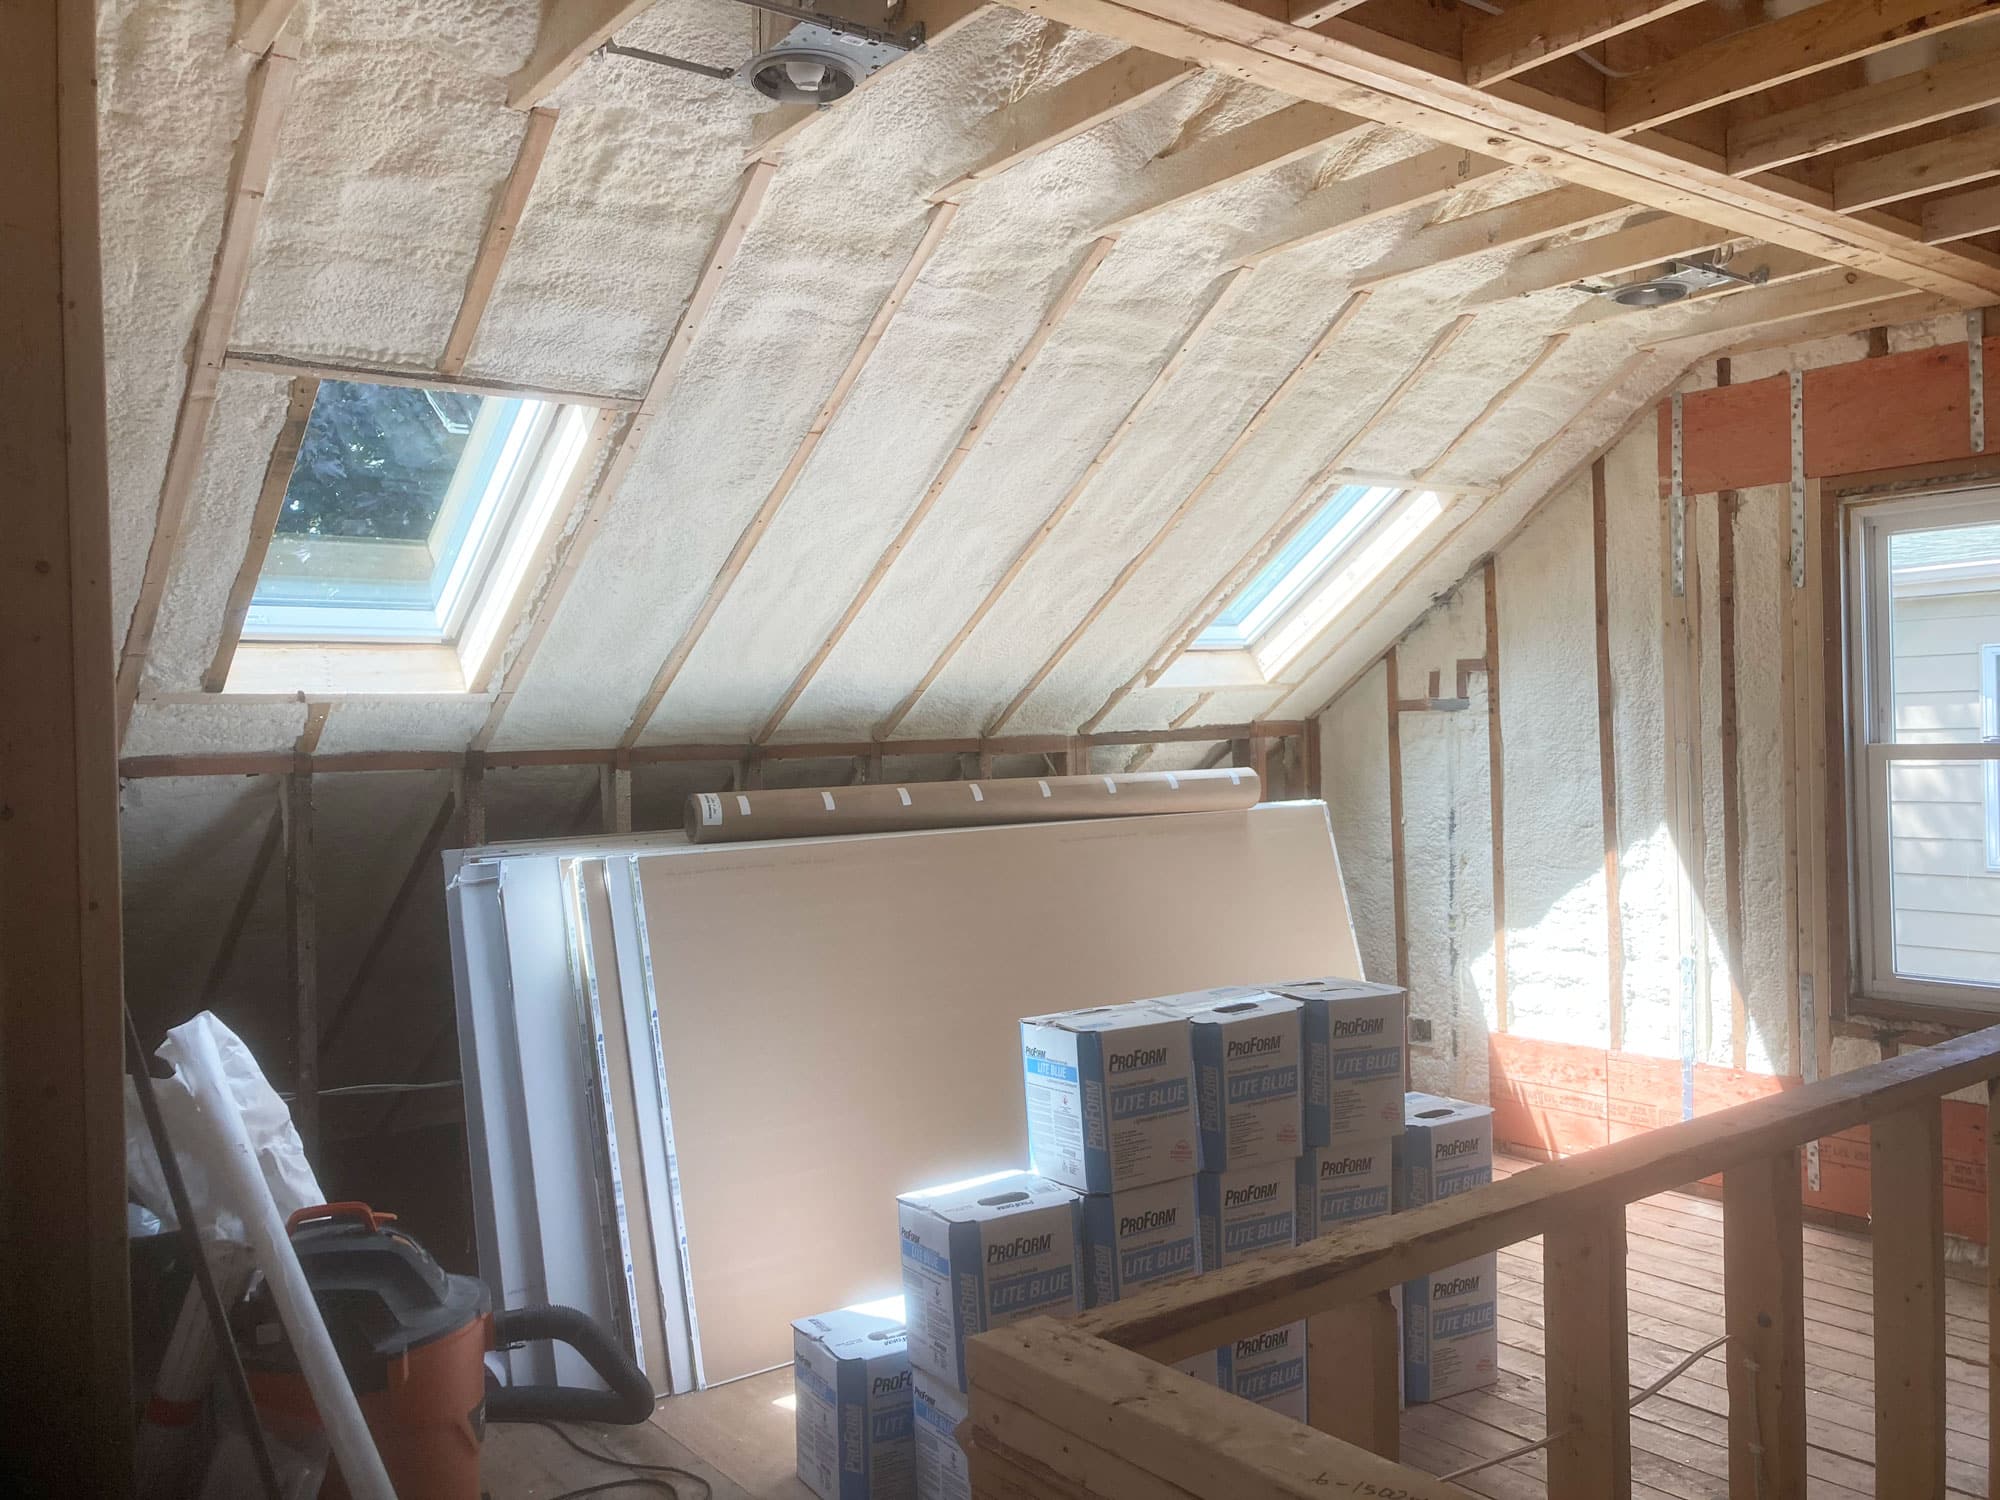
Insulation is the final step needed before we can hang drywall. Once our crew delivered the drywall sheets, we arranged them throughout the upper level to prep for hanging them in each room.
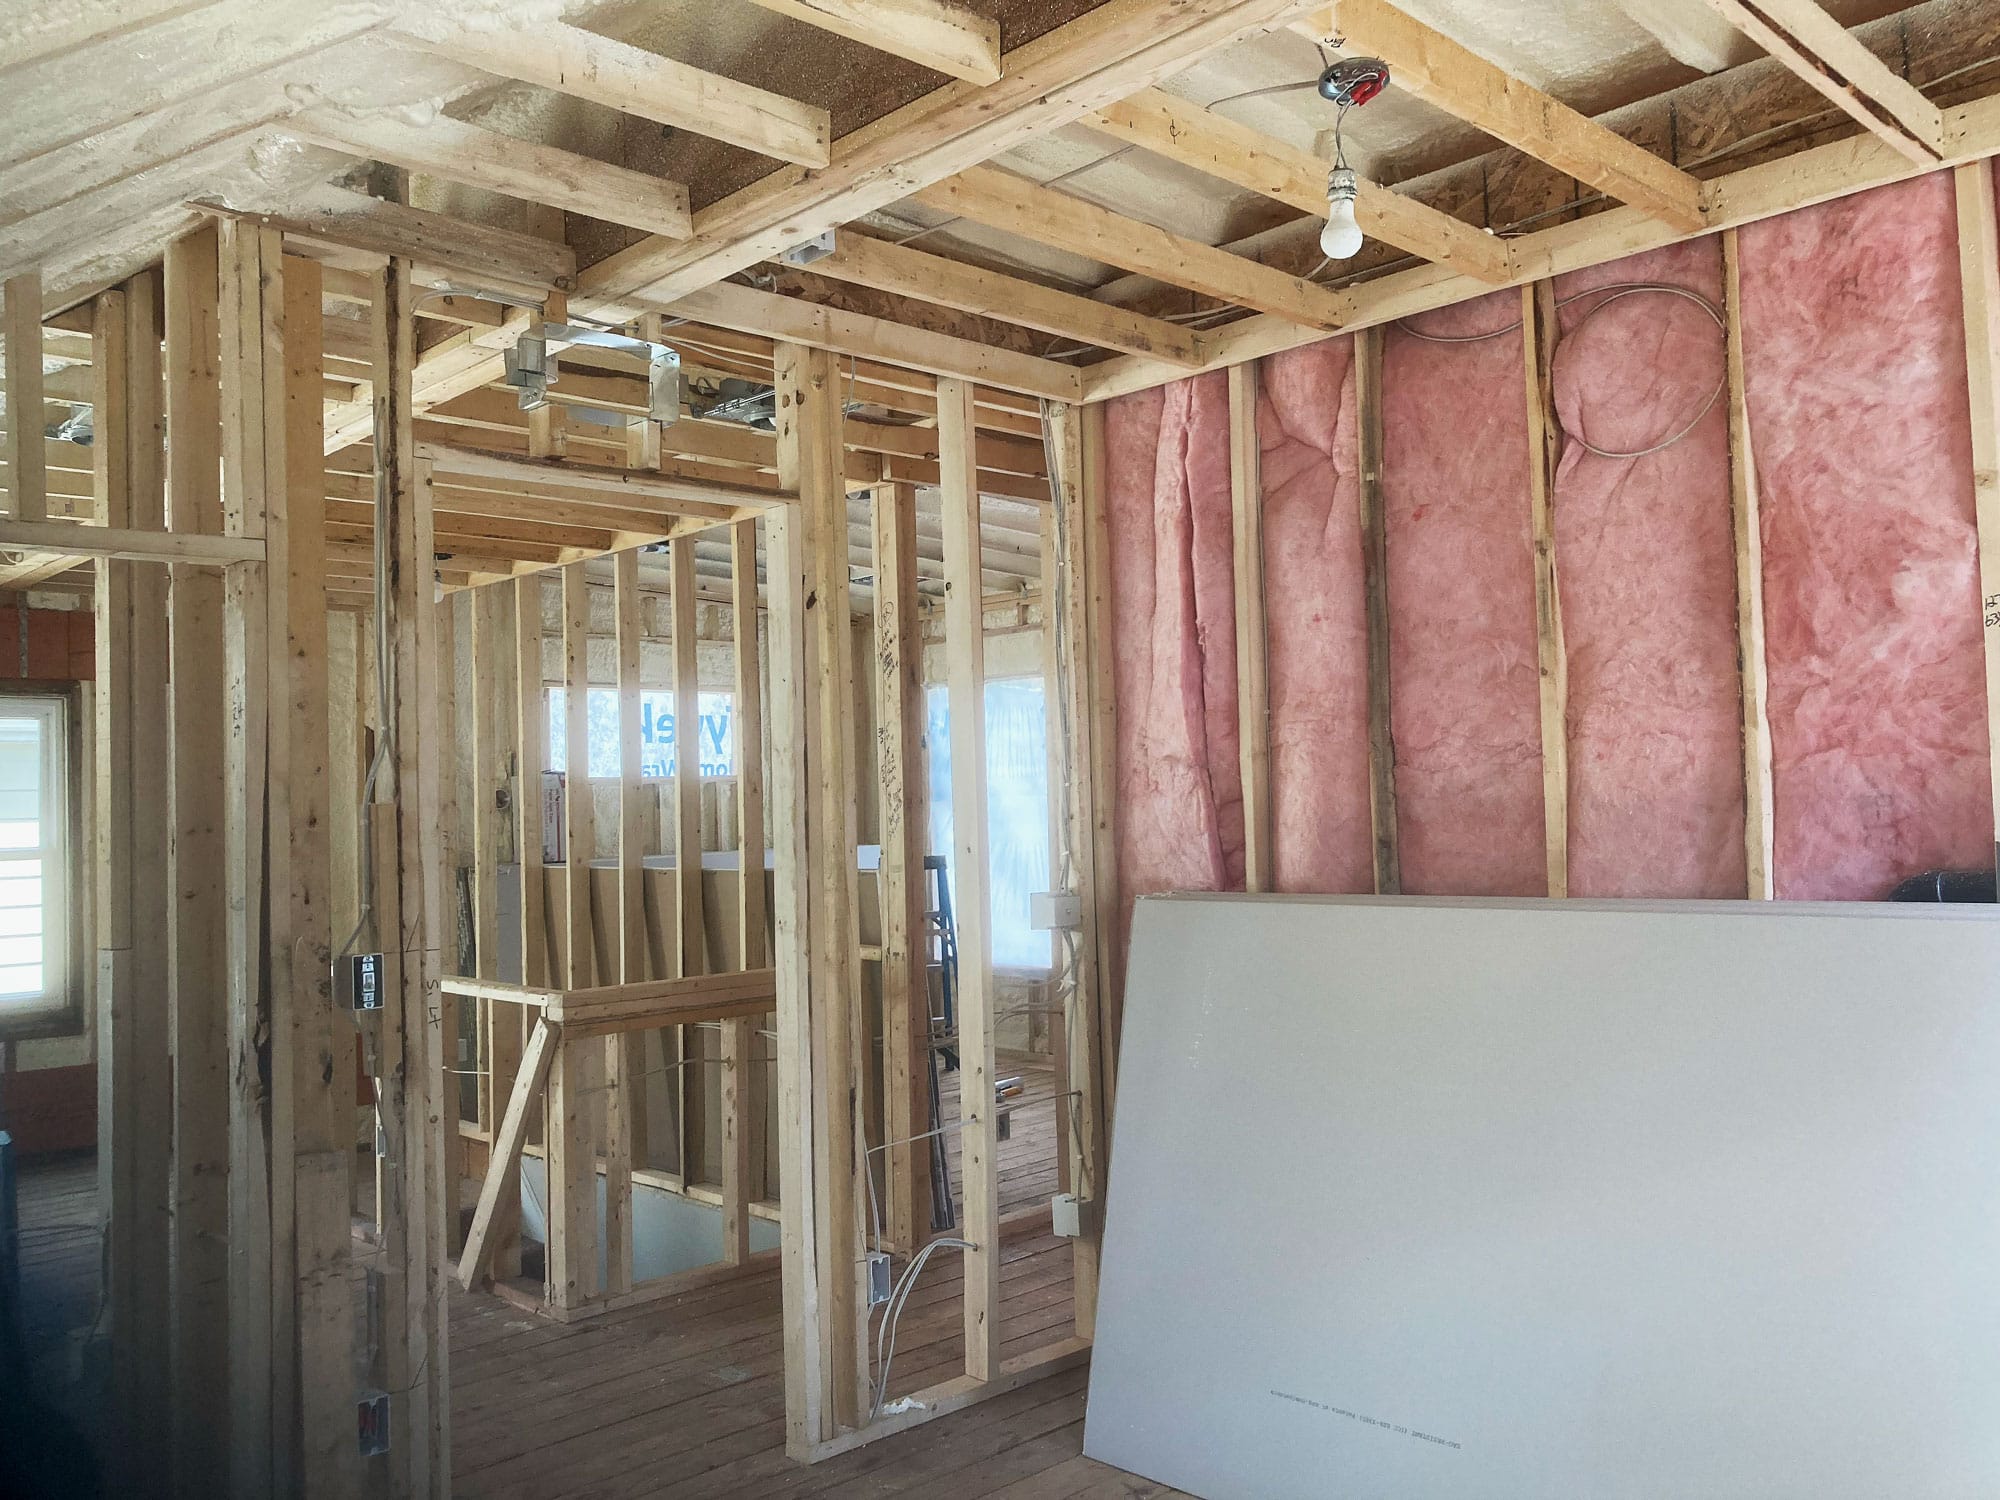

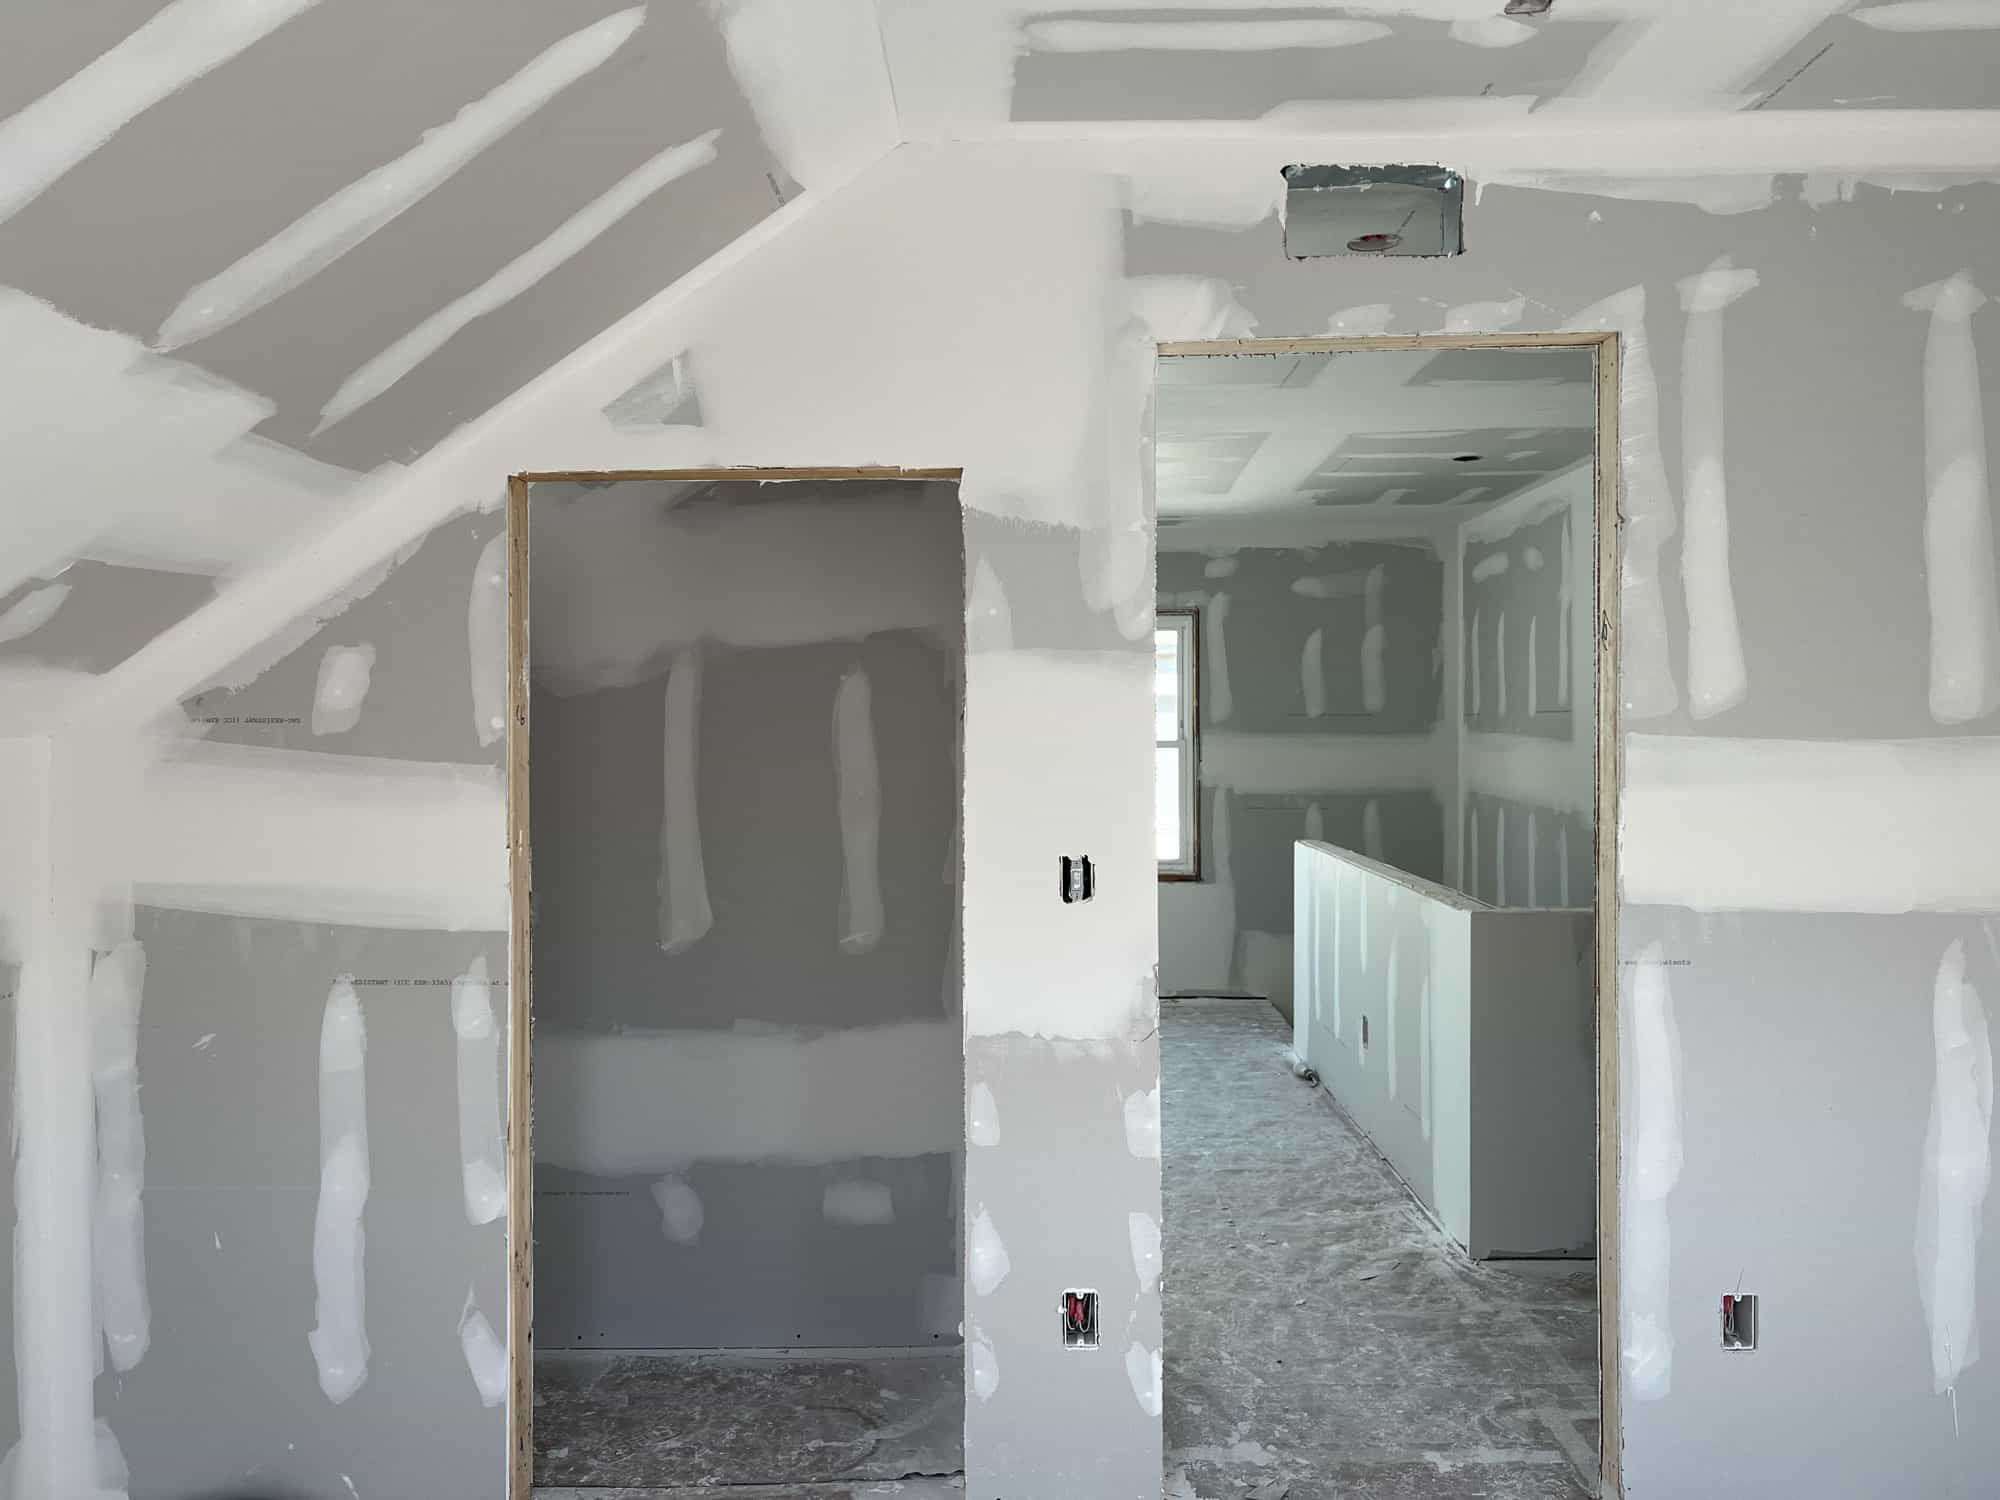
We do not apply drywall to door jambs, since the doors will be installed into studs with door casing to nicely wrap along the outside of the frame.
Drywall installation involves three primary steps: hanging, taping and mudding, and then sanding.
Hanging Sheetrock – 2 days: The hangers take two days to lift each 1/2″x4’x8′ sheet of drywall to cover all the new framing except for door jambs and the inside of the bathroom shower. Any wall surfaces where tile is laid require us to install a stronger, cement board prior to tile application, particularly in wet locations like the shower. The crew then cuts around openings for windows, outlets, and lighting.
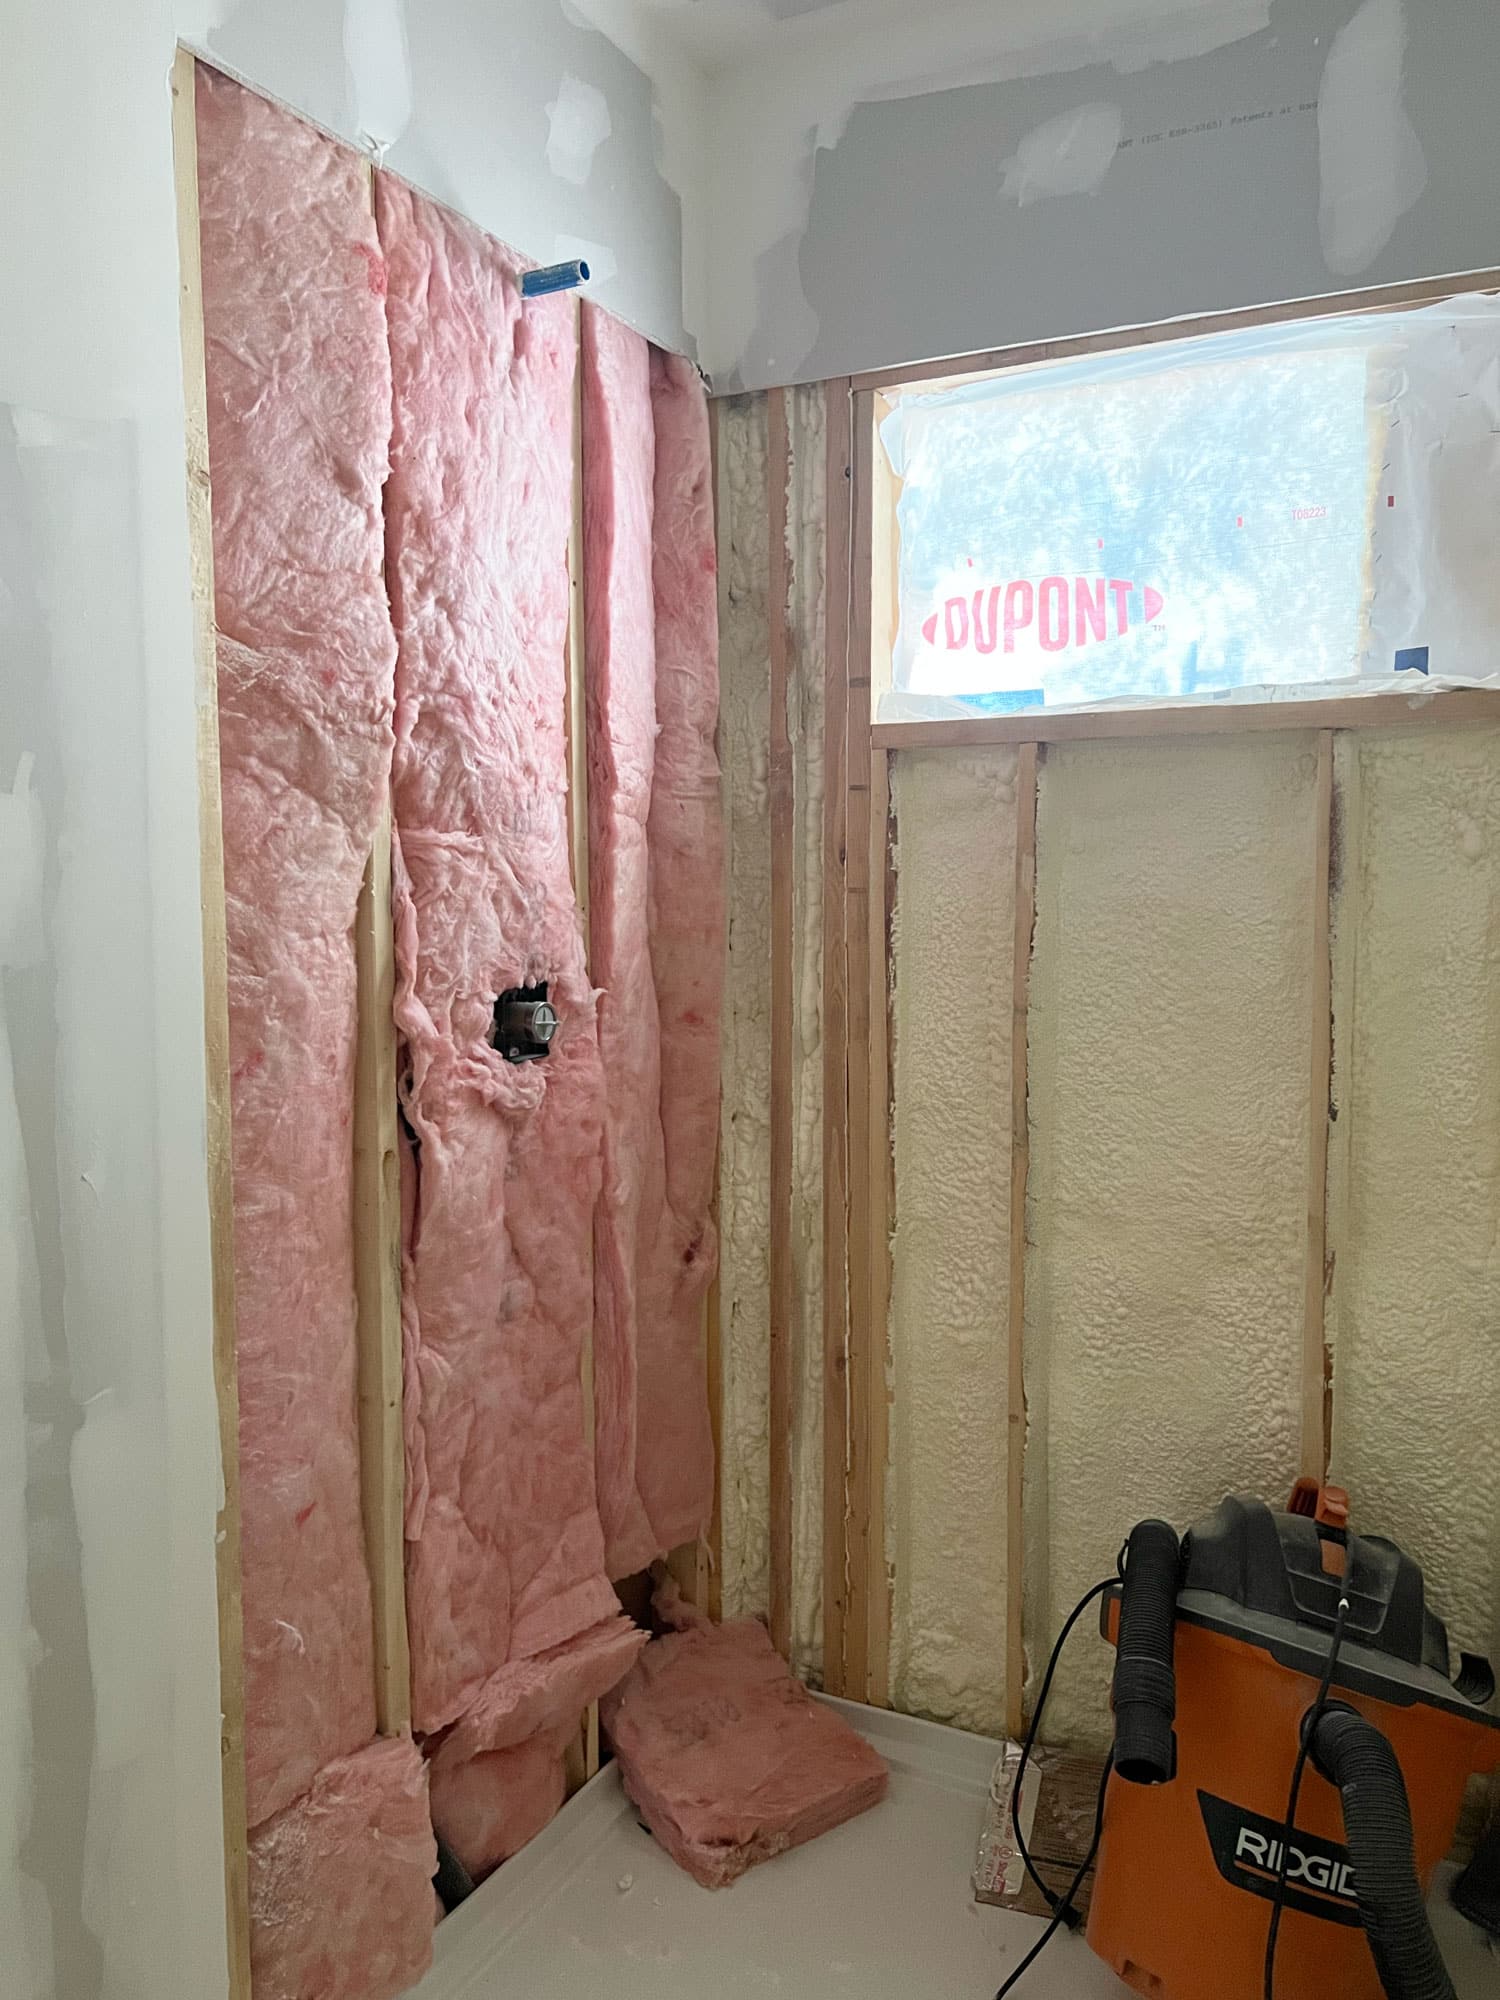
The tile crew will install cement board and waterproofing instead of drywall, as the tile requires a stronger substrate to stay securely bonded to the shower walls.
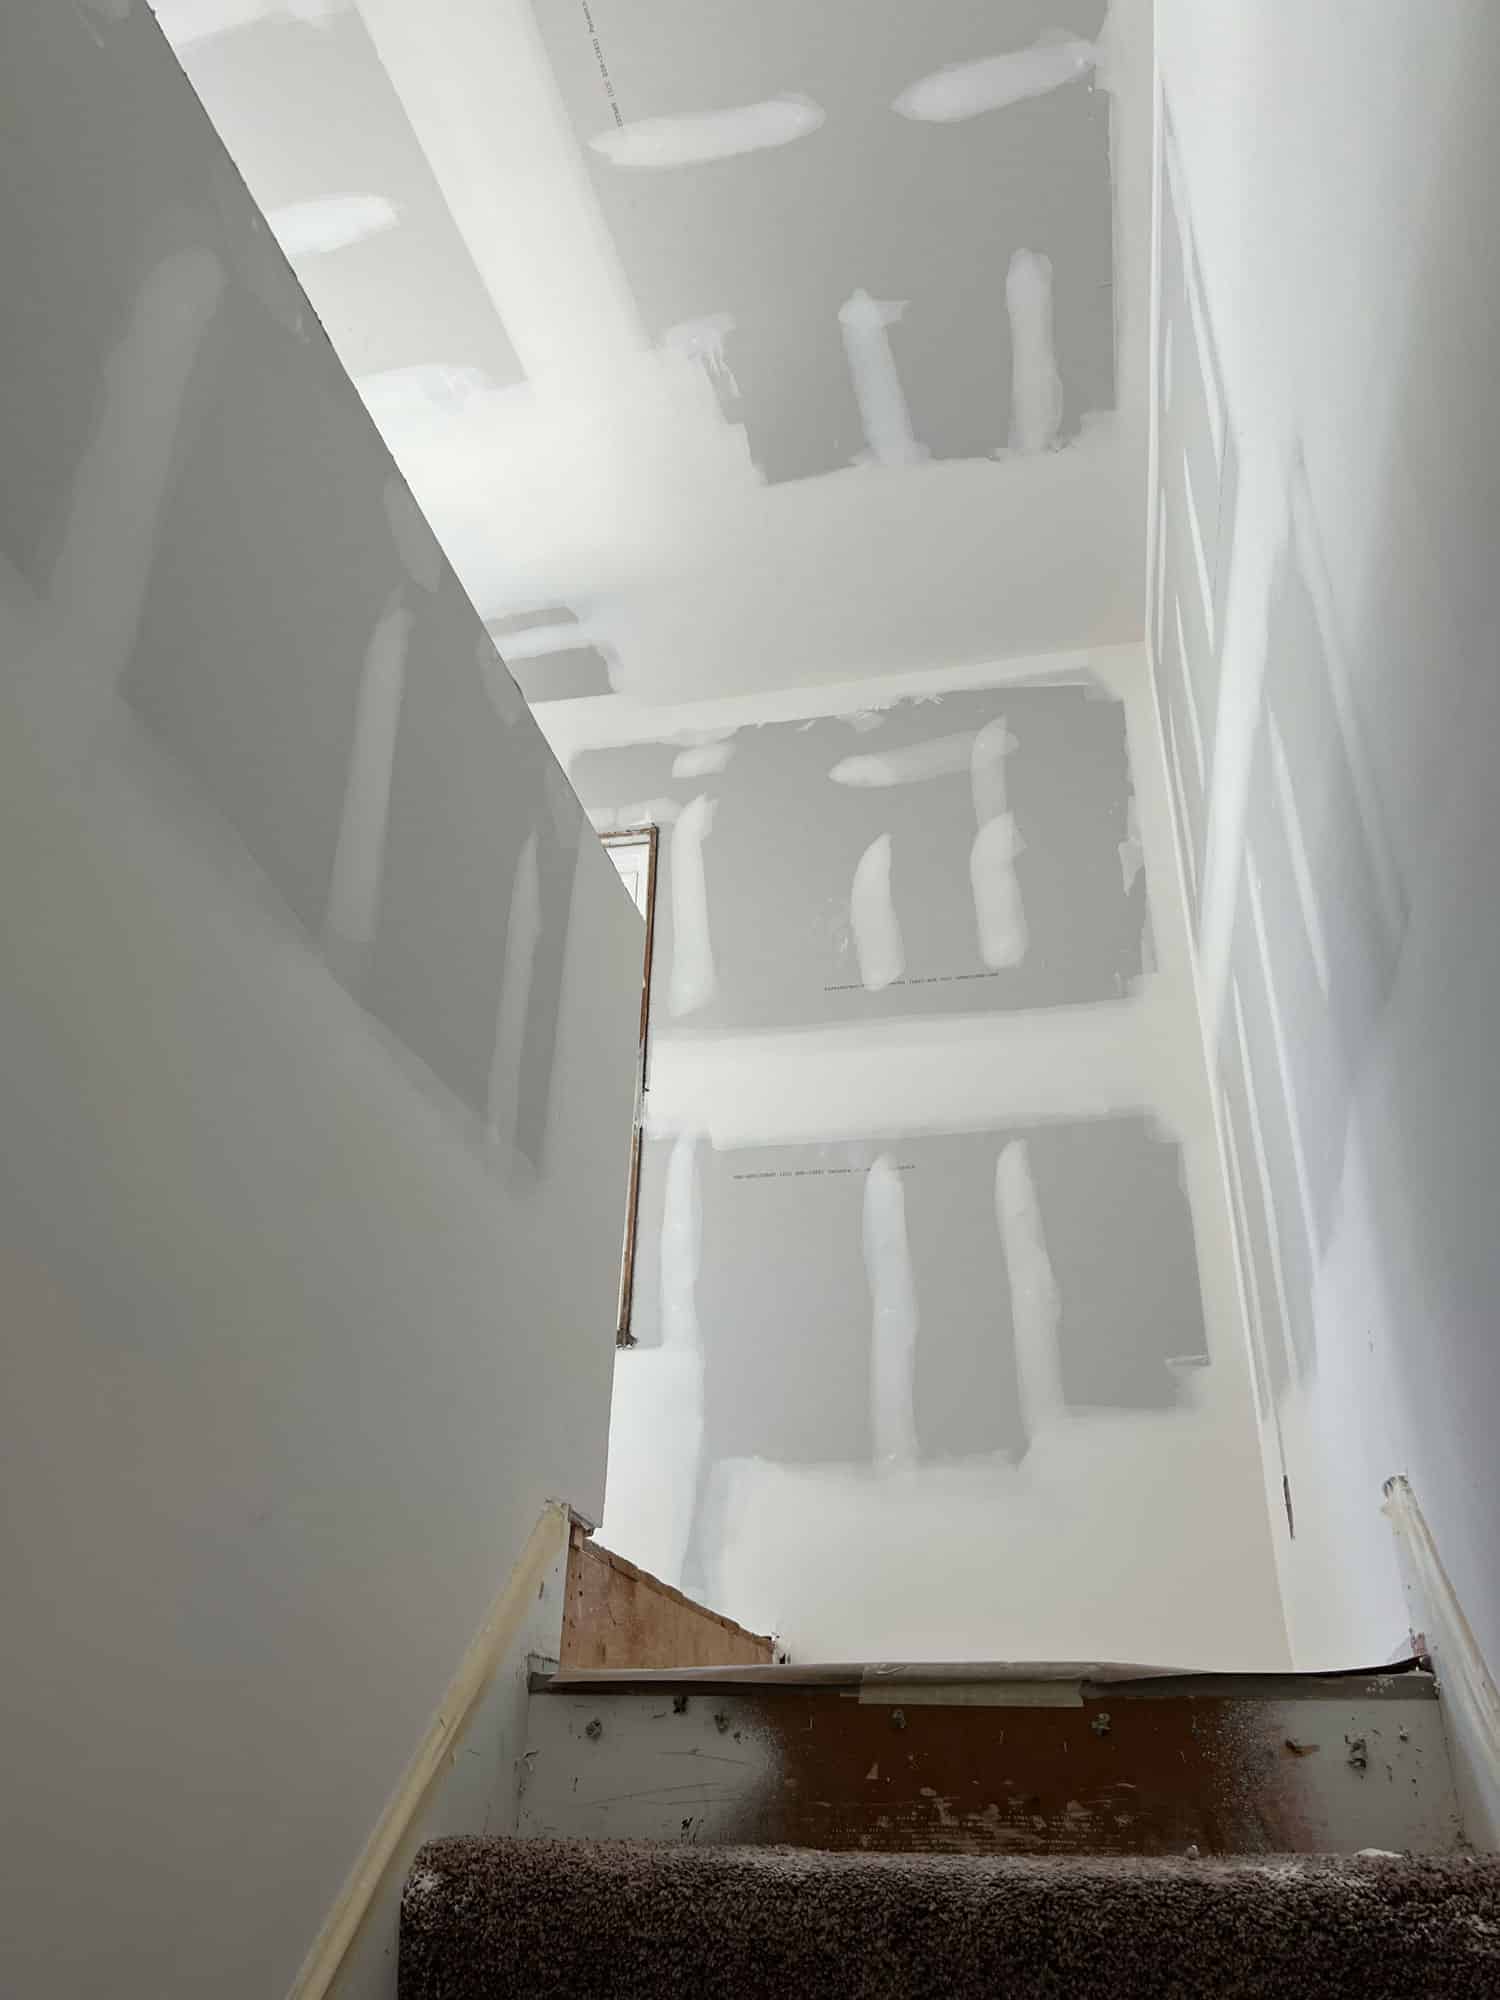
Taping and Mudding: The taping crew put tape along drywall seams where adjacent sheets met. To diminish visible joints after taping, we then mudded over all seams and corners with a gypsum based paste. Our mudders came back to apply a second coat.
Sanding: The final process involves sanding the mudded areas to create a united and smooth surface for priming and painting later on.
Turns out, a product made of gypsum plaster sandwiched between sheets of paper leaves quite a bit of dust on the walls. Our crew of painters prime all the walls to seal all the residual dust after the final drywall sanding. Our focus at this point isn’t to create a perfectly applied coat but to help rid the walls of the installation dust. No one wants to lean against a dusty wall, which is why that first coat of primer is a big help. We don’t worry about corners or getting a perfectly applied coat, finishing priming in about 4-6 hours.
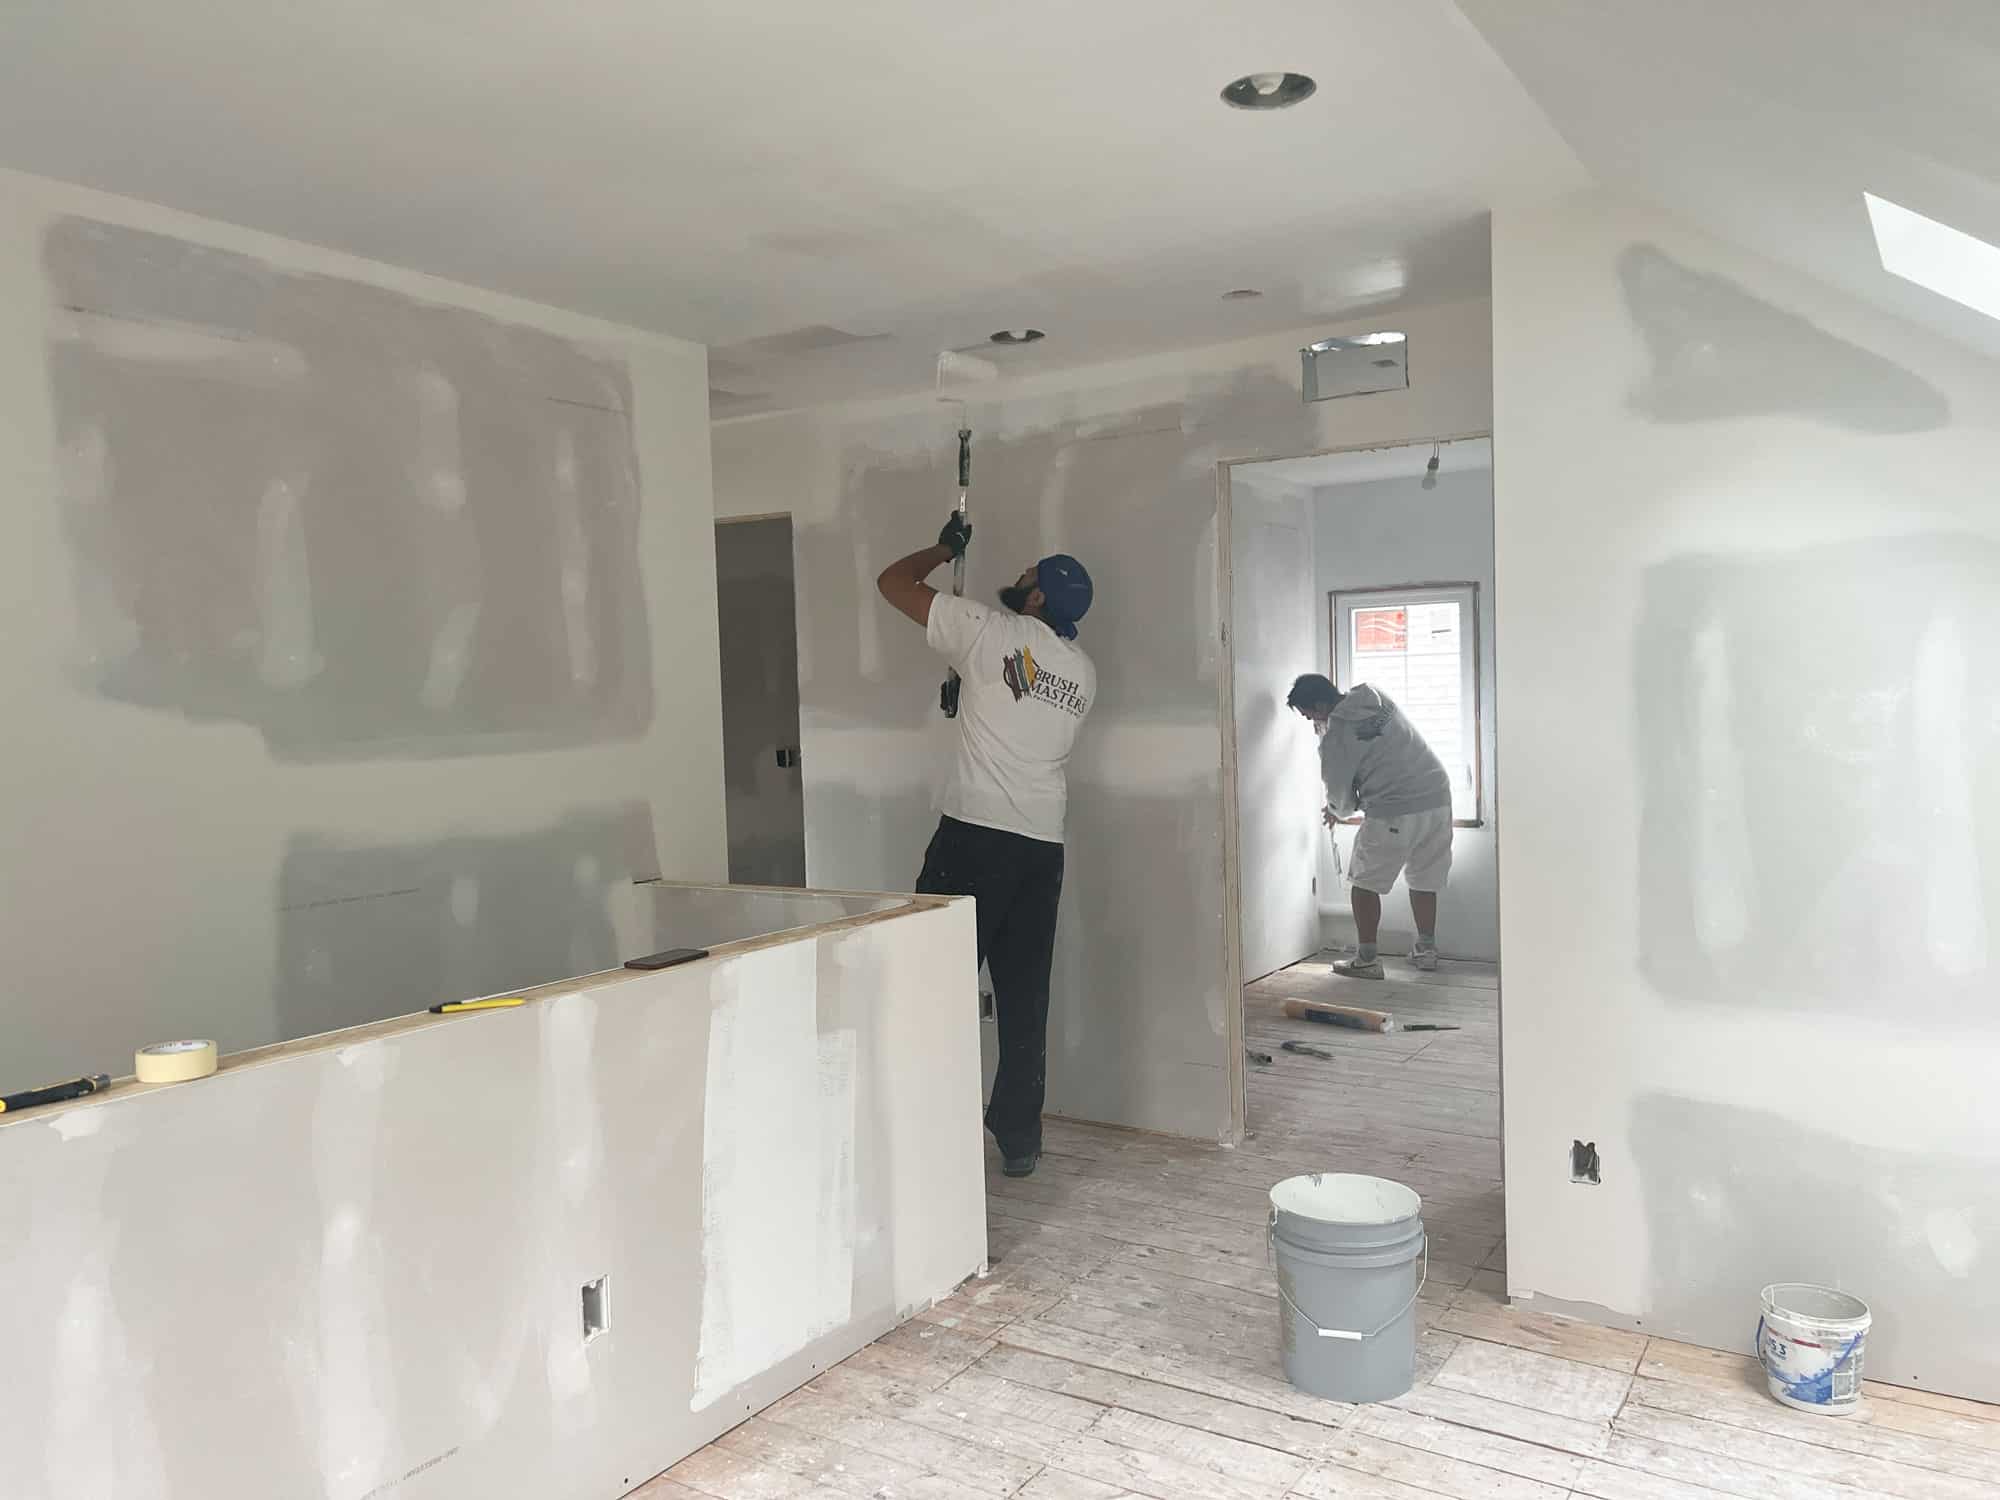
With the drywall sanded, our priming crew came to the site to put on the first coat of paint. Priming the walls and ceilings helps to seal the remaining plaster dust left from the sanding process.
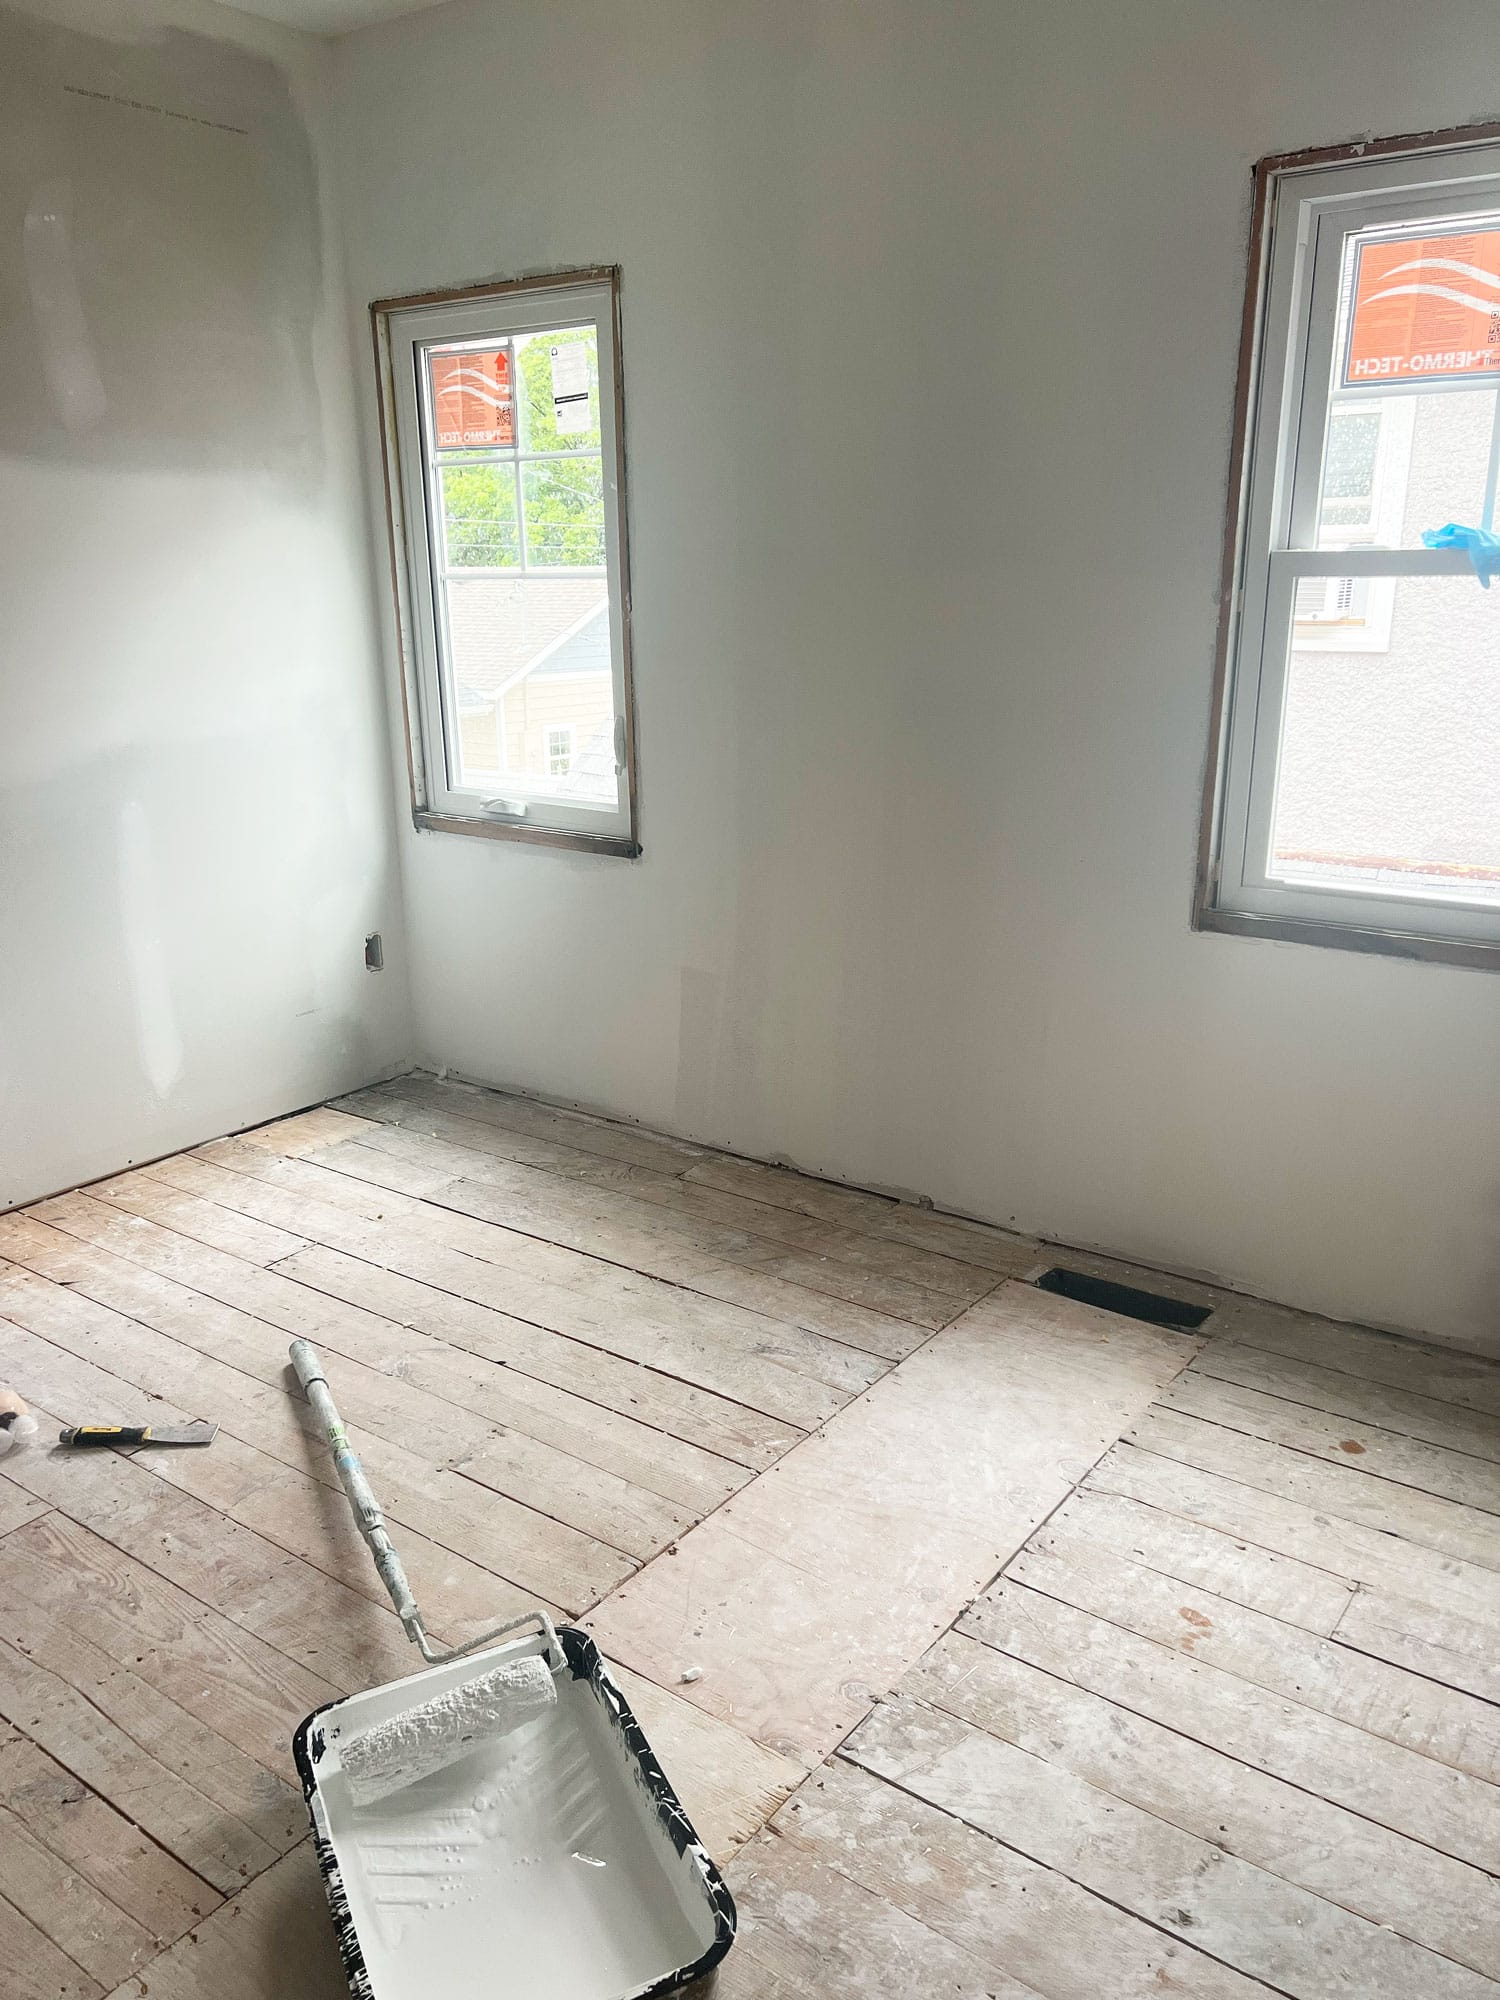
Painters apply the first coat of primer to the ceilings and walls using a simple roller. The final painting will take place in a few weeks.
We’re here to help! Check out our planning resources below, or reach out to us here.
Learn what it costs to remodel an attic in the Twin Cities, and what factors drive those costs.
Here's the step-by-step process that ensures you’ll have a remodel you love.

The Twin Cities are filled with story-and-a-half homes that are perfect for a certain kind of addition, called a shed dormer. Learn more about this popular remodeling project.