
How Much Does it Cost to Remodel a Basement in the Twin Cities?
Are you thinking about a basement remodel and wondering how much you’ll need to invest? See the cost breakdown for remodeling a basement in the Twin Cities.
Follow along as we begin a main level addition and basement remodel for a South Minneapolis bungalow.
Now that the cabinets are installed, we’re working on getting the final interior finishes, selections, and fixtures installed throughout the remodel for this South Minneapolis home, from tile backsplashes to millwork. Let’s take a closer look at some of the most recent updates plus a sneak peek of the completed kitchen addition and basement remodel.
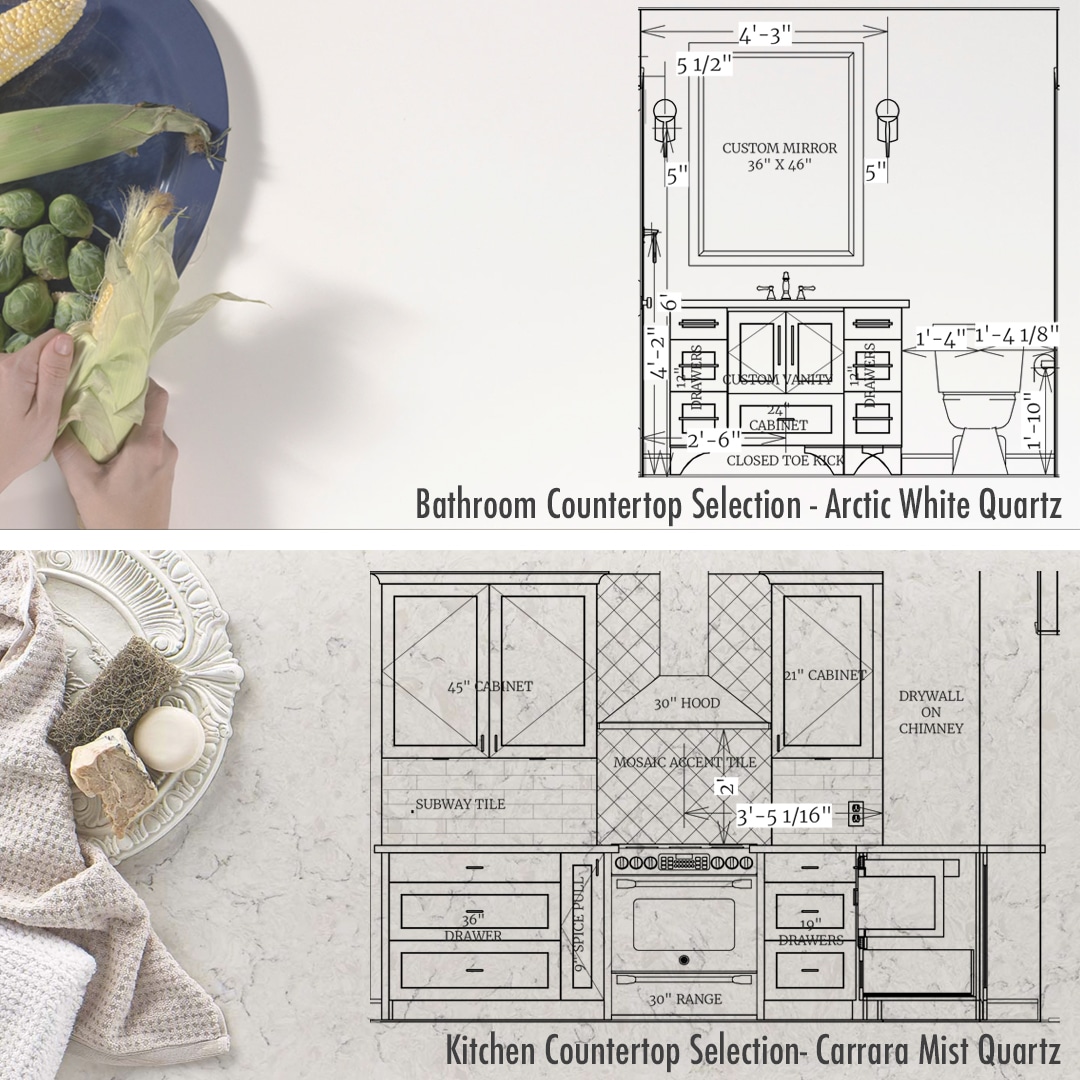
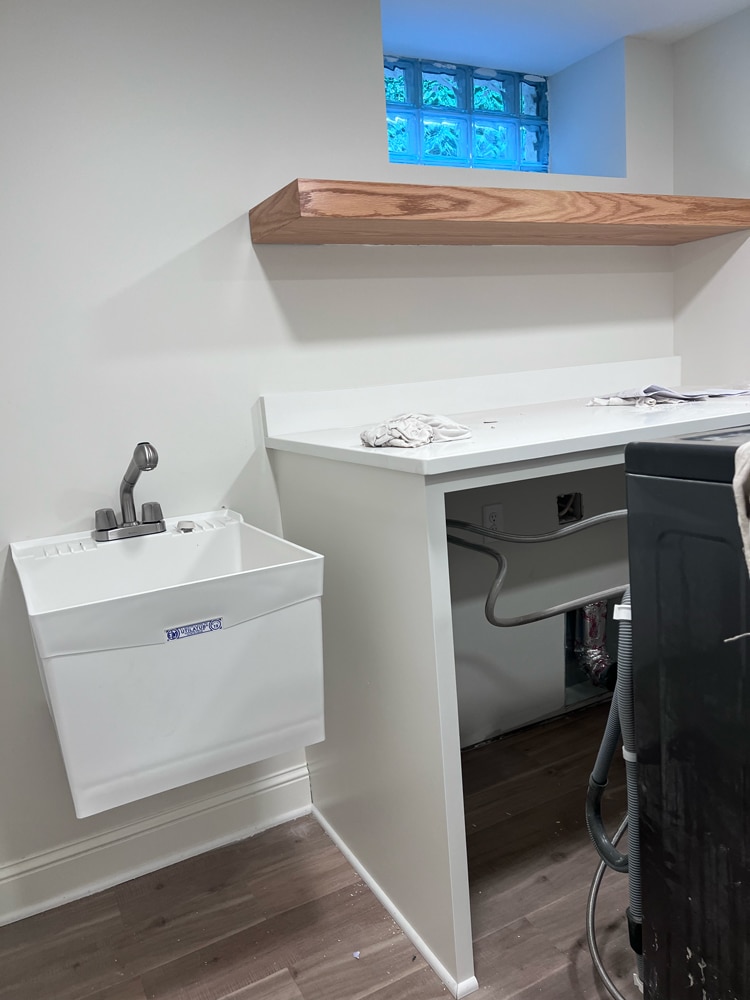
New countertops were needed for the kitchen and main-level bathroom. We scheduled the countertop company to come to the site directly after the cabinets were hung and finished. Their team used a computer-enabled process to capture precise measurements that produced incredibly accurate countertop shop drawings, drawings that outlined exactly how the countertops would be detailed. We then reviewed and approved the drawings after working through any final changes noted by our team and the homeowners. Apart from accuracy, we also checked where seams might land and ensured that the countertops were drawn to match the specs for the sink and faucet selections. Once the “shops” were approved, the quartz countertops were cut to size, delivered, and installed by the manufacturer. Note the rounded, eased edges on both countertops, a detail that not only looks good but makes accidentally bumping into one slightly less of a nuisance.
Selections:
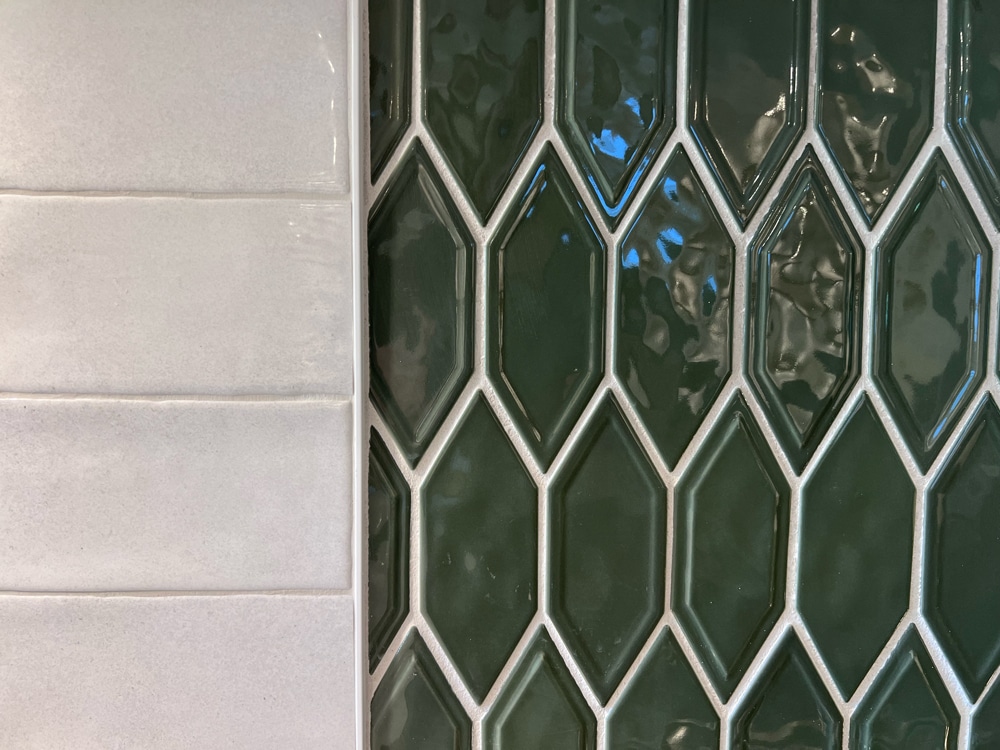
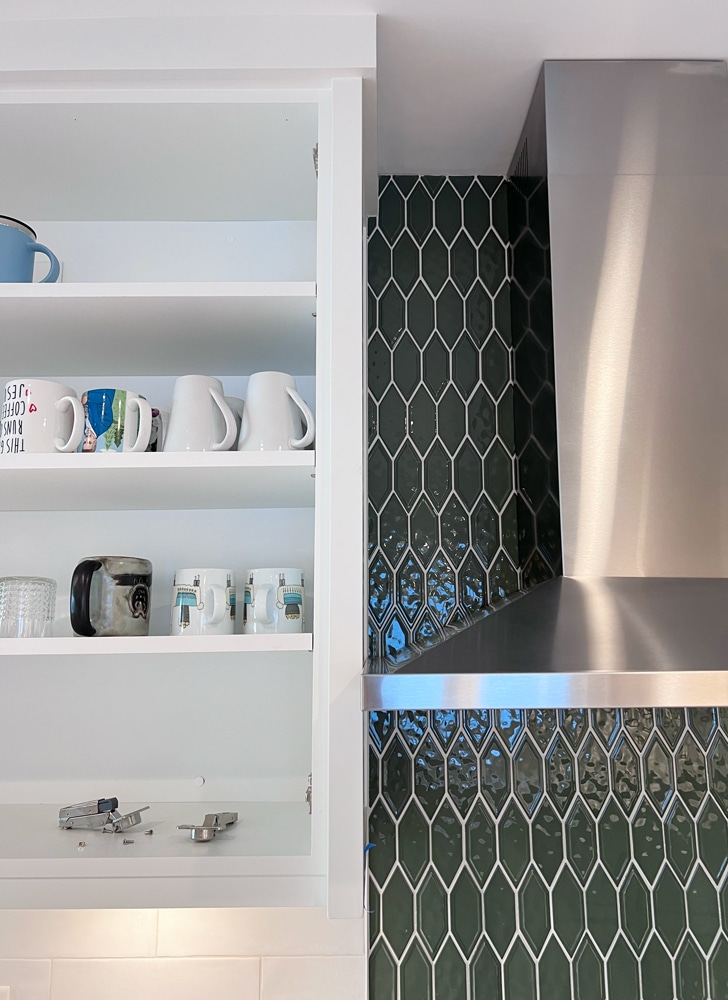
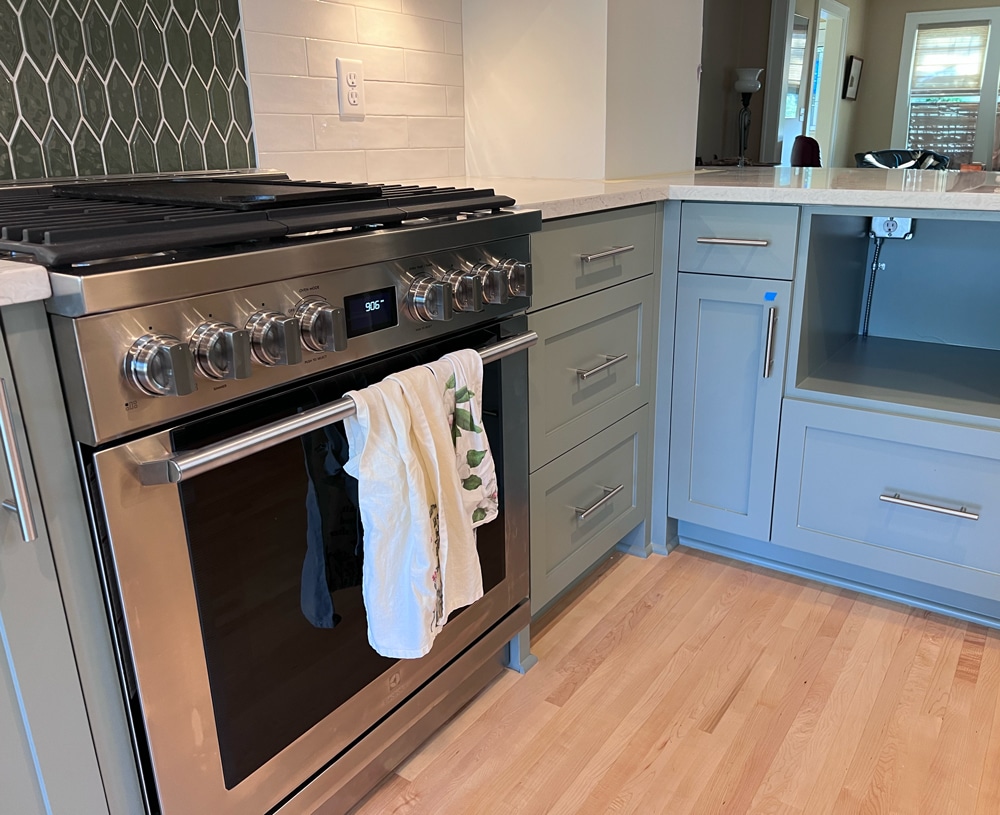
With tile selections finalized during the design phase, cabinets hung, and countertops installed, we began tile work in the kitchen. Installing the backsplash involved setting two different tiles at varying depths. We used the centerlines of cabinetry to establish the starting point for the tile pattern. Installation took about two days and involved setting the individual tiles in mortar, grouting the work, and then cleaning off the vibrant tiles.
Selections:

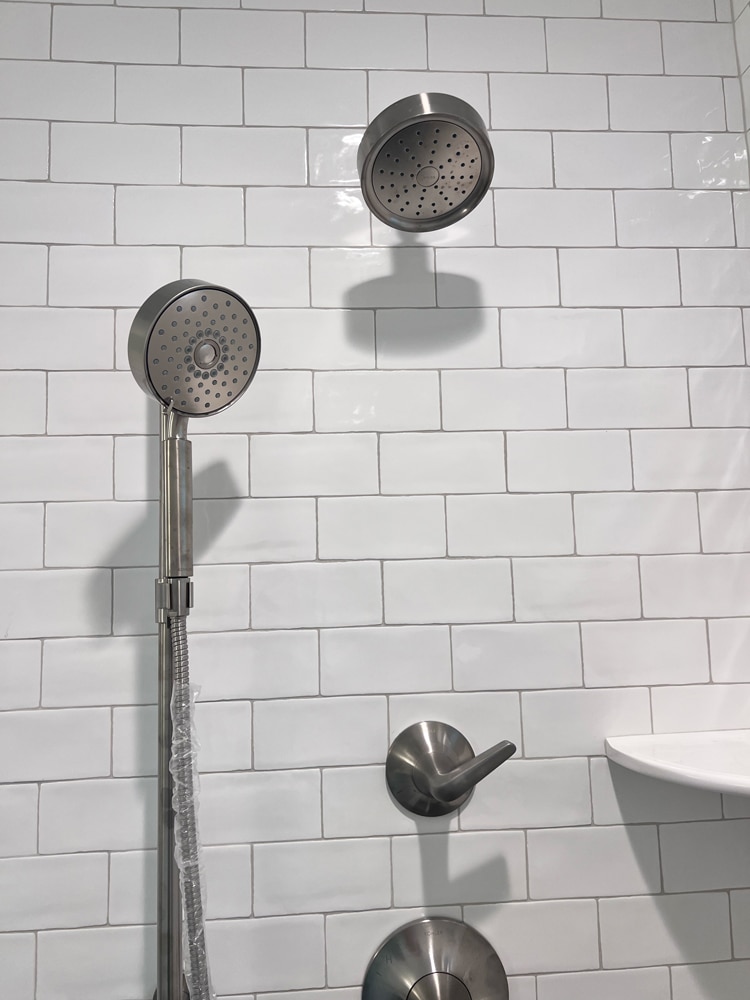
While we’ve talked about floor tile before, let’s also review the two shower tile selections. First, we covered the shower pan with hexagonal, gray floor tiles, paying extra care that our waterproofing was done well. Our tile settler then applied the wall tile in a pattern known as a “running bond,” where tiles stack above and below one another at their centerline.
Selections:
“The tile in the kitchen went in after the countertops. On one wall, we used the kitchen sink to determine the centerline of the tile, which is then centered on the cabinet below and window above.” – White Crane Project Manager
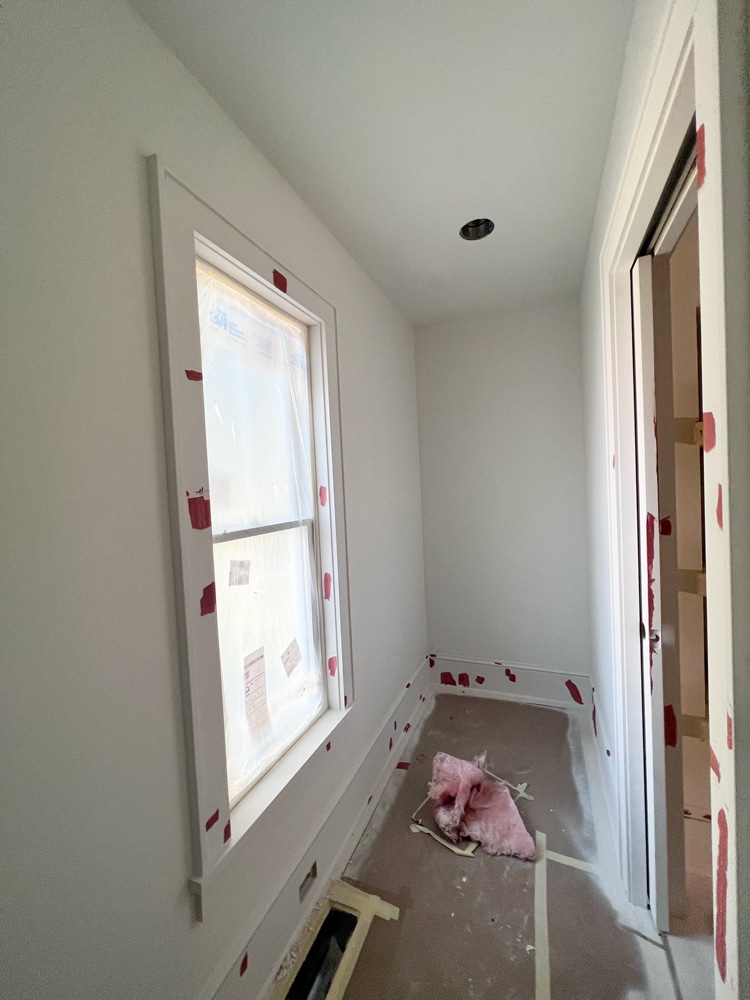
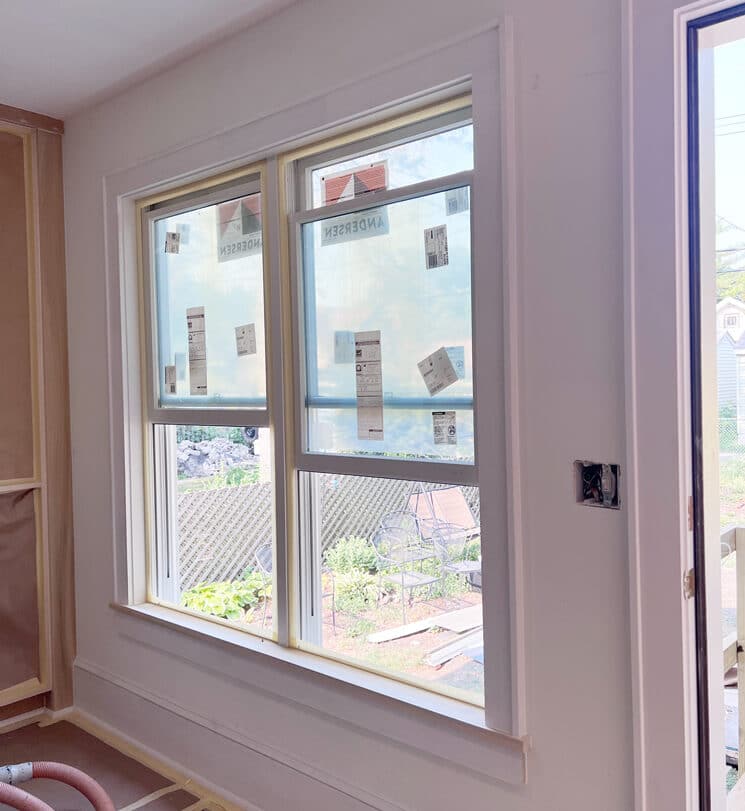
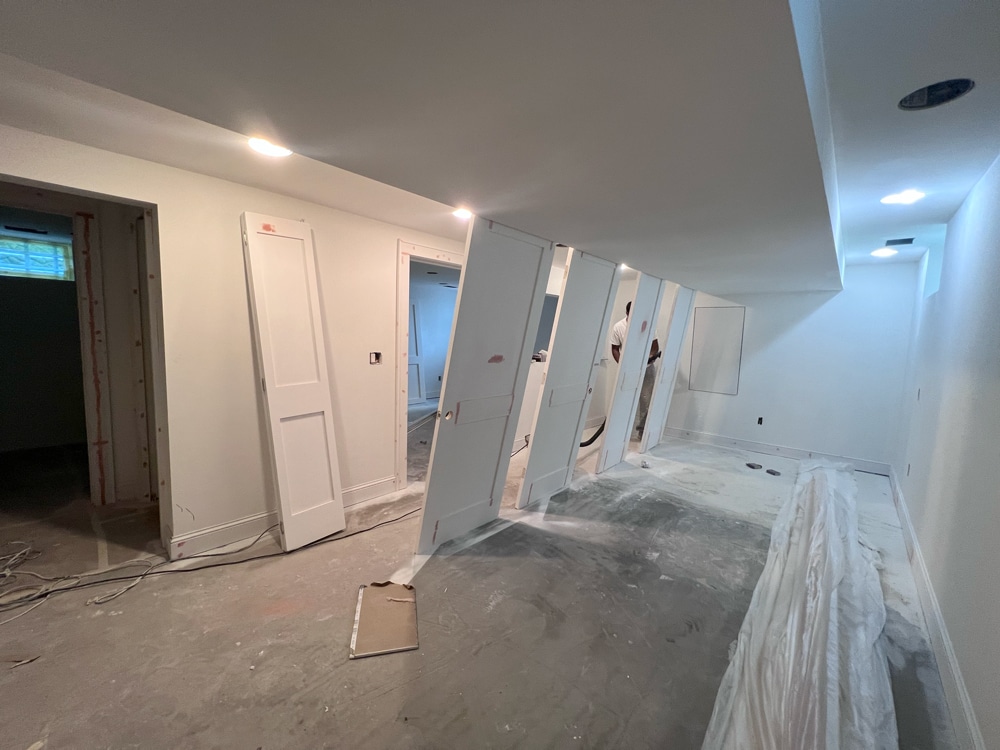
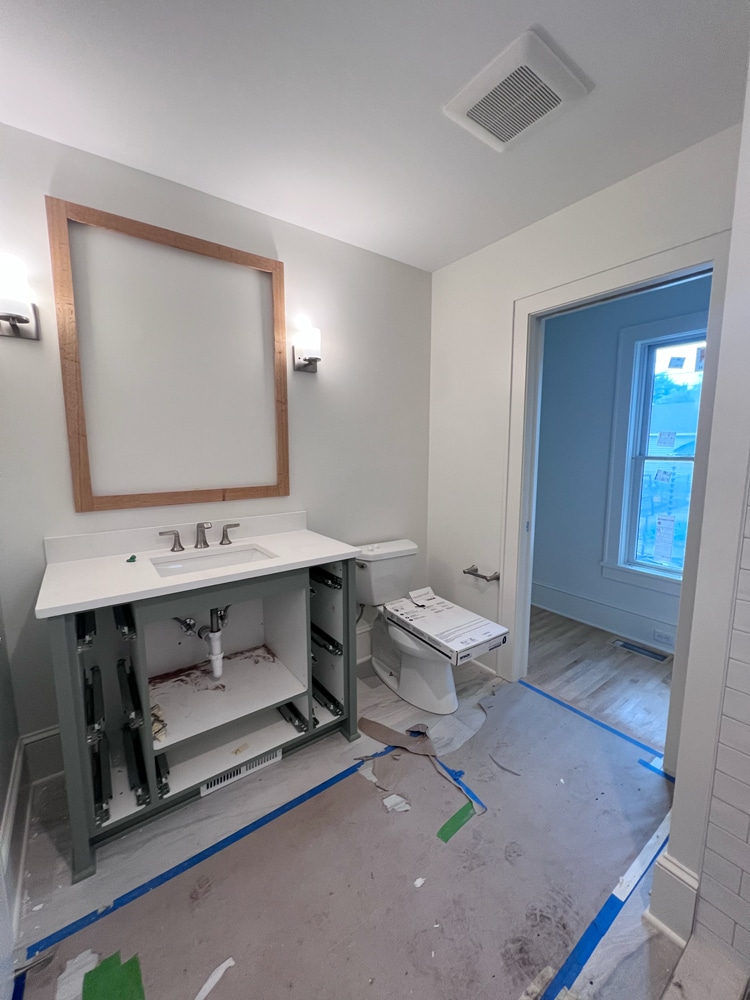
When selecting millwork profiles, our team has to decide when to match an existing profile and when to deviate. Details that mimic any original profile will help unify remodel work with the remainder of the home. In this South Minneapolis home, windows installed as part of the addition have a thick sill and apron profile with a wraparound backband that is butt jointed and mitered to closely match windows across the home. This traditional window detail is common for Twin Cities homes like this one. The timelessness of the simple profiles is worth preserving throughout the addition. Similarly, the new two-panel doors installed in the bathroom and within the lower level offer continuity throughout the 1919 home, with a beading profile that is a near-perfect match to any original door panels along the main level.
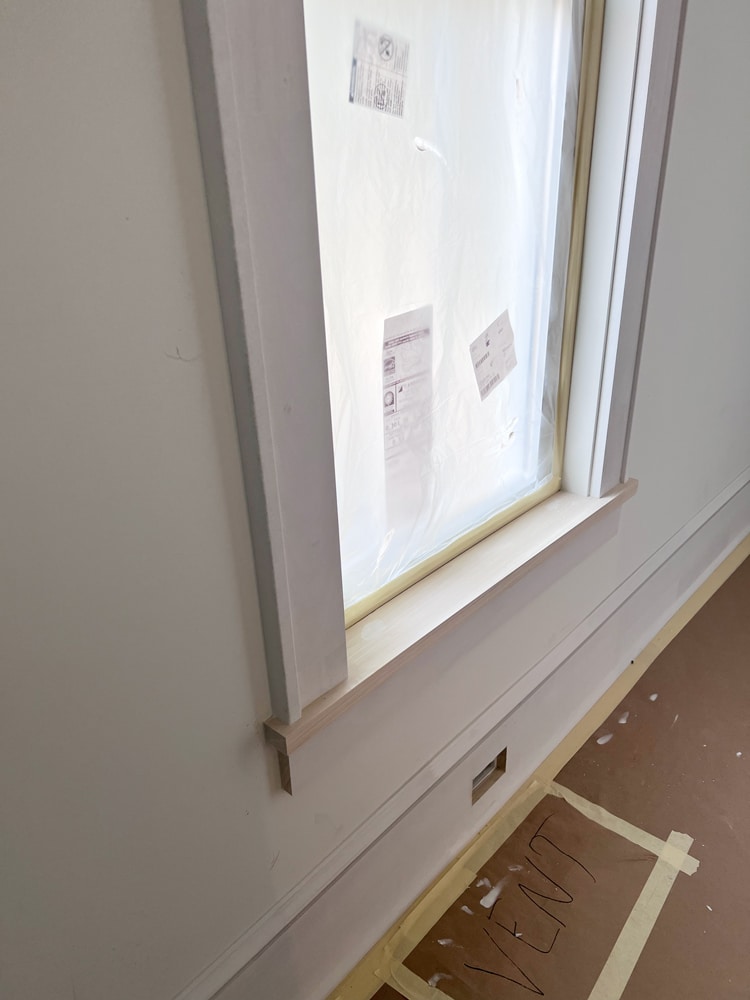
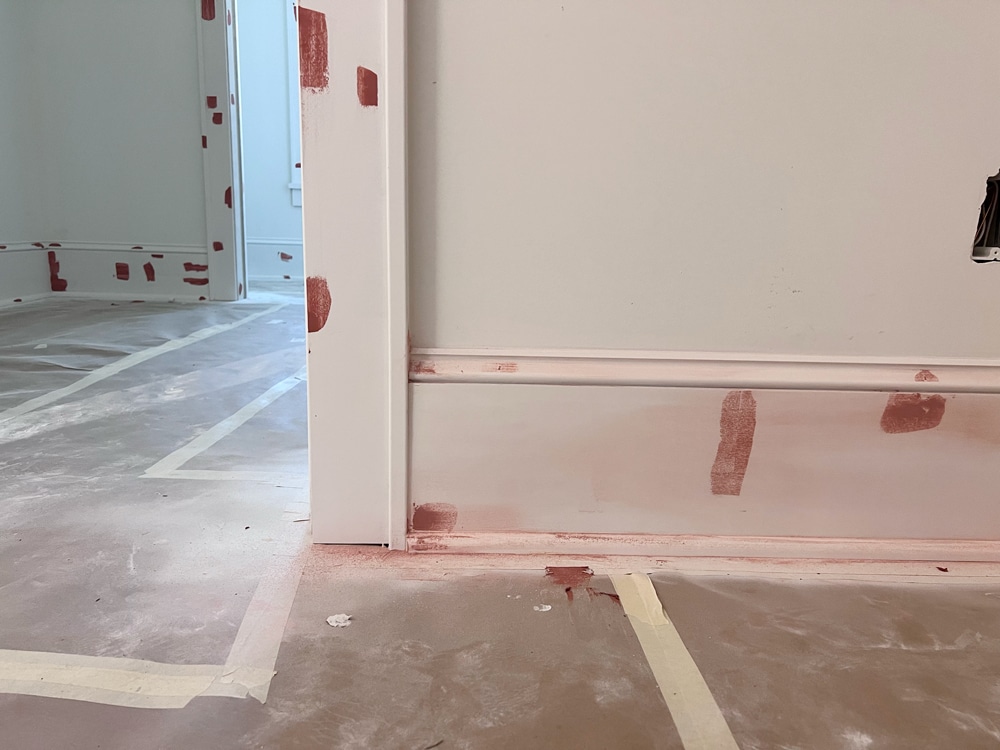
While matching existing conditions creates seamless transitions between a remodel and the rest of the home, there are times when breaking a precedent is valuable. Including novel selections can elevate the home with small yet exciting architectural moments. And while honoring existing conditions is important, doing so may not be the best use of the budget. For example, while crystal knobs would have been appropriate to the age and style of the home, opting for a more contemporary knob works well with the updated design scheme. We also found that slightly altering the new base profile from that of the rest of the home was a better choice for the remodel. This base is actually composed of three pieces of trim: a bottom shoe, a flat 1x board, and a decorative cap. The larger base honors the existing base profile without being an exact replica, a decision that preserves the budget given the much higher price tag of custom-made millwork.
With the end of the project nearing, we’re organizing the installation of the new fixtures and appliances selected by the design team and clients. We typically start this processes at the end of a remodel to limit the possibility of any selections being accidentally damaged by heavy tools or accidental spills. For most of our appliances, we work with the suppliers to schedule delivery and final installation according to the architectural drawings and relevant product specifications. It’s our job to make sure all the rough-ins, like gas and water lines, are ready ahead of time.
Often times our clients will opt to keep several appliances, which is an excellent way to conserve budget when planning for a remodel! In that case we reinstall the appliance along with anything new. While the homeowners initially kept their existing refrigerator, they later opted to replace it with a 36″ Electrolux French Door refrigerator with a deli drawer.
White Crane Project Manager
Kitchen:
Main Floor Bathroom:
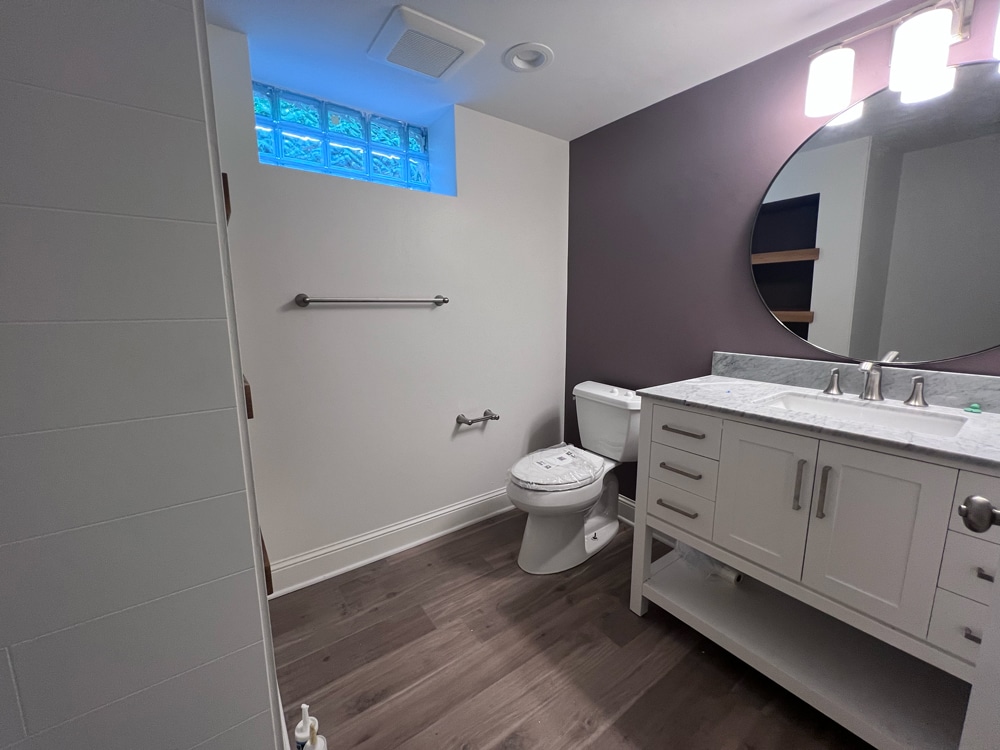
Basement Bath:
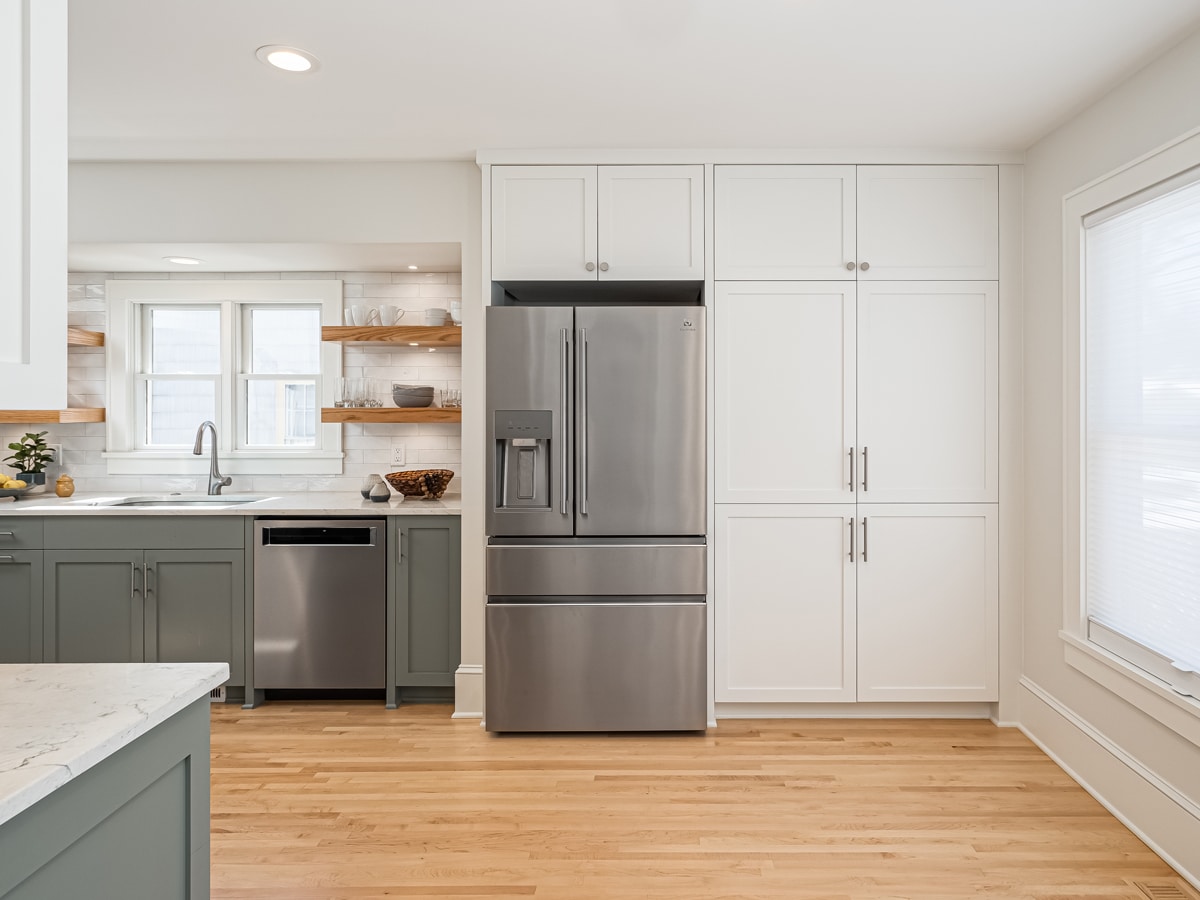
Here's a sneak peek of the finished interior! The clients upgraded to a 36" Electrolux French Door refrigerator during the project close-out.
We’re here to help! Check out our planning resources below, or reach out to us here.
Are you thinking about a basement remodel and wondering how much you’ll need to invest? See the cost breakdown for remodeling a basement in the Twin Cities.

So you’d love to upgrade your kitchen or add a shed dormer with a primary suite, but you’re not sure how to pay for it? Learn about three ways to finance your remodel.

The Twin Cities are filled with story-and-a-half homes that are perfect for a certain kind of addition, called a shed dormer. Learn more about this popular remodeling project.