How Much Does it Cost to Remodel a Kitchen in the Twin Cities?
Are you dreaming of a new kitchen and wondering how much you’ll need to invest? We breakdown the costs for two kitchen remodels and what factors drive those costs.
Follow along as we remodel this Conway area home’s first floor and upper level.
We’re working towards installing tile in a few key areas throughout this multi-level home remodel. Selections for the upper level primary bathroom were among the hardest for the homeowners to decide on. Let’s see where they landed and how the construction is going within this St. Paul Cape Cod.
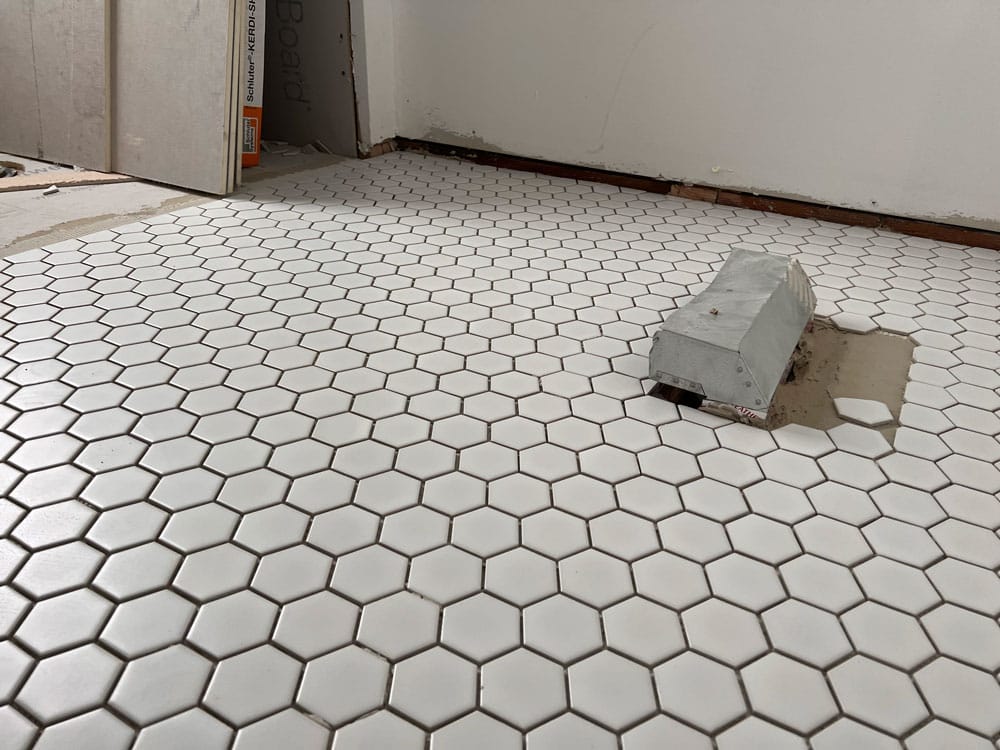
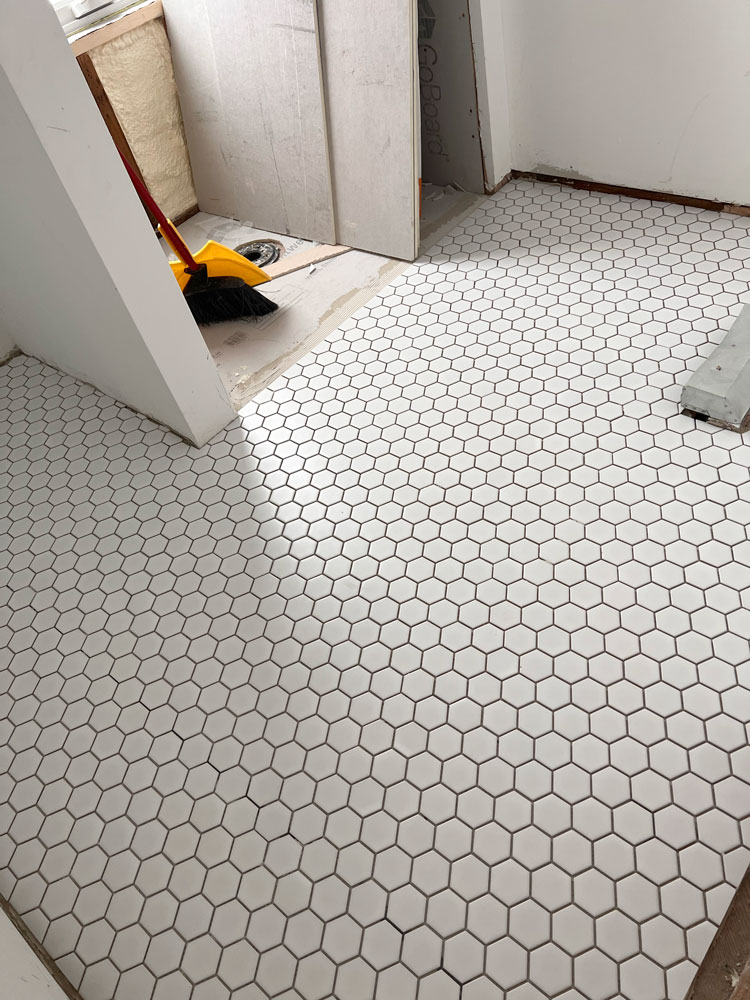
The team is focused on getting the Serenity White 2″ Matte Mosaic floor tiles installed first. The floor needed to be leveled, then all the tile sheets were laid out, secured to the subfloor with mortar, grouted, cleaned up, and covered up. Since we typically start our tile work from the floor up, we covered it as soon as the drying time ended to protect the new flooring from being damaged while construction continued.
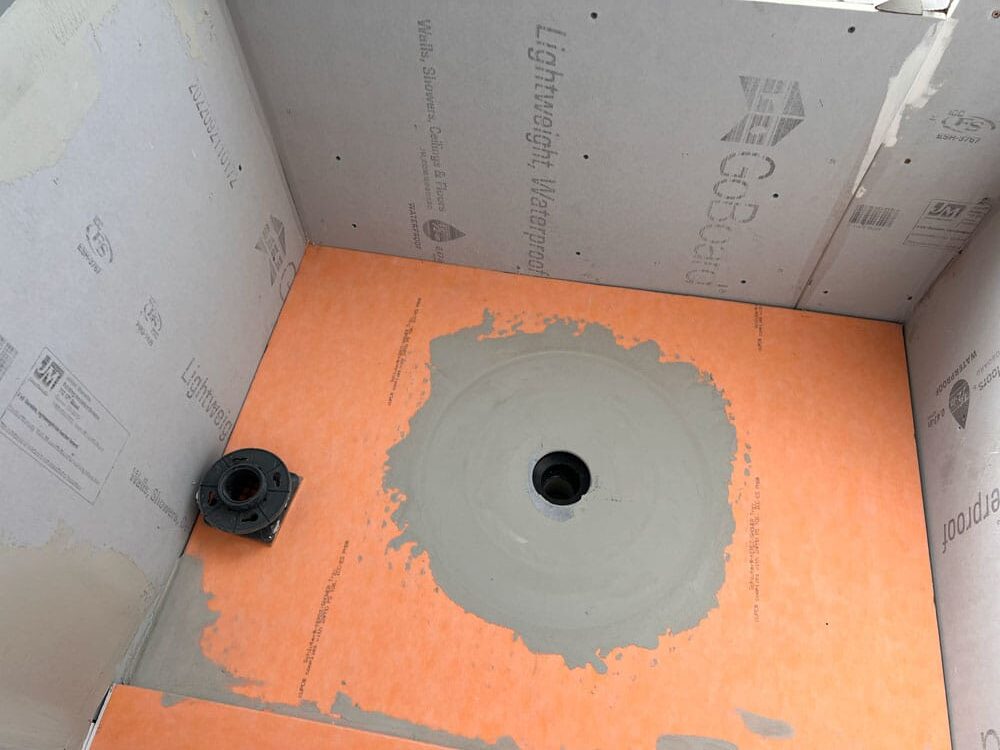
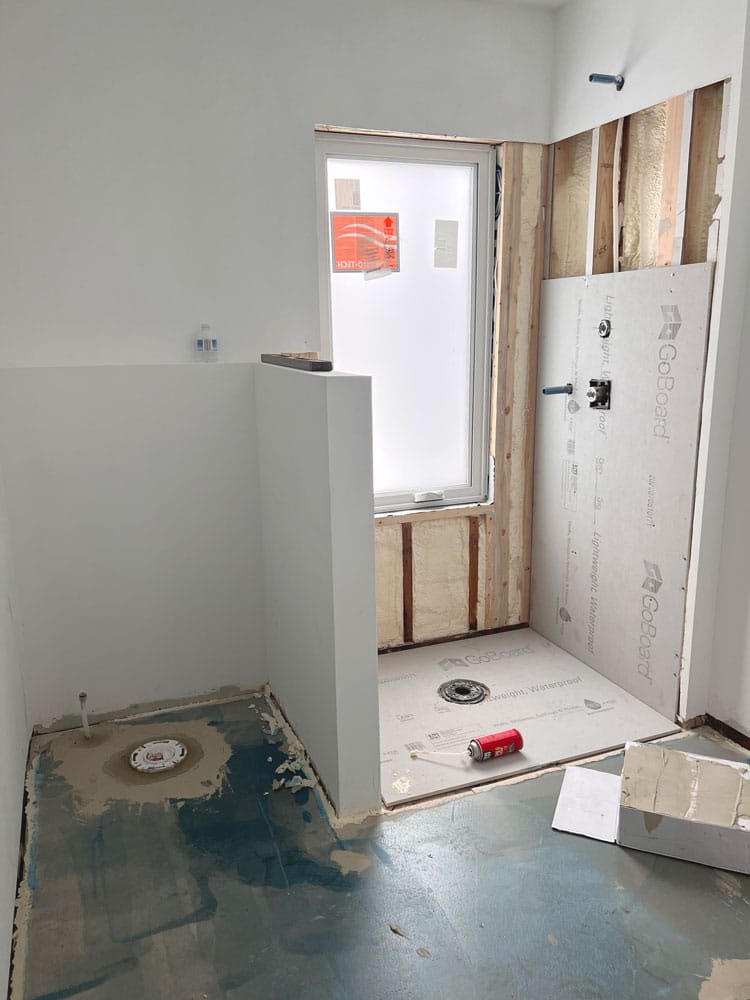
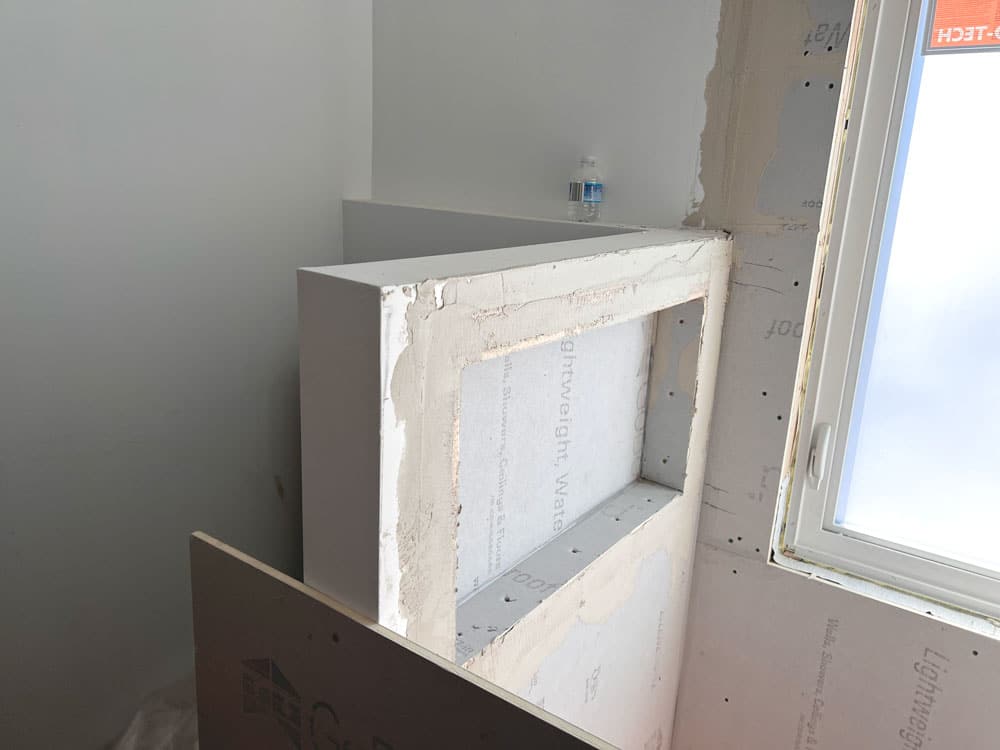
We used the same 2″ white tile for the shower floor, but there were a few extra steps to create an ideal and functional shower assembly. Our tile setter needed to ensure the shower would drain properly first, which involved constructing a shower pan and curb with the proper moisture barrier and drain system, then a mortar base, waterproofing, and a liner. The whole system was inspected before moving on to tiling.
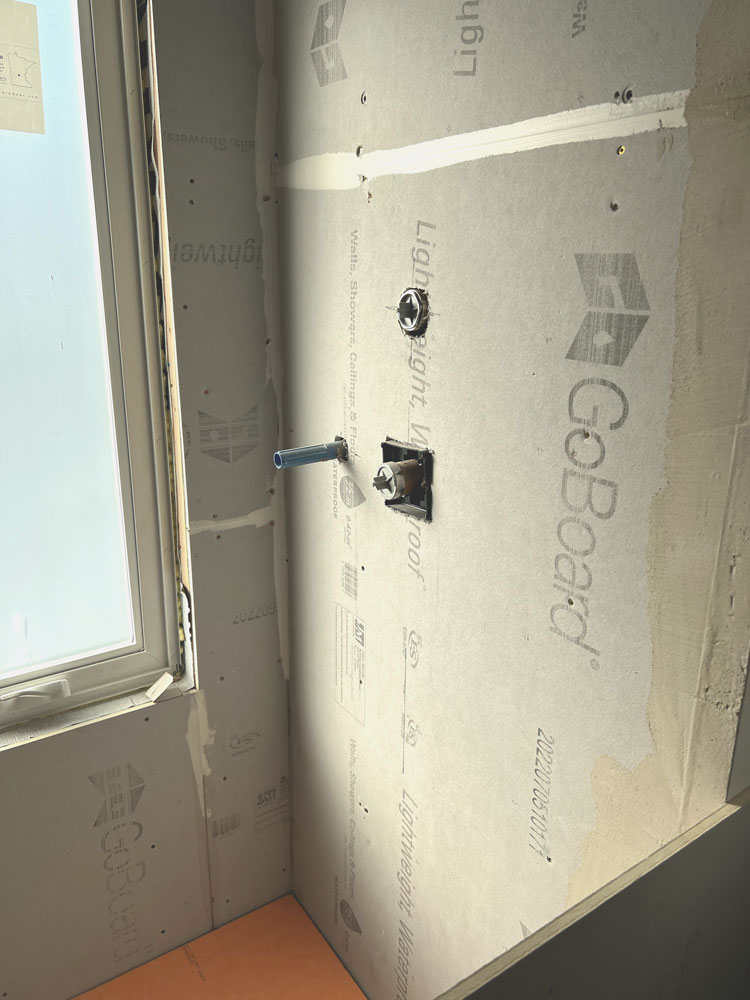
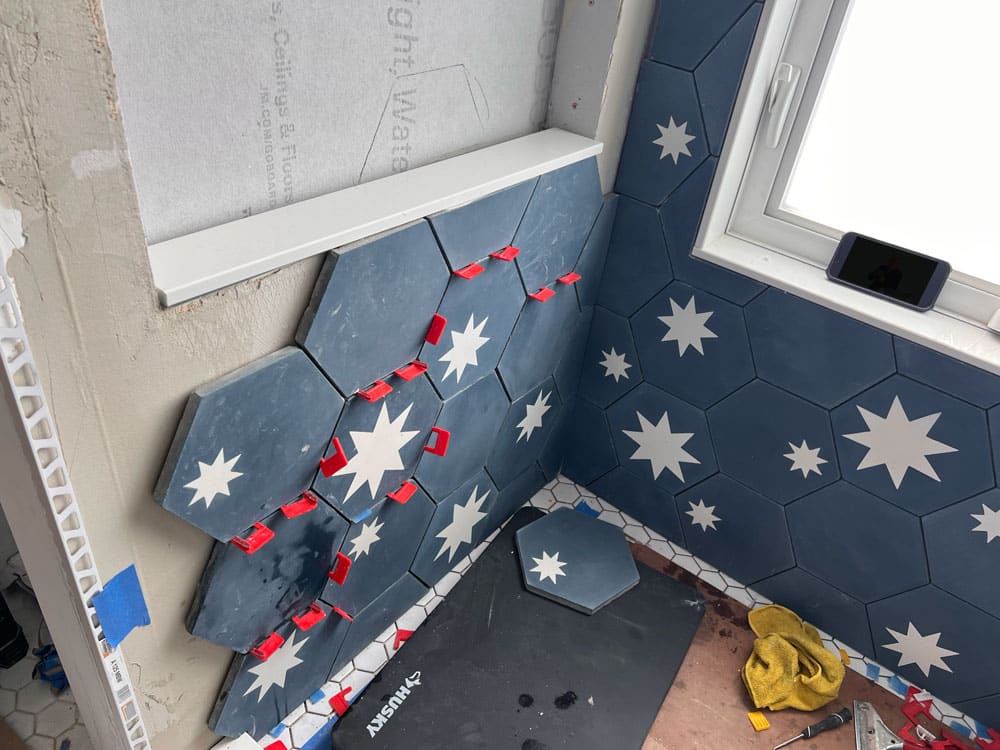
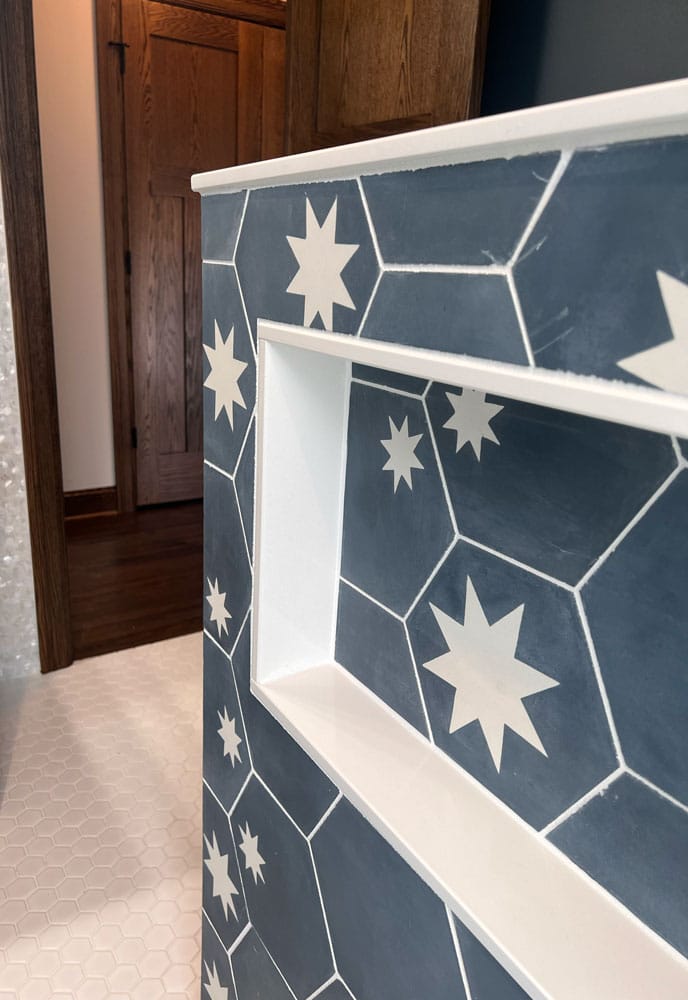
Before the starry blue shower tile could be installed, we put up cement backer board, taped it, and added a moisture barrier. We further prepared for tile application by ensuring the environment was clean and dry. The tile setter arranged the tiles in a nearby bedroom to make sure we had an eye-catching, pleasing pattern and to minimize tile cutting. He then laid tiles onto the surface of the shower assembly, pressing them into thinset mortar and separating each tile with spacers. Once all the tiles were in place, he applied #640 Arctic White grout, removing excess product and then allowing the grout to dry for about a day.
White Crane Project Manager
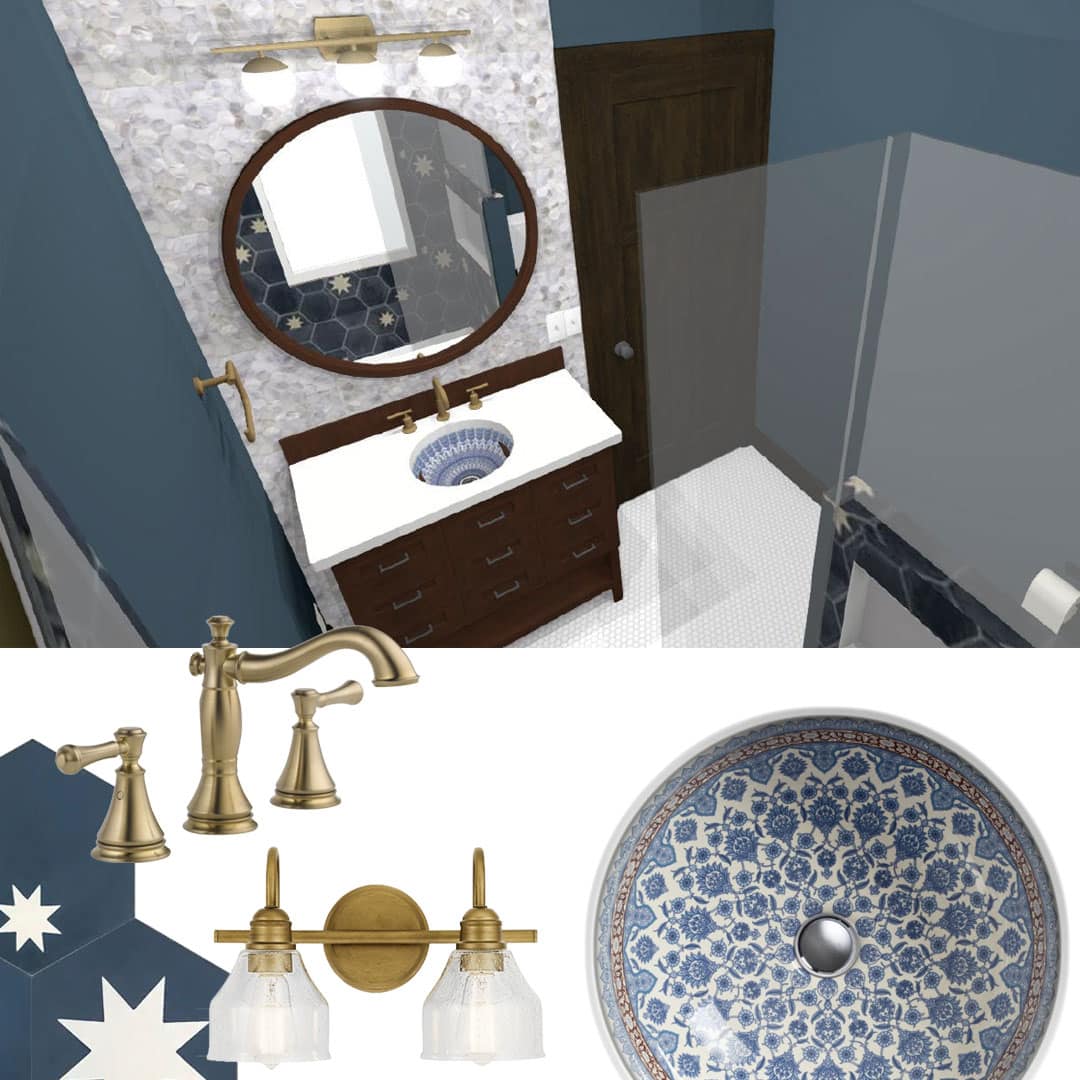
“The bathroom was probably our biggest challenge. My husband actually was the one that picked the blue in the shower. And then I found the pearl tile for the other wall. And it just kind of came together after that.” – Conway Neighborhood Homeowner
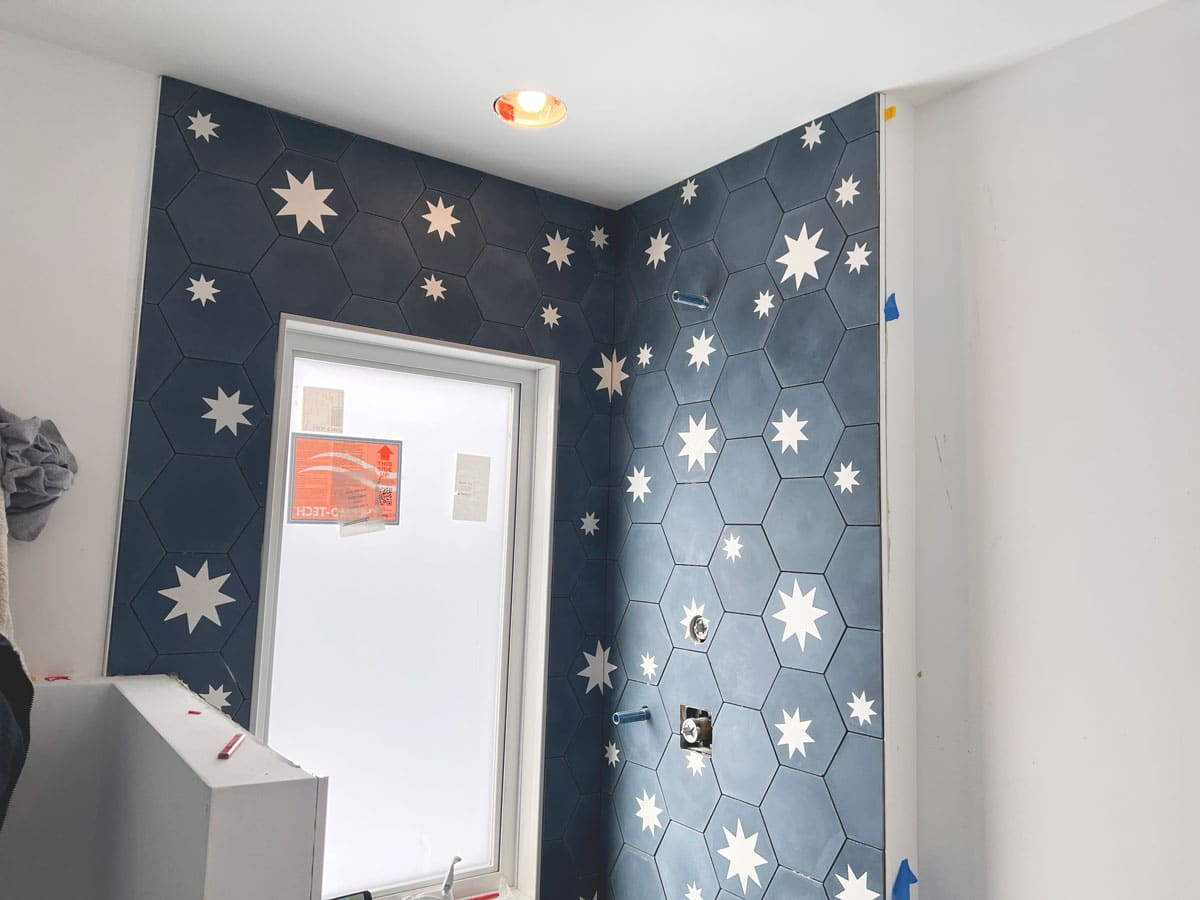
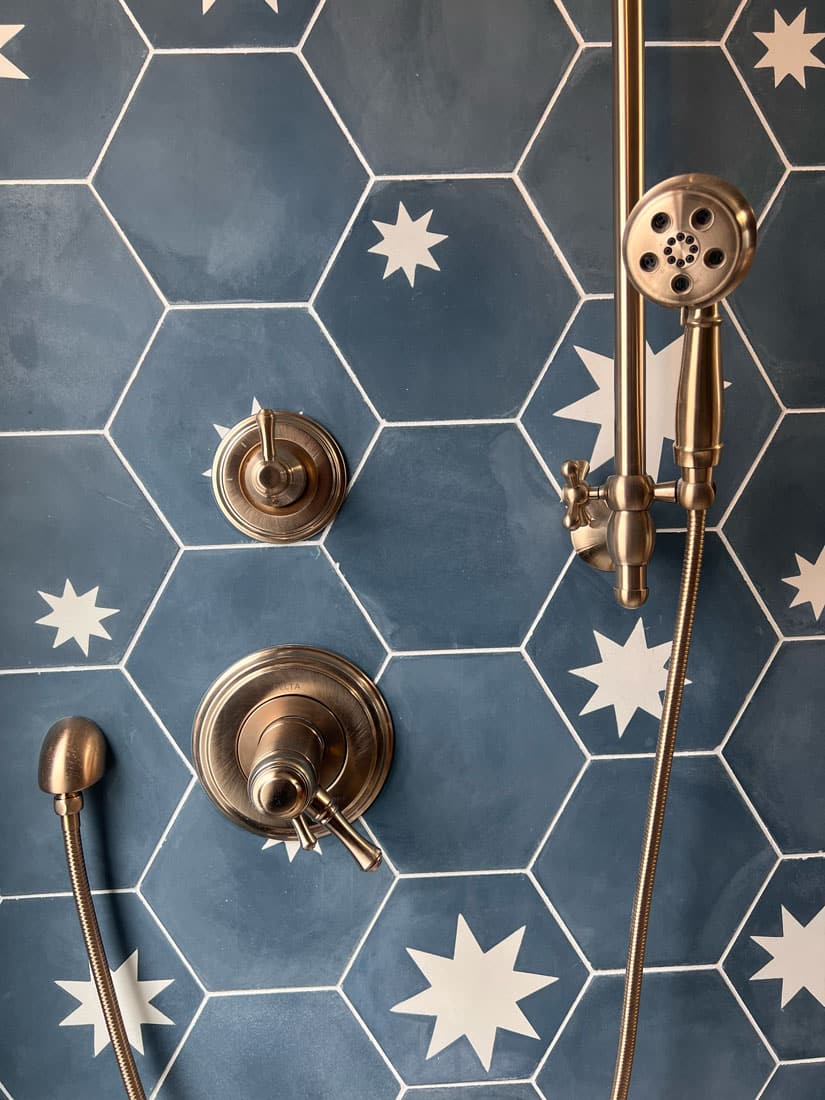
During the design phase, our clients and design team worked up three to four bathroom schemes, but something just seemed to be missing. When the Conway family found a starry blue tile for their shower, suddenly, everything seemed to come together. While the cement shower tile seemed to provide exactly what the clients were looking for, they would need to be okay with continued maintenance for this particular hexagonal tile to work for them.
Understanding upkeep is absolutely critical when making selections, because every homeowner will have a different comfort level with how materials age and the maintenance along the way. Considering the porous nature of cement tile, sealing this blue shower tile throughout the year will be critical to how it performs and looks over time. Since maintenance wasn’t an issue for our clients, the blue, starry tile was still the ideal choice.
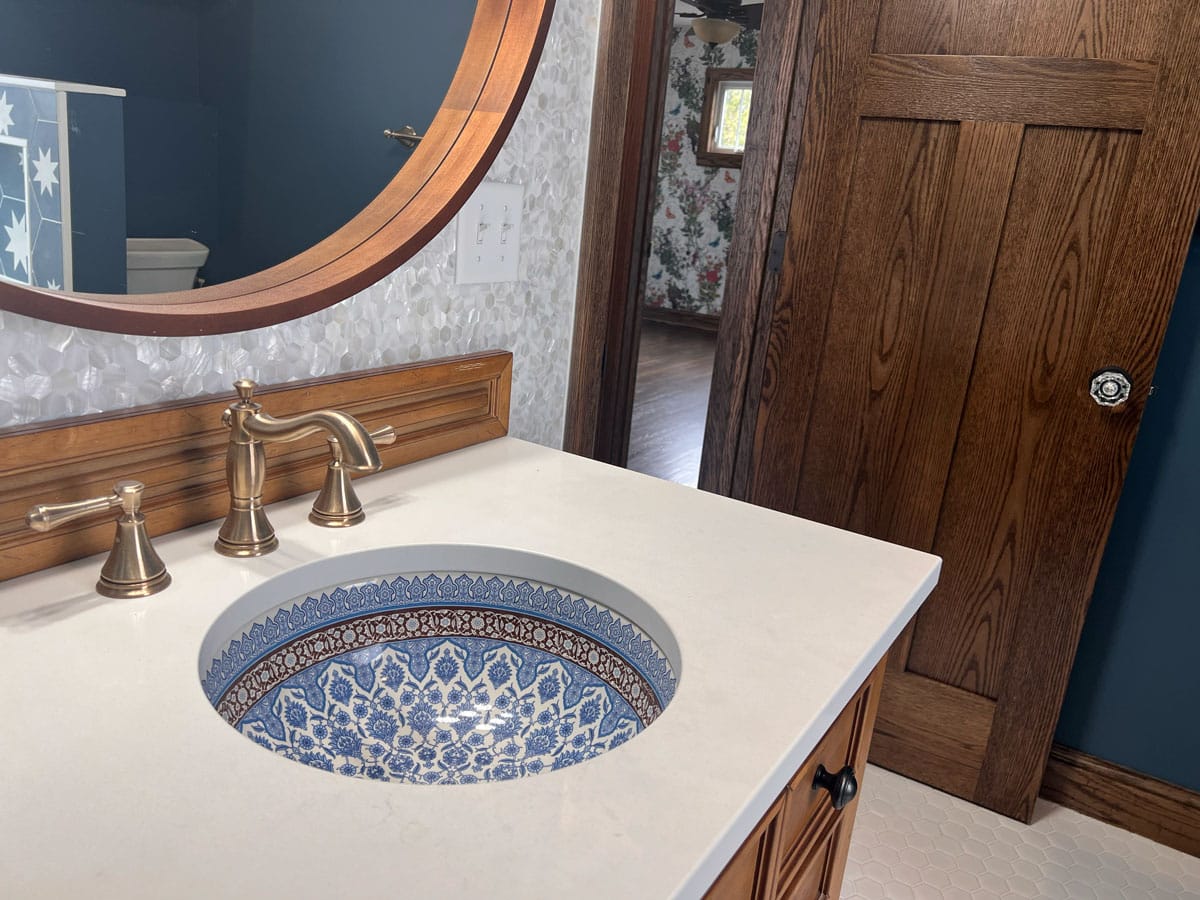
Just across from the shower is the vanity wall, accented with the Tile Bar’s Serene White Pearl polished tiles. Now that we’ve explained a little more about tile installation, take a sneak peek at how the room is coming together. Next up: We’ll talk more about the vanity as well as fixtures and appliances throughout the home.
We’re here to help! Check out our planning resources below, or reach out to us here.
Are you dreaming of a new kitchen and wondering how much you’ll need to invest? We breakdown the costs for two kitchen remodels and what factors drive those costs.

Learn why having both designers and construction professionals on our team allows us to guide clients seamlessly through the entire remodeling process.

So you’d love to upgrade your kitchen or add a shed dormer with a primary suite, but you’re not sure how to pay for it? Learn about three ways to finance your remodel.