Conway Whole House Remodel
A remodel is underway. Take a look inside.
Follow along as we remodel this Conway area home’s first floor and upper level.
Current Step
Exterior Upgrades
Exterior Upgrades
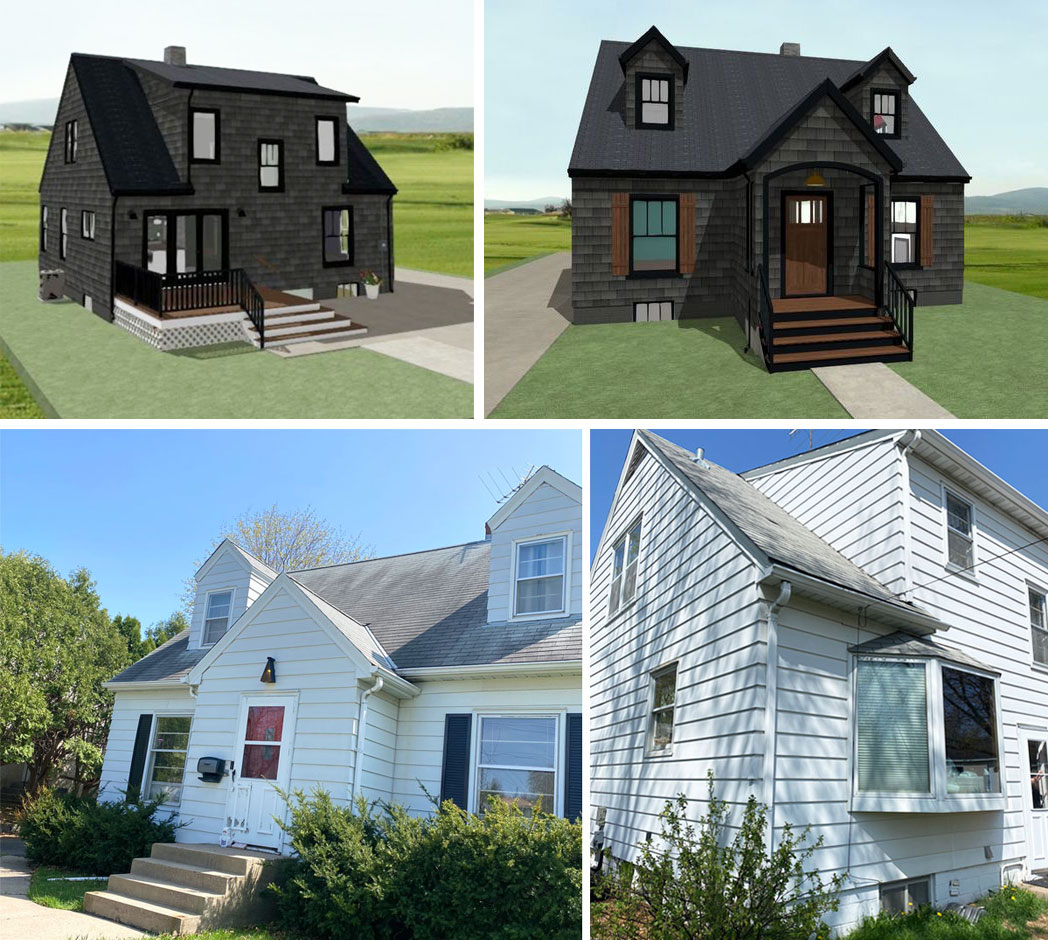
From Traditional White Home to Mysterious and Efficient
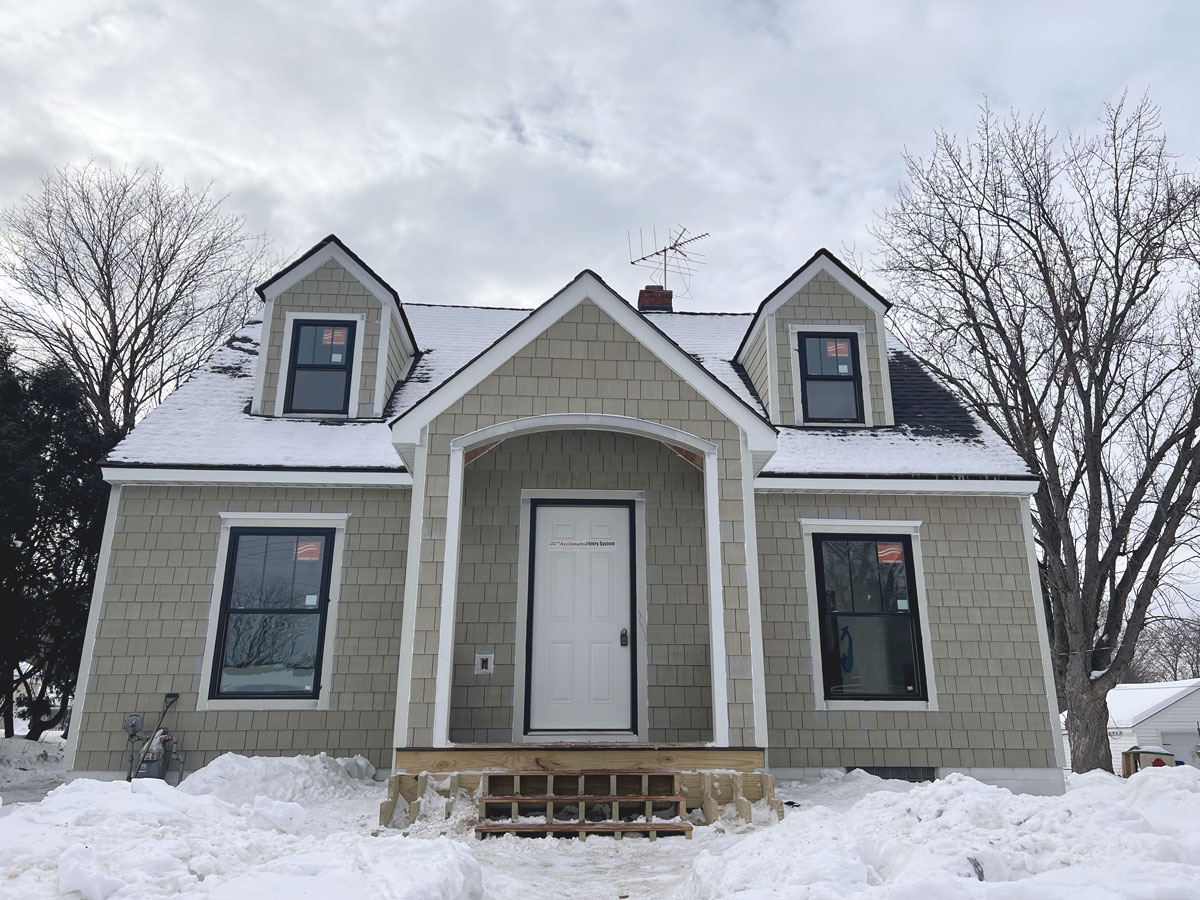
Big changes are happening across the exterior of this Conway neighborhood home in St. Paul, impacting its curb appeal, usability, and efficiency. To our clients, wholesale exterior changes like these were about feeling more represented in their home and making investments to help them stay there long-term. Let’s dive into what’s new:
- A covered front porch
- A back deck
- Windows and doors
- The roofing
- Siding
“And we were like, you know, ‘If this is where we’re going to be, let’s make the most of it, do something with class, and make an investment in us.'” – Conway Neighborhood Homeowner
Creating New Exterior Spaces Part 1: A Back Deck
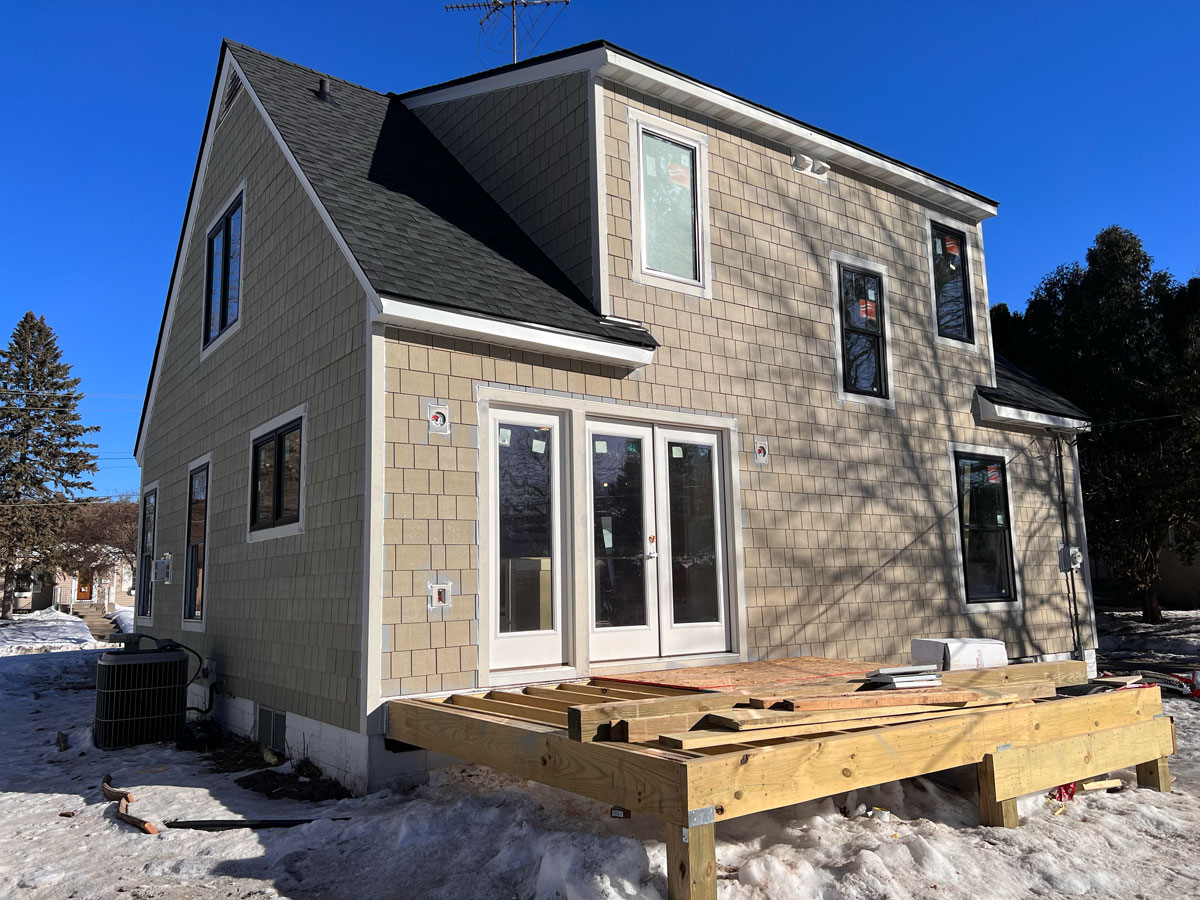
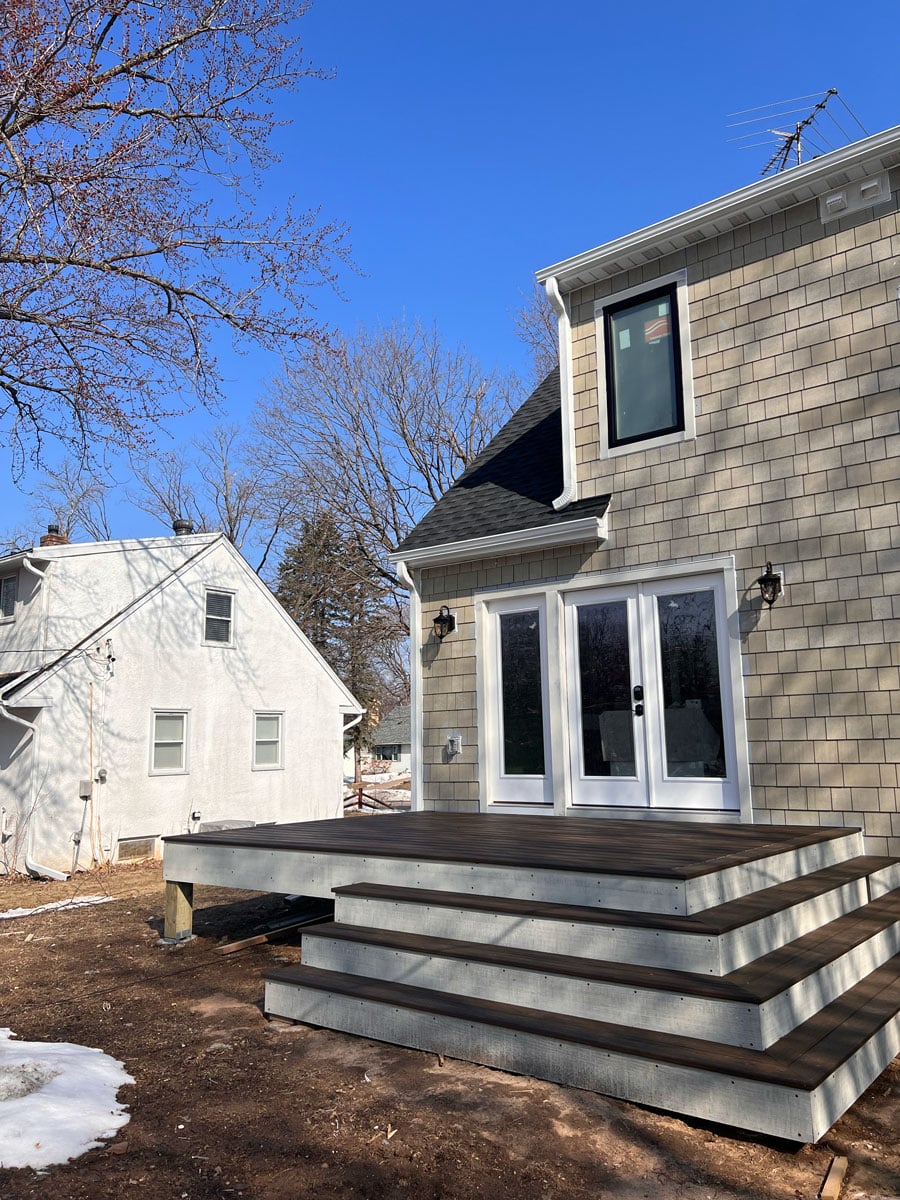
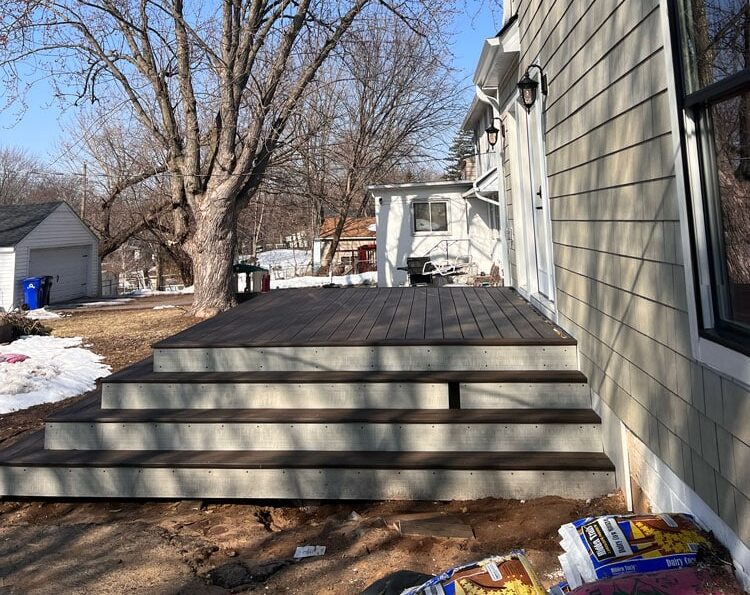
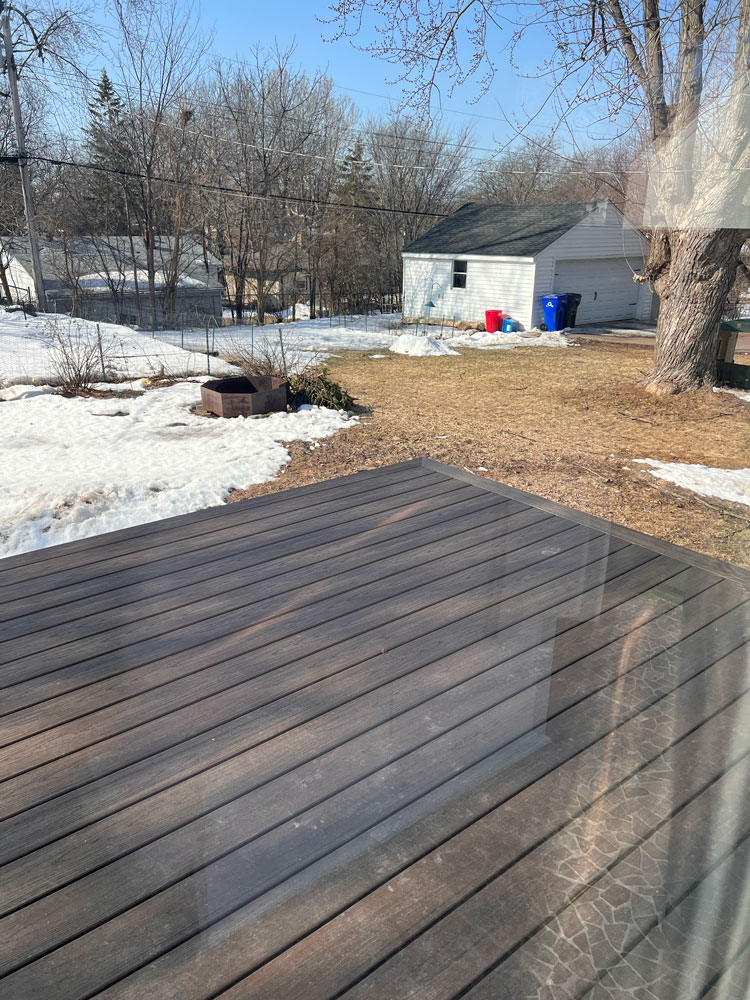
When our clients first talked to us about creating a dream home from their already beloved 1947 St. Paul home, they initially asked for an addition. But not just any addition – This one would largely serve as a solarium, a place full of green plants and sunshine. But as White Crane designers started organizing the remodel, the team realized that giving up the solarium would mean the family could totally transform two levels of their home, plus the exterior! But with their love of the outdoors and gardening clear, the design team proposed an all-new way for our Cape Cod homeowners to enjoy their backyard. At nearly 14’x13′, the resulting back deck would provide a generous area to unwind outside, with cascading steps on two sides. Though not a solarium, the creative use of budget and planning allows the family to gain new functionality in their home and garden.
Building A Back Deck
Beyond the needed foundation work to secure several posts into the earth, building the deck began with installing green-treated lumber during framing. The deck is framed with 2×10 floor joists at 12″ on center (O.C.) and then sheathed, with composite Trex decking in Spiced Rum serving as the finish flooring.
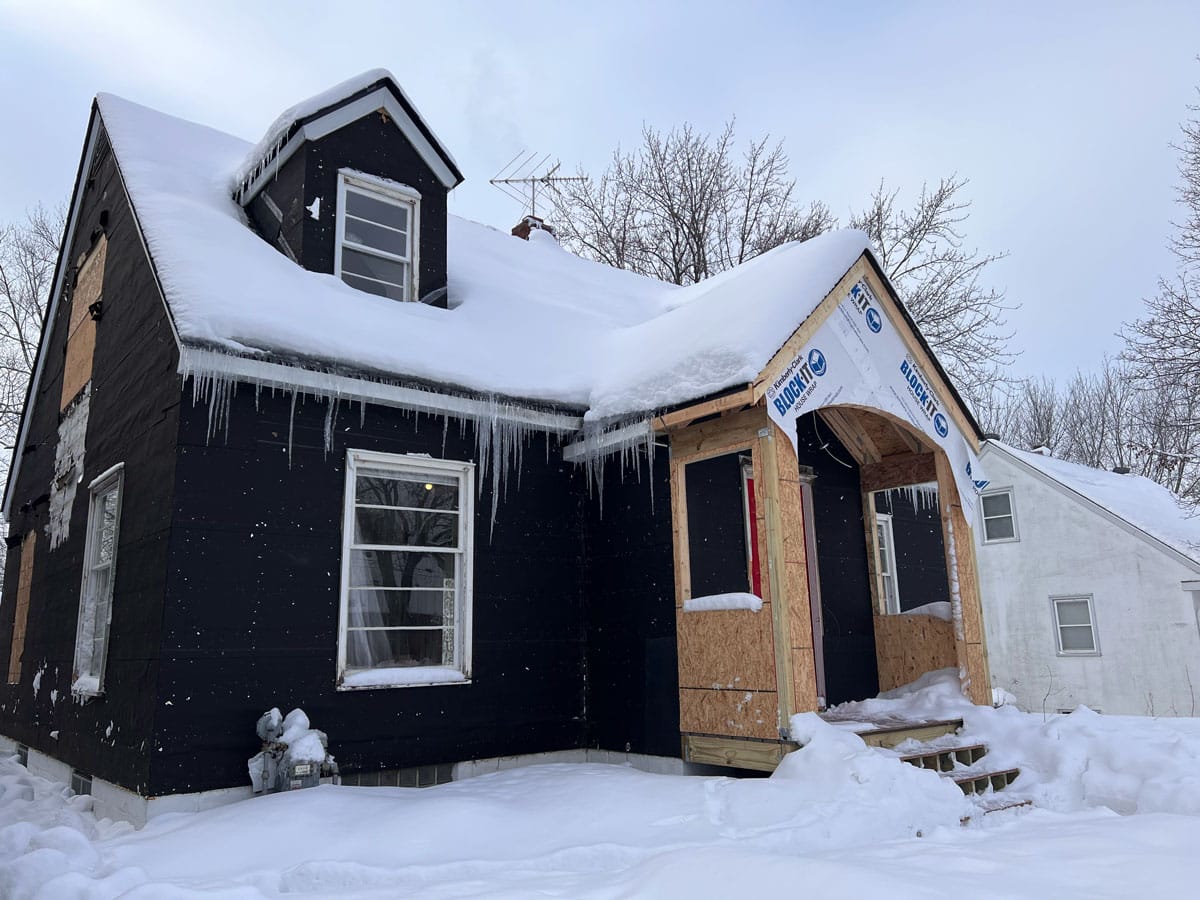
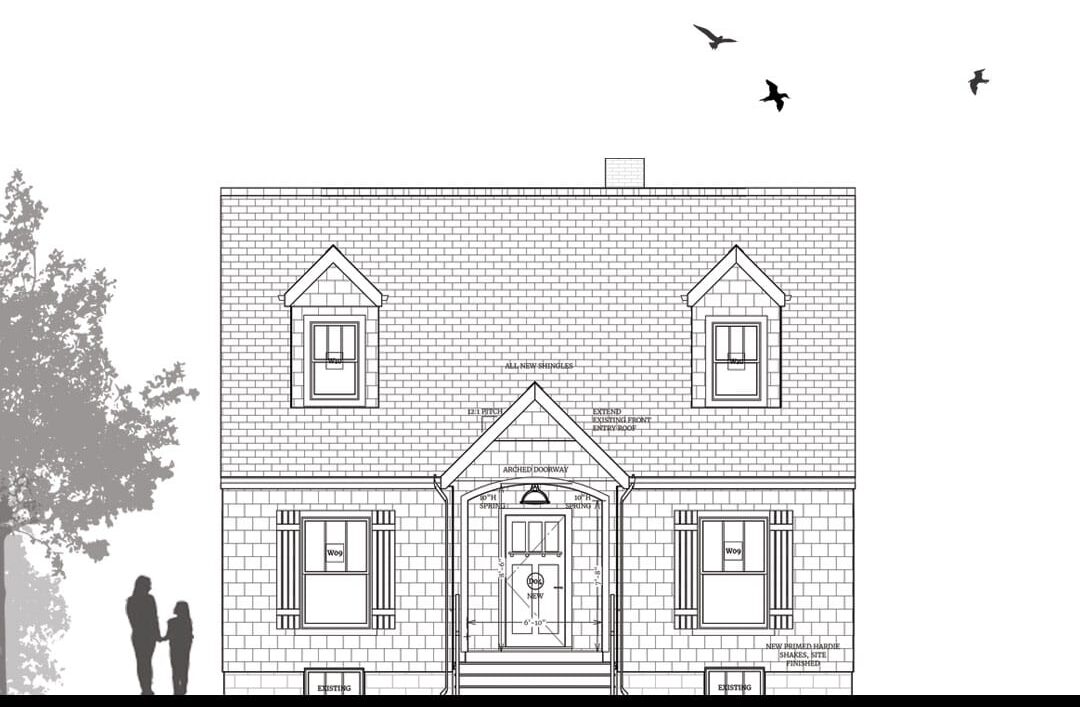
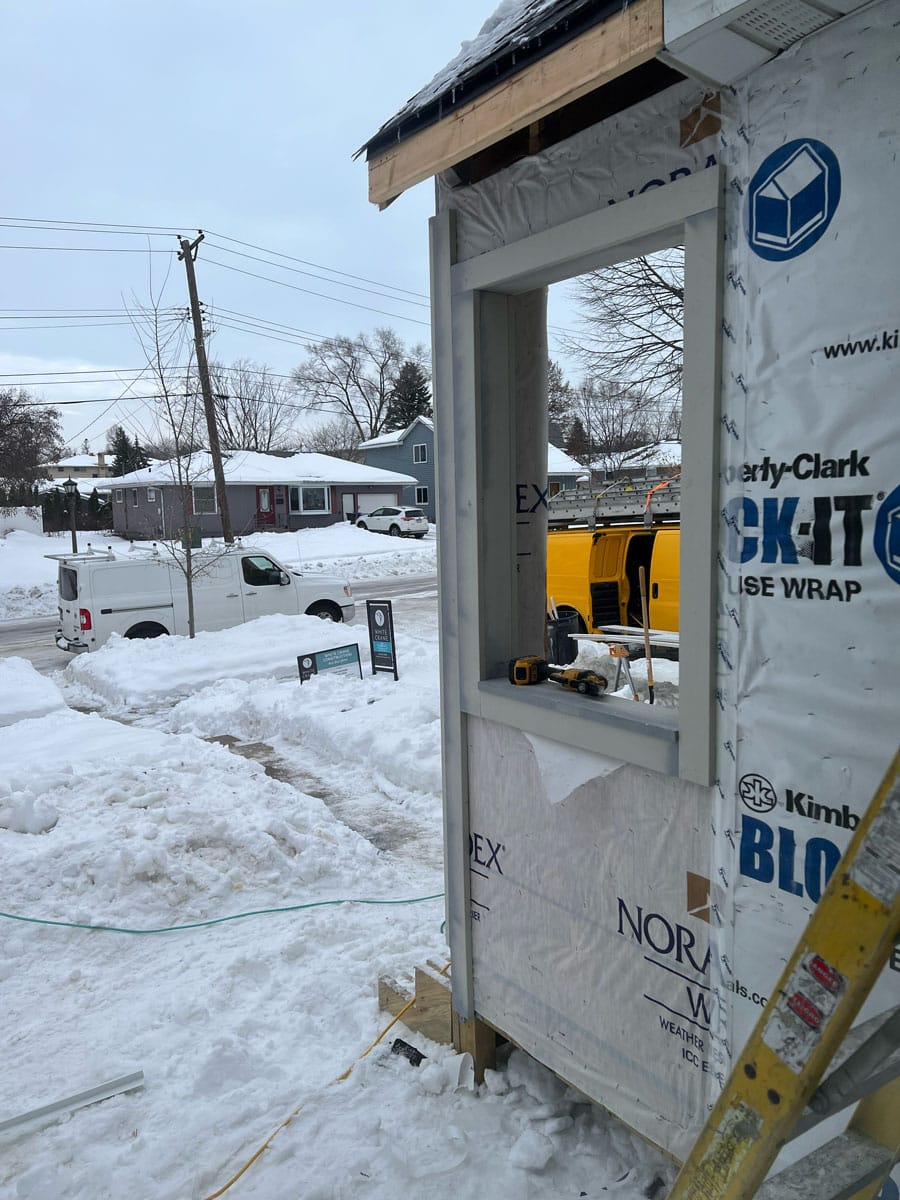
Creating New Exterior Spaces Part 2: A Covered Entry
Anyone who has spent a few years in the Midwest can appreciate the benefits of a covered entry. Before the remodel, the family would have to stand on shallow steps to unlock the front door and enter their home, made especially difficult by the fact that the existing house had nowhere to immediately set down wet coats, boots, groceries, or school bags. A covered entry would give the entire family a place to gradually exit or enter the home without being pelted by snow, rain, or the harsh summer sun. With the added benefit of a mudroom bench just off of the front door, the newly designed entry sequence would make for a much more welcoming experience.
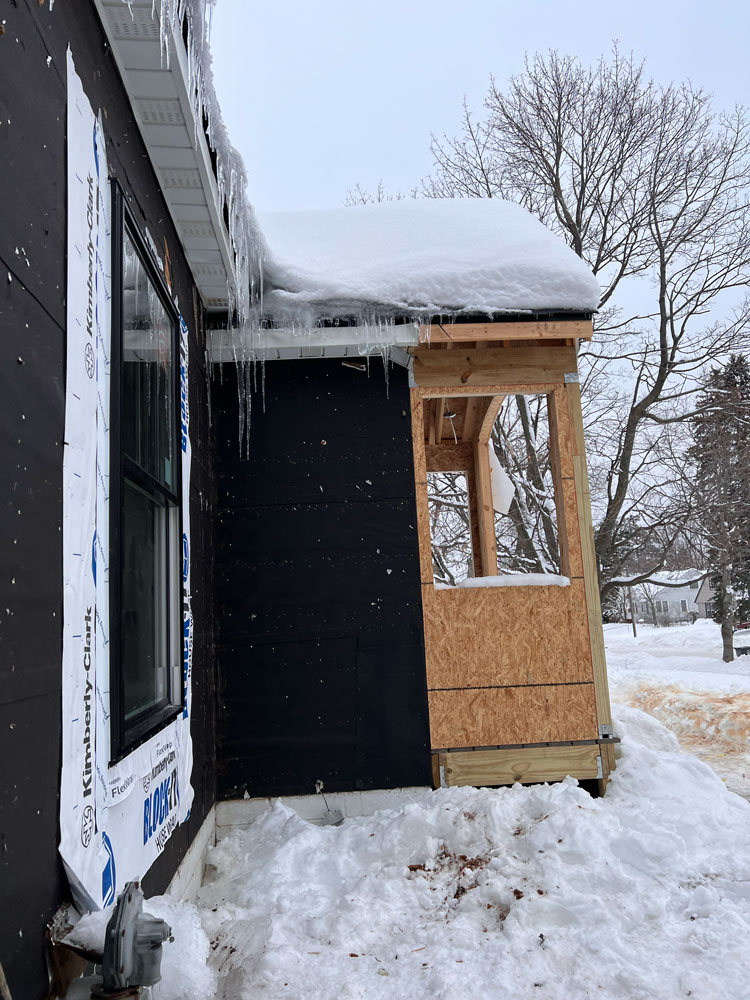
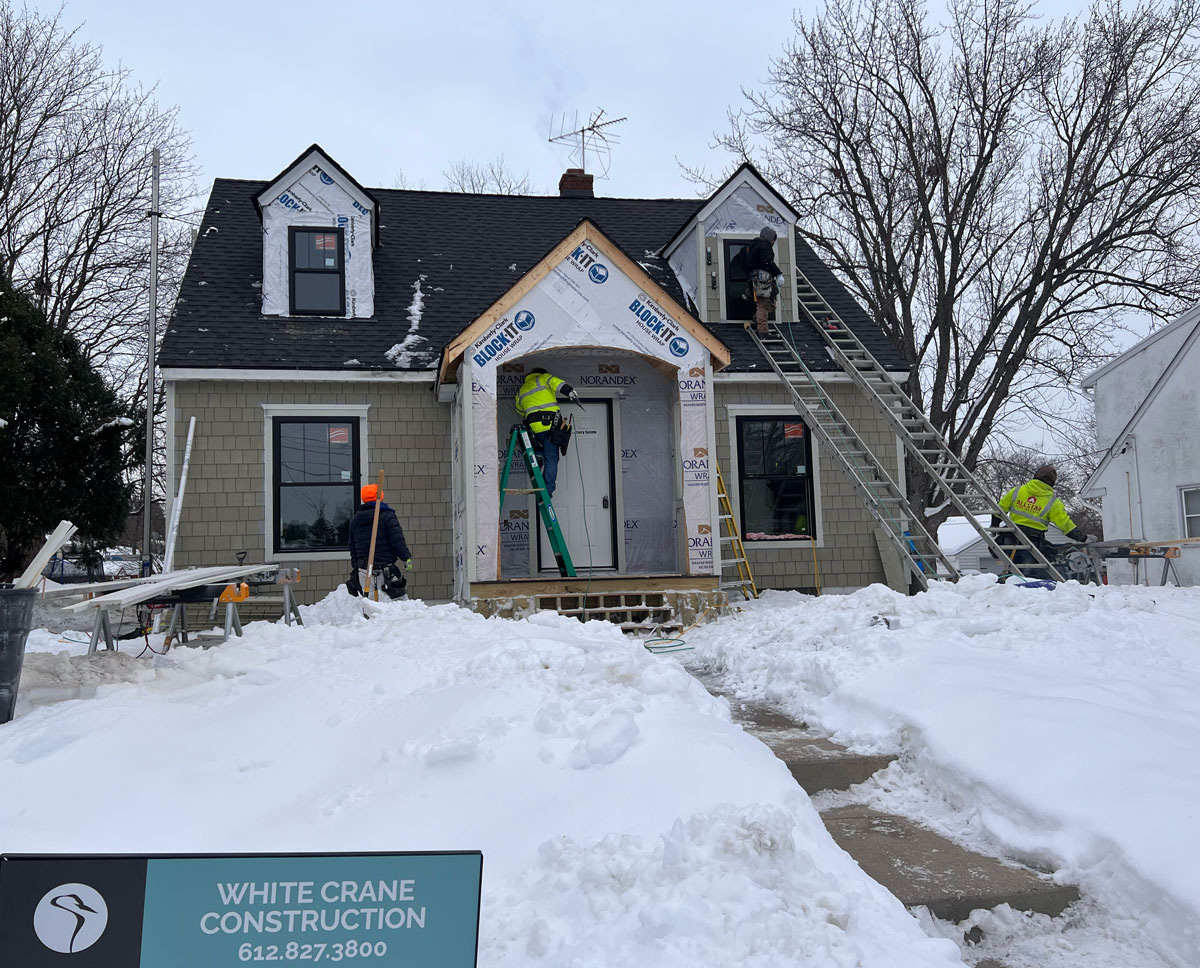
Building A Covered Entry
Consider the front entry as you might a tiny little addition, meaning that creating this outdoor feature required demolition, foundation work, framing, cladding, roofing, and even some electrical work! We poured pier footings, used post-and-beam construction to frame the entry, framed a roof with scissor trusses, sheathed the new structure, and then applied building wrap before cladding it with primed James Hardie shingle siding. During rough-ins we had our electrician wire for a new pendant light that would brighten up the covered entry whenever needed.
Upgrading the windows now for better efficiency.
There are so many ways to think about adding value to a home with a remodel, both from a sentimental perspective and a purely functional one. For these homeowners, deciding to replace all their windows was both.
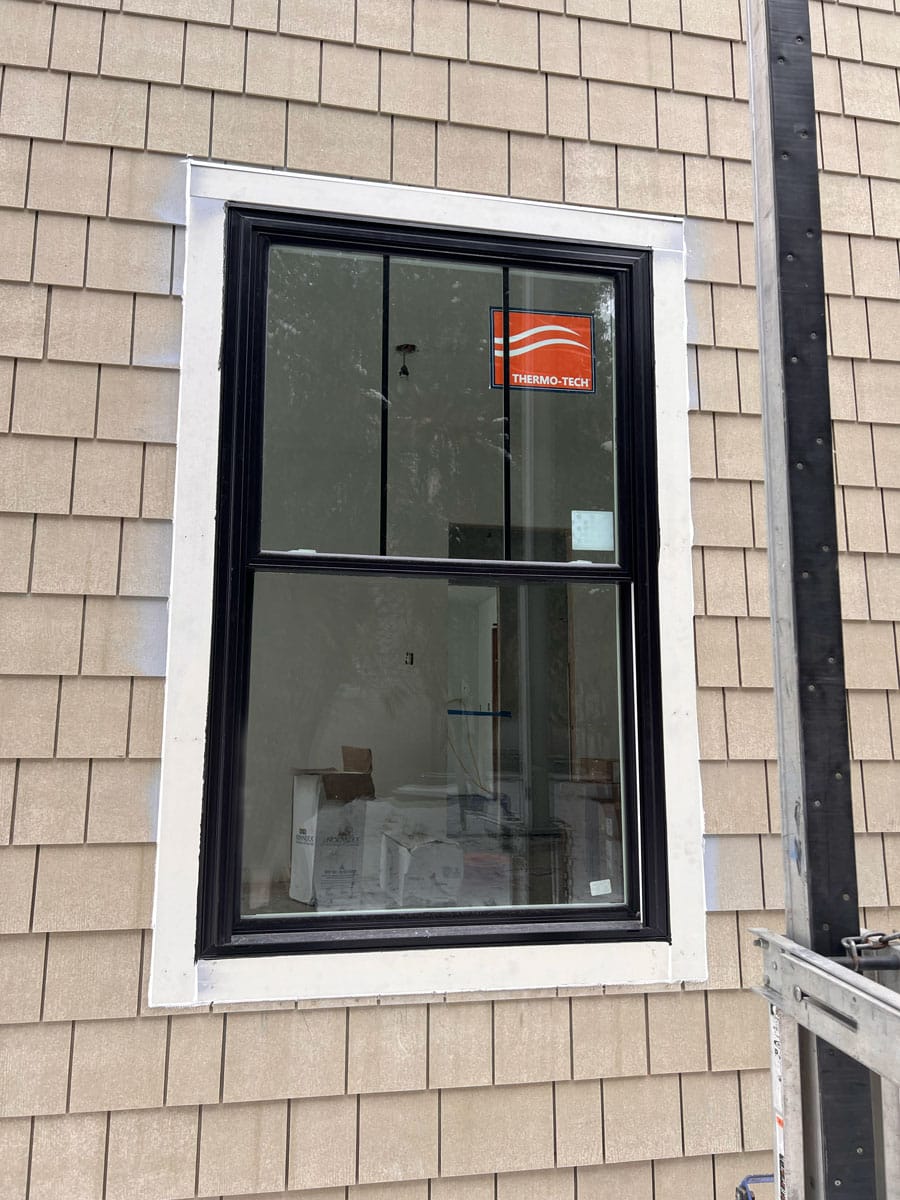
A full window replacement meant giving our clients greater protection from repairs for a home our clients truly treasured, just as it gave them peace of mind as they want to stay in the St. Paul home long term. But let’s be honest, upgrading a 76-year-old home with modern windows is a slam dunk for better efficiency. These new window units lesson the home’s dependency on active heating and cooling systems with improved window technology and sound construction, preventing unwanted temperature shifts from inside to outside. If every old window is an opportunity to let warm air escape in the winter, every new window helps keep that warm air inside!
Our construction team installed the sleek, black framed Thermotech windows during framing, along with a new Bayer-Built sliding door, and Fir Grain Fiberglass front door.
“The efficiency of this particular home has really improved. It’s super toasty in there now, and it gets toasty quickly.” – White Crane Project Manager
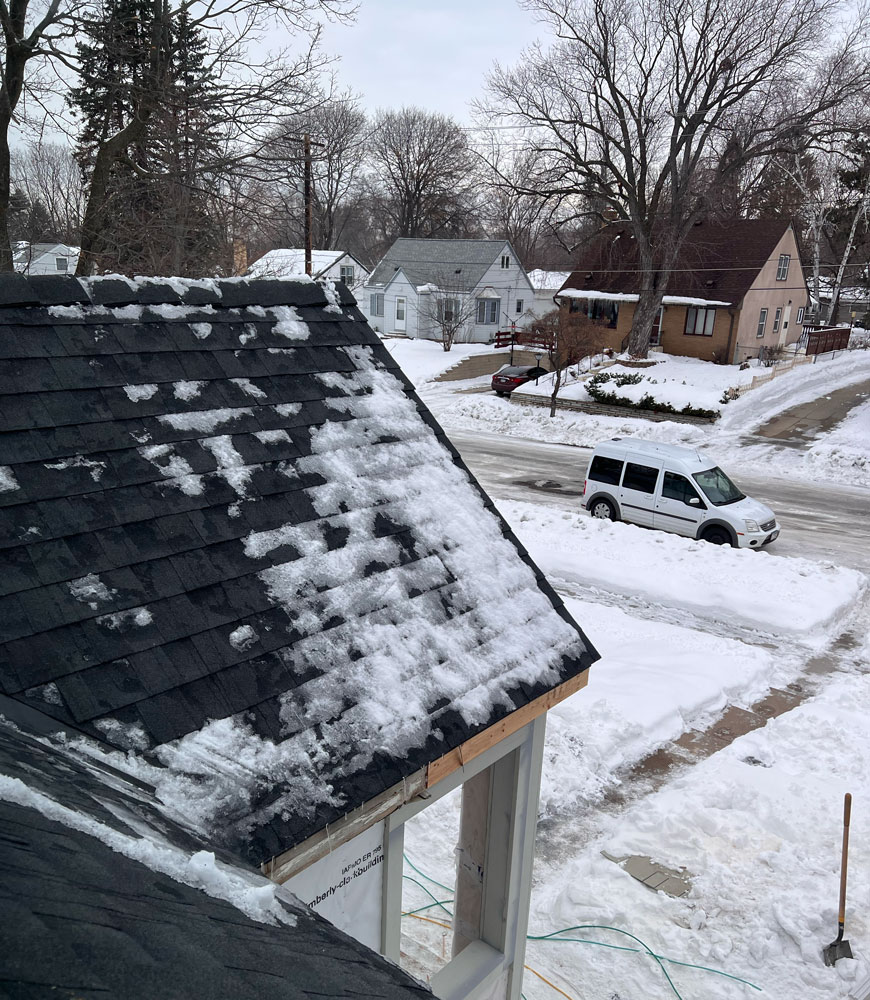
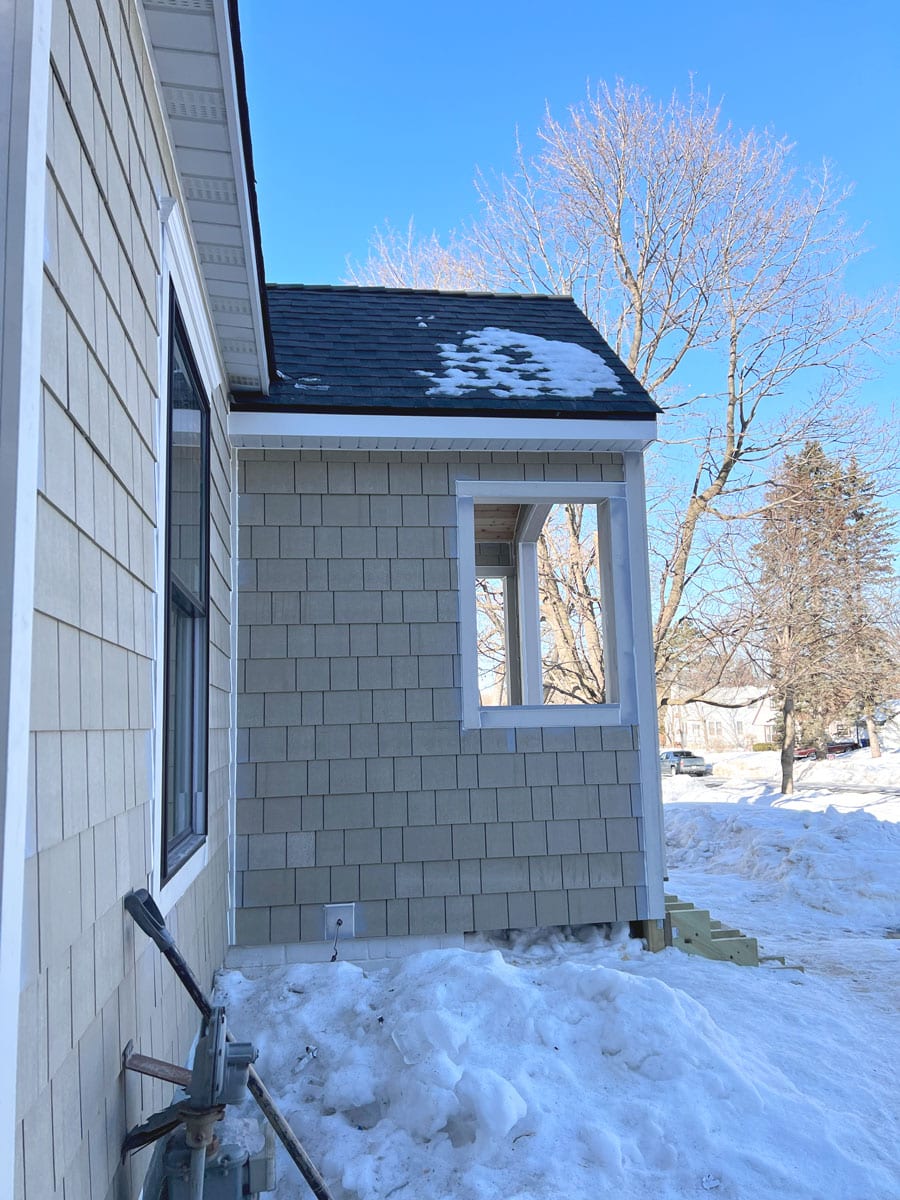
If you’re investing in a substantial interior remodel, neglecting the roof just doesn’t make sense.
Our clients decided that replacing an already old roof was an ideal investment, ultimately selecting Timberline HDZ asphalt shingles in Charcoal to adorn the top of their home. Just like windows, roofing materials are subject to aging and damage from harsh exterior conditions like excessive snow, hail, rain, heat, or the inevitable effects of time. Replacing the roof with new shingles will substantially improve the way this home will age by preventing mold, leaks, and even structural damage, all the while improving efficiency.
Besides, you wouldn’t want to invest in a complete interior overhaul only to have a leaky roof cause possibly unseen and unwanted damage.
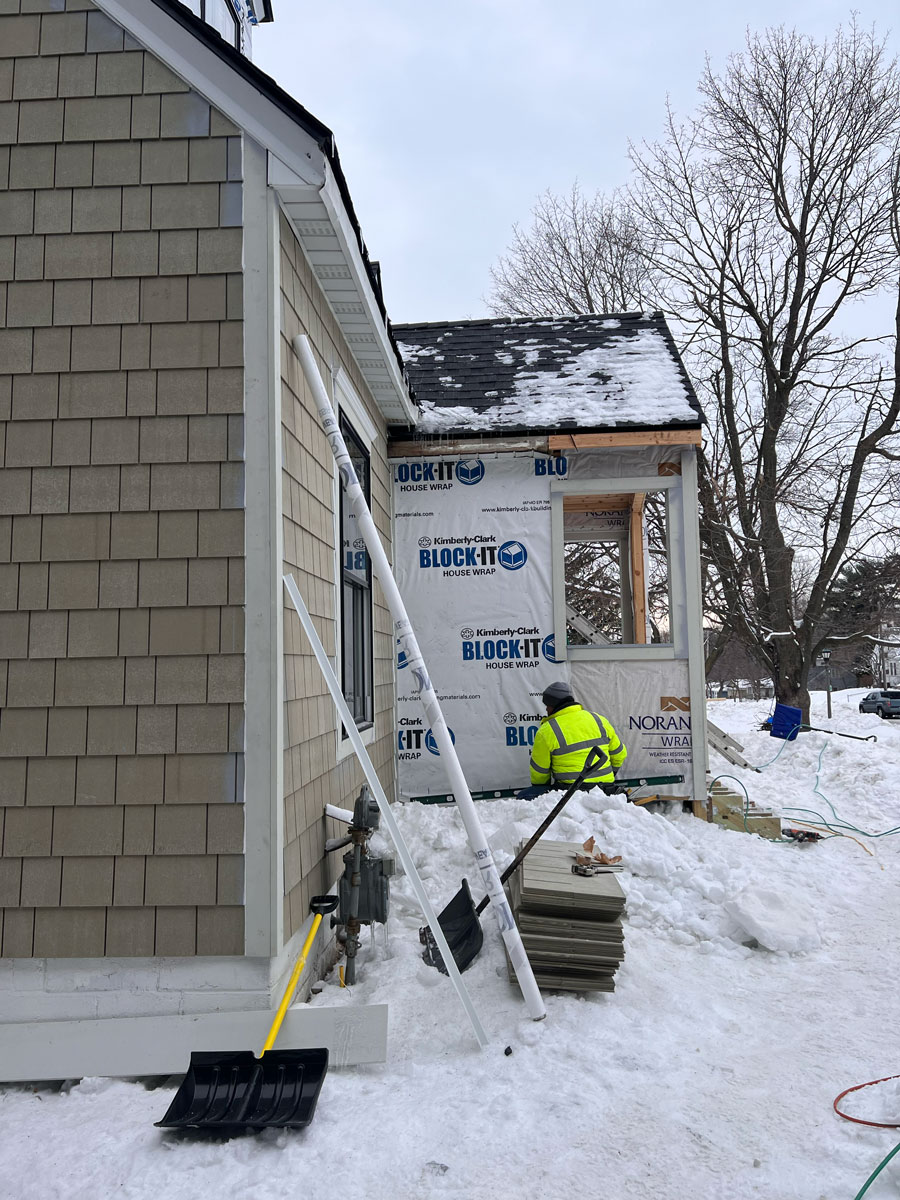
Replacing siding is a balancing act with the budget.
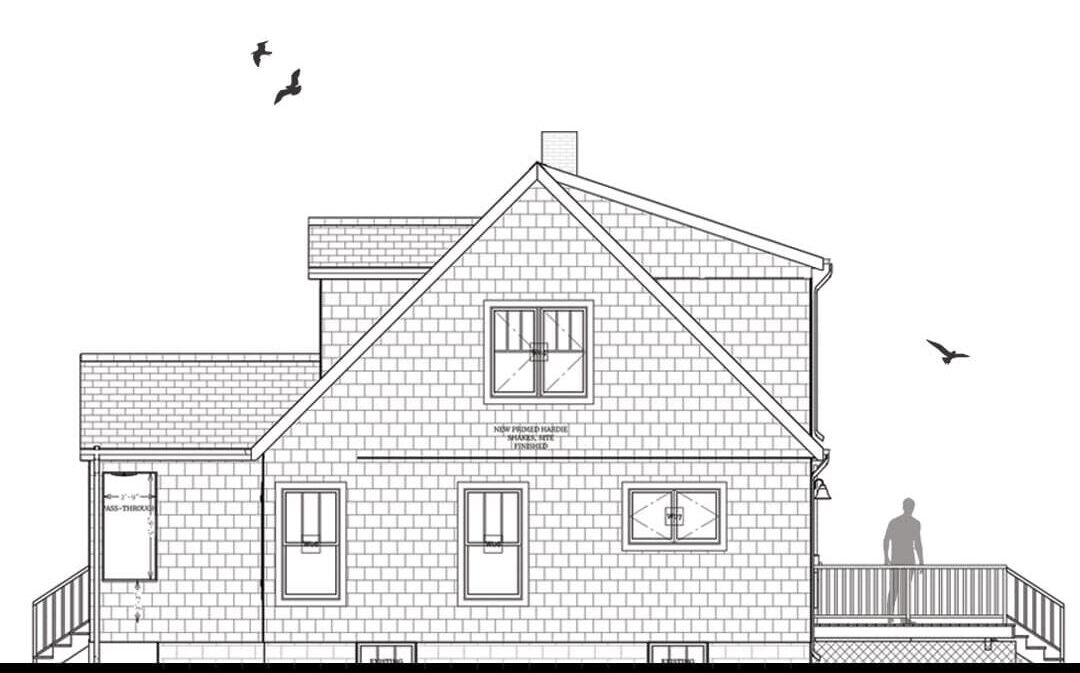
Deciding how to allocate a remodel budget isn’t always easy, as designers and homeowners have to juggle design aspirations with the need to make functional repairs or upgrades. Our clients were clear about making decisions that would help the home age gracefully, which meant allocating budget for upgrades like the new James Hardie shingle siding.
It takes some back and forth to land on the right exterior design scheme.
Once the choice was made to replace the siding, our team had to decide how all the new exterior changes would come together: new windows and trim, new roofing, and the covered porch, etc. Initially, the instinct was just to leave the quaint Cape Cod white. The more our homeowners thought about it, the more they realized that they just needed something with a little more character, which was about the time that a bold black color scheme was born. Designers loved the idea and worked with the family to find the right balance of moody blacks with warm wood accents, like the front door, shutters, and steps.
“We came across a house that was black with white trim, and that caught our eye. We were like, ‘We can’t paint the house black. We can’t do that! We’ve got to find a color.’ But the more we kept looking at it, the more we really were like, ‘Why can’t we?'” – Conway Neighborhood Homeowner
From Demo to New Siding
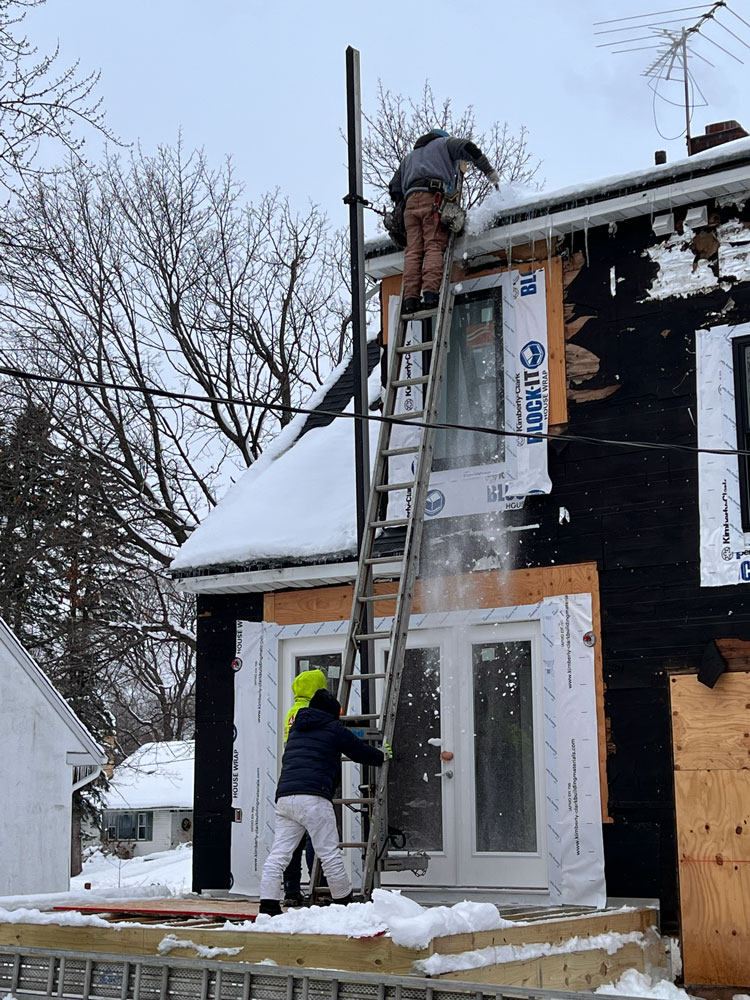
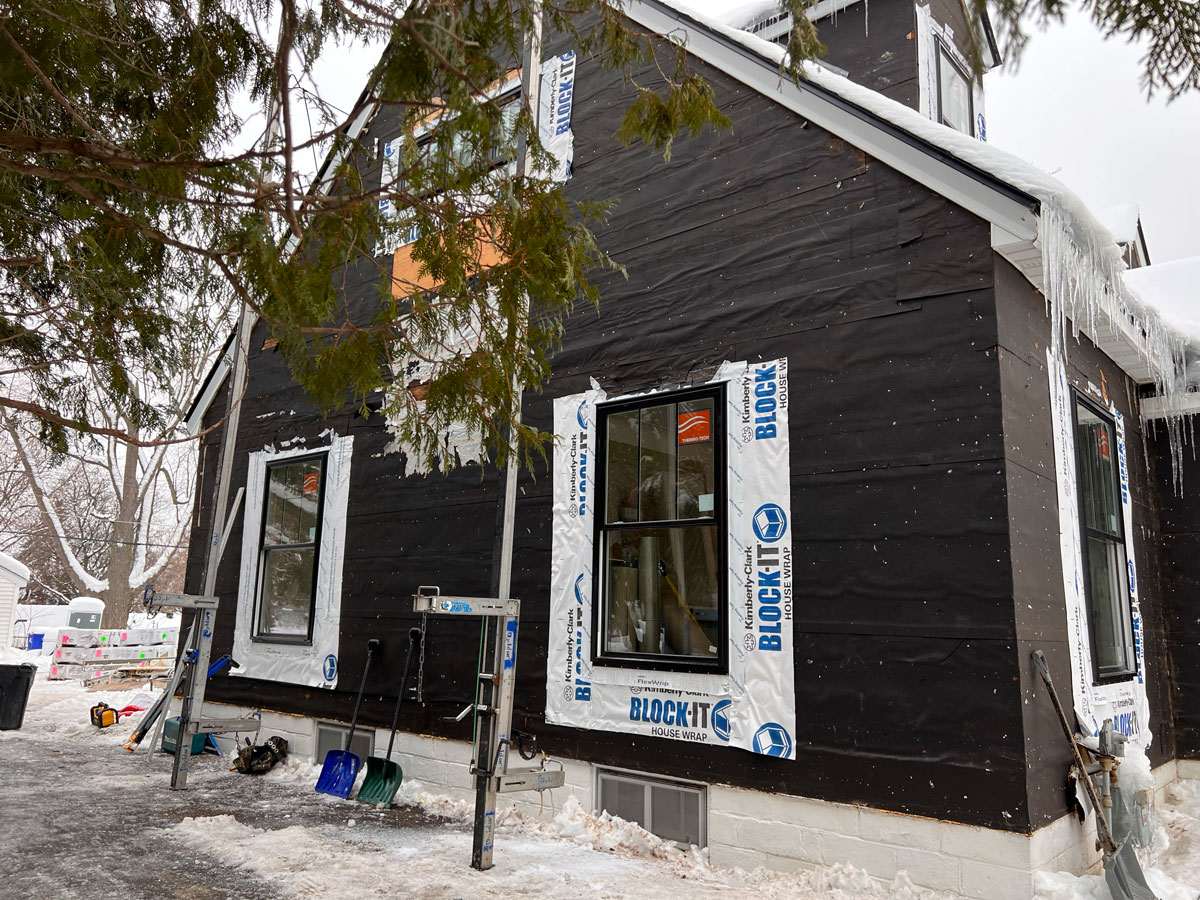
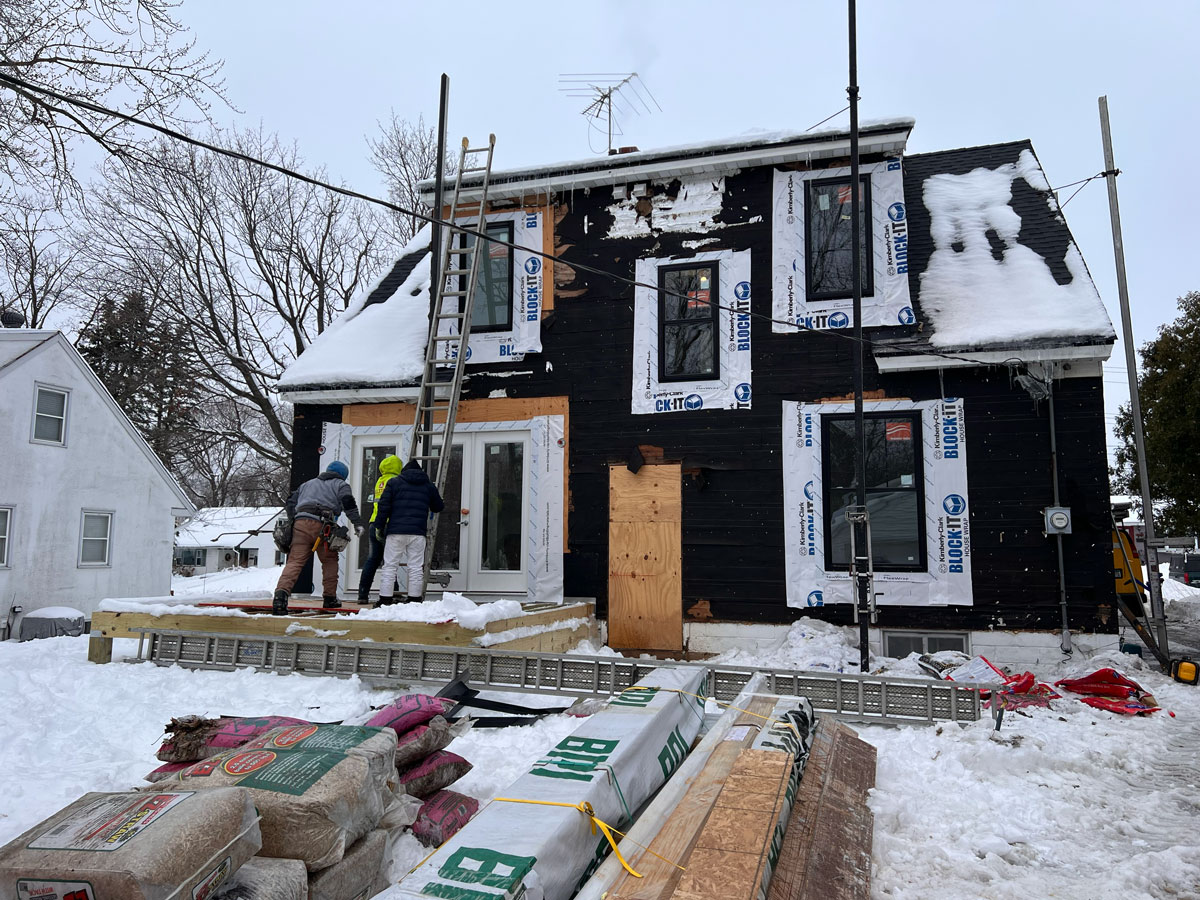
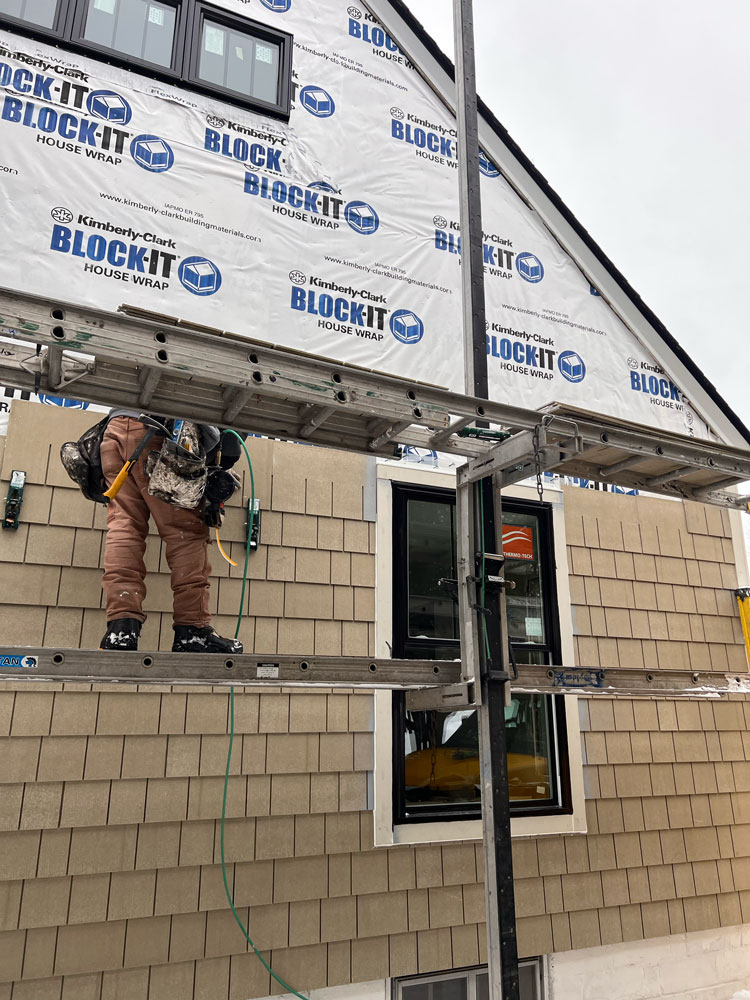
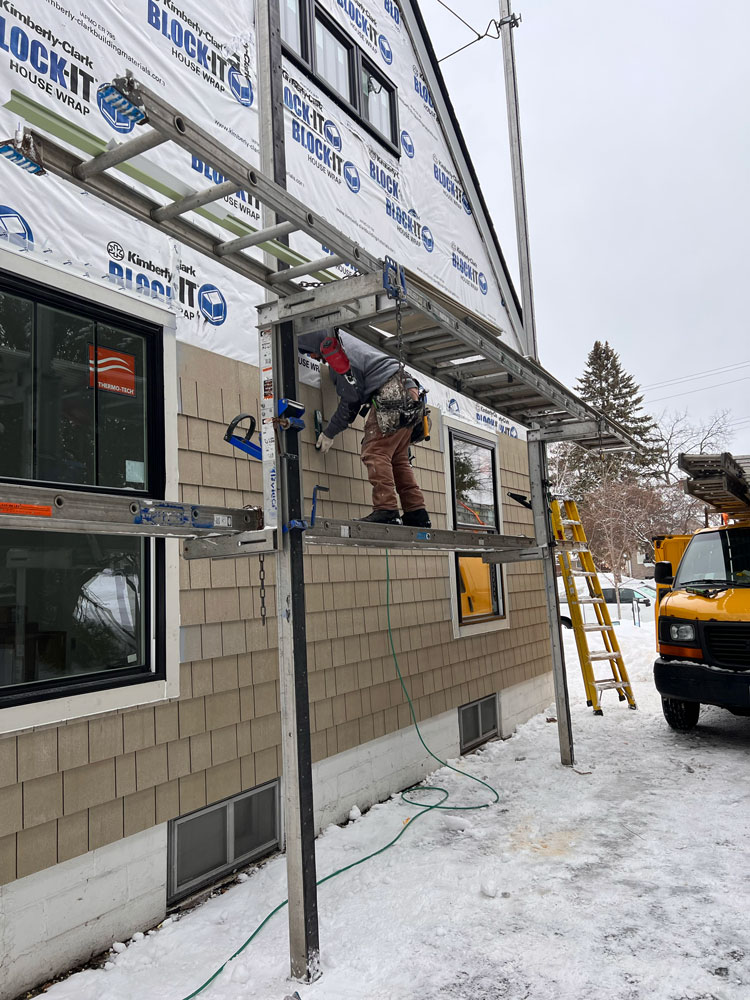
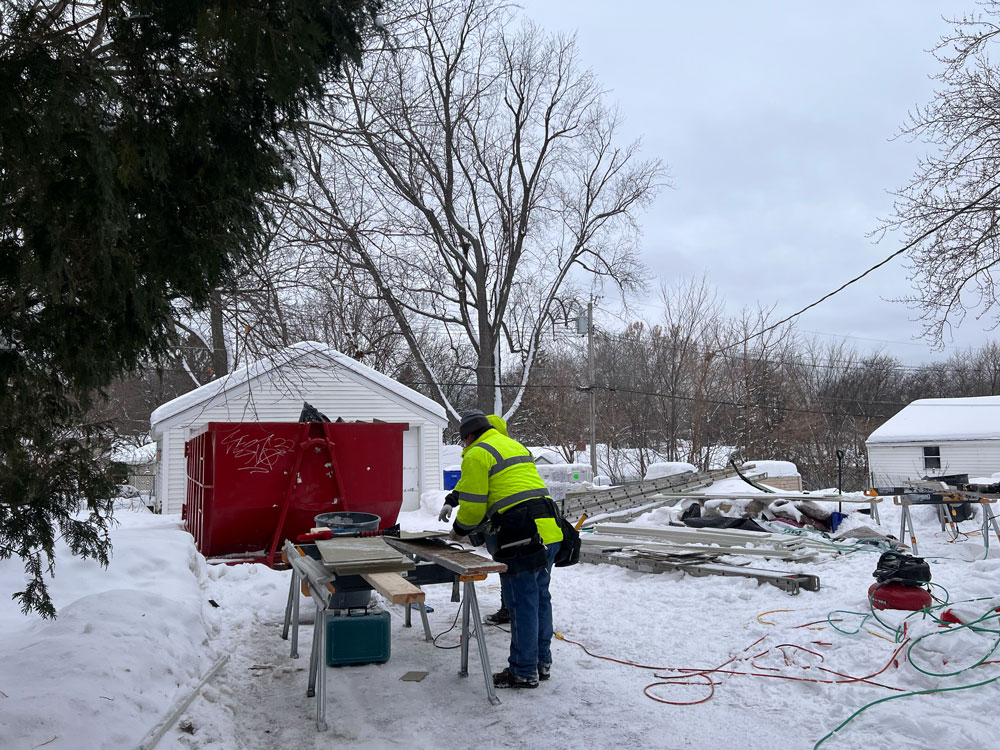
Much earlier in the blog, we showed off the home during demolition, which was the stage in which our crew prepped both the exterior and interior of the home by removing any surface that would not be kept in the remodel. At this point, we saw areas where rotten sheathing would need to be repaired.
With the existing cladding removed, sheathing replaced, and windows installed during framing, our crew could place building wrap along the exterior substrate to help control airflow and water intrusion. Finally, we could get started on cladding, which took a full crew and required scaffolding to allow the Hardie shingles to be nailed into the higher to reach sheathing. Since the shingles are already primed, our final step will be to paint the home in the warmer weather. Check back soon for the finished exterior, painted in Sherwin Williams, Iron Ore.
Want to learn more about
this type of project?
We’re here to help! Check out our planning resources below, or reach out to us here.