Conway Whole House Remodel
A remodel is underway. Take a look inside.
Follow along as we remodel this Conway area home’s first floor and upper level.
Drywall
Drywall vs Plaster: An Unexpected History Lesson
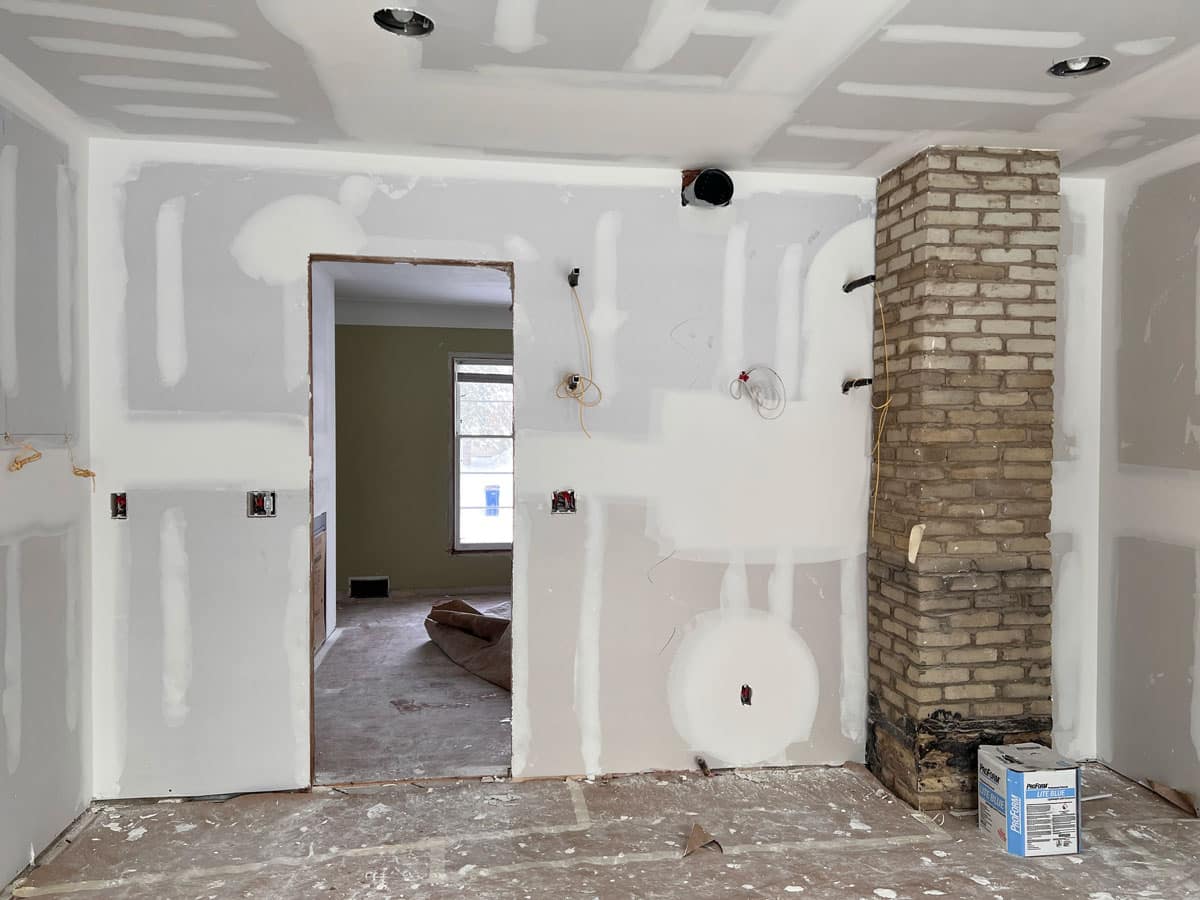
Most North American homes feature either plaster or drywall as the finished surface for interior walls and ceilings. Since plaster interiors were still the dominant choice until around the end of World War II, it isn’t surprising that this 1947 St. Paul home also has plaster interiors. Despite all the benefits of plaster, from increased fire resistance to soundproofing, creating traditional plaster and lath walls is time-consuming and considerably more expensive. In this Cape Cod, installers will apply drywall to recently completed framing, saving time and budget in the process. Our drywall installers will use specialized finishing techniques to mimic the texture of nearby plaster walls, creating a seamless finish between the two surfaces.
What is drywall anyway?
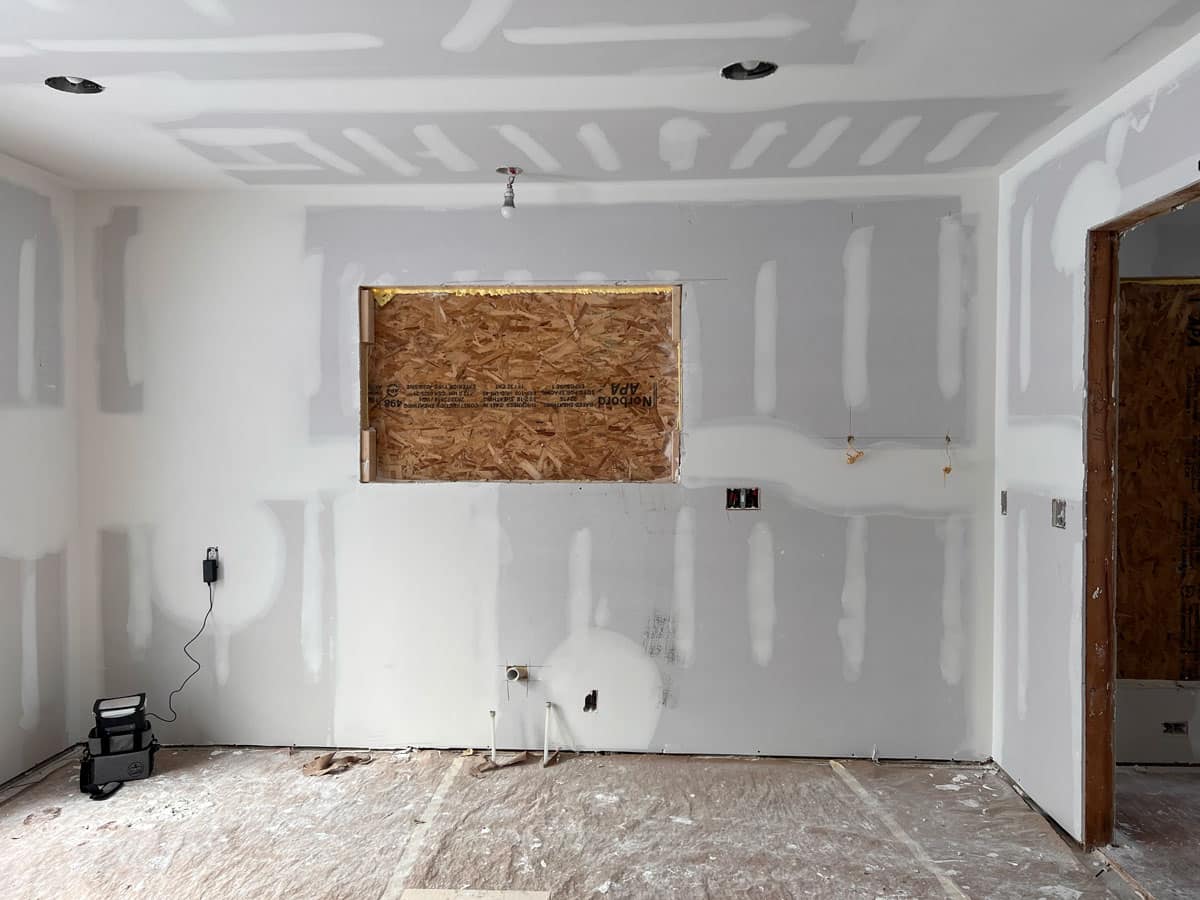
Drywall is a common interior wall and ceiling material composed of rigid gypsum plaster panels sandwiched between paper coatings. Drywall panels come is various sized sheets and thicknesses. Typically, we’ll install 4’x8’x1/2″ panels, picking them up and screwing them directly into the stud framing.

“Once the drywall got up, I thought, ‘Okay, now I can see the rooms. I can see where we’re going with this.'” – Conway Neighborhood Homeowner
The Steps for a 2-Week Drywall Install
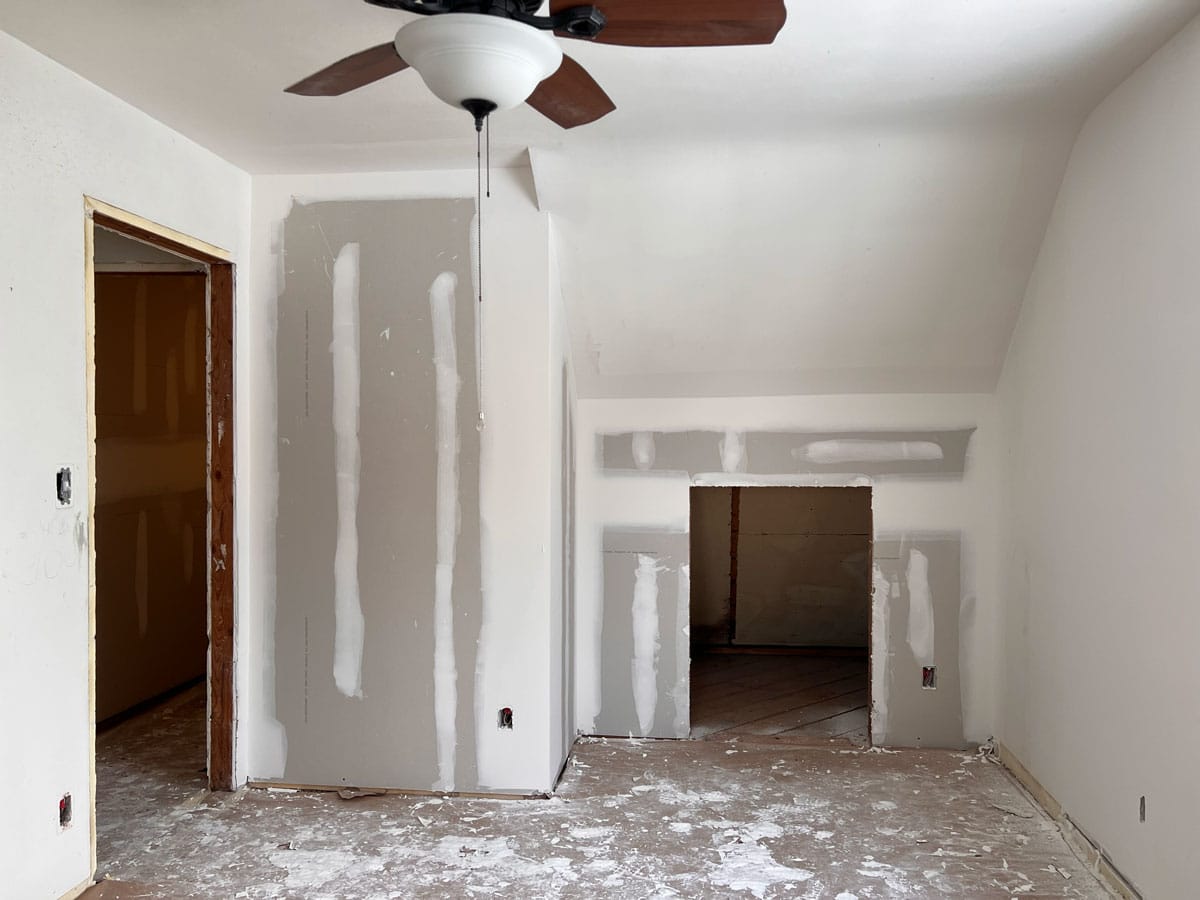
Installing drywall for this project took about two weeks. Installers lifted 4’x8’x1/2″ drywall panels, placing screws into framing members to secure the panels in place. Looking at construction documents and recent rough-ins, the crew cut out necessary openings for things like future light fixtures and outlets. Once all the panels were in place, it was time to mud and tape the corners, seams and screw holes. It was necessary to leave the site for about a day to allow the newly applied mud to dry. When the initial drying time was over, we returned to the site, sanded, and applied more compound as needed. Typically we repeat the mudding, drying, and sanding process several times to create a seamless finish.

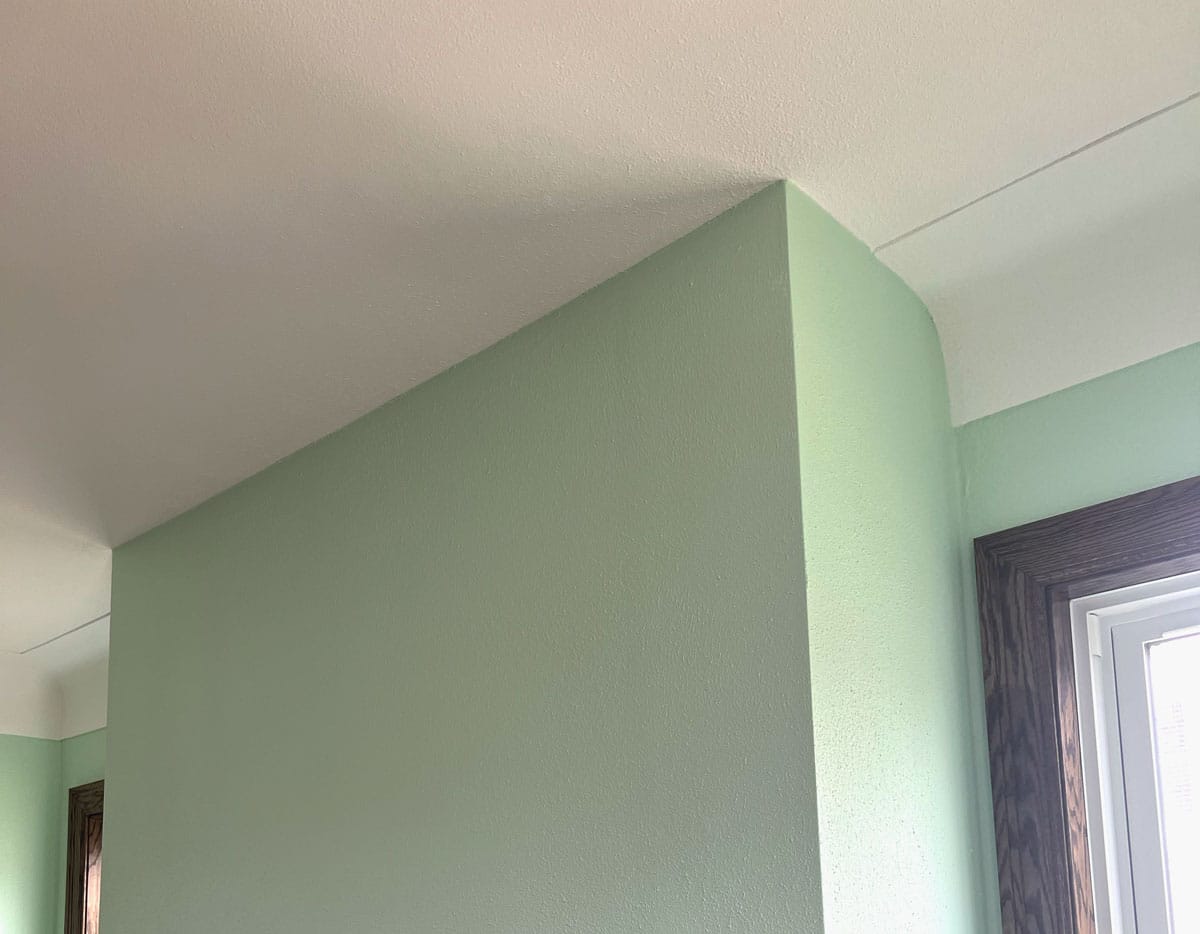
"We had to remanufacture the cove with drywall mud so that it looks like and blends with the rest of the room."
WHITE CRANE PROJECT MANAGER
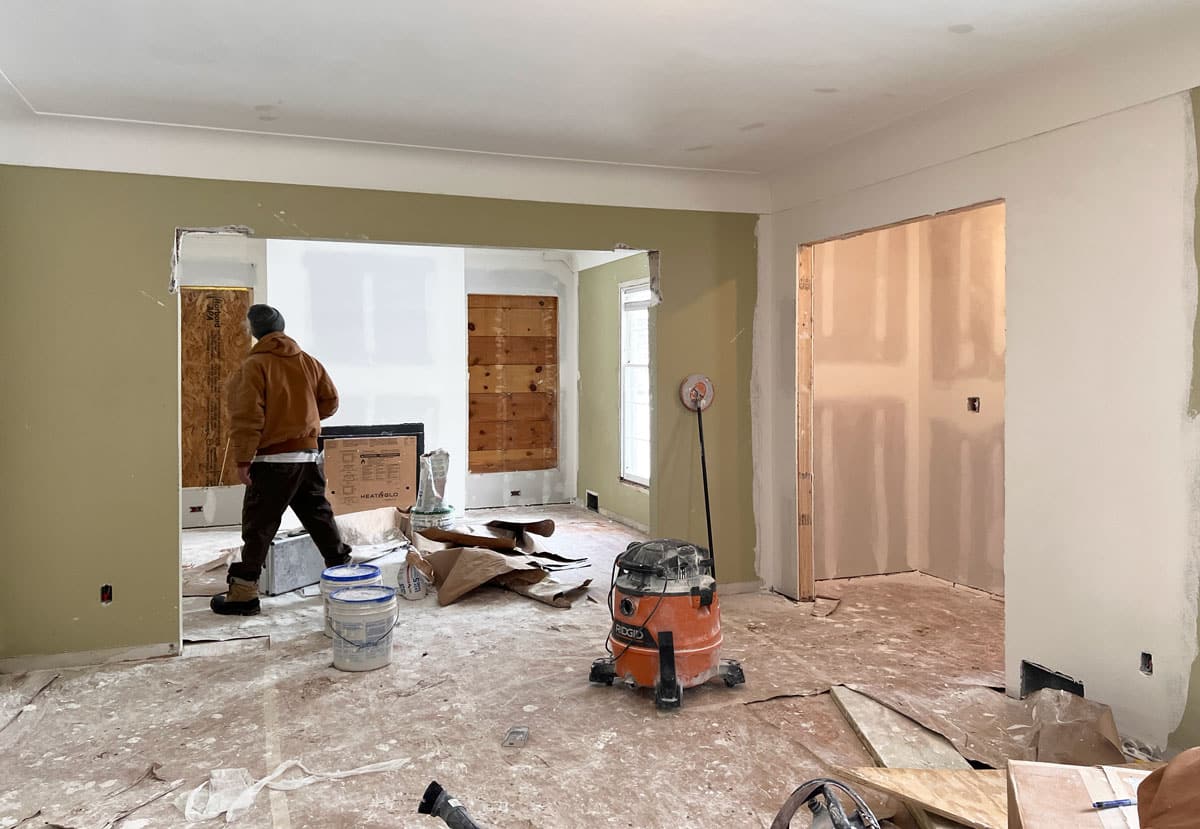
When you’re working with older homes, you’ve got to be inventive.
Older homes have unique details, textures, and nuances that require everyone on the team to think creatively. Drywall installation for this Cape Cod remodel was no exception. In this case, we were solving for two critical details:
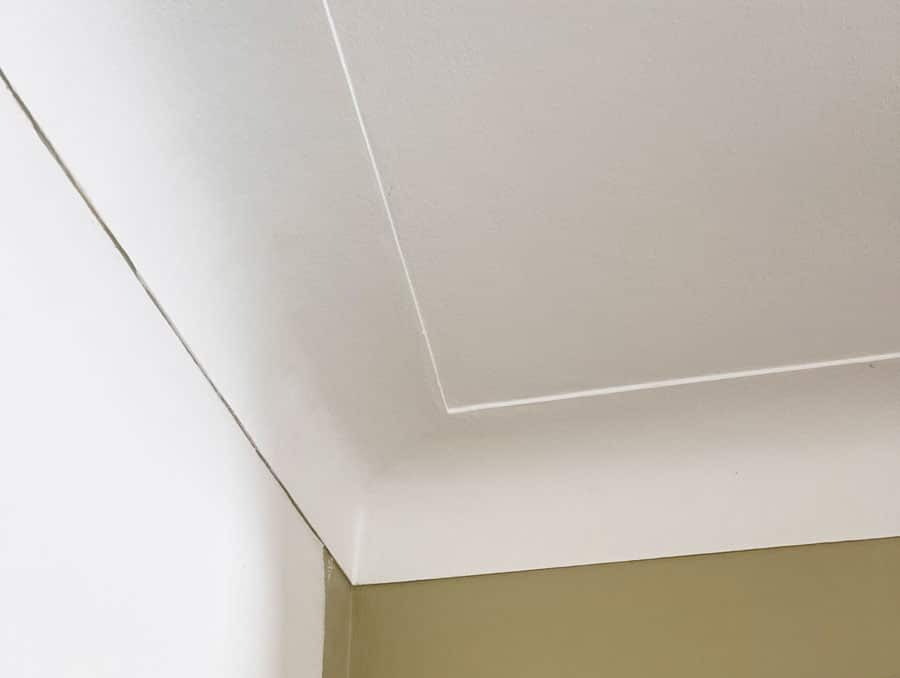
- Blending Drywall and Plaster: Given that existing walls were plaster and we were covering new framing in drywall, the team had to formulate and apply a unique finish to the drywall that could perfectly blend with the textured plaster walls. The resulting application of a customized slurry onto the drywall panels created a raised, prickled profile indistinguishable from nearby plaster.
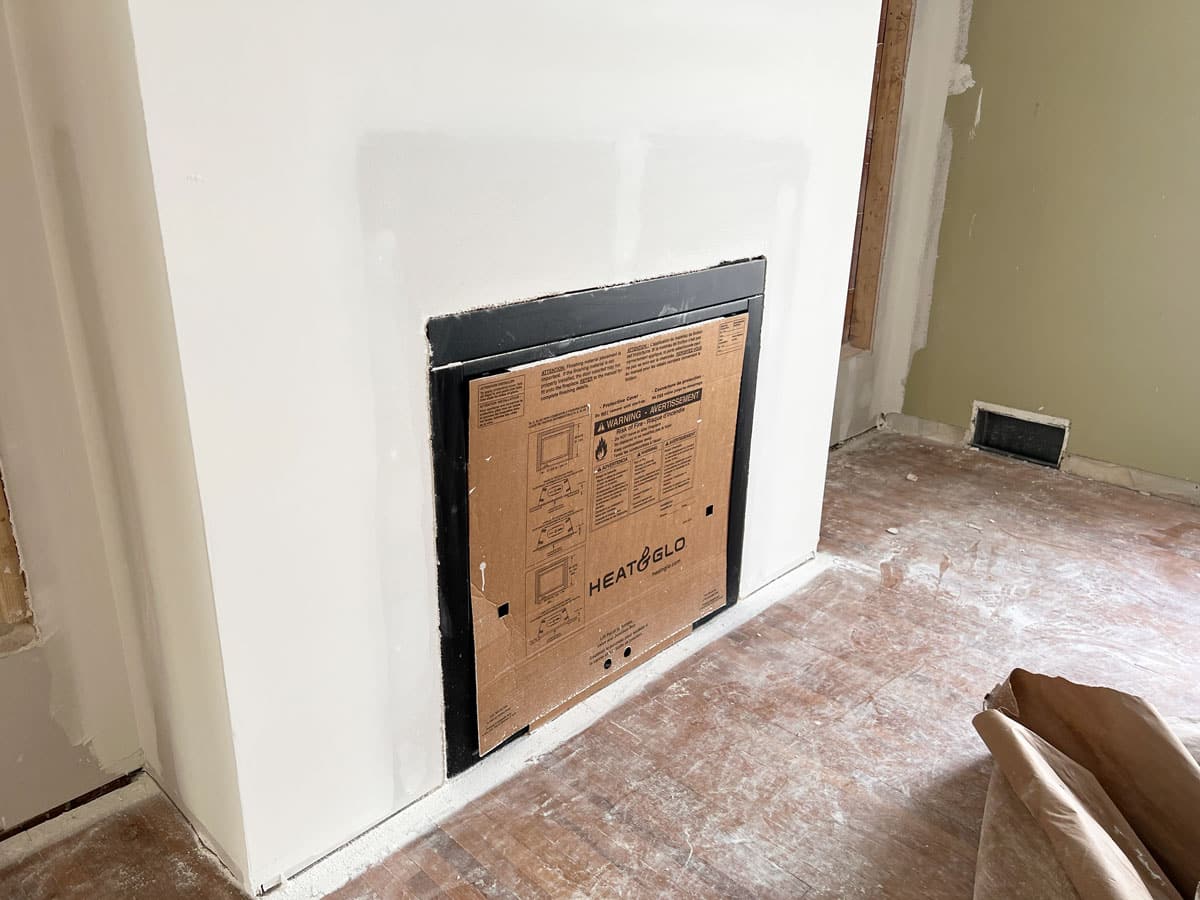
- Rebuilding a Custom Cove: Again, we relied on the expertise of our lead drywaller to recreate the existing cove along the living room ceiling where openings for new windows and a fireplace disturbed the original. With time, patience, and attention to detail, our installer formed identical cove detailing.
Taking the time to match existing details is important in working with older homes. These seemingly small details celebrate the history and unique architecture found in older homes, creating a layered and complex finished interior.
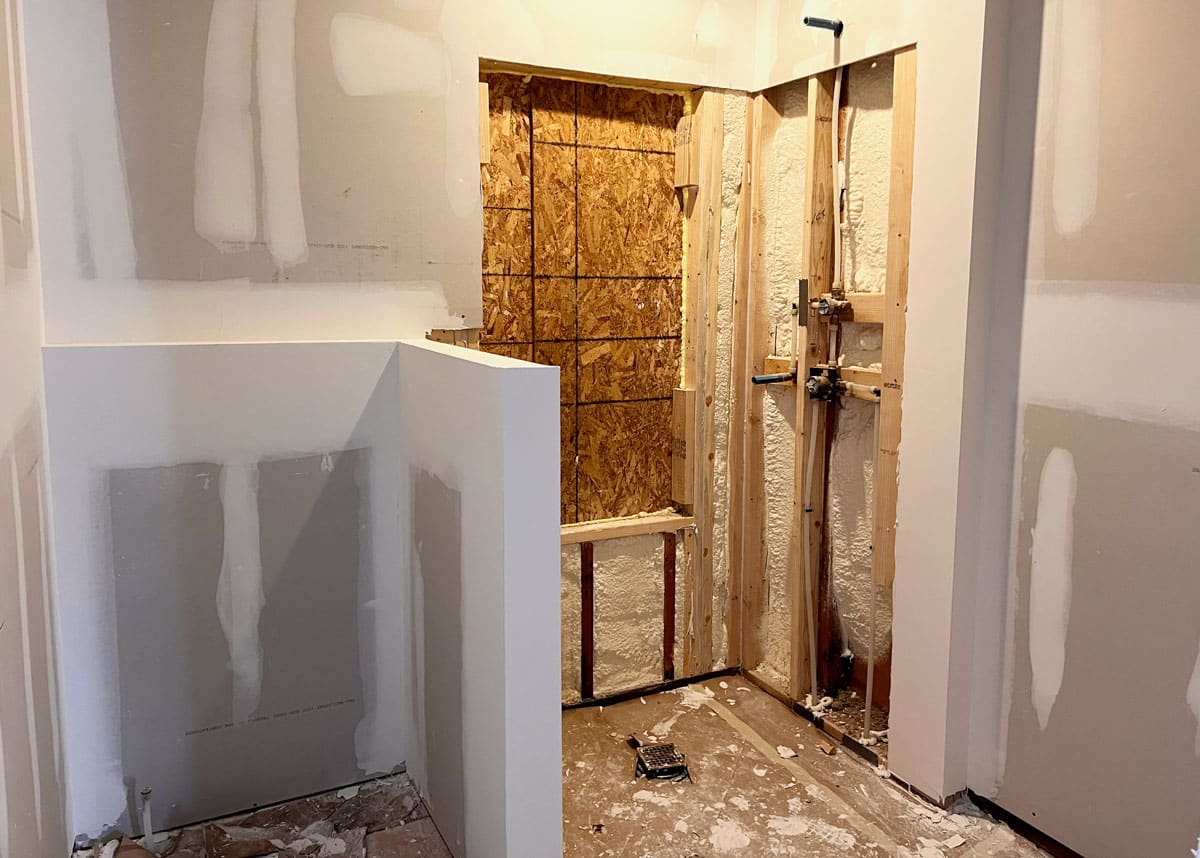
Why skip the shower area?
In a wet environment where tile will be installed, we need to switch to a cement board for its added rigidity and resistance to mold. Here, you’ll notice the drywall panels installed just to the edge of the shower enclosure, where our tile setter will soon apply the appropriate backer board before beginning the tile work.
Want to learn more about
this type of project?
We’re here to help! Check out our planning resources below, or reach out to us here.