Conway Whole House Remodel
A remodel is underway. Take a look inside.
Follow along as we remodel this Conway area home’s first floor and upper level.
Flooring
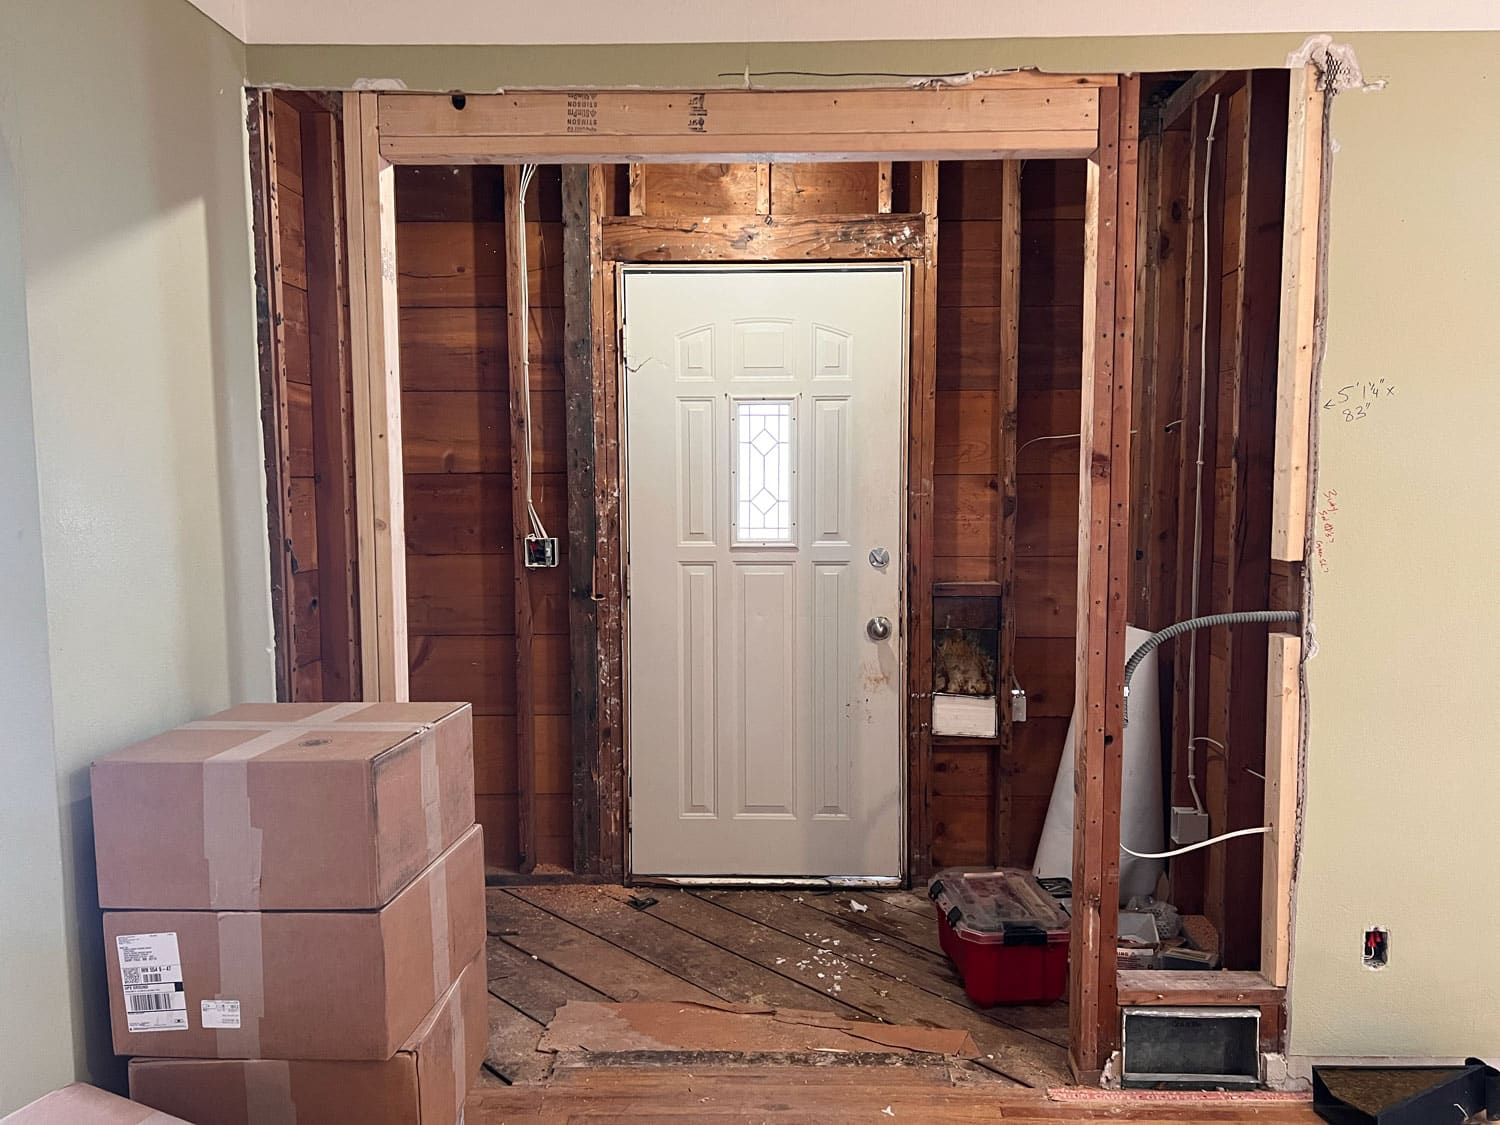
Let's take a look back at the front entry during framing. It's time to install new tile flooring here.
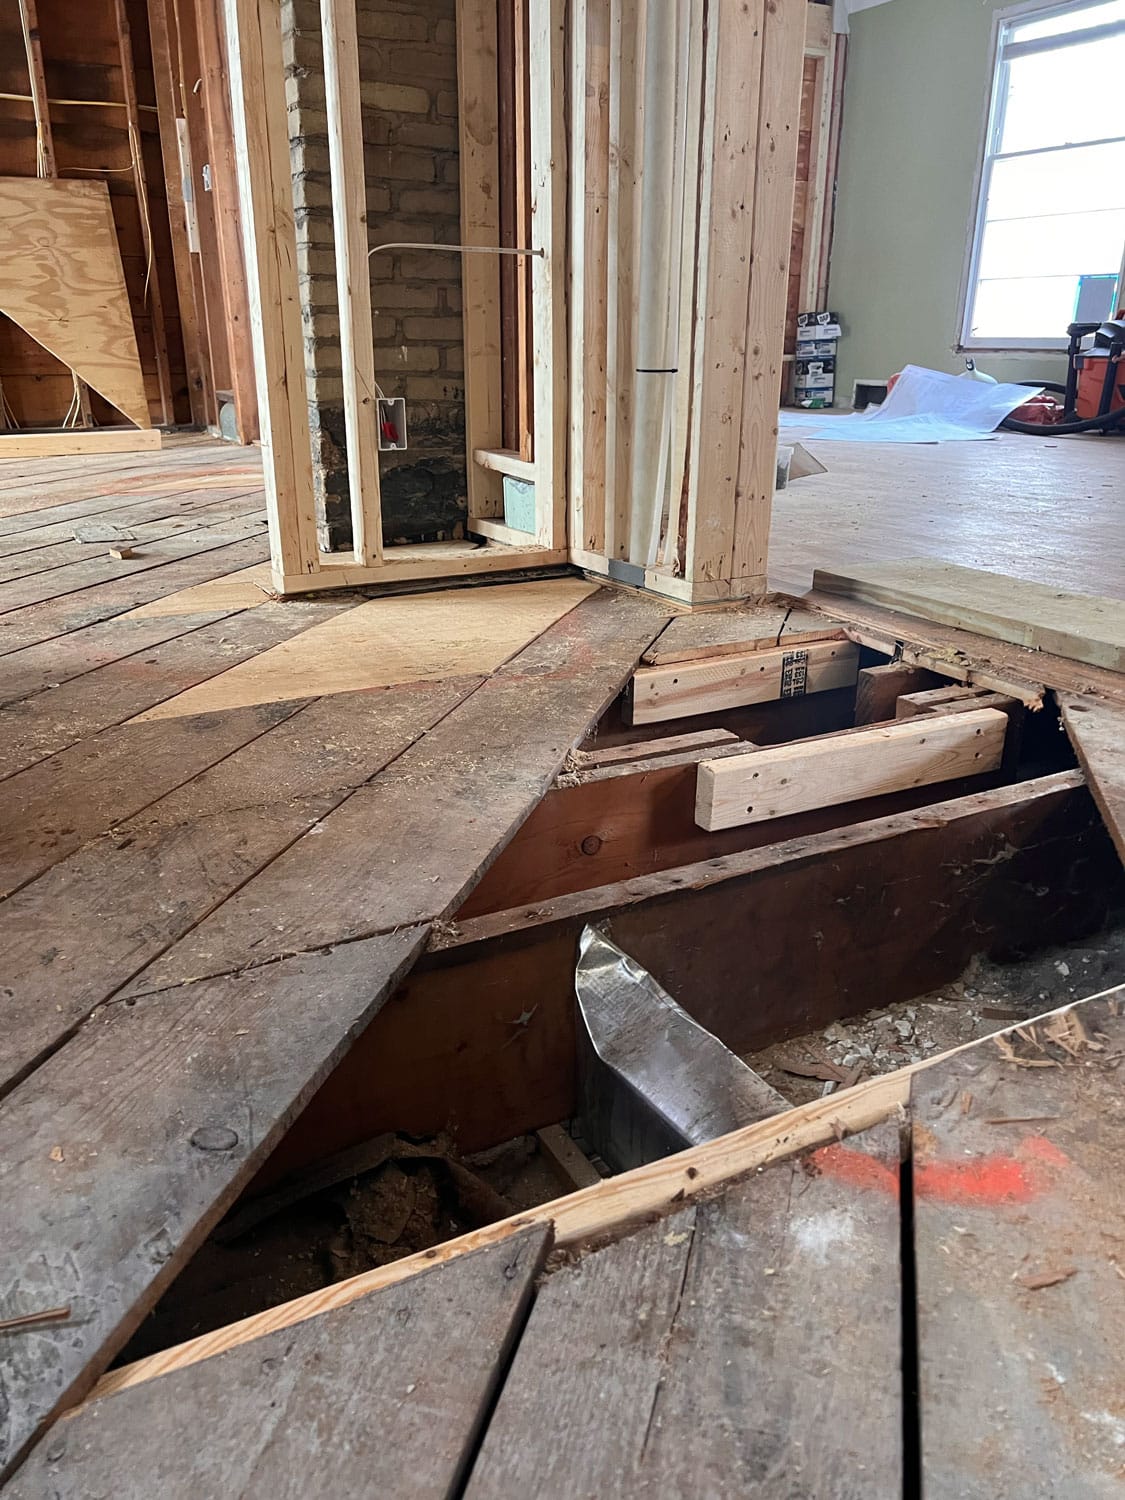
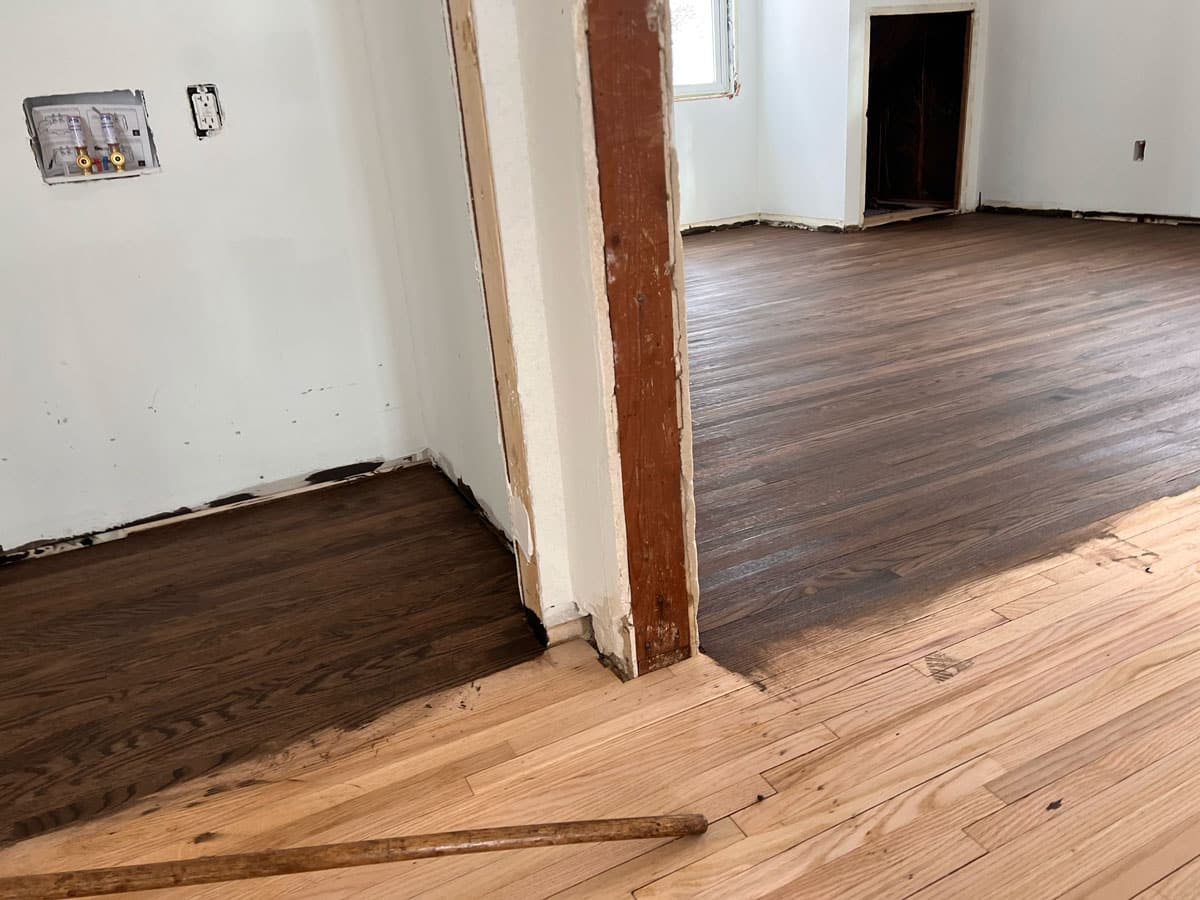
Remember the main level hall? In place of the linoleum and the subfloor we demoed here, we're installing new wood flooring like that in the nearby living and dining rooms.
Wood flooring & stone tile start to redefine the interior of this St. Paul Home.
We’re focused on two big upgrades to the flooring across this St. Paul home’s main and upper levels.
- It’s time to patch and refinish the existing wood floors.
- Pebble tile is being installed in the reconfigured kitchen and front entry.
These changes will help cement the vision our clients have for their multi-level remodel. We’ll also have a few exciting selections to show off once the bathroom tile is finished. Stay tuned!
"This is all, for the most part, original flooring, except for the hall and kitchen. The original flooring was a wheat color, a honey oak. We sanded it all off and took it down to raw oak."
White Crane Project Manager
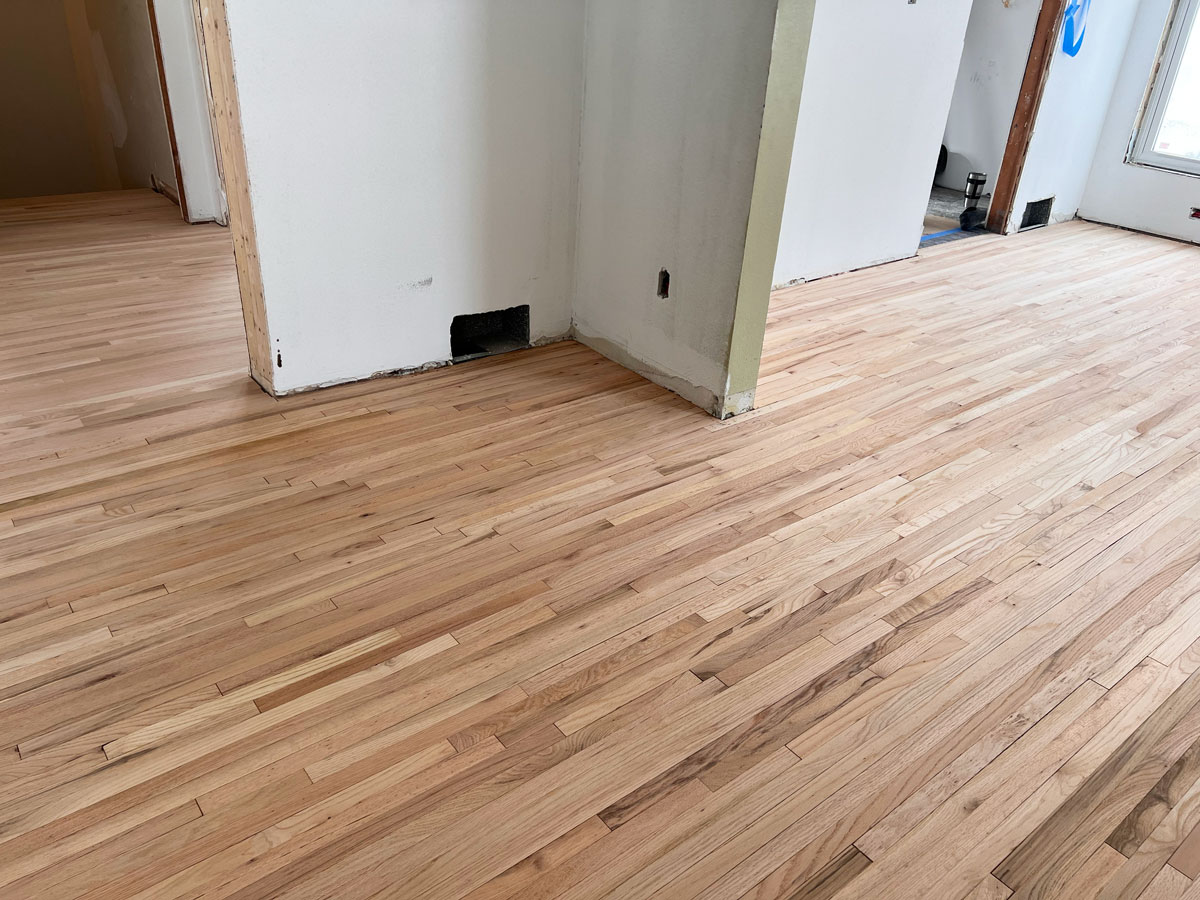
Craftsmanship counts when you’re integrating new wood flooring alongside 76-year-old wood boards.
Though the proposed design for this 1947 Cape Cod was conservative in moving existing walls, we still needed to provide additional wood planks in the main level hall, where the homeowners decided to upgrade from linoleum. Our installers used a purposeful strategy of staggering new boards alongside existing ones to hide what would otherwise be an obvious seam between new and old construction. Creating seamlessness between the two came down to craftsmanship. We actually planned where each new board would meet an existing one, where seams should go, staggered joints, and avoided unnatural patterns. Preventing seams in wood flooring created continuity between rooms, making the home’s layout feel more cohesive and open.
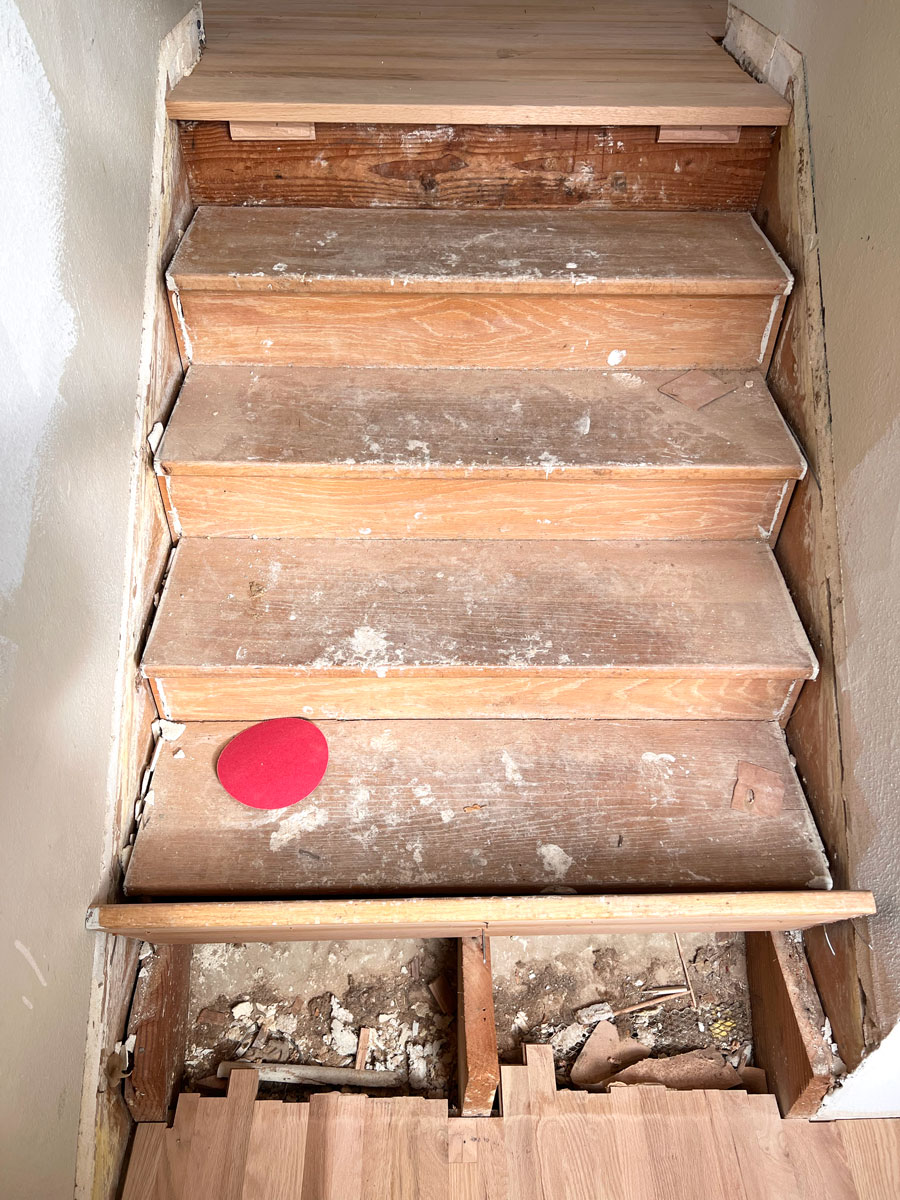
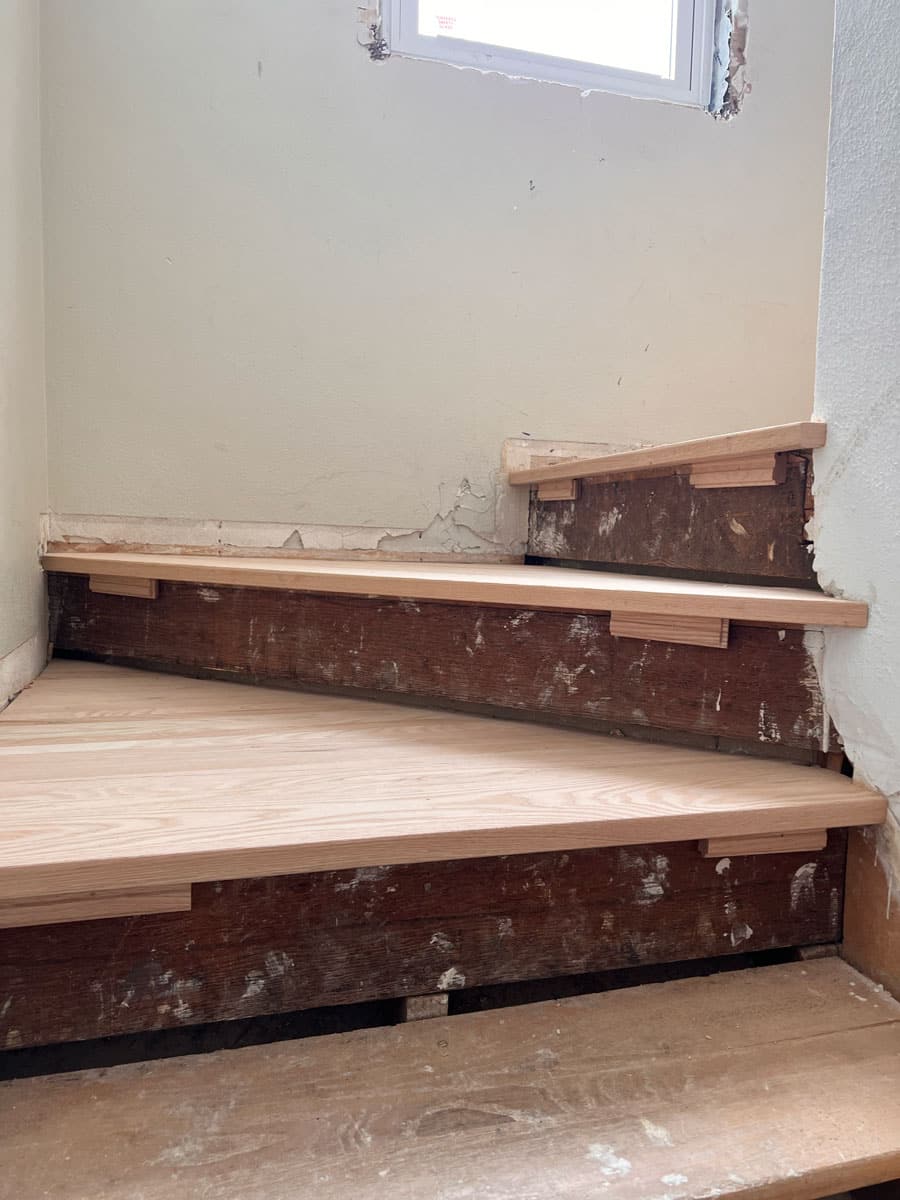
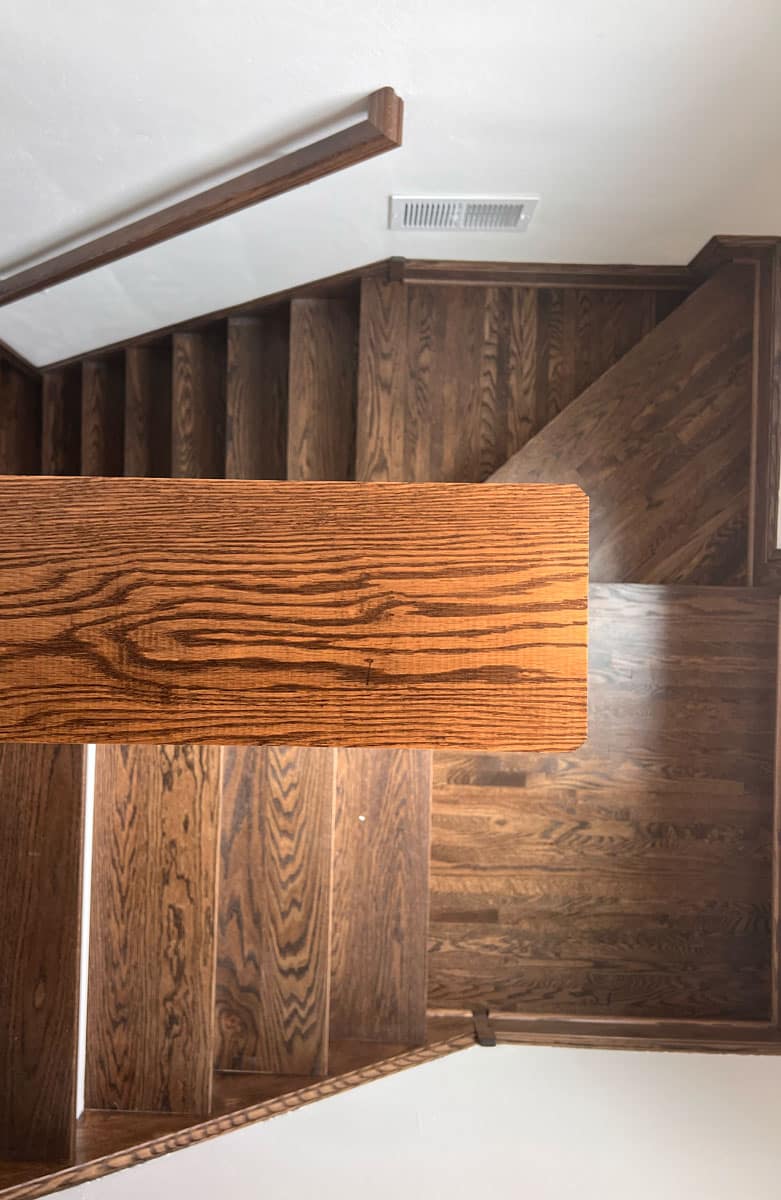
“I wanted to make sure that the floors were all the same, but some of the existing risers weren’t salvageable. We wanted a nice, clean Hallway.” – Conway Neighborhood Homeowner
New stairs promote uniformity from floor to floor.
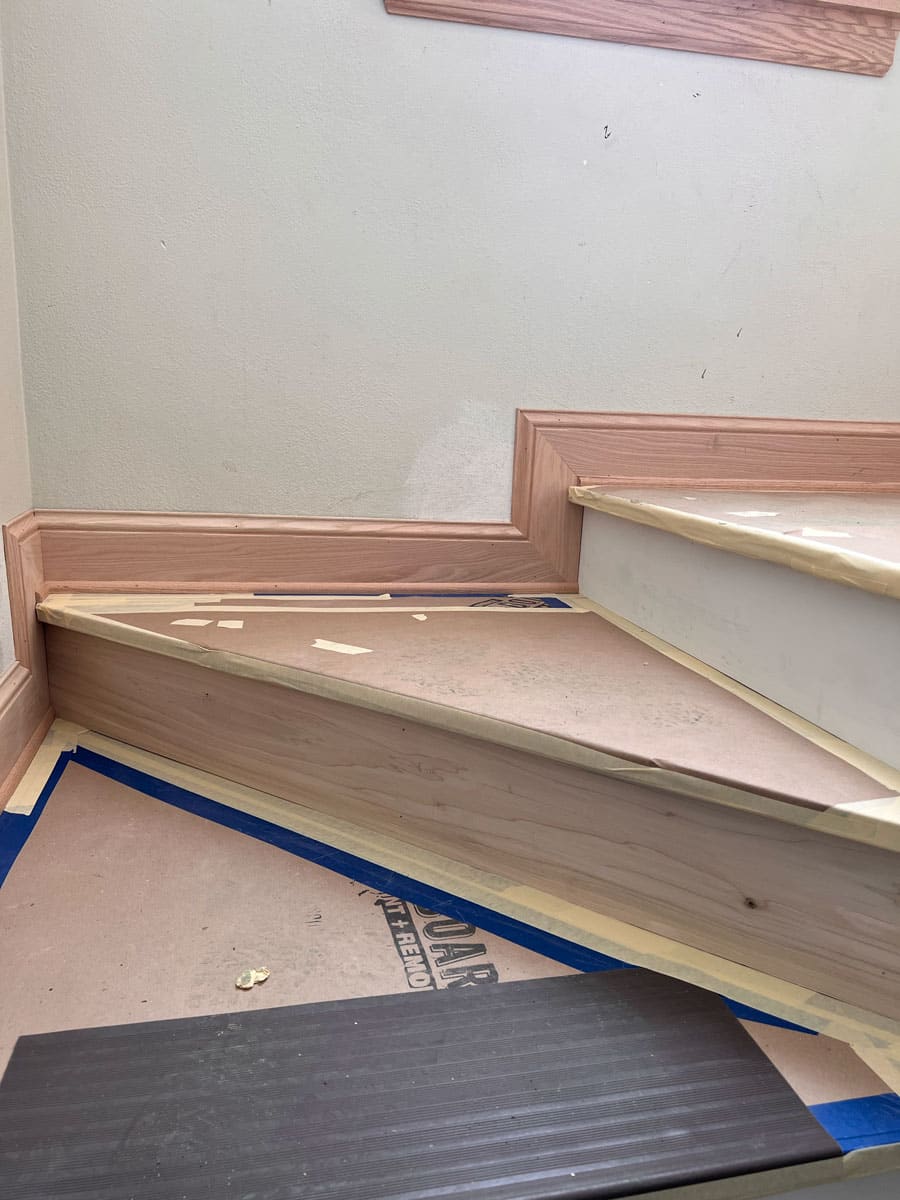
The homeowners were looking for uniformity from floor to floor, so rebuilding and refinishing the stairs was also in the project scope. And given they weren’t in great shape to begin with, our team rebuilt the stair risers and treads, finishing them just like the rest of the flooring. Taking the time to care for 76-year-old flooring with expertly built stairs will go a long way in helping the home age gracefully.
A richly-hued espresso stain achieves a seamless finish and a new interior palette.
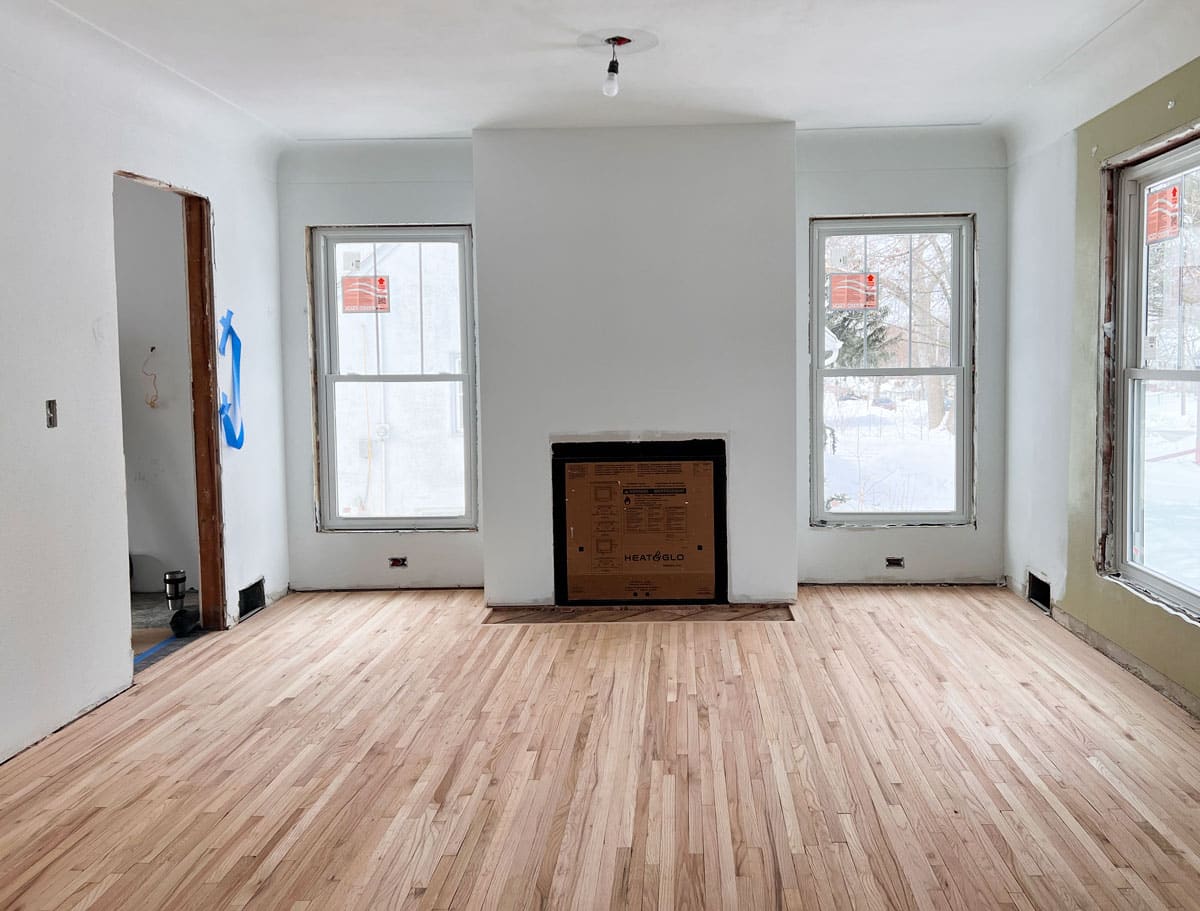
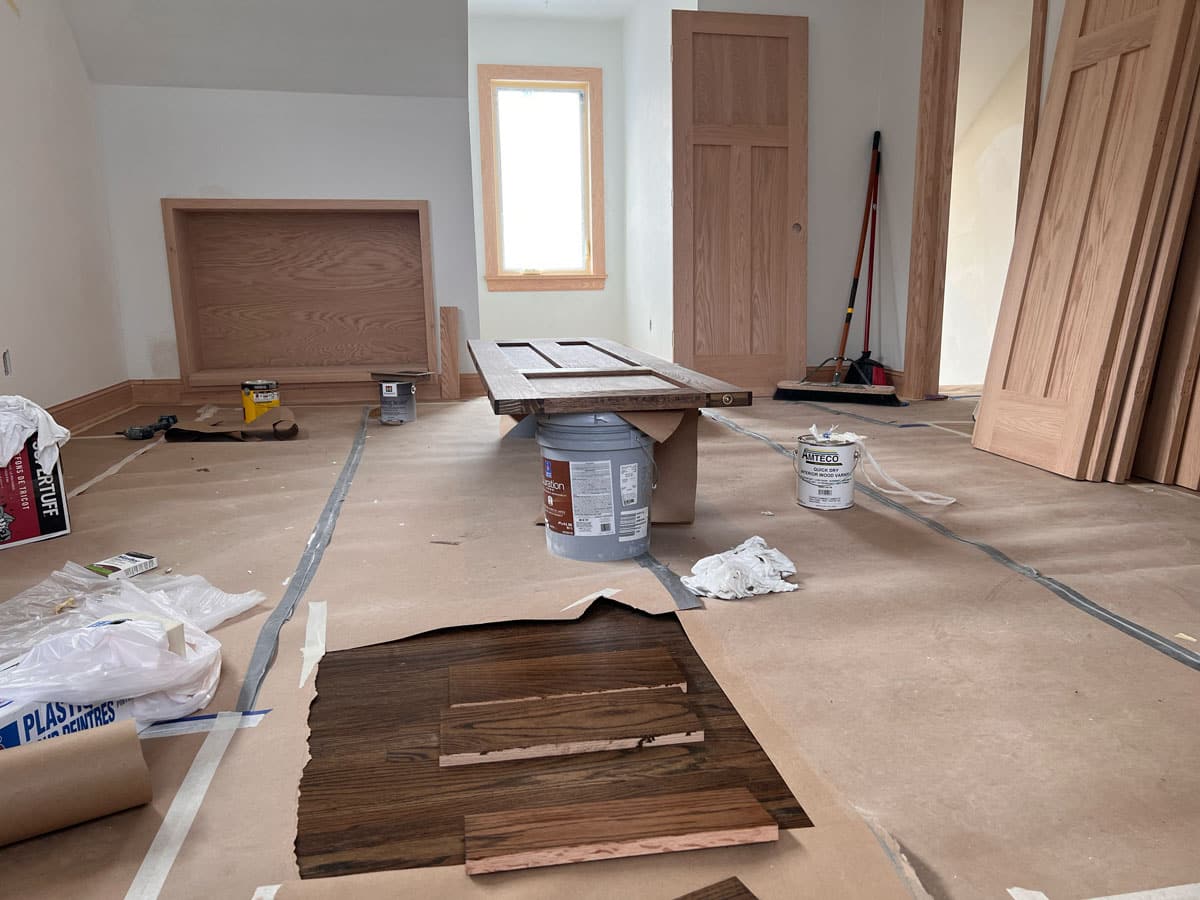
Even with an expert install, fully integrating new wood boards in the main floor hall next to the original flooring meant the entire main and upper floors needed to be sanded and refinished for added seamlessness. And refinishing the floor provided another opportunity for our clients to capture the interior design they were looking for with a darkly-hued oil-based stain in shade, Espresso. With several applications of stain, final finishing, and drying times to account for, refinishing the floor took about 1.5 weeks.
Building Confidence In the Final Work
We knew that woodwork was especially important to these Conway neighborhood homeowners. To ensure the stain selection was exactly what they envisioned, we went through an approval process involving the preparation of finish samples on-site, adjusting them with direct feedback from our clients. Did the stain feel too dark, or maybe not dark enough? While we also have finish specs noted in our documentation, taking the time to prepare samples in the home itself gave our homeowners the ability to perfectly fine-tune the hue they were looking for. In this case, this application of espresso stain offered a slightly darker finish than the existing millwork on the main level, allowing older details already present in the home to really shine.
“We wanted to keep wood, stone, leather, and different textures. We were really looking for something that was nature-based in texture and color. So we selected things that make you feel like you’ve brought the outdoors indoors.” – Conway Neighborhood Homeowner
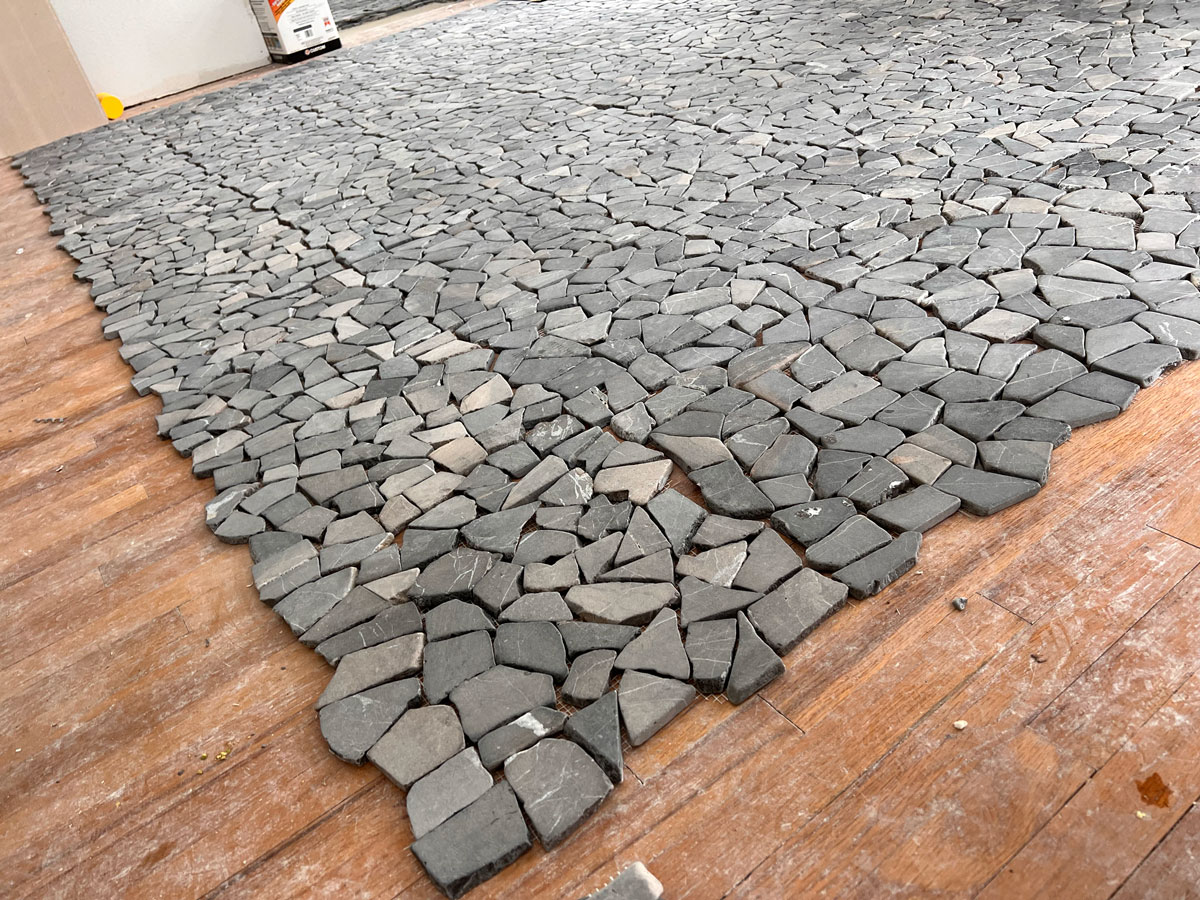
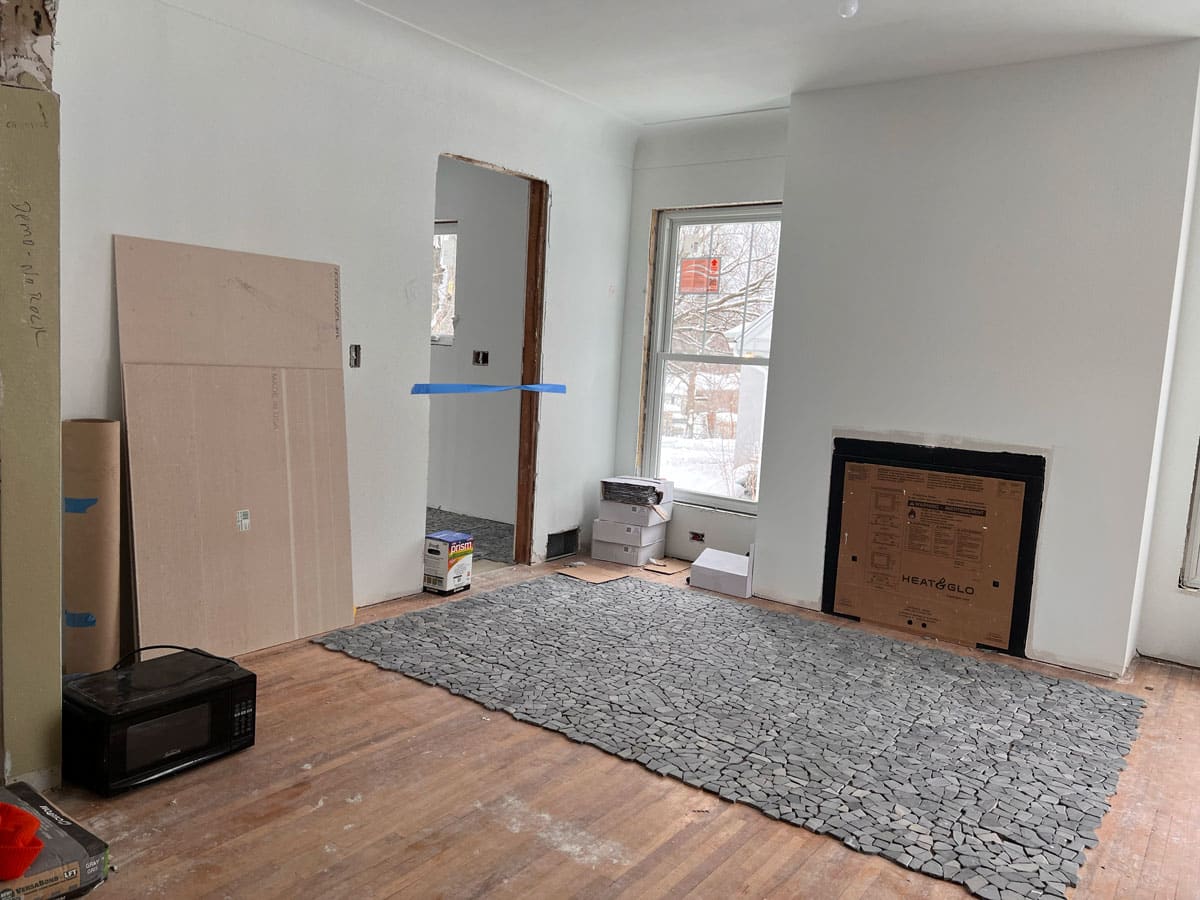
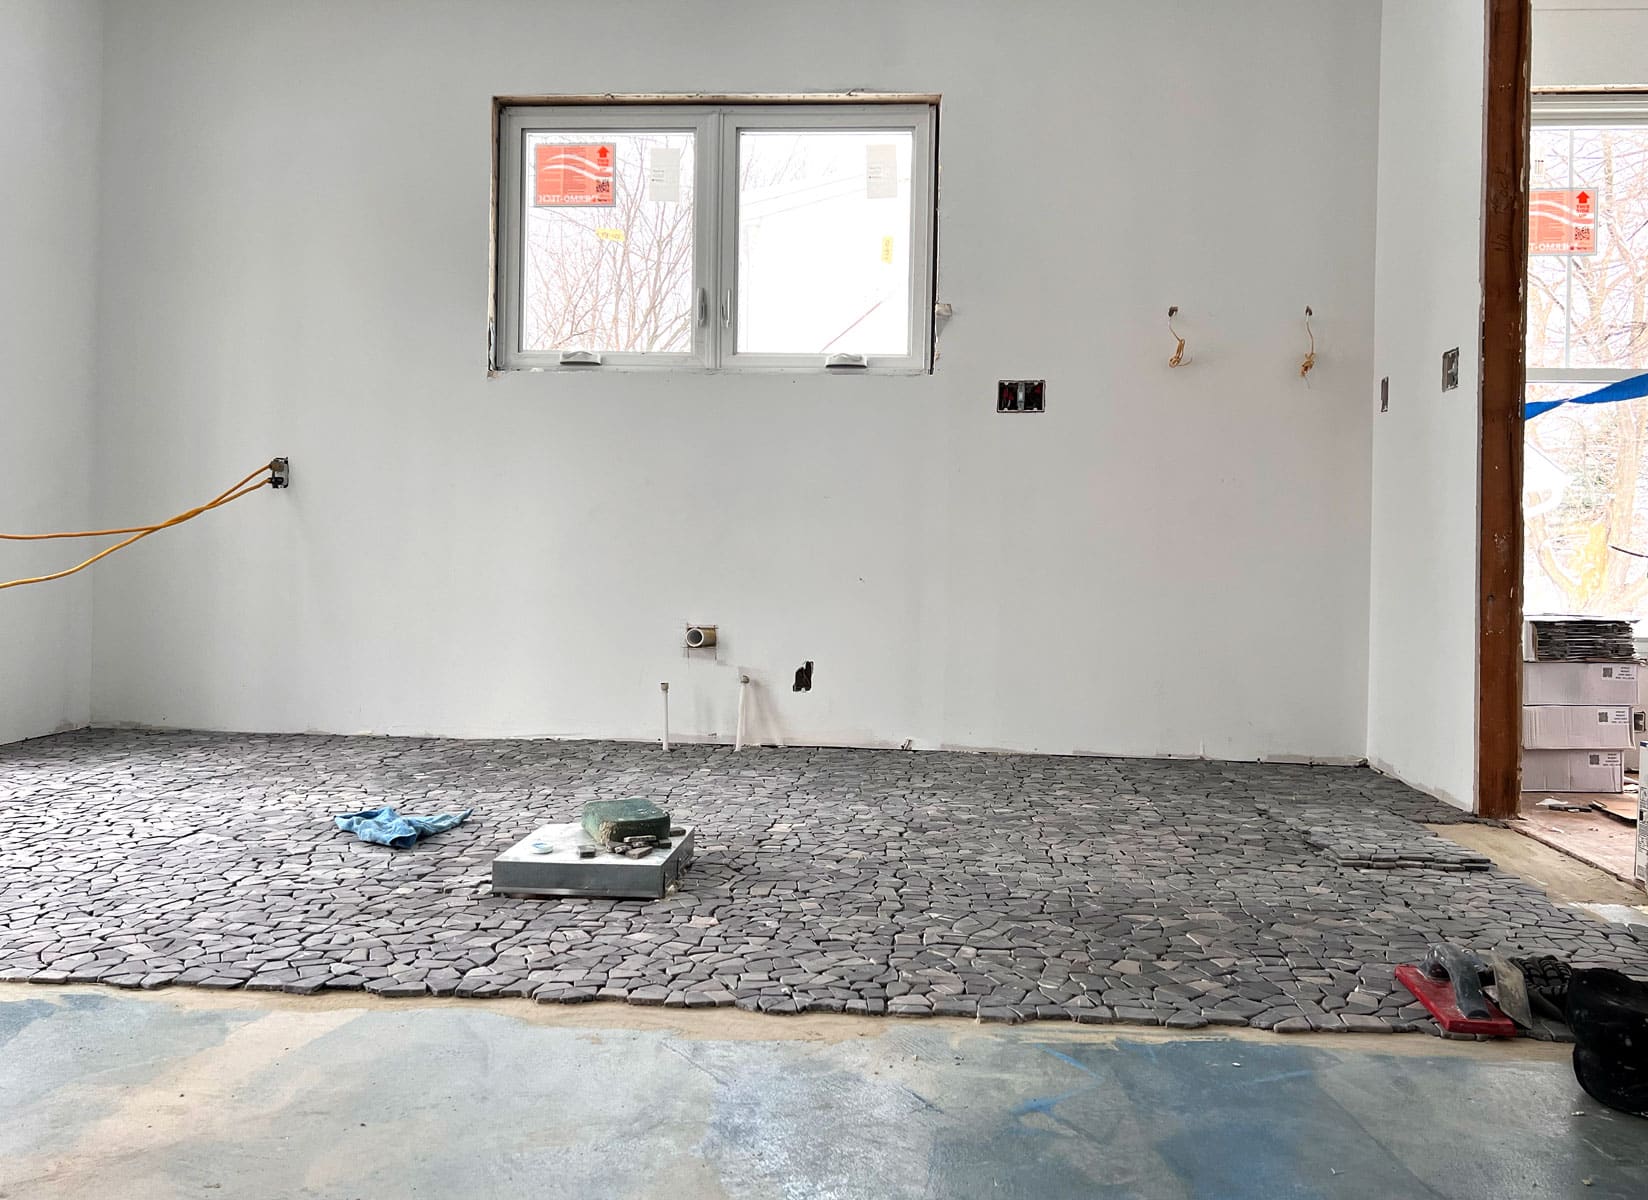
Pebble tile in the kitchen replaced Linoleum and highlighted our client’s design inspiration.
During demolition, we found asbestos in the kitchen’s linoleum flooring, so selecting better flooring here was critical. When it came to deciding on something new for their kitchen and entry, our clients opted for a hearty selection that would satisfy their hope to “bring the outside in.” Our tile setter took about 2-3 days to fully install the 12″x12″ pebble tile squares. On account of settling in the older home, he started the job by mixing up a liquid leveler, ensuring a successful installation on an even surface.
Consider your needs and lifestyle when selecting finishes.
Stone tile – it’s beautiful, and it has longevity, but it also requires maintenance. Being a natural material, the stone will need to be periodically sealed, and it may not be as easy to clean as other options. Part of the selection process involves talking through the pros and cons of each and every material and thinking critically about the kind of upkeep that our clients would need to tackle. With so many options available for all kinds of interior surfaces, talking about the reality of caring for them can really help establish the best selections for each homeowner. Since our St. Paul Family didn’t mind the maintenance of a natural stone, this flooring worked great for their kitchen and entryway.

Want to learn more about
this type of project?
We’re here to help! Check out our planning resources below, or reach out to us here.