Think you can’t afford that remodel? (There are more options than you think.)
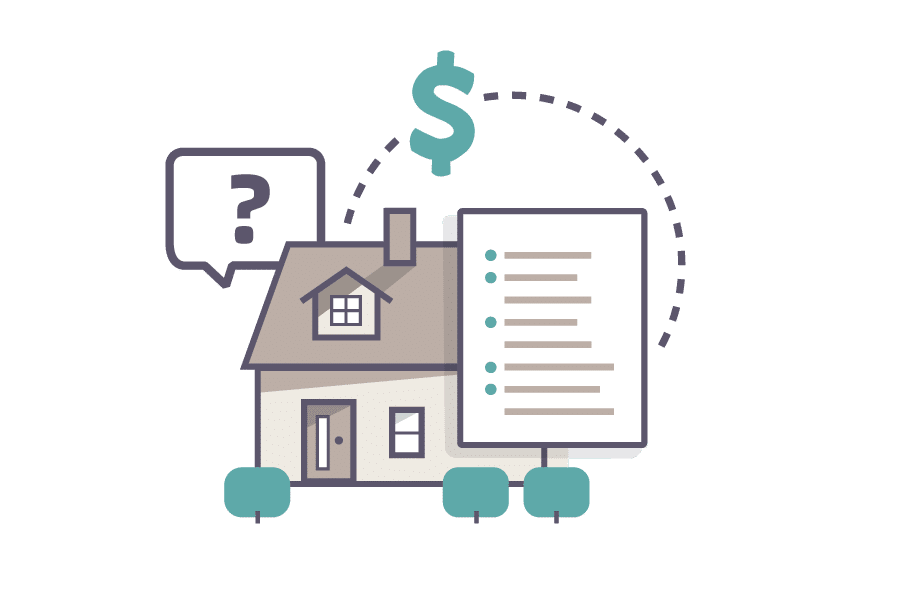
So you’d love to upgrade your kitchen or add a shed dormer with a primary suite, but you’re not sure how to pay for it? Learn about three ways to finance your remodel.
See inside as we transform the kitchen and upper level bath of this 1920s Tangletown home.
With our designers aiming for an open-concept floor plan and our clients eager for the change, framing became less about creating new interior walls and more about responding to functional and aesthetic challenges. In this case, framers worked on areas that were damaged by water, where newly proposed window locations affected exterior walls, and where an old tub impacted flooring.
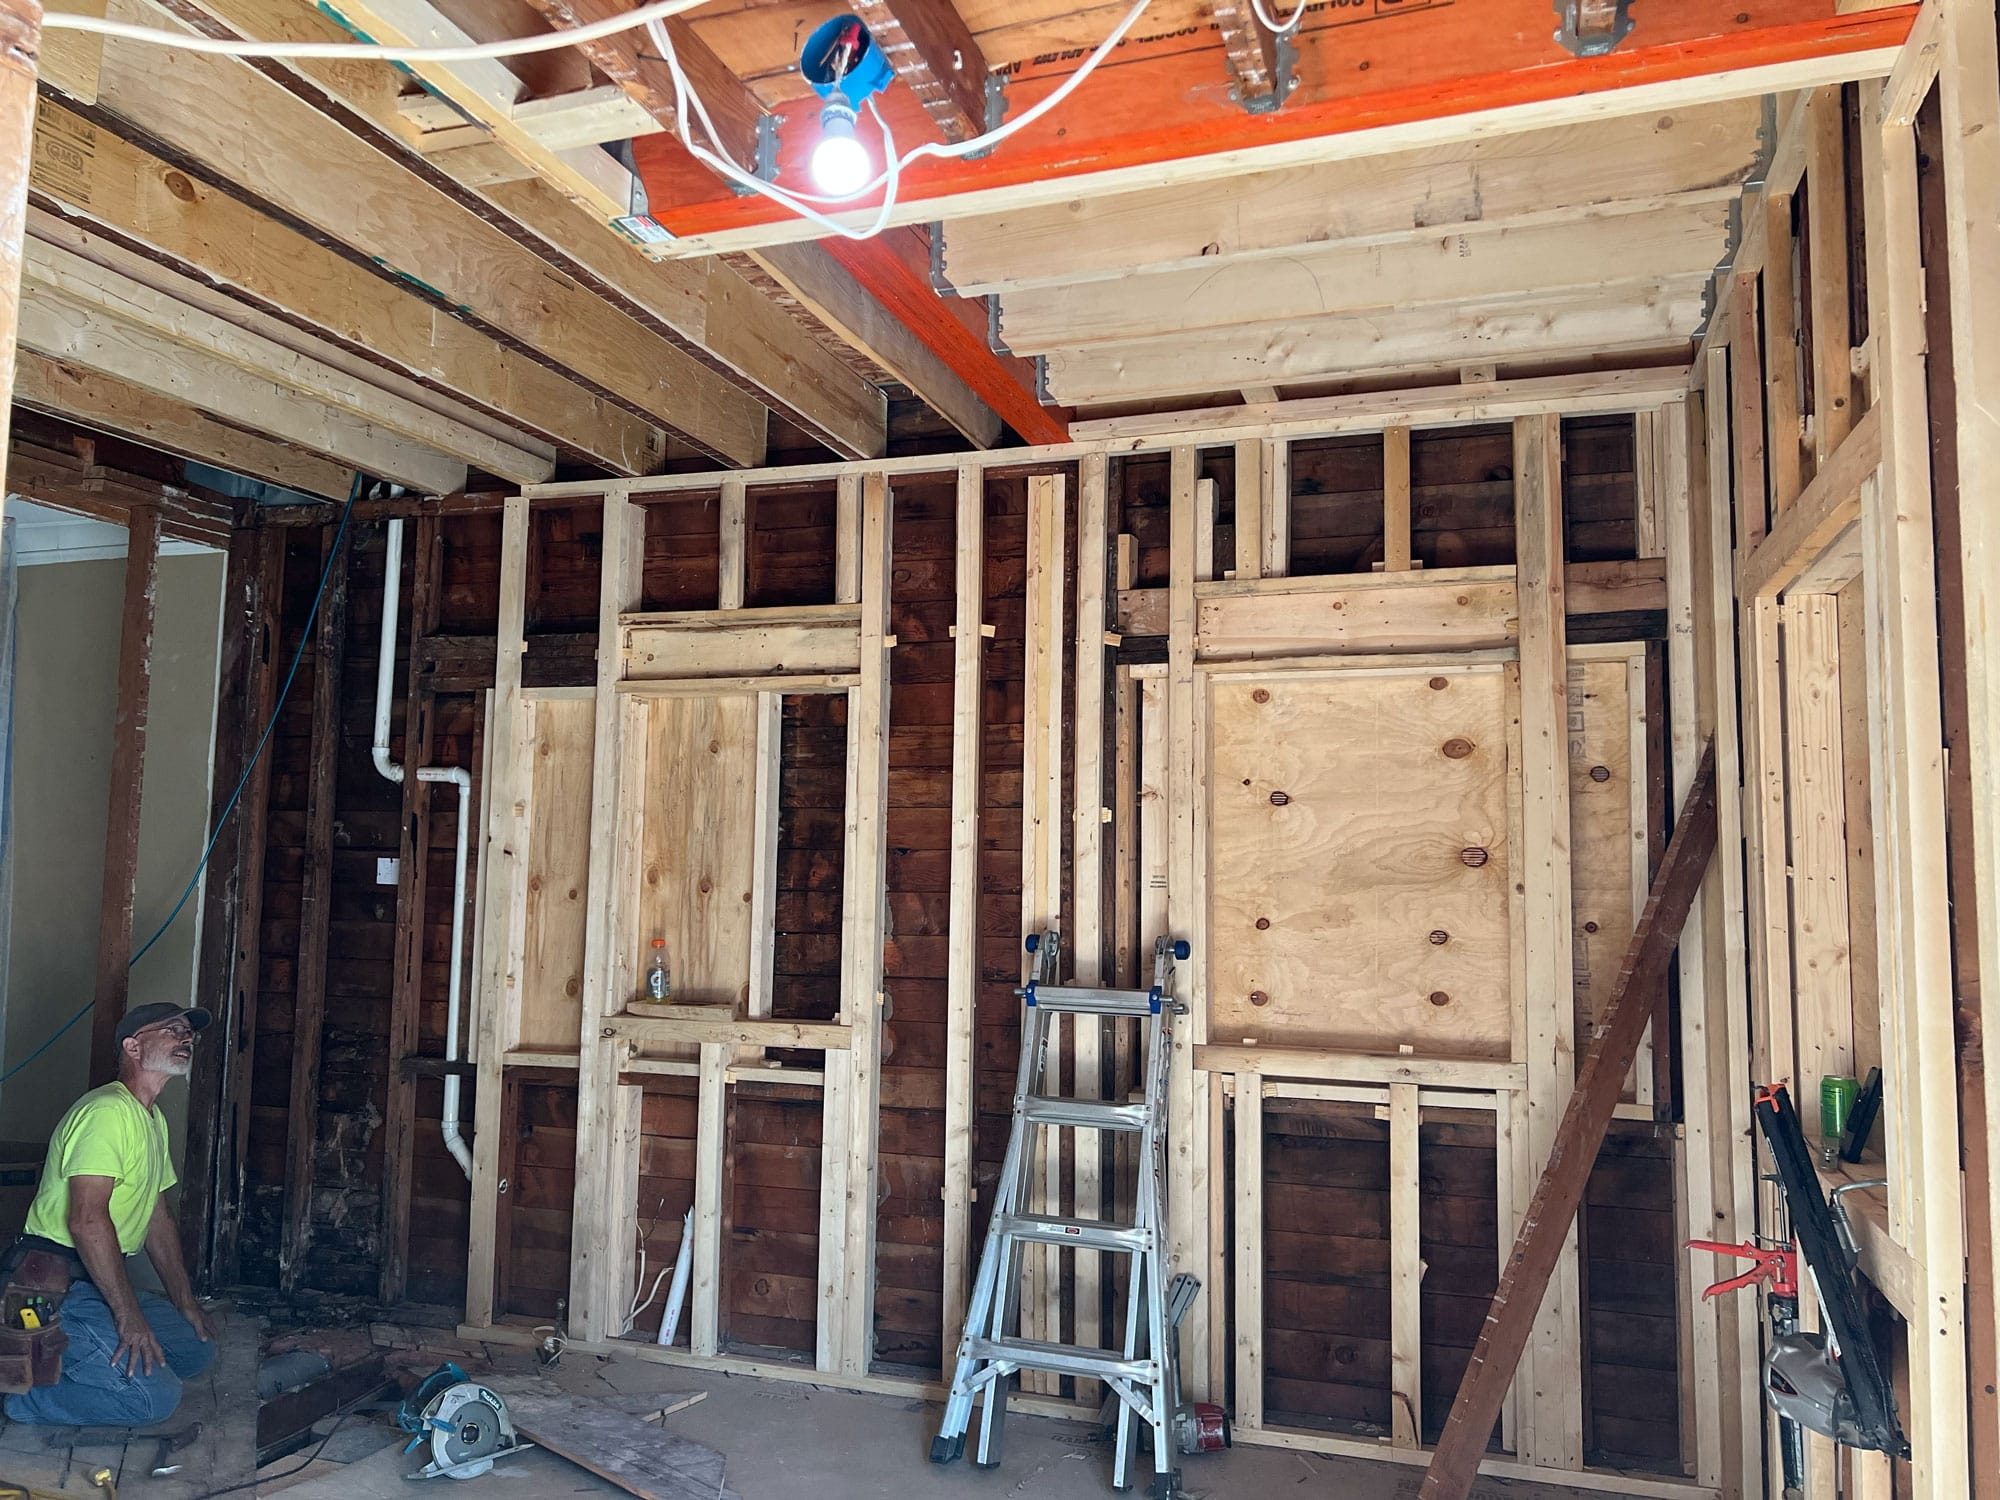
Towards the kitchen's back wall, notice completed framing for new windows with new headers to support additional openings.
In the kitchen, framing impacted 3 primary areas:
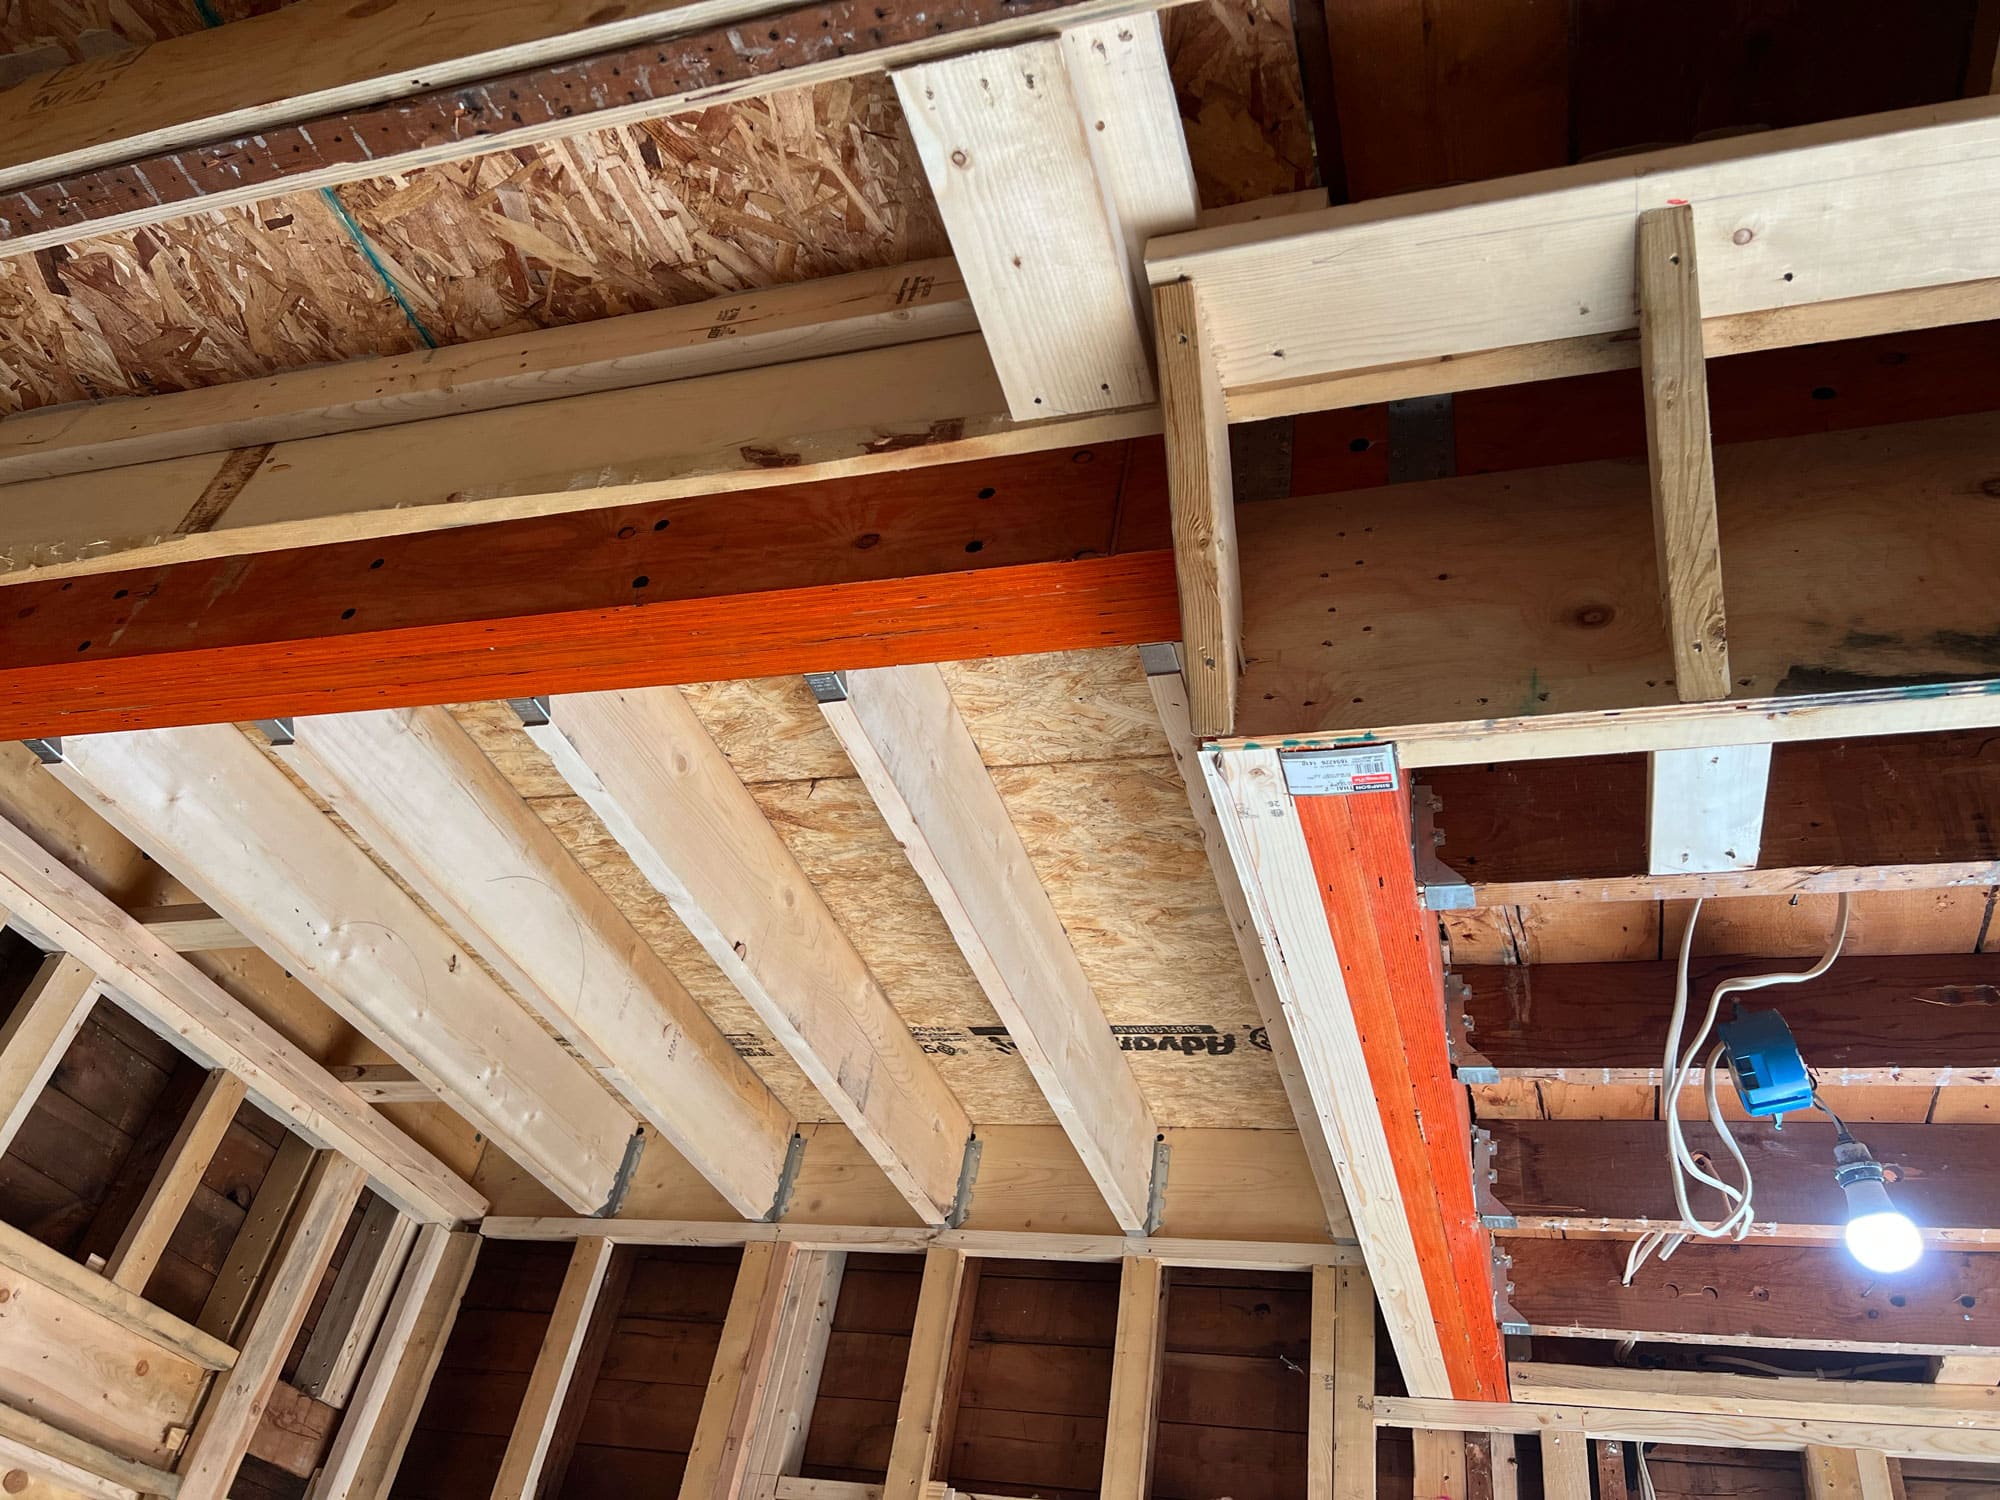
The orange 2x10 LVLs (Laminated veneer lumber) pictured here are part of the additional structural system framers installed to support the bathroom floor above, along with the adjacent 2x8 floor joists.
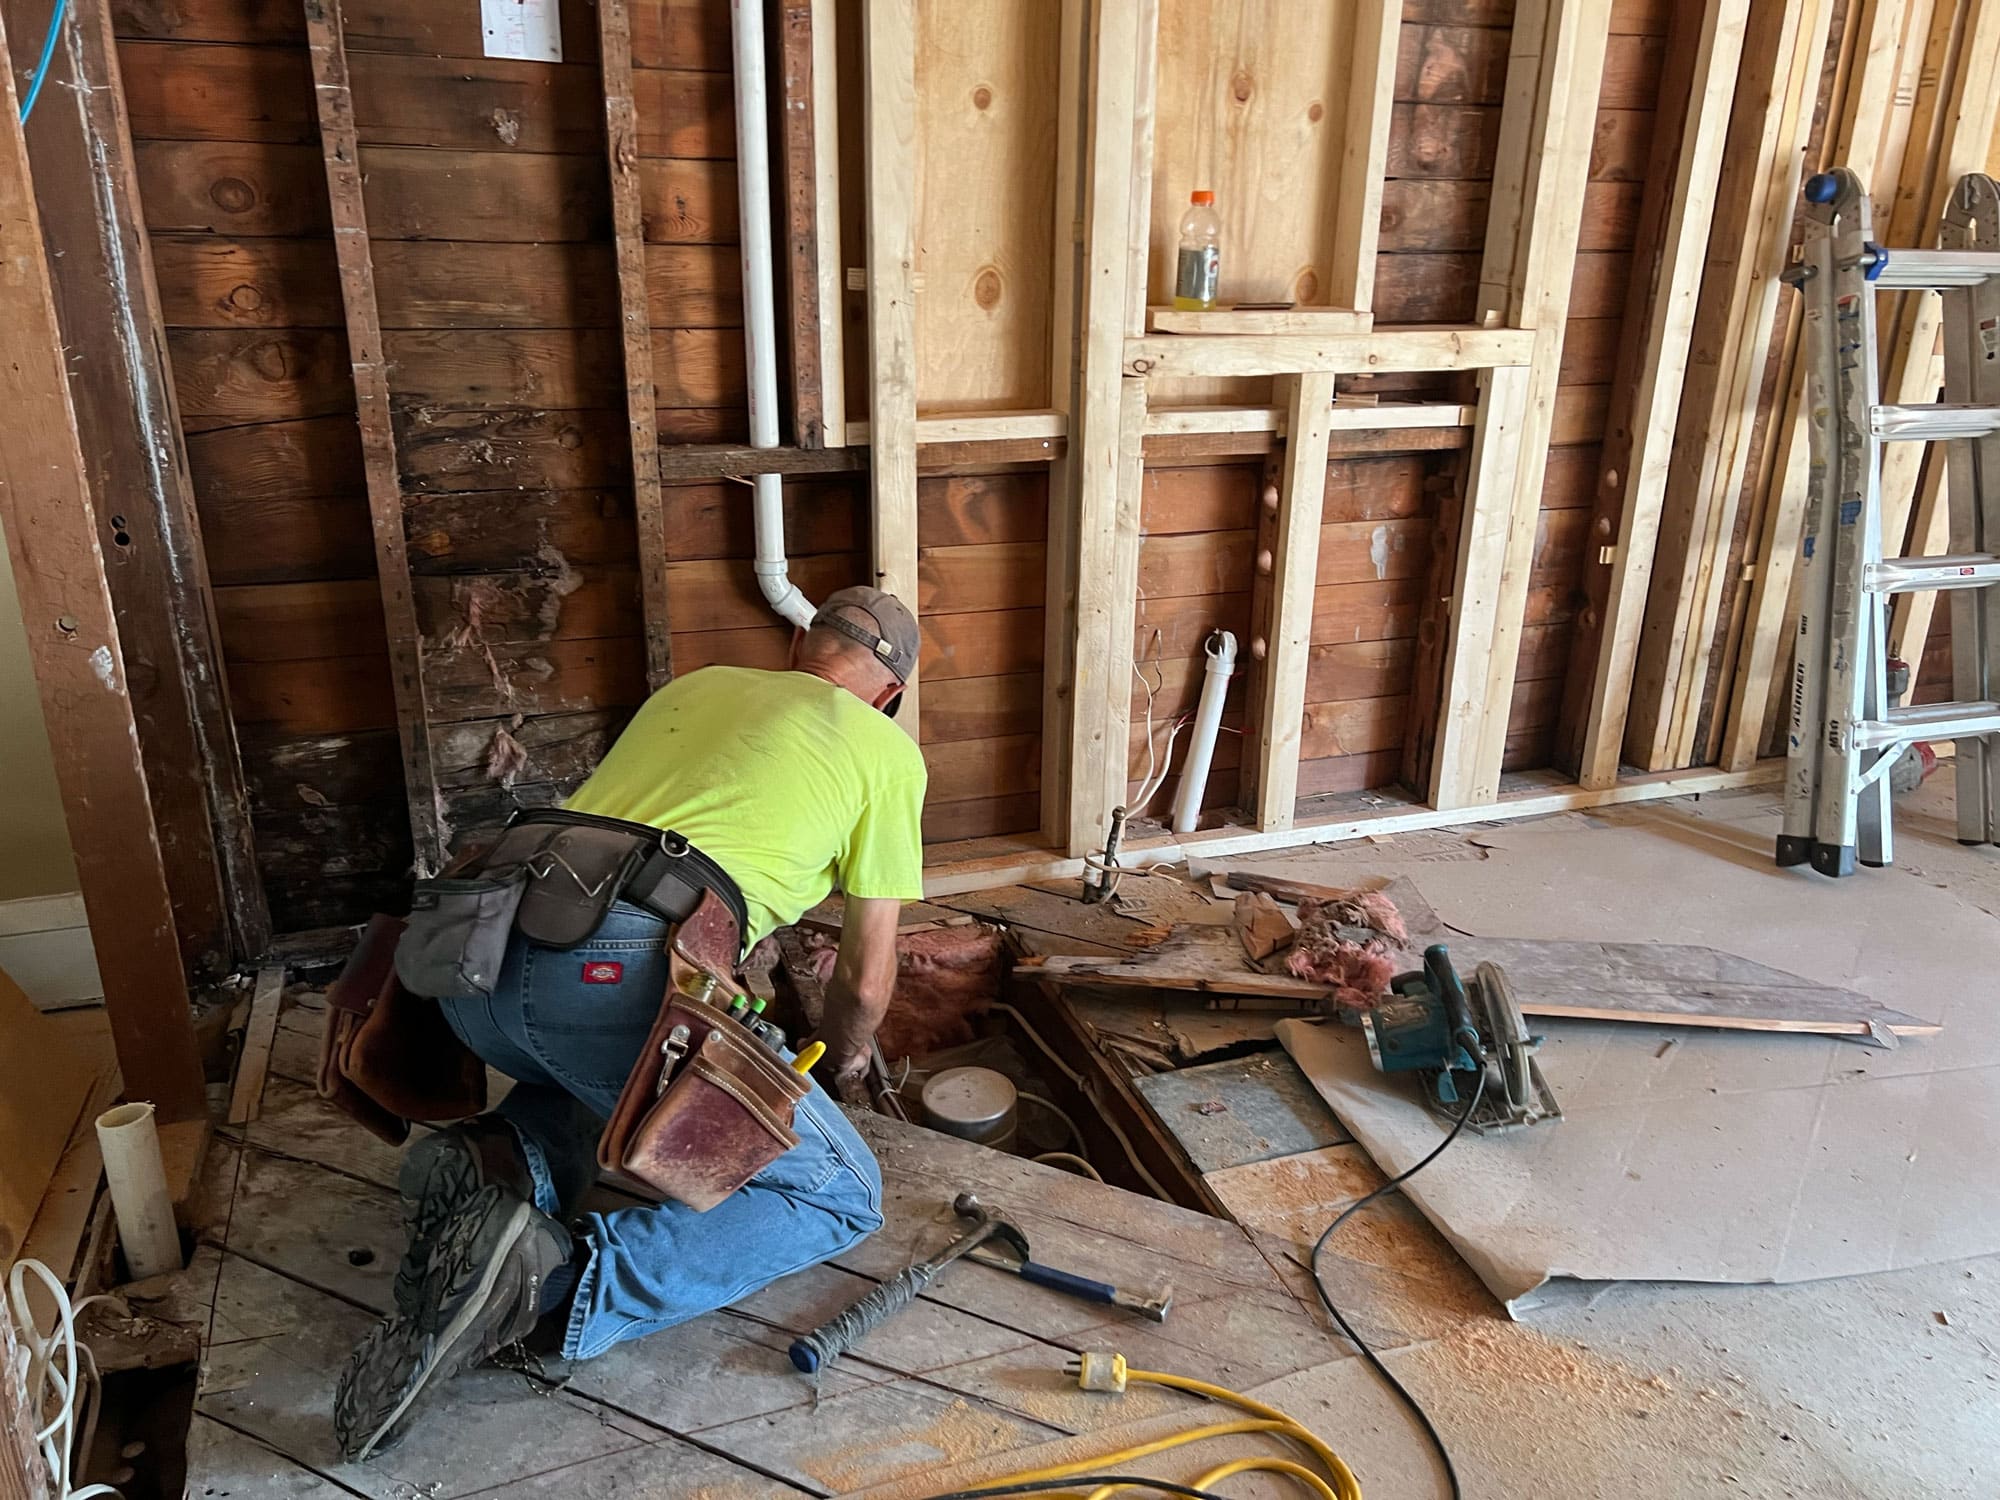
We reframed part of the kitchen floor to adjust for rotting joists and subfloor that would have caused major issues later on.
We all love a good bathroom, a place where a person can unwind in a sudsy tub or steam-filled shower after a long day. But nothing really intrudes on a spa-like experience quite as much as a lack of privacy. This is why a few notable framing changes to the toilet and window locations in our clients’ spa-inspired bathroom will provide no less of a calming experience.
Additionally, we worked through several exercises to make sure we had a level floor for tile installation later. We also created a flat ceiling above part of the shower to house plumbing needed for the shower head.
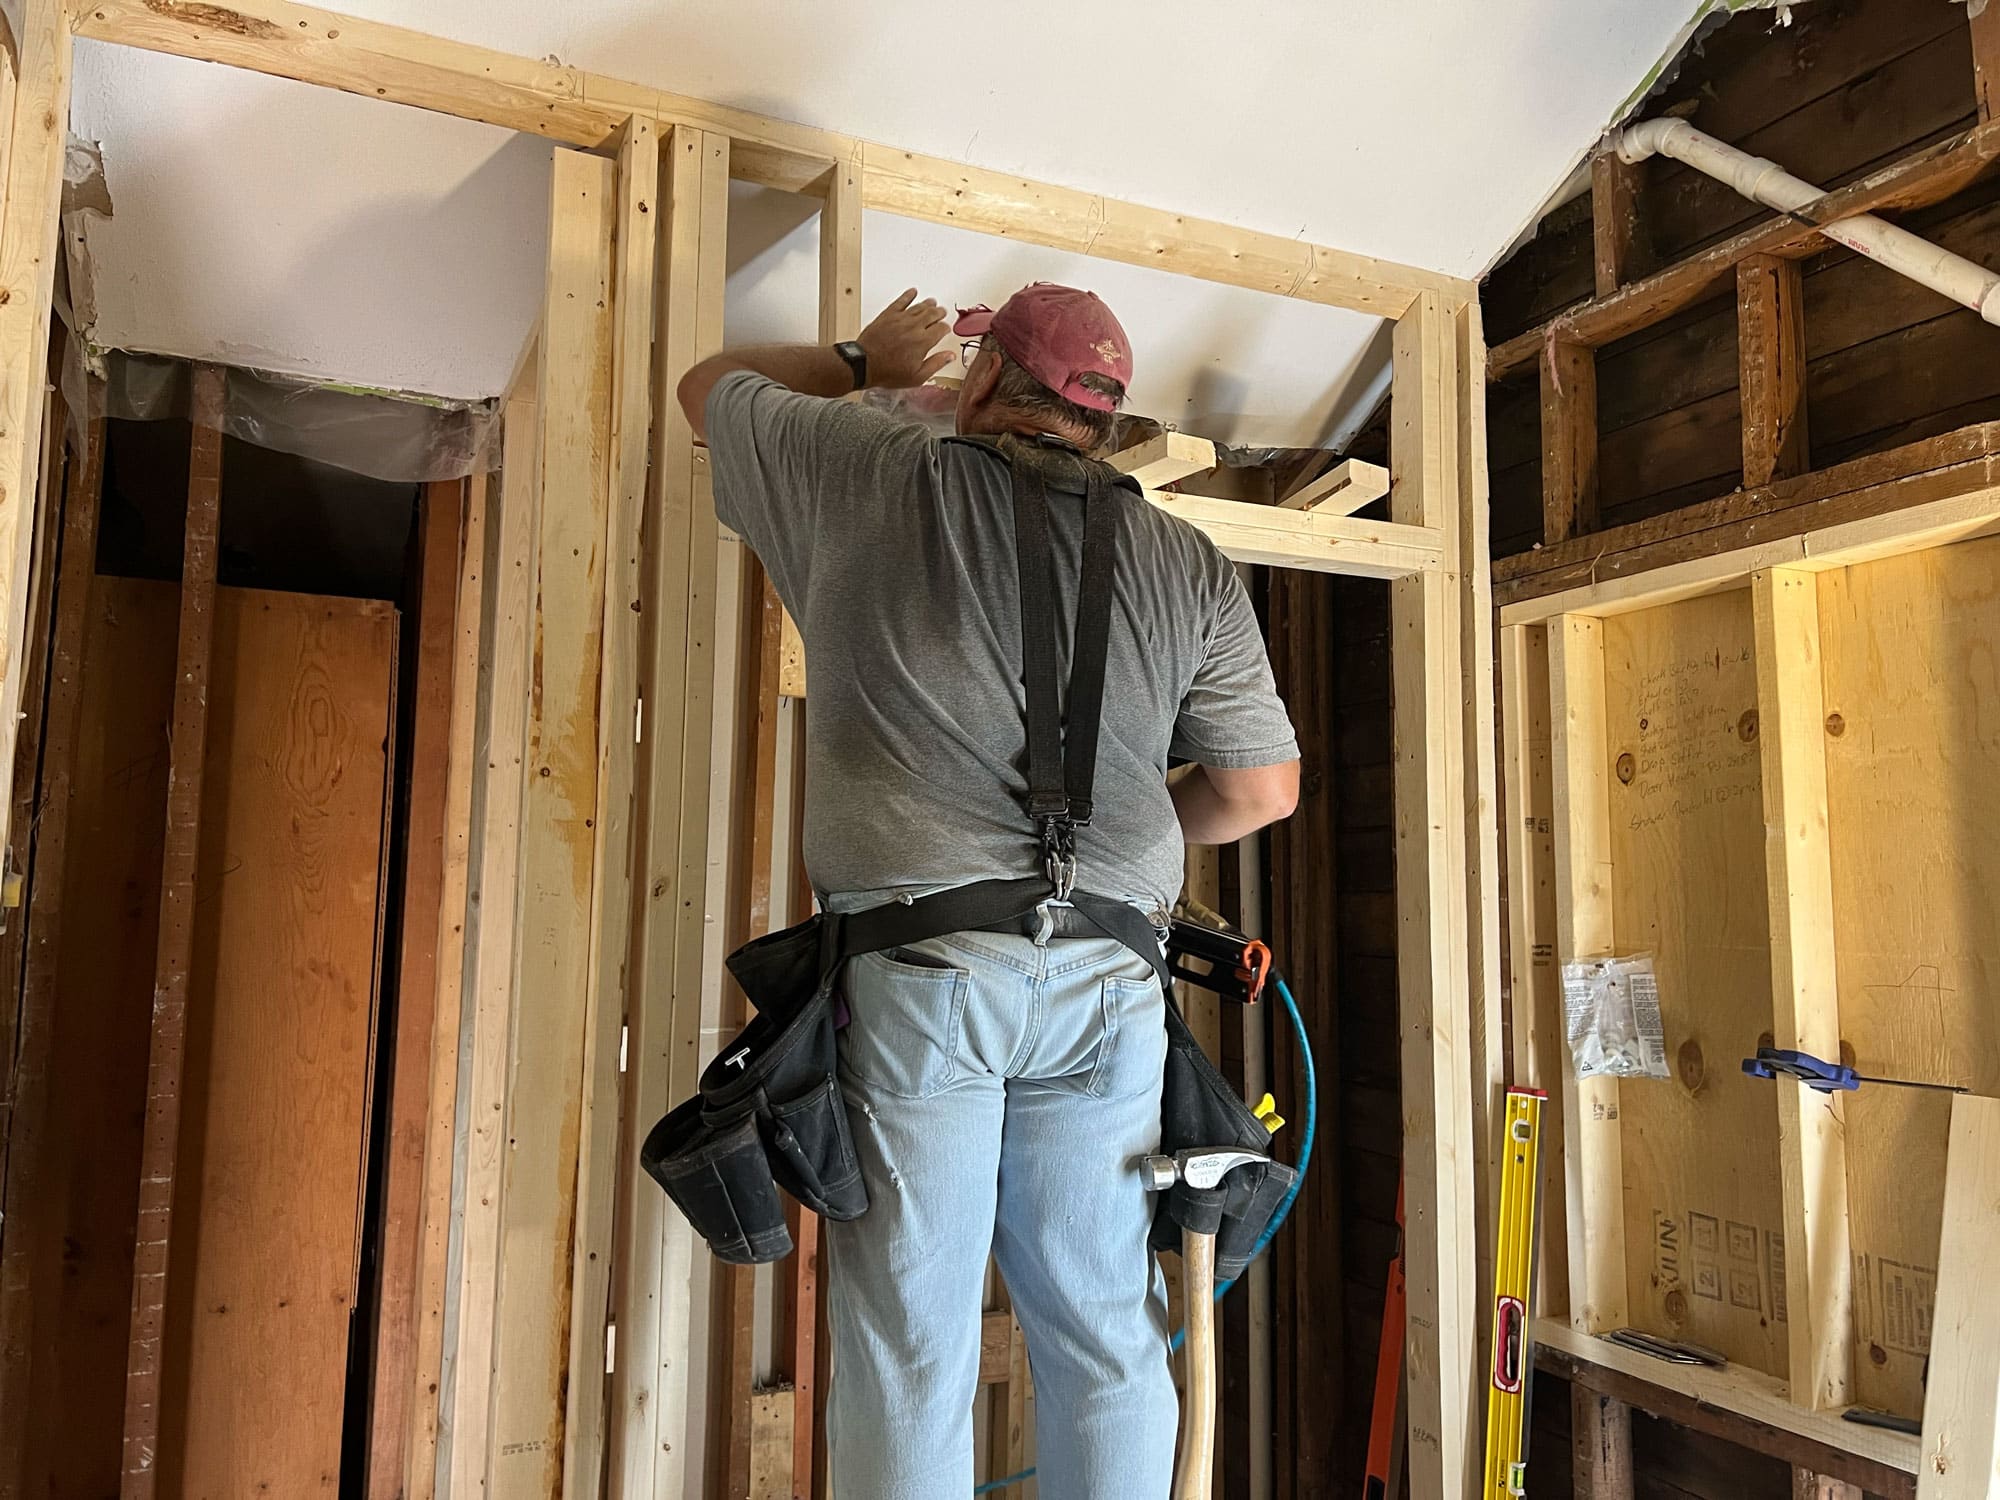
Here, we're framing for the pocket door that provides access to the lavatory inside the upper level bathroom.
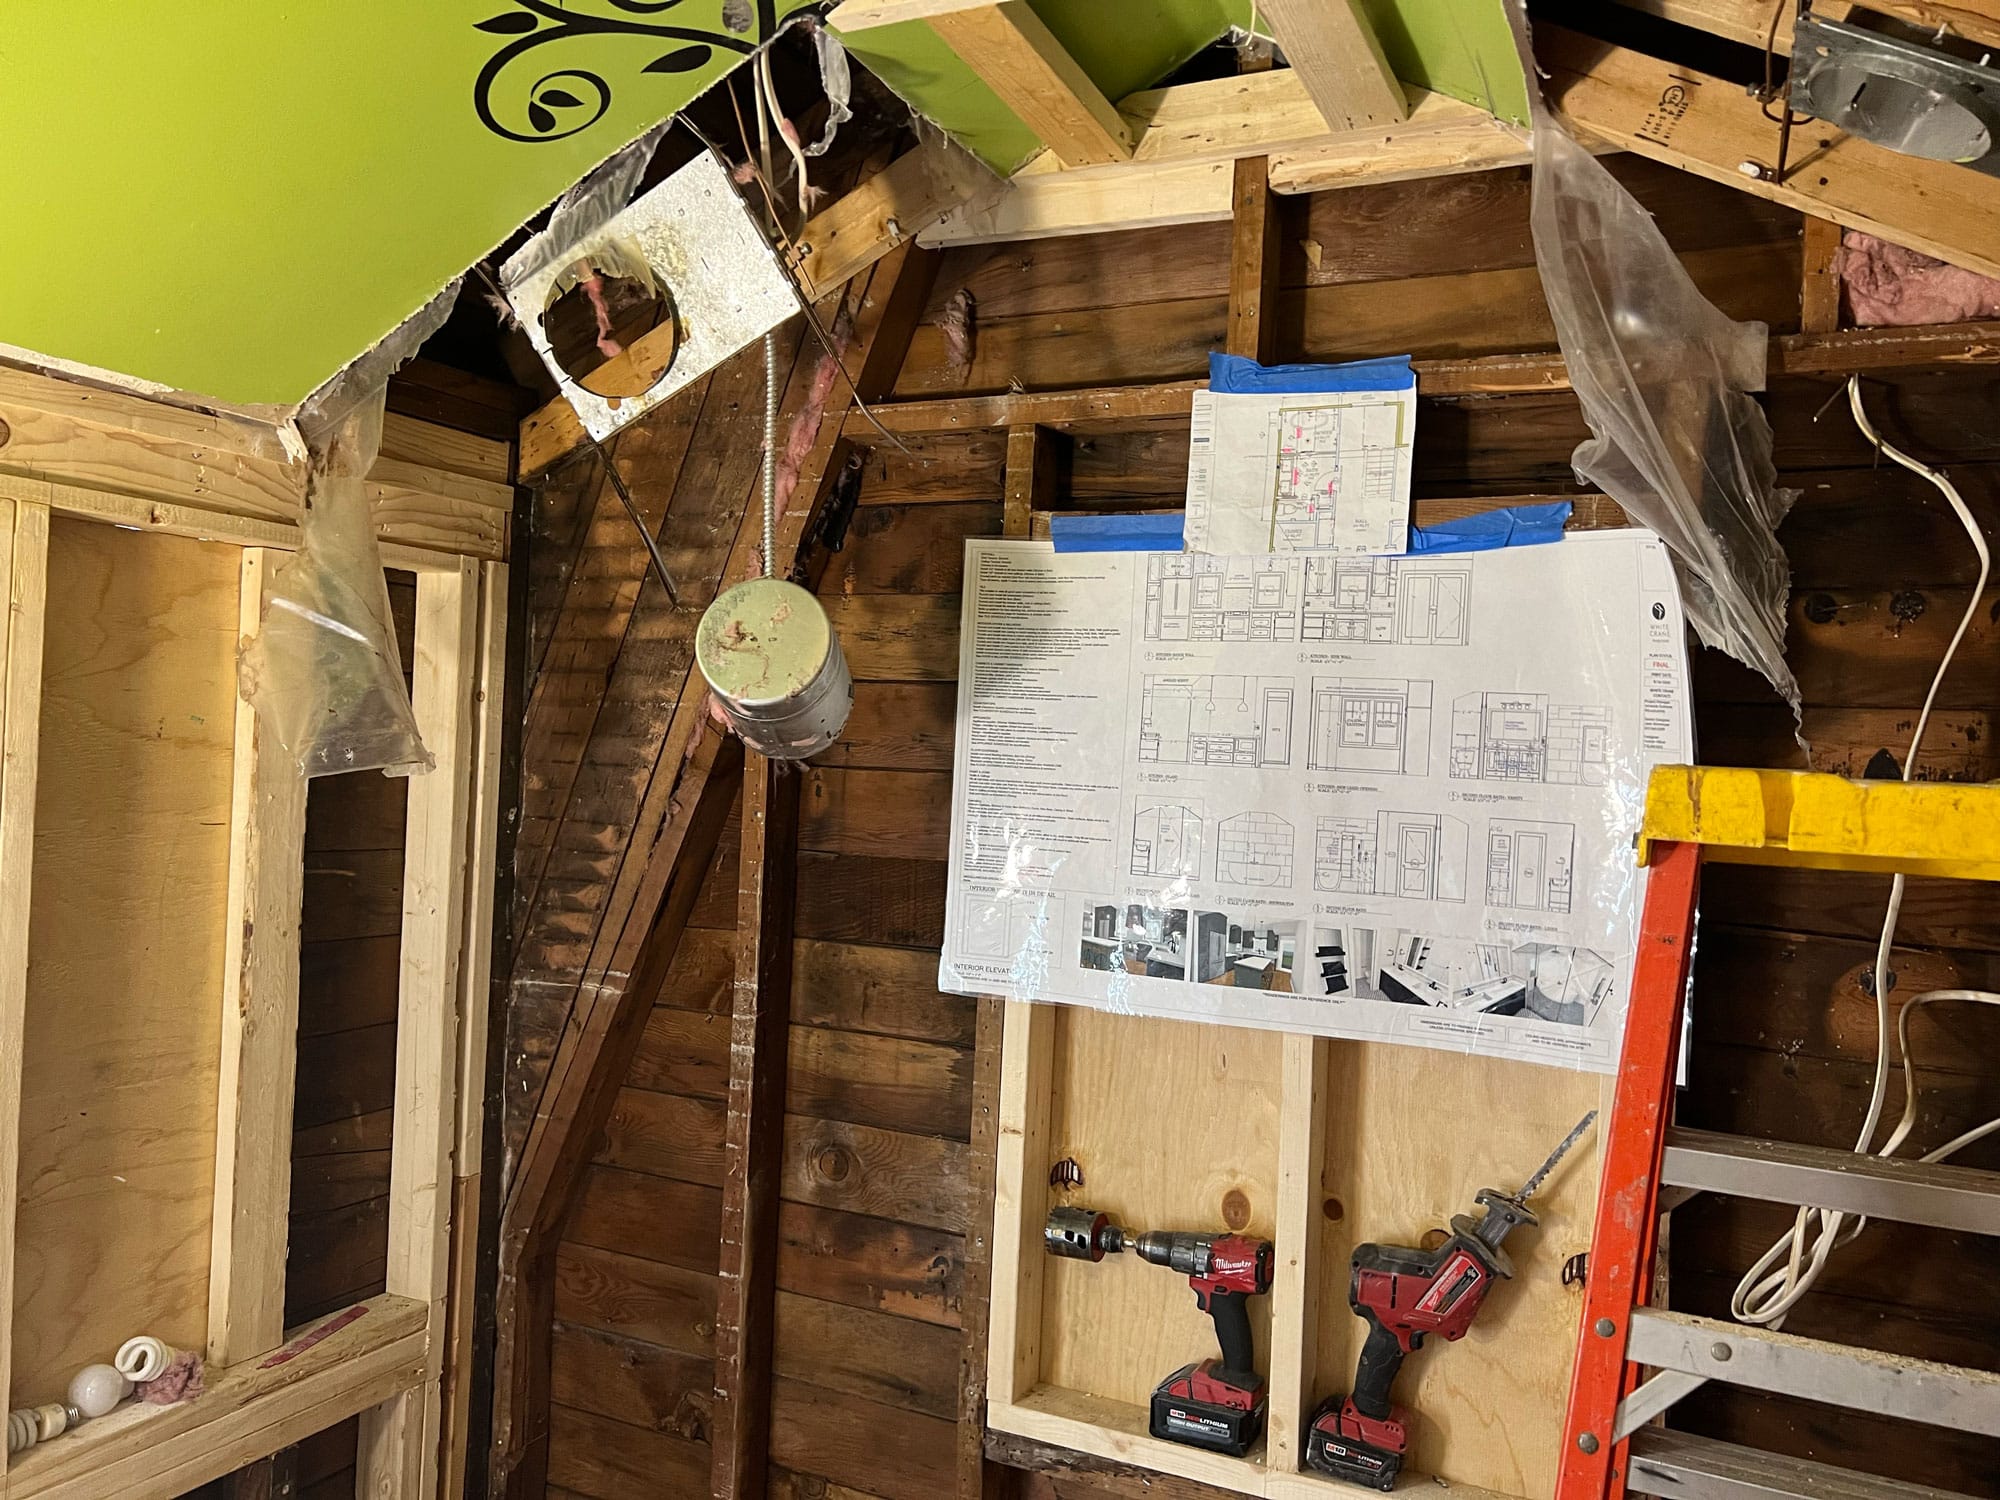
Above the shower, we're using standard 2x4 lumber to create a flat ceiling area to house plumbing required for the shower head.
We’re here to help! Check out our planning resources below, or reach out to us here.
So you’d love to upgrade your kitchen or add a shed dormer with a primary suite, but you’re not sure how to pay for it? Learn about three ways to finance your remodel.
Are you dreaming of a new kitchen and wondering how much you’ll need to invest? We breakdown the costs for two kitchen remodels and what factors drive those costs.

Here's the step-by-step process that ensures you’ll have a remodel you love.