Tangletown Kitchen & Bath Remodel
A remodel is underway. Take a look inside.
See inside as we transform the kitchen and upper level bath of this 1920s Tangletown home.
Bathroom Cabinets & Tile
Bathroom Cabinets, Prefabricated Versus Custom
Prefabricated Bathroom Vanity: Having found a ready-made vanity they liked, our clients opted for a prefabricated cabinet with darkly rich hues to match the tile selections throughout the primary bathroom. Our crew installed the undermount sinks, countertop, and backsplash included with the cabinet. The decision to select a prefab cabinet versus building a custom piece can come down to several factors our designers often consider, from lead time and customization needs to cost and material integrity.
Selecting a prefabricated cabinet can be an excellent addition to a bathroom space. Unlike kitchens, there may not be as much need to customize cabinets, and considering shorter lead times and lower costs, a ready-made piece is an excellent option for remodeling.
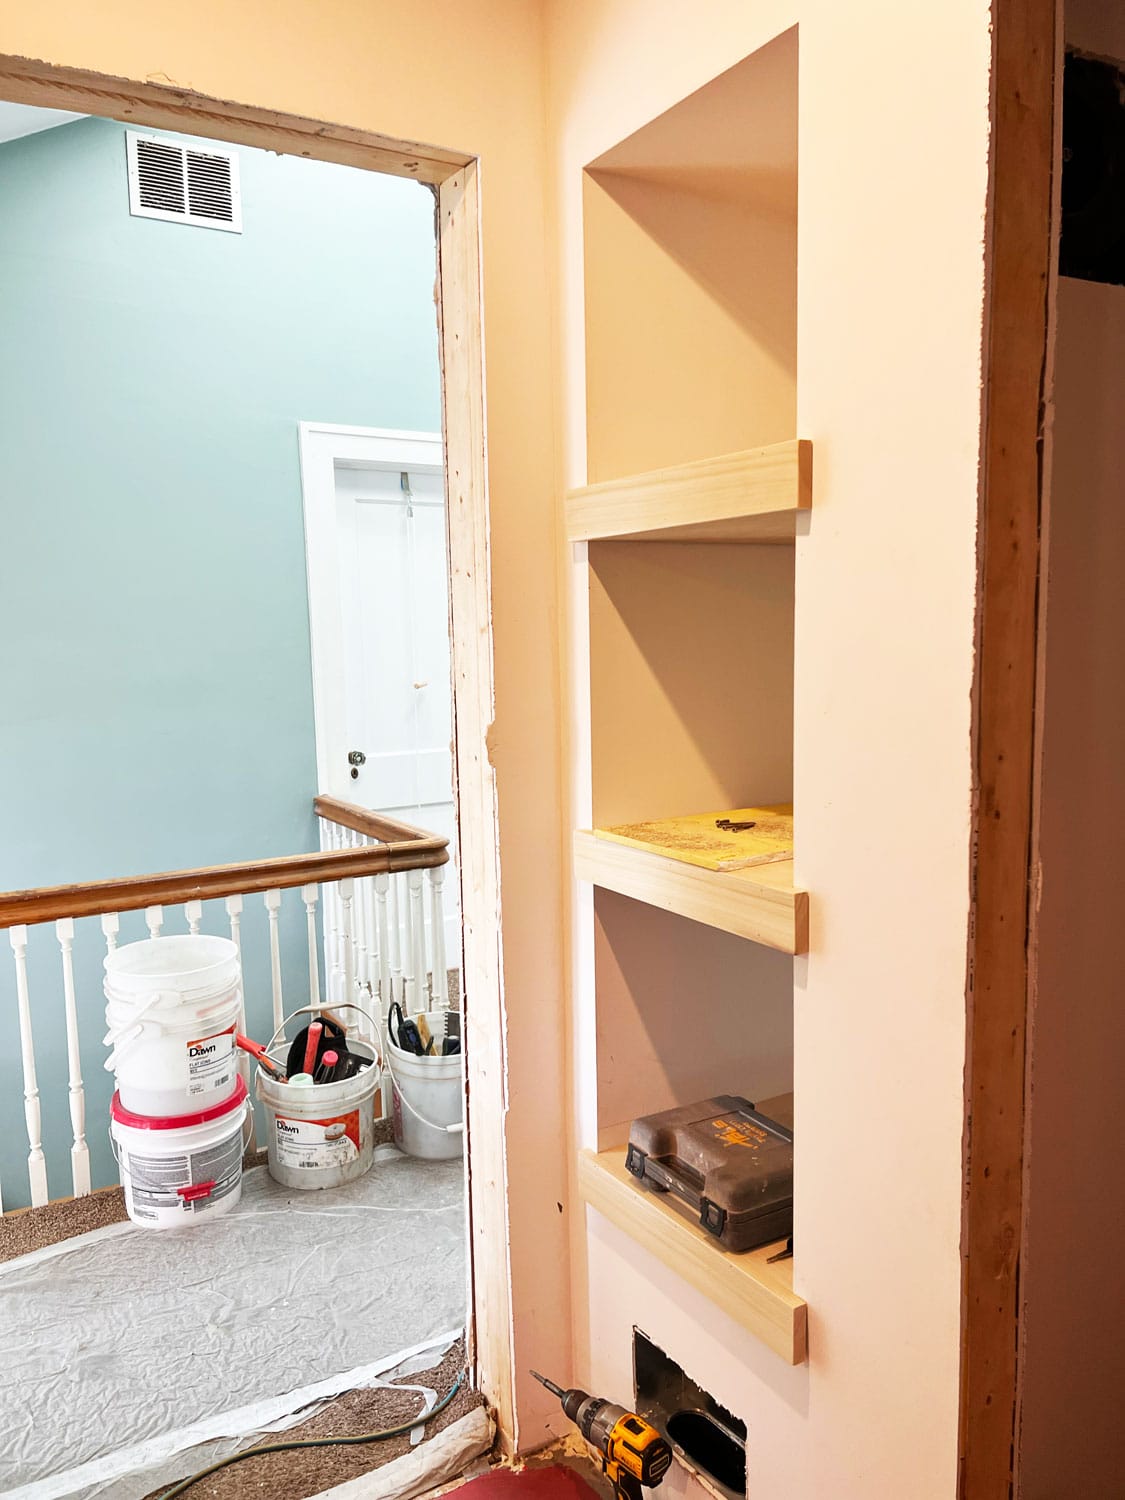
Adding built-in shelving to a nearby bathroom nook is an excellent space-saving strategy that provides some visual interest and additional storage.
Custom-Made Open Shelving: The cabinet maker created custom, built-in poplar shelving while also building the kitchen cabinets. Like the main level cabinets, our cabinet crew came to the site after framing to take all the needed measurements to ensure correctly fitted cabinets. Stained to match the espresso bathroom vanity with a rich, black finish, these floating shelves provide additional, tucked-away storage.
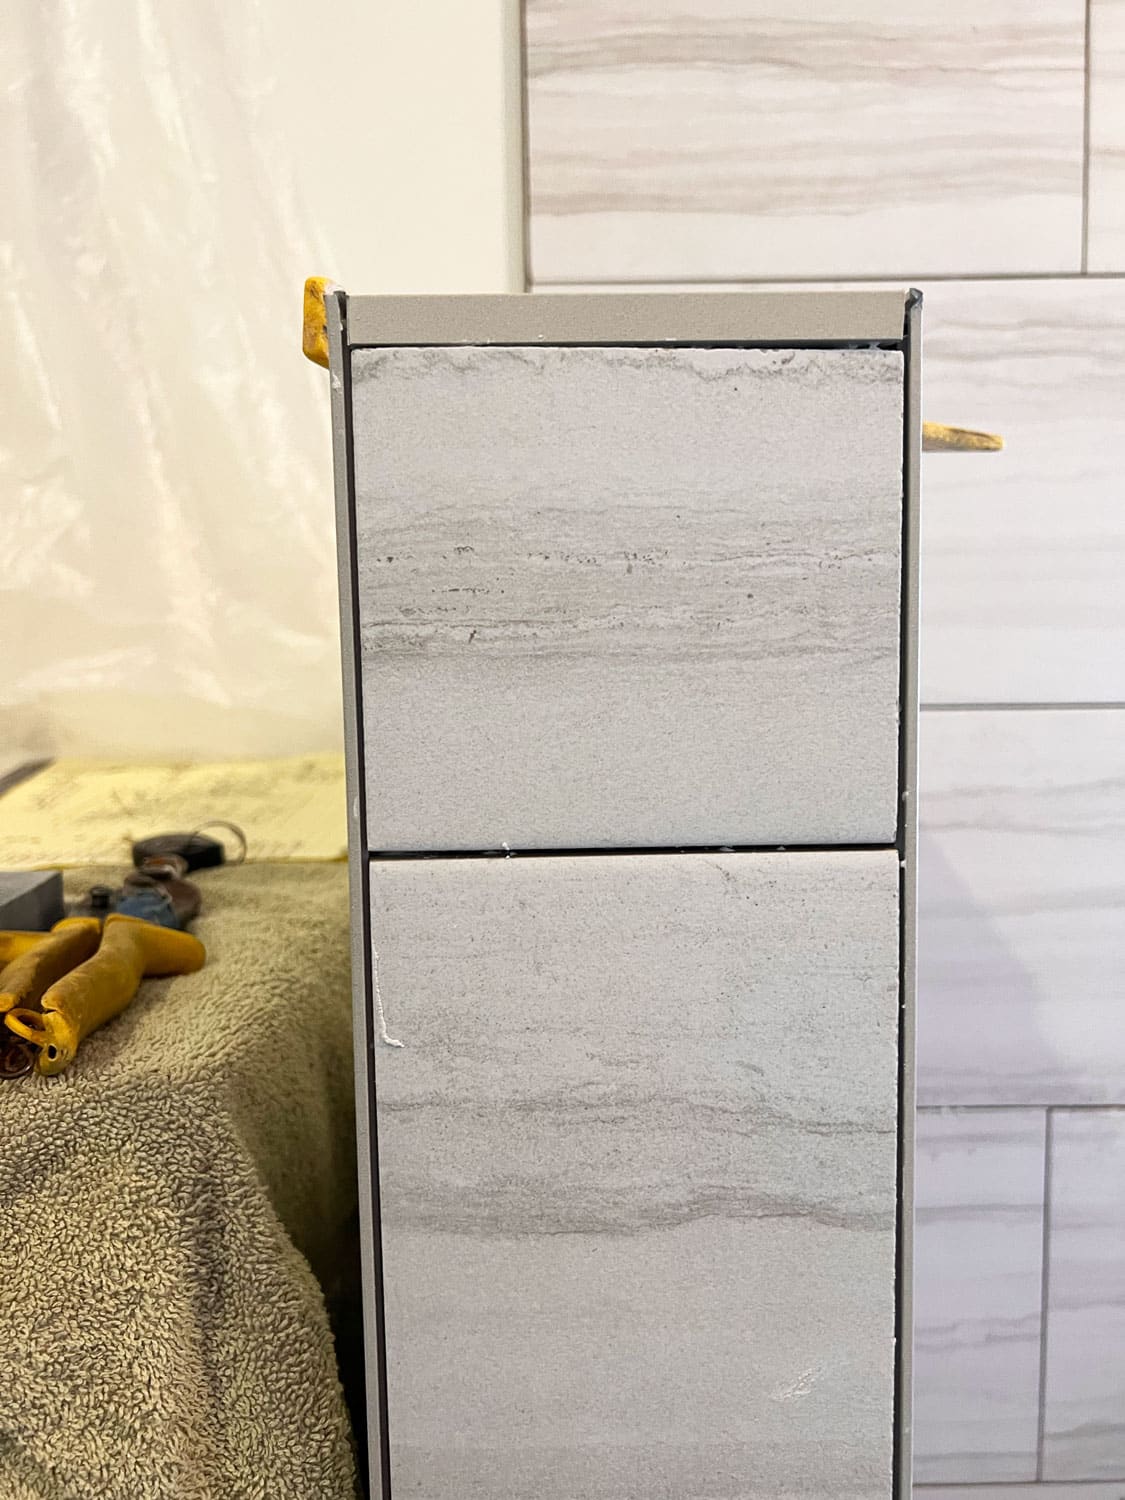
Shower Floor Tile: From Shower Curb to Tiled Retreat
To achieve a spa-inspired bathroom, our designers worked with the homeowners on selections and architectural changes that would create an ideal retreat. The plan showcased both a free-standing tub and rain shower surrounded by two unique tiles, a large format wall tile and smaller hexagonal floor tiles.
Selection: DALTILE, Hexagonal Matte Black Mosaic Tile with #642 Ash Grout
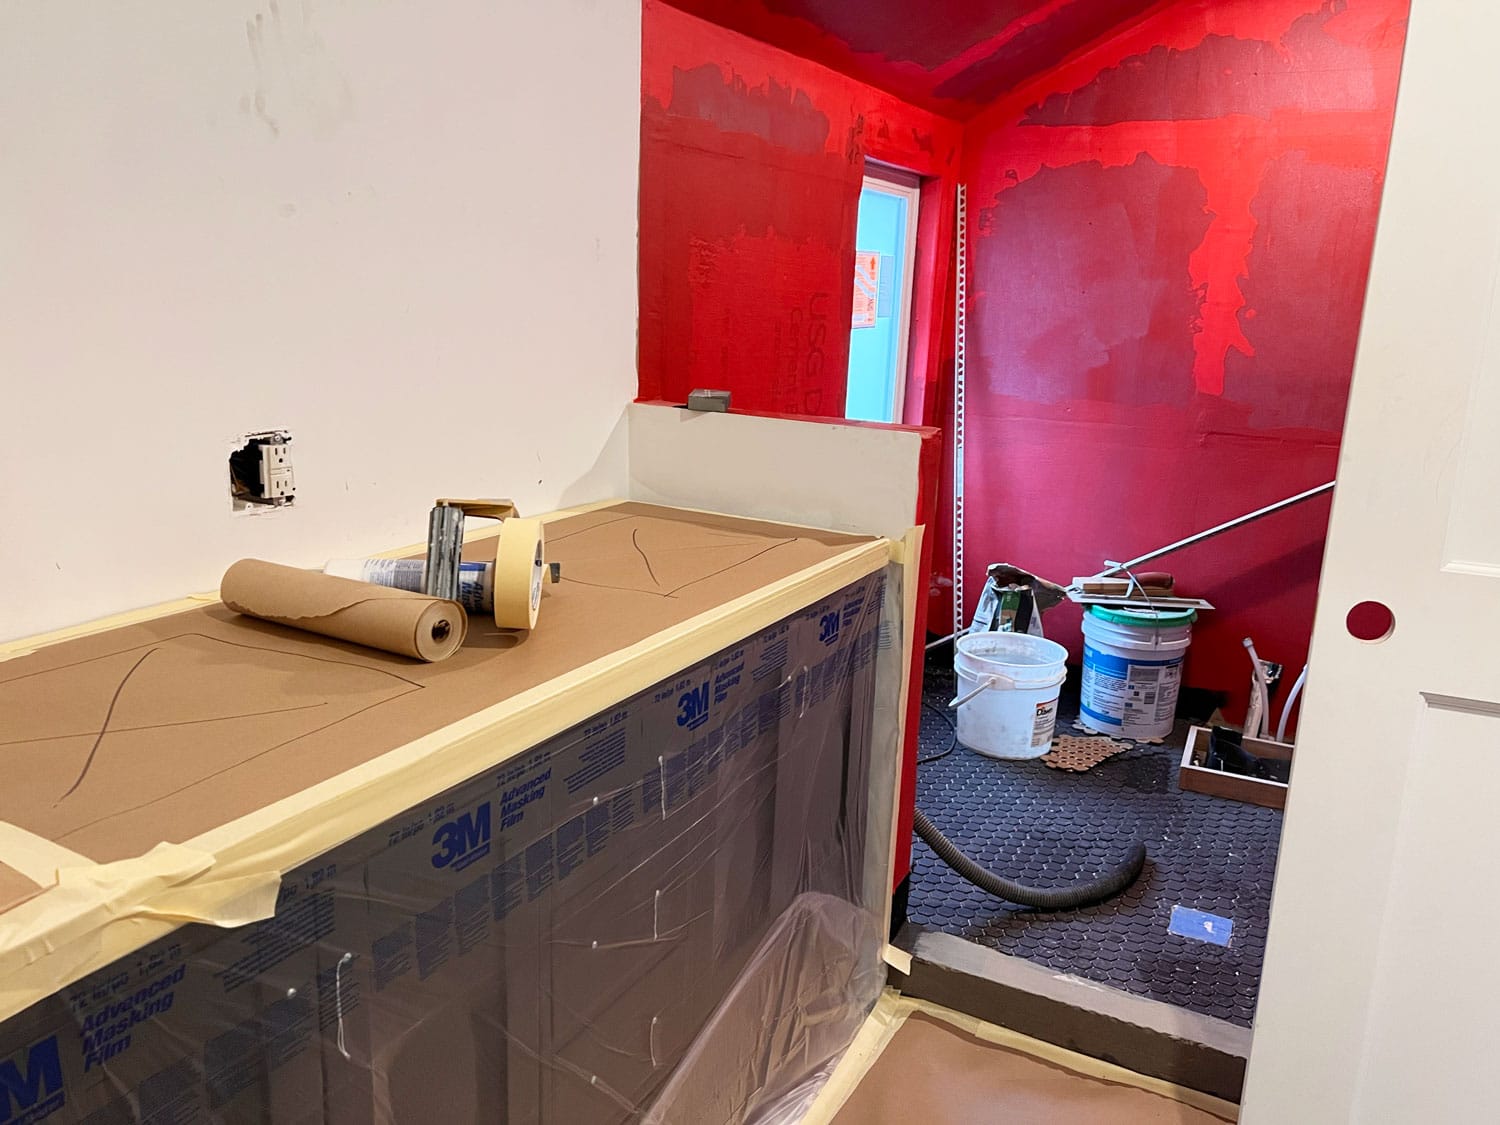
- The tile team created a custom shower pan and curb on site. Working together, the plumber and tile installer formulated a plan for proper drainage, building one drain for the tub and another for the shower. After a 24-hour water test, the city inspector approved the assembly. A self-leveling agent is applied followed by waterproofing, fully prepping the the shower for tile Installation. Hexagonal matte tile is placed along the bottom of the shower using #642 ash grout between tiles.
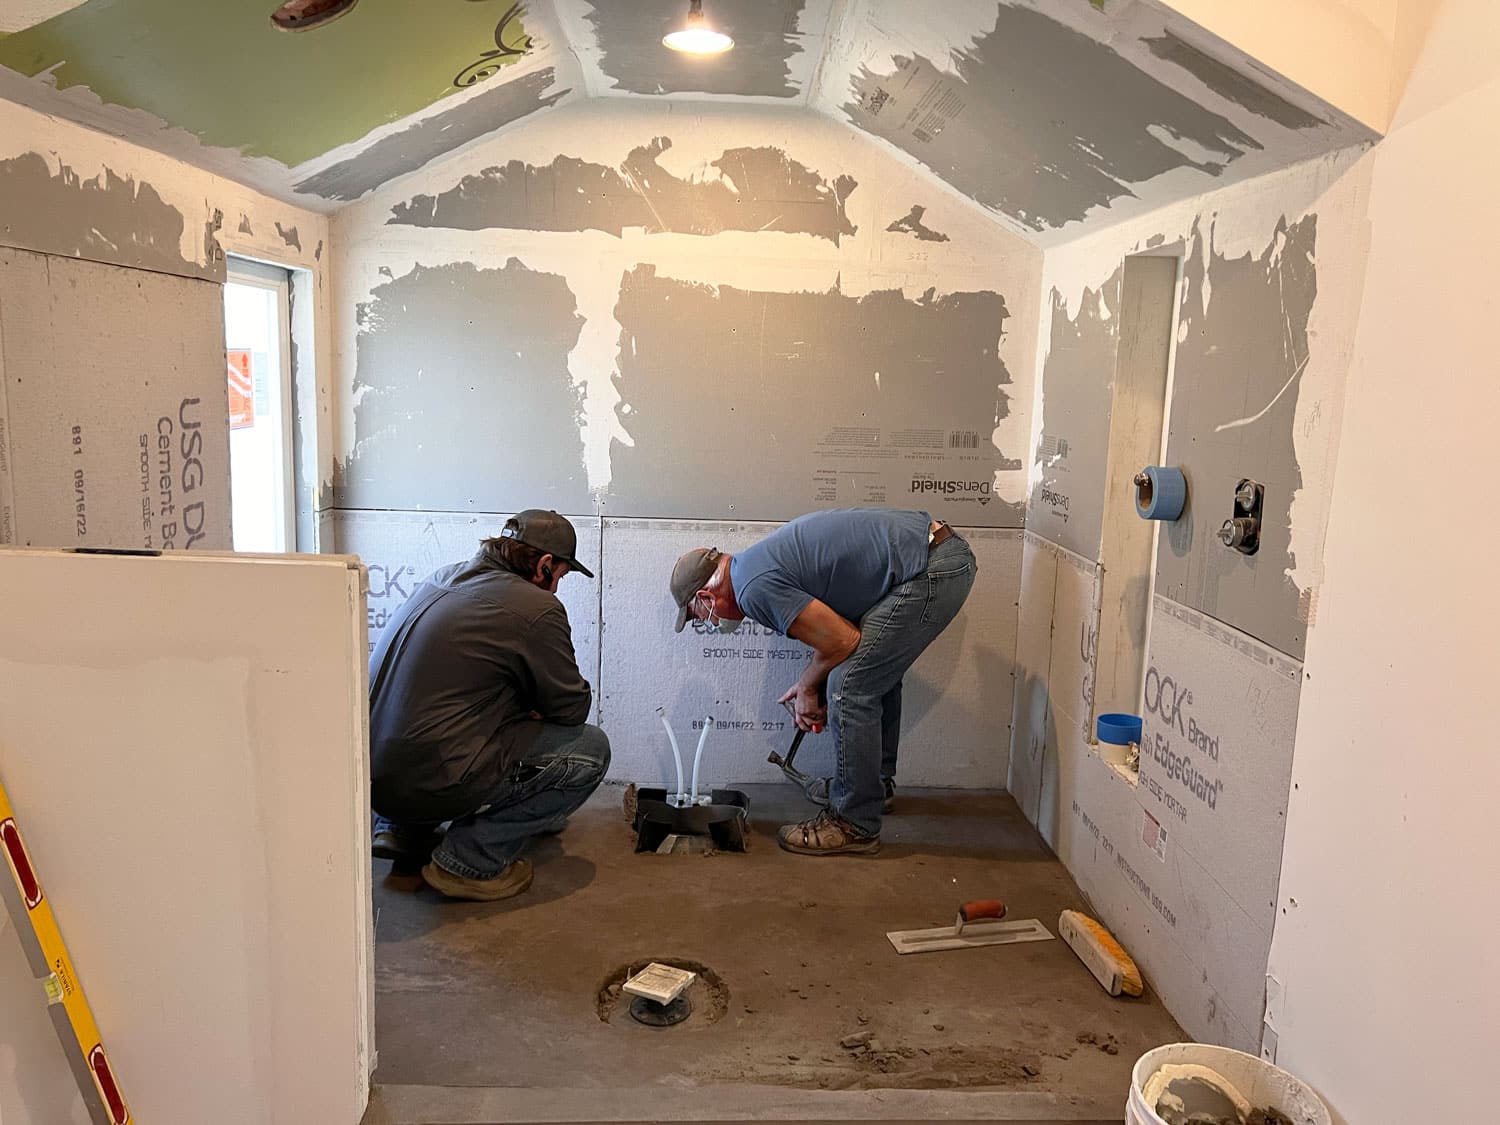
The plumber and tile installer make plans together for how the shower and tub will drain, protecting the area from water damage.
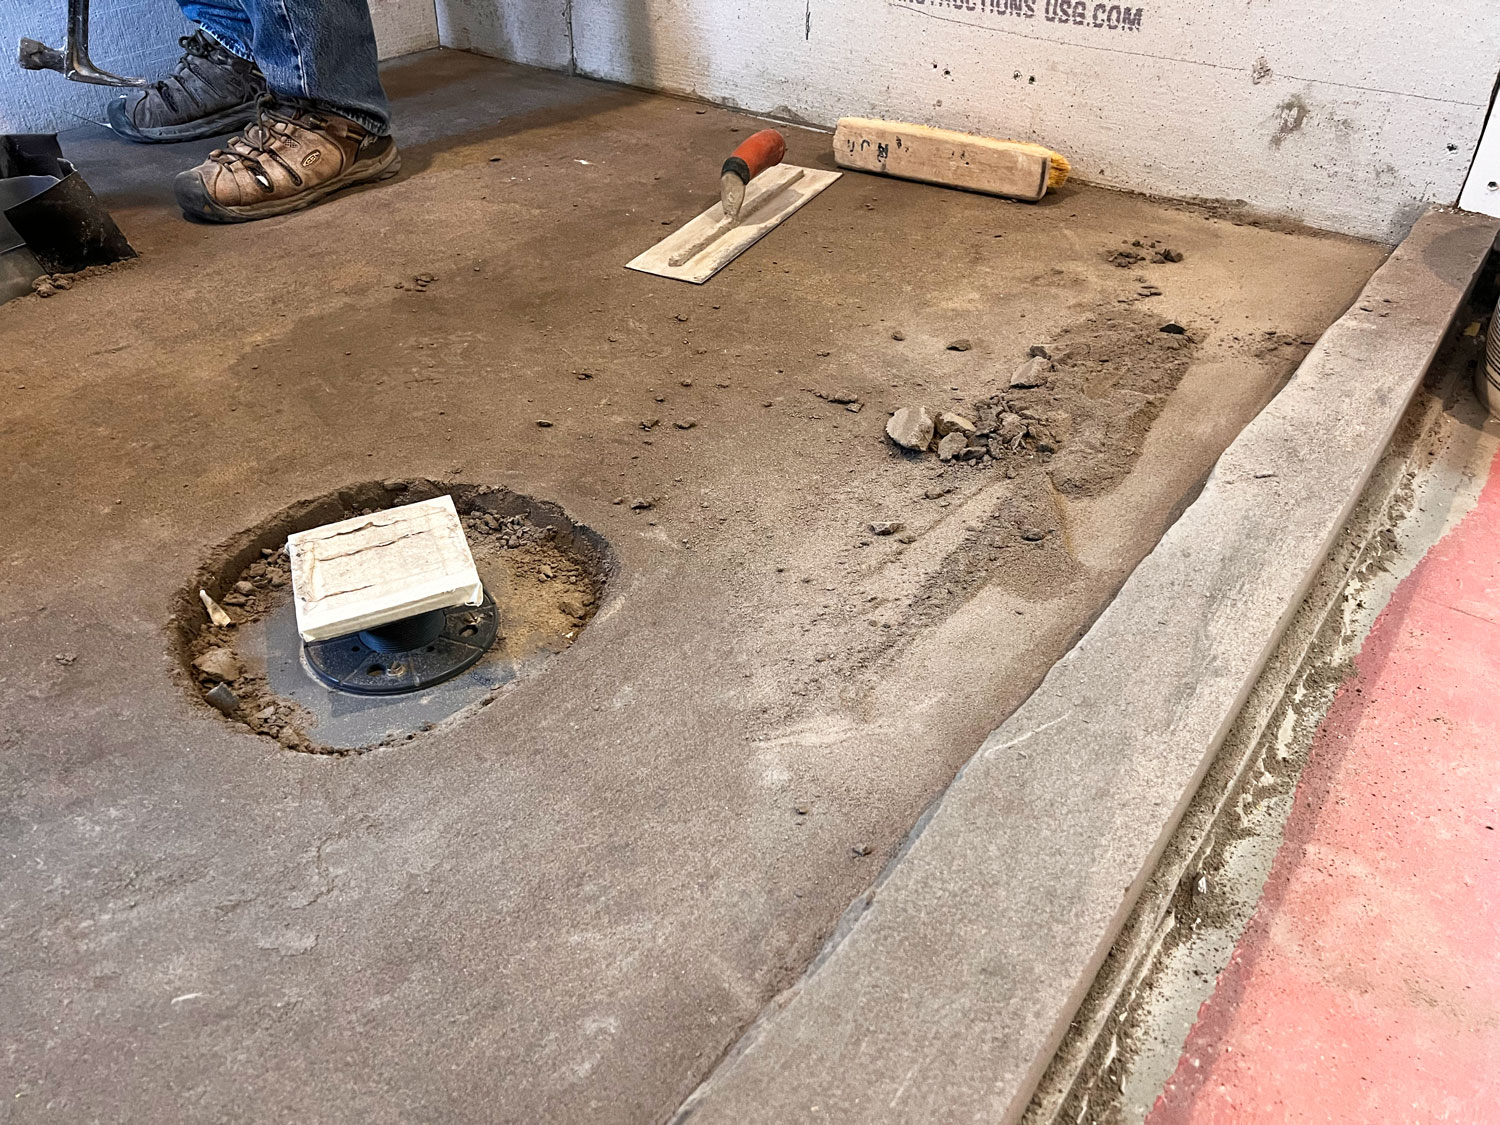
A curb is built during the construction of the shower pan, helping to keep water from leaving the shower and tub enclosure.

Here we see the red waterproofing is applied along the shower walls, an important step in protecting the walls from water damage. The tile along the shower floor is newly finished and is an exciting contrast against the white tiles to be installed along the walls next.
The half wall (pony wall) marking the edge of the shower is one of the last areas to be tiled. The large tiles spanning the entire length of the shower and ceiling are cut to fit the width of this pony wall.
Shower Wall Tile: From Shower Curb to Tiled Retreat
Selection: Happy Floors, Silver White 12×24 Tile with #642 Ash Grout
- Durock, a cement wall board, is installed over framing and is then brushed with a waterproofing membrane. Tiling the shower walls soon after was more labor intensive given disparities in existing framing along the ceiling. Where each sloped surface maintained slightly different widths by several inches, our tile experts had to find ways to make them look even. Though labor intensive, the Silver White 12×24 tile with #642 ash grout now runs beautifully from the ceilings and along each shower wall.
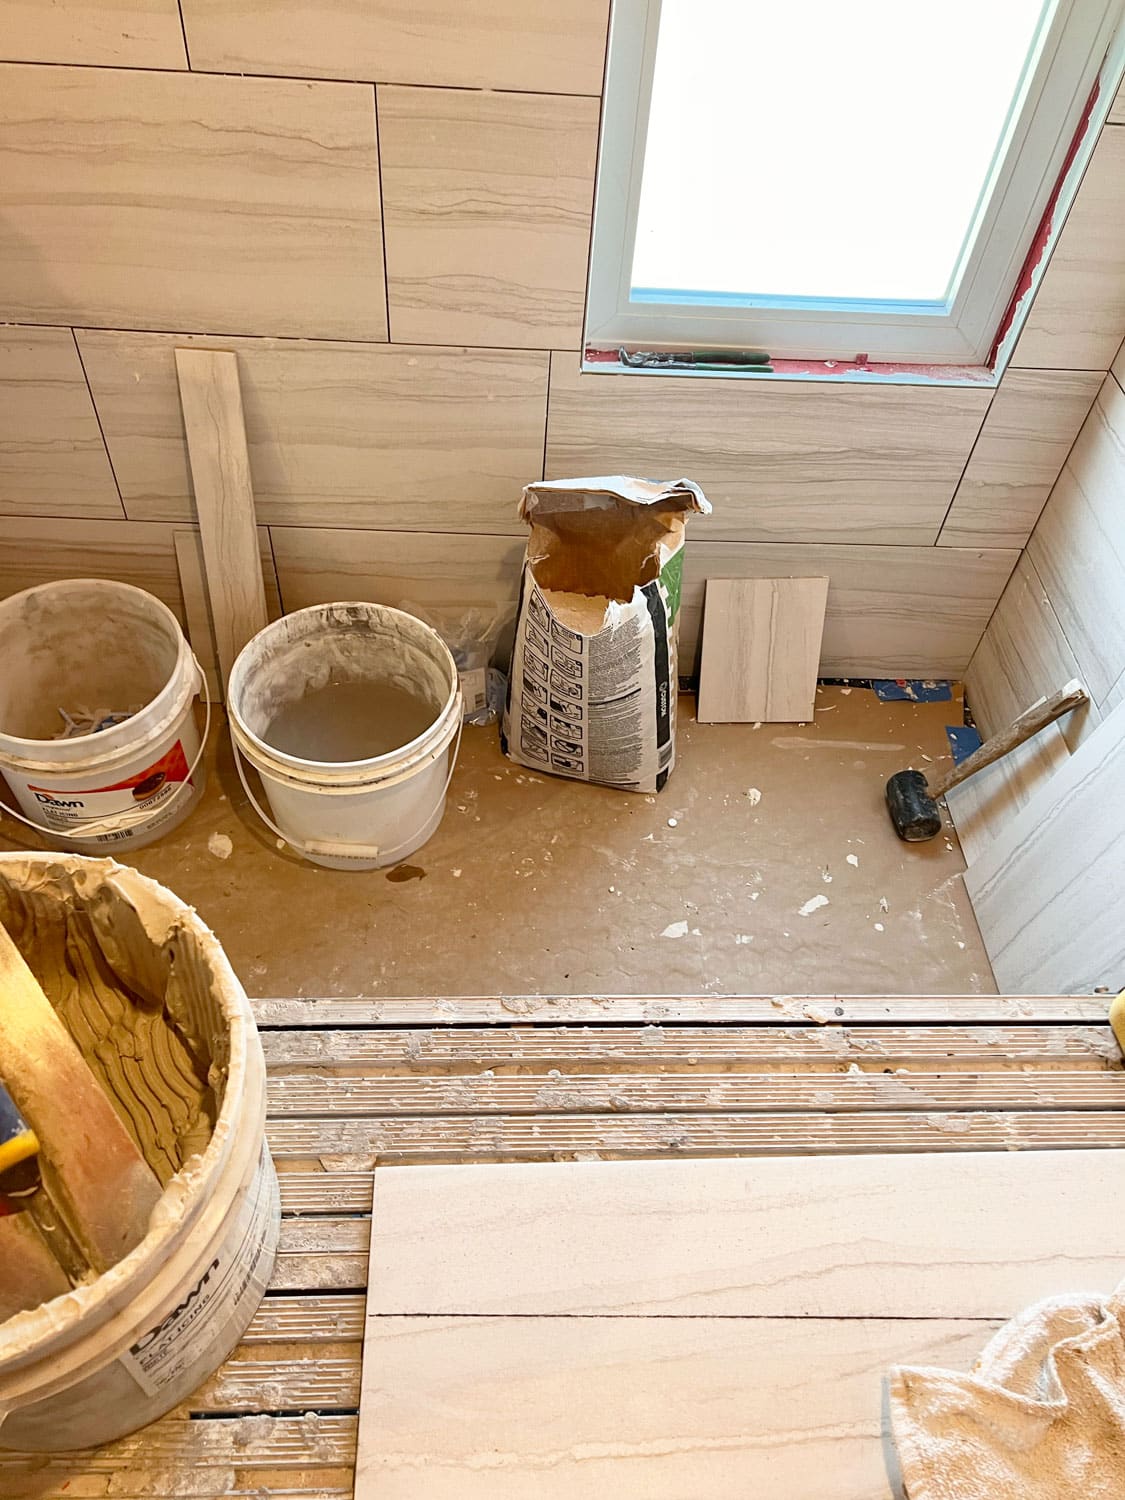
Tile installers use #642 ash grout between both the shower walls and shower walls. Since the shower floor is finished first, it is covered to protect the tiles from ongoing work on the nearby walls.
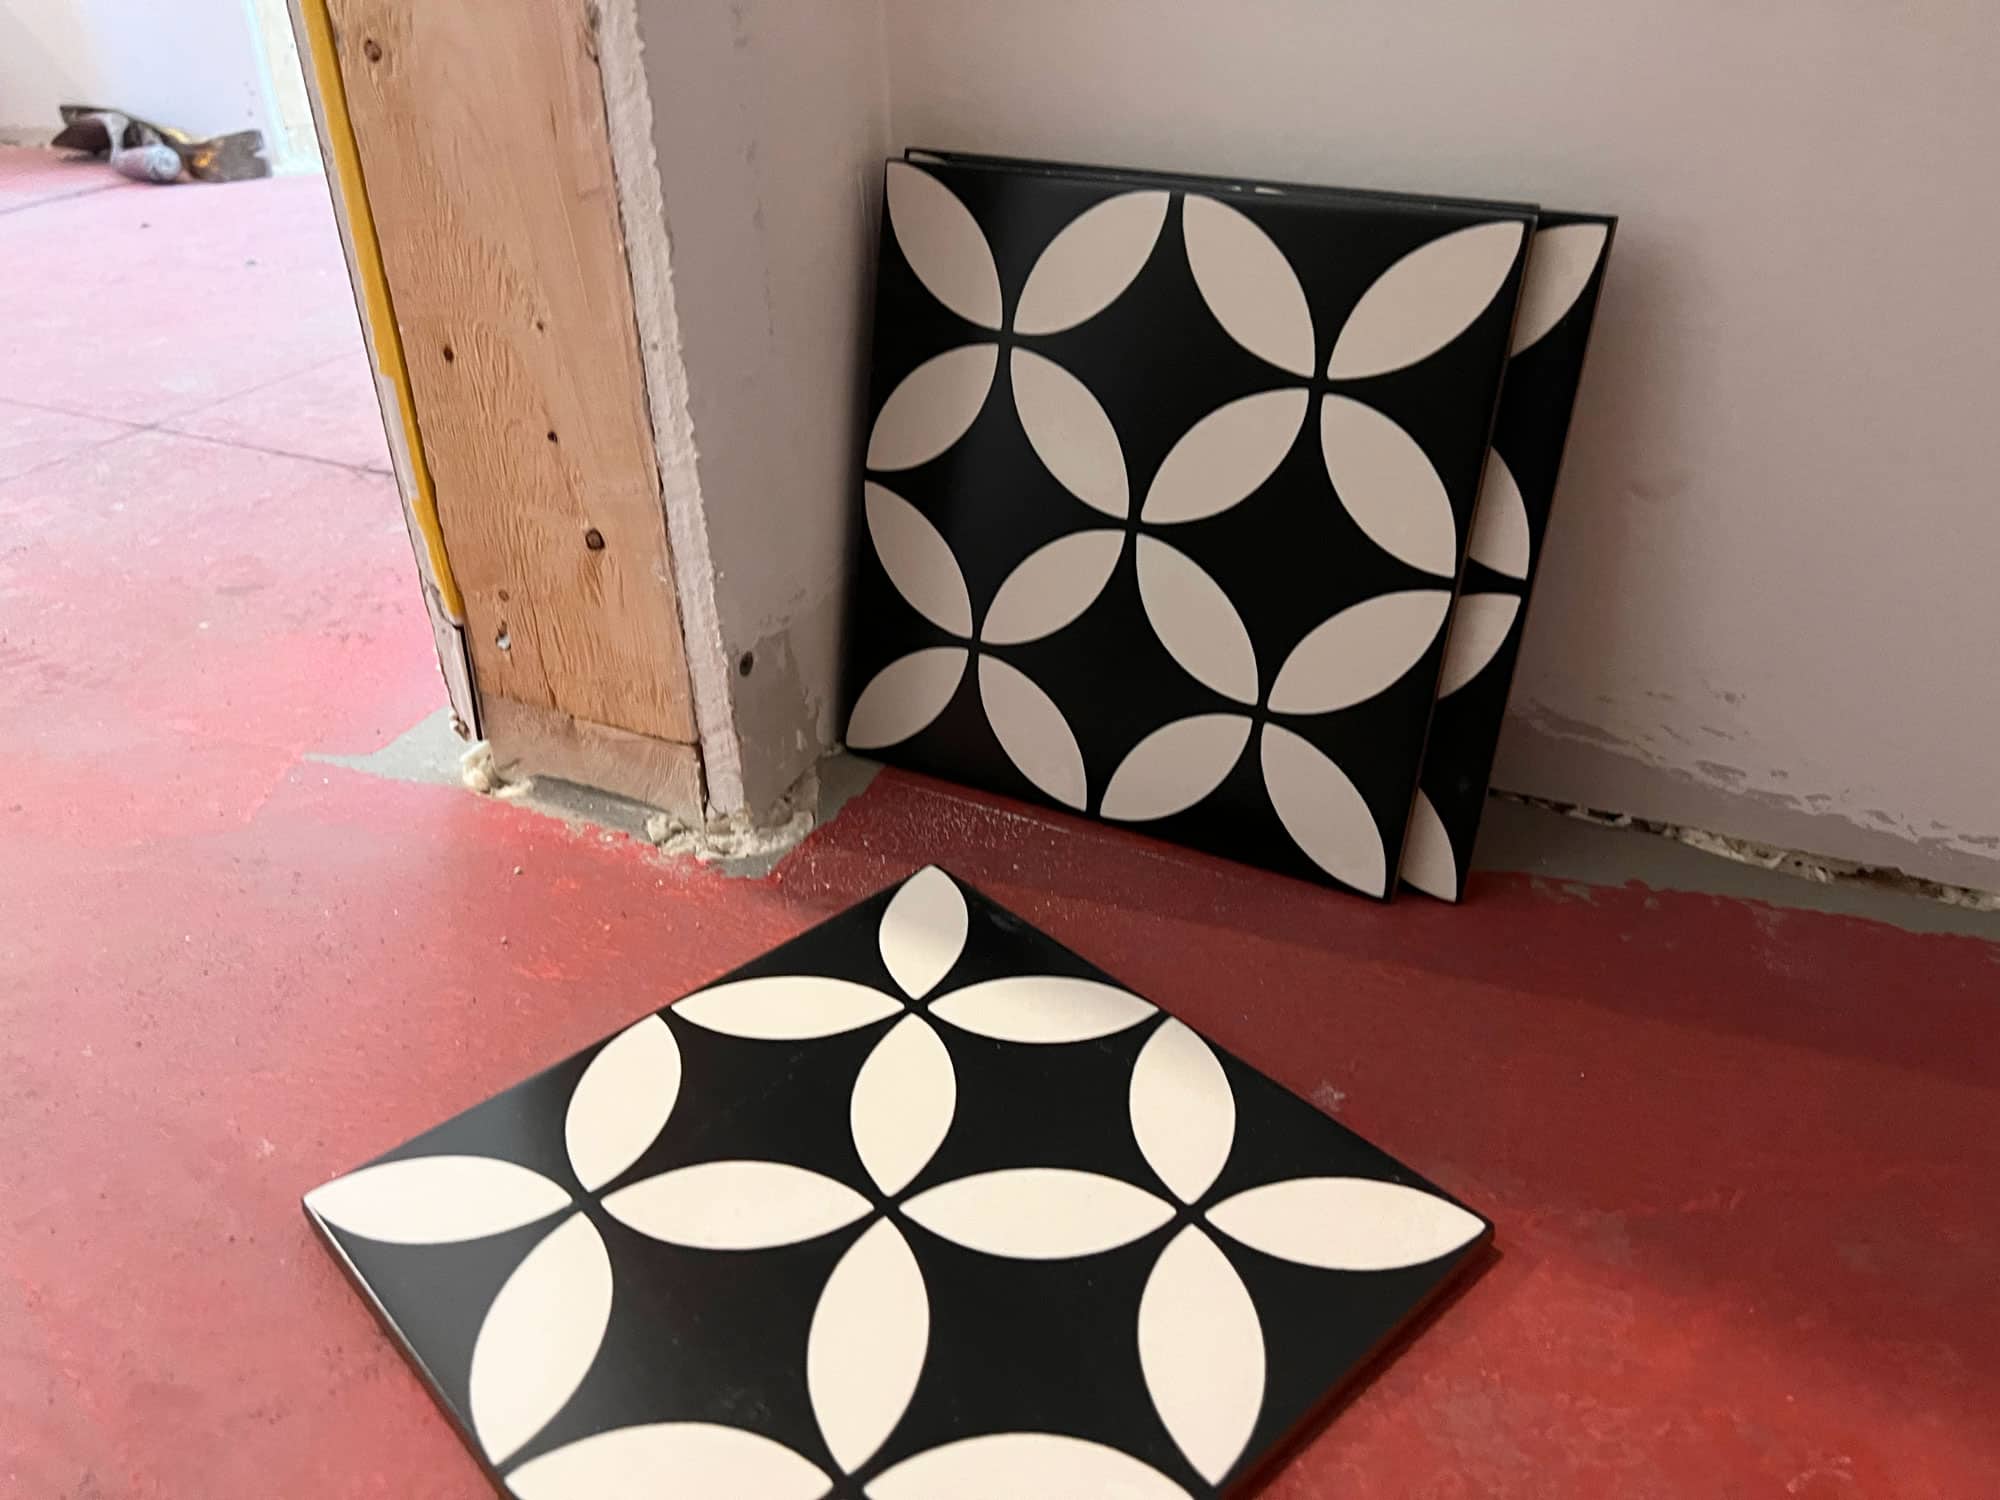
The Interceramic Union Square 8x8 tile is the final tile included in the bathroom remodel, the striking motif unifying selections across the room.
Bathroom Floor Tile That Makes a Statement
A third tile along the rest of the bathroom floor, featuring a black and white motif, unifies selections across the room, from the vanity and shower tiles to new fixtures and paint selections. Our design team helped guide tile selection process, choosing the Interceramic Union Square 8×8 tile in pattern, Becker. Our tile crew used #60 charcoal grout between tiles to finish the job, resulting in a bold and eye-catching design element.
Want to learn more about
this type of project?
We’re here to help! Check out our planning resources below, or reach out to us here.